The Basement Remodel Project (Premium)

If you are unfortunate enough to listen to First Ring Daily, you will probably have heard Paul and I talk about my basement remodel once, or maybe twice, during the past six months. With the project now 99.7% complete, here is the writeup of the process including how I approached the project, steps we took to complete the basement, and the cost associated with the remodel.
Standing in my daughter’s hospital room on a Friday after she had surgery to put a couple of pins in her elbow after falling off the monkey bars, a contractor we hired to install a sump pump in our basement said they could come on Monday if we were ready – we were not ready. Reluctantly, I said yes, and in mid-October, the basement remodel project began.

Before we could get started, there were several projects that had to be performed first; primarily fixing the water issue in our basement. Thankfully, we do not have any issues with our foundation bending/bowing, as determined by the contractor, but we did have static pressure leakage. Meaning, water would come up through the cracks in the slab of the home and seeing as we didn’t have a sump pump in our basement, it was time to add one.
To do this, everything in the basement had to be removed which included the ‘old’ podcast studio, my video editing rig, and items we stored in the basement. To fix our water issue, the contractor with a crew of about six people and four jackhammers, dug a trench around the inside perimeter of our basement to drain water to the sump.
This process creates a huge mess and was incredibly noisy but was a requirement to help keep our basement dry. Before the install, our basement did not flood but water would seep in and naturally flow towards the center drain in our basement. The floor was sloped gradually to this drain and was never really a major issue until we wanted to spend more time down there and you can’t finish a basement in a wet environment.

After this process was complete and a few good spots of rain later, the basement was staying dry and the humidity in the basement was at a level that was below that of mold growth even on the wettest of days.
Another part of the project that was outsourced was having a plumber fix a drain that was in the shower that was not functioning. The bottom of the P-trap had rusted out/broke, this was replaced and new concrete poured.
With the basics out of the way, there was ductwork that needed to be moved, waterlines to an outdated water softener to be re-routed, demoing the old walls (picture above), remove old lighting, and getting the basement to the point where framing could take place.
And if you are wondering if maybe in another life if I built homes or worked in construction? Nope. I did remodel my kitchen with help from family about 10 yrs ago and understand the basics but looking at the old unfinished-basement, how hard could it be?
Starting with the demo, prior to my daughter breaking her arm, I was able to knock out a wall in the middle of the basement and following the installation of the sump pump, I began ripping out everything in the basement that was not going to stay. To help make the timeline a little easier to understand, I demoed the center wall (image above) daughter broke her arm, the contractor called, and then we got the basement cleaned out and covered everything left with plastic (below).
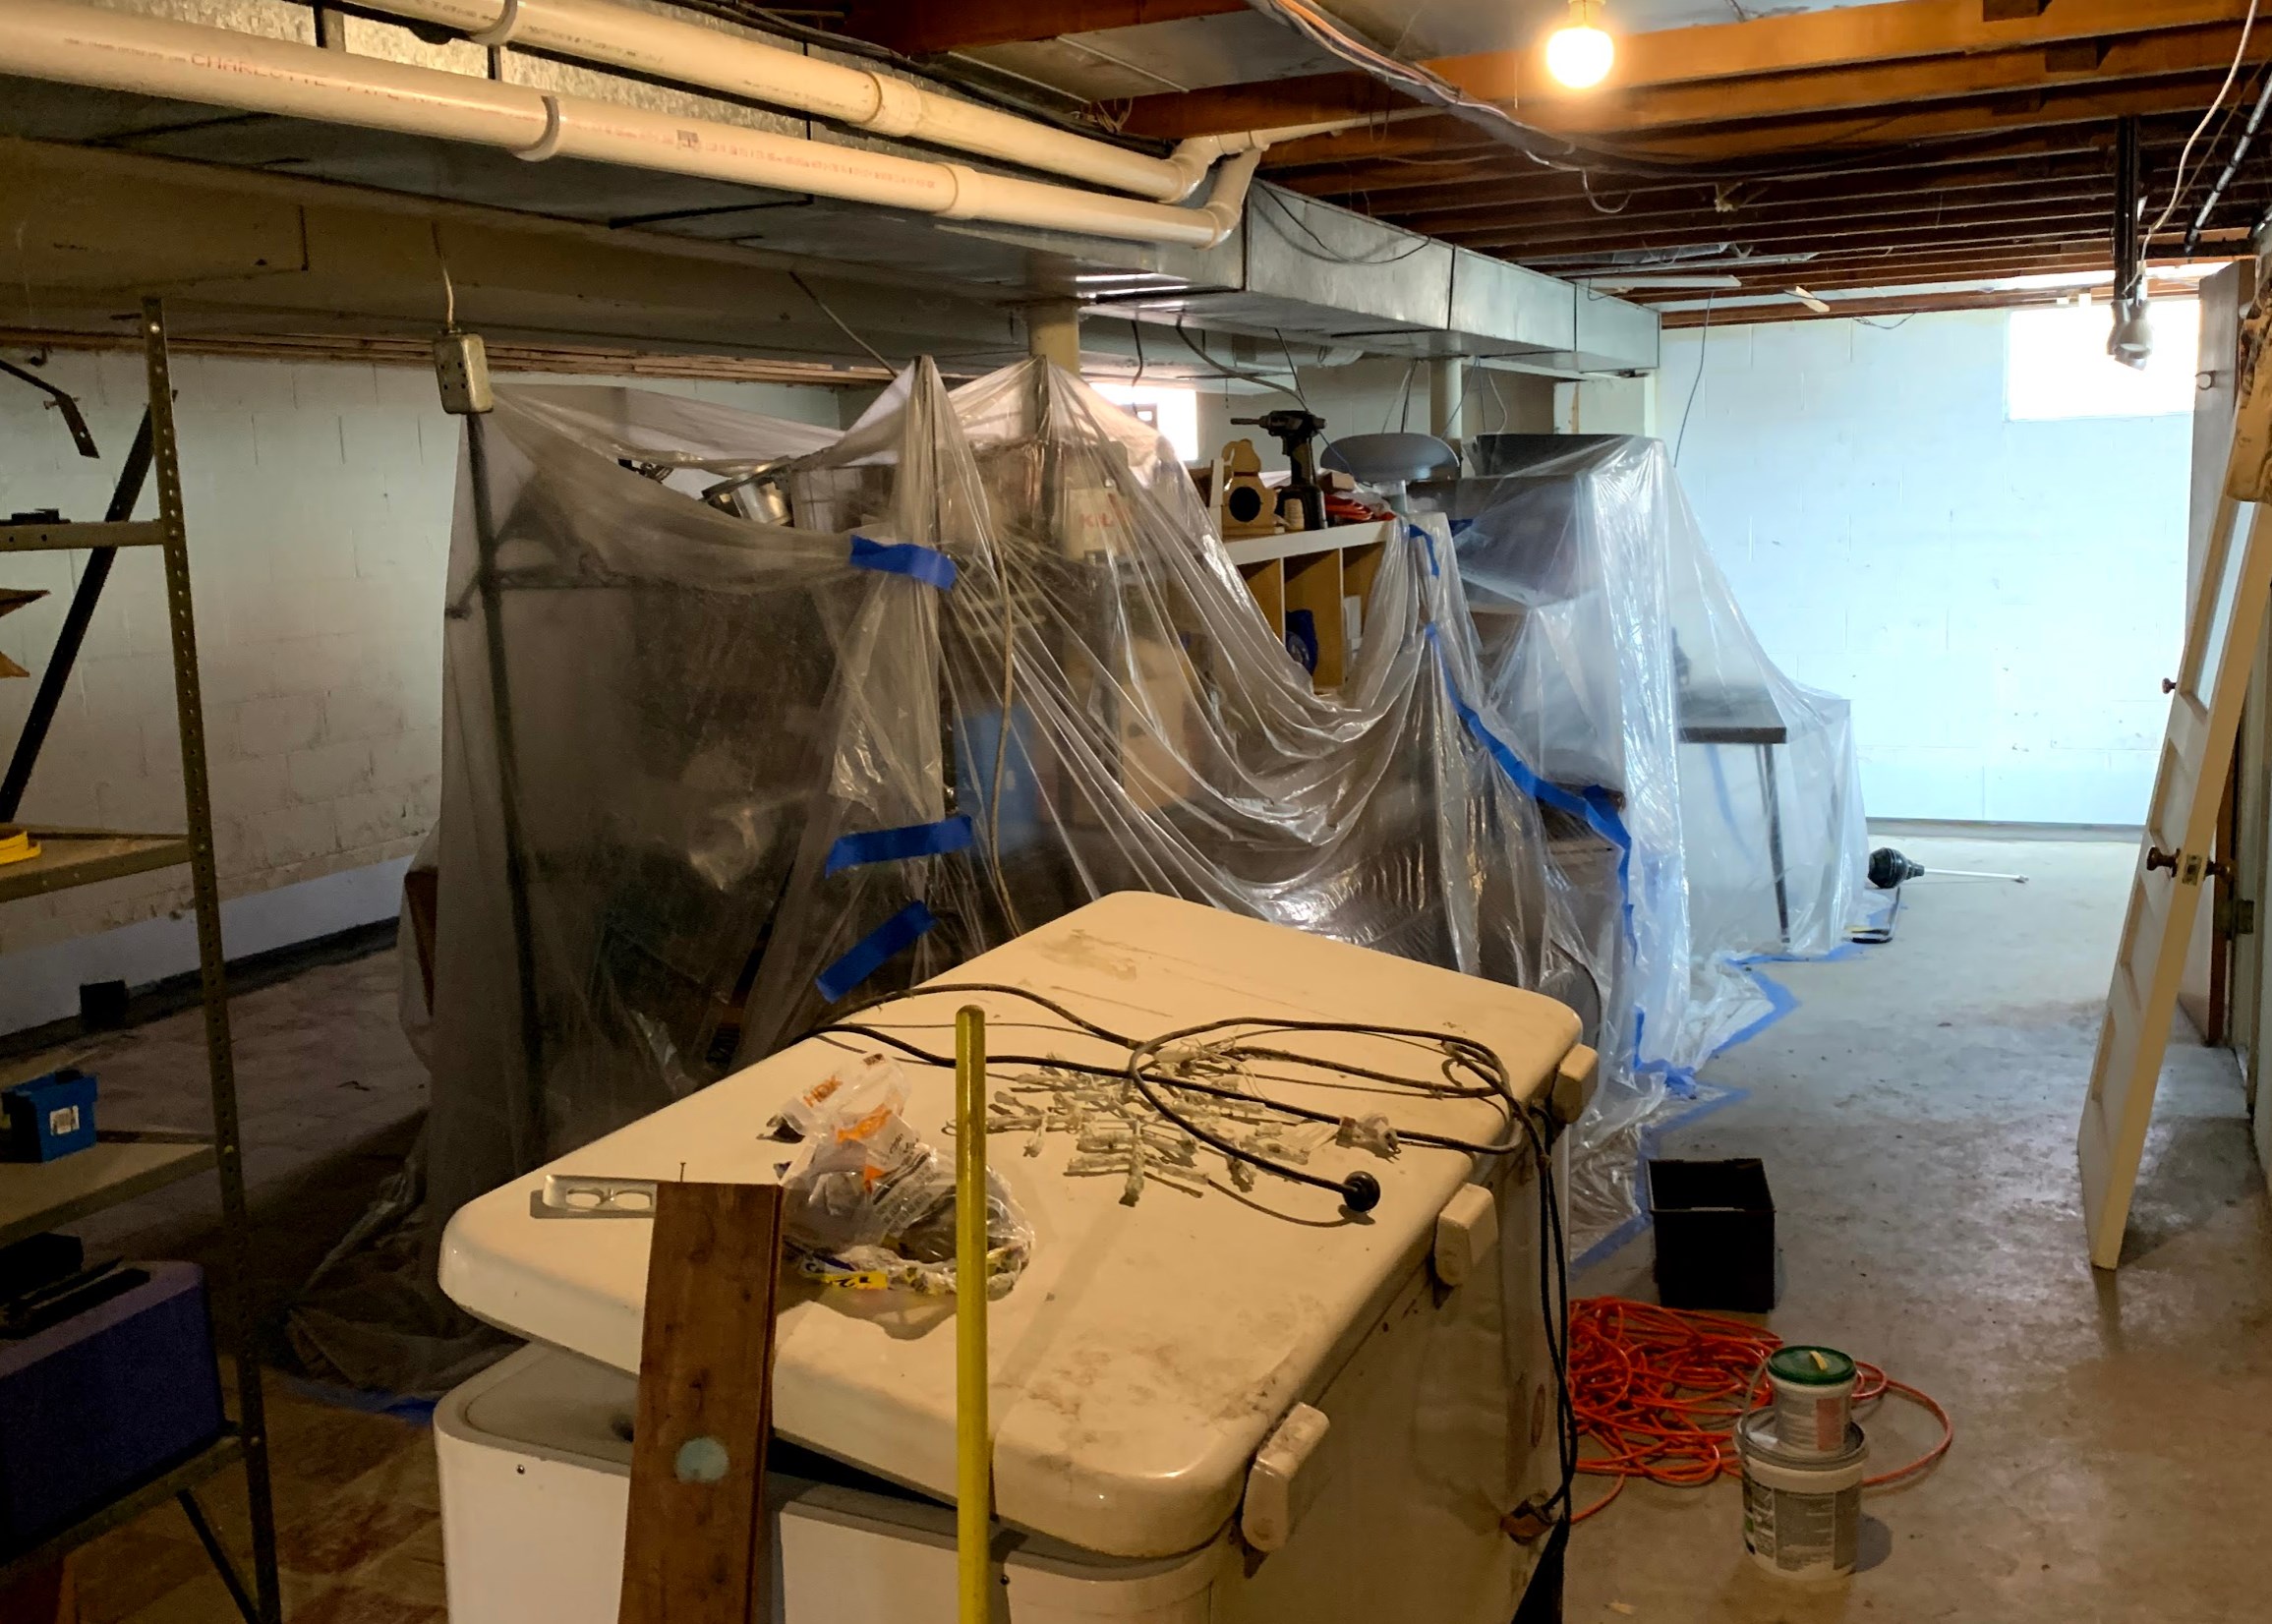
One of the oddities is, in the picture above, you can see an HVAC line (large silver box running the length of the basement) that is redundant. The previous owner had this installed to fix a problem with poor circulation in a back bedroom. On the other side of an I-beam was the original supply line and cold air return.
During this time, we also had our AC/Furnace replaced too. While the installers were out, they did the math for me and concluded that I could expand the original supply line, which was oddly an 8in line. For reasons I will never understand, it went from a 22in supply line to an 8in and by increasing it to a 16in line, I could remove the redundant run and free up a ton of headroom.
The HVAC company wanted to charge $1200 to remove the old and line and update the 8in line – I did it myself for about $100 in parts and some minor bleeding – wear gloves when working with sheet metal.
Next up was getting the lights sorted out. Thankfully most of the existing electrical was in good shape but I did make some updates to bring it up to code when possible, including getting rid of some “rats nest” style wiring and using junction boxes when necessary (and accessible) and running new lines as needed.

LED lights are crazy efficient, this is nothing new, the old lights in the basement used a total of somewhere around 600W that were replaced with can-lights with LEDs in them. I put in a total of 14 lights in the basement, each drawing 12W on their brightest setting, which drastically improved the basement and was worth every cent.
Next up was what to do with the walls. Because I had the sump trench just put in, there were a couple of challenges. Namely, you can’t build a wall on the newly poured concrete for at least 30 days, also, I didn’t want to put any weight, when possible, on the trench area as the concrete is much thinner than the rest of the basement.
I opted to go with putting furring strips attached to the concrete block using tap cons, 3 per 2x2x8. But I also needed to insulate the basement as well. Using rigid board insulation, I was able to place it between the furring strip and the wall, mount it all in place, and voila, a wall for attaching drywall.
If you have an exposed basement, one thing I highly recommend is sealing up the rim joists, using the same insulation, I (actually my wife) cut out squares to place up in the joists, foam-sealed them in place, and it makes a huge difference.
One of the big concerns with my basement is moisture. Despite having the sump-pump installed, water wicking through concrete is hard to stop, especially on a house built in the 50s. The insulation has a plastic liner that is touching the concrete, so if water does wick through, it should not impede the barrier and should fall down the wall and into the trench below. The insulation sits on top of a plastic lip installed with the trench for exactly this reason and should help prevent mold from forming as well.
One item I underestimated the amount for work framing takes. It sounds easy, cut some boards, nail them into place, but trying to get everything plumb and square is a challenge when working with a structure that was built in the 50s.

I spent a significant amount of time building the ladders to box in the HVAC runs. Because this is what you see when coming down the steps, I wanted it to look perfect, or as good as I could make it, which means the cuts/math needed to be very accurate with no slop in the height variation. This again is a challenge because I was attaching it to structures that were not always square to my intended goal.
There were also two doors that needed to be installed. Because of the layout, one door could be a pre-hung and the other, which would sit under the I-Beam, had to be a custom install. Installing the pre-hung door took about 90 minutes, the other door took about 4 hours and that process was not fun; I used a lot of ‘tricks’ to hide the uneven gaps. The biggest challenge with the custom door is that the floor underneath it was not level as it sloped towards the drain – shims, caulk, and trim can hide a lot of bodies mistakes.
For outlets, I was able to run new lines from my breaker box: I ran two 12/2 (20amp) wires, splitting the basement in half with each line, and having an outlet every 6ft and putting two outlets in each column as well.
One challenge is that because I put 2x2s on the wall, installing outlets/GFIs, in shallow boxes is a pain in the butt but I got it done.

For the drywall itself, minus the bathroom, we went with standard 8ft “lightweight” panels at 1/2in thick. We (my father-in-law) and I hung it. If you are doing this yourself, rent a drywall lift. It makes it significantly easier but it’s still hanging drywall which is a lot of heavy lifting.
One of the smartest things I outsourced was mudding the drywall. I was initially thinking of trying to do it myself but was talked out of it and for 820sq ft, approx. 65 boards, with 4 ceiling elevation changes (boxing in HVAC/Waterlines), I was charged $1500; the contractors did a fantastic job and got it done in a week.
For the flooring, I wanted to create some space between the concrete and the actual floor. You can use an underlayment but I went a step up from that. I put down Dricore panels that are OSB on top with plastic feet on the bottom that lift the panel about a 1/2in off the ground.
This is important because it creates an air gap to help keep the floor warmer but more important is that if water does seep up through the slab, we have an extra layer of protection as our basement slopes towards a drain in the center of the house. This was an added expense but the right move for our basement and I highly recommend it as the basement floor is significantly warmer because of it.

For flooring, we went with a “premium” vinyl plank that had an underlayment attached and is water-resistant that is 10mm in thickness. You can spend nearly anything you want on flooring, we didn’t want carpet as it’s not as durable and wood floors in a basement would be a disaster. These planks were a pain to get started but the result is quite good and it’s flexible enough that using shims under the Dricore panels and the flexibility of the planks makes the floor mostly-level.

One thing not mentioned much (or documented all that well) is the bathroom. We have a small bathroom in the basement where we gutted it, put in a corner shower, new toilette and flooring. There was not a lot of plumbing to be done here, most of the plumbing work was removing old lines from the water softener and then moving the lines to the new shower location (about 2 ft away from its original location).
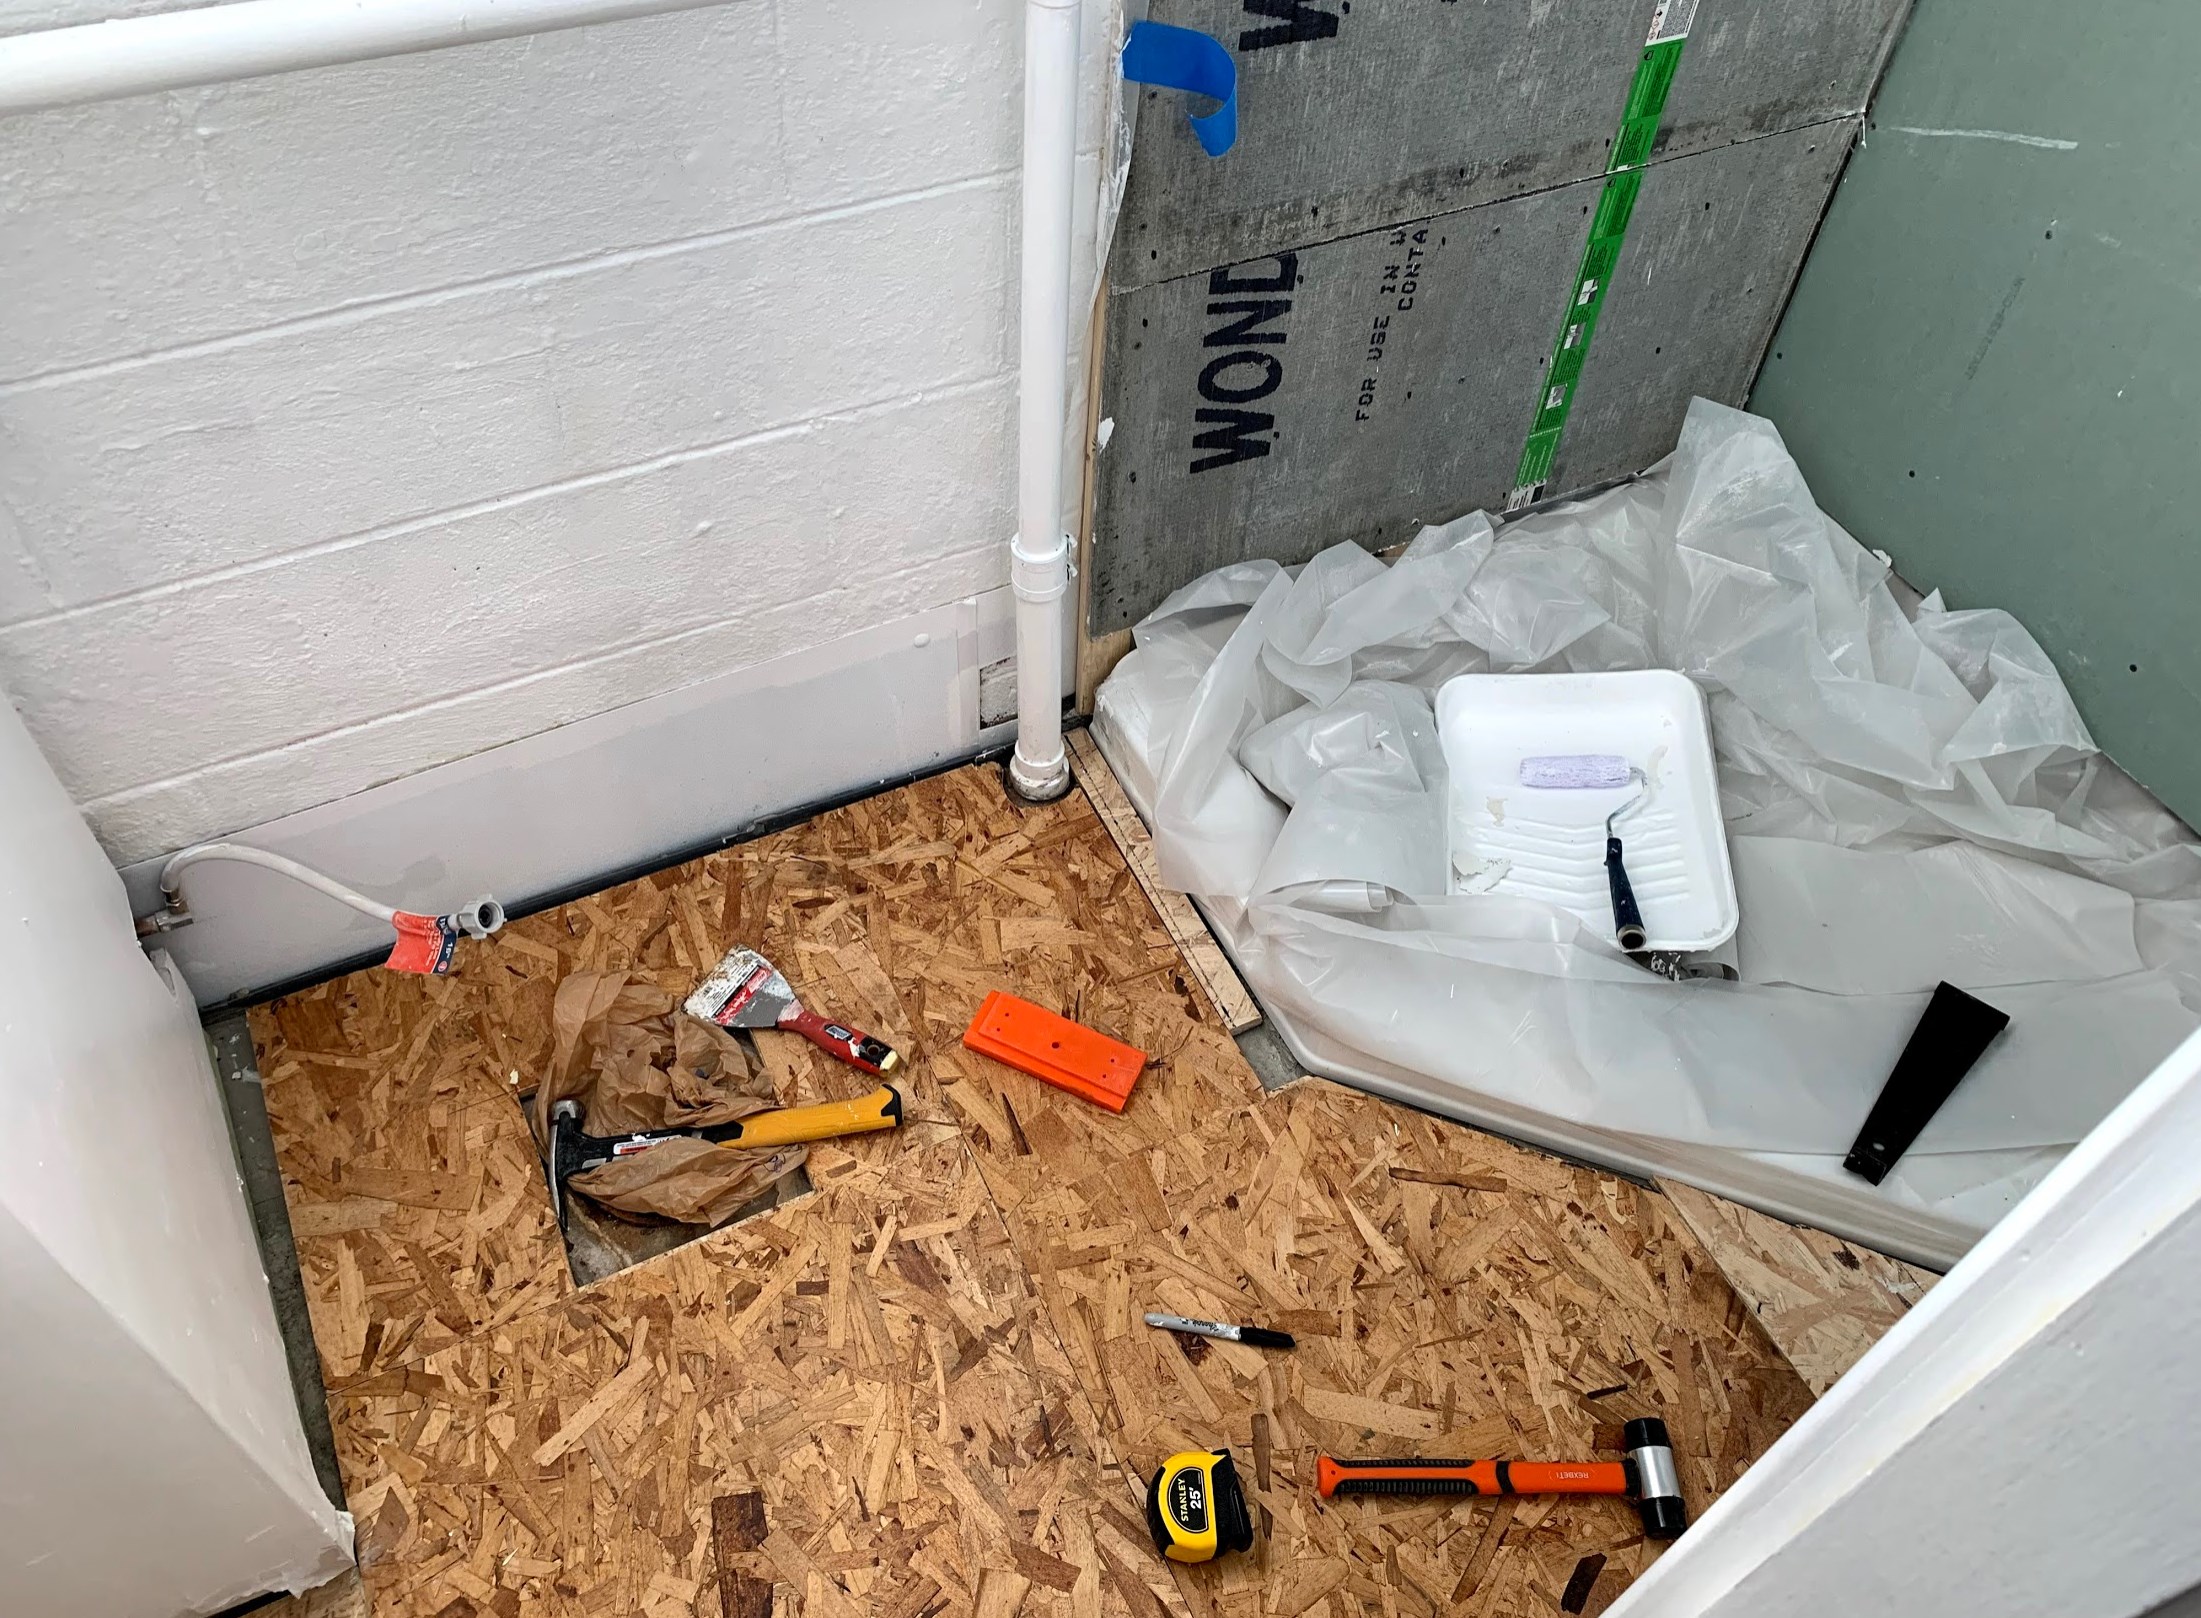
This was a budget-overhaul as it’s a basement bathroom but it turned out well. Considering we went from a toilet and shower that were sitting on the slab, it’s a good update and is a much nicer place to hang out.
I also got this basement done before COVID-19 ruined the world, thankfully, but it has stopped me from fully finishing the project. I need about 12 more feet for ¼ round to finish out some shelving and trim work in the bathroom. We also need to install a handrail on the steps but I am not venturing to Home Depot to get the final items until things clear up a bit.
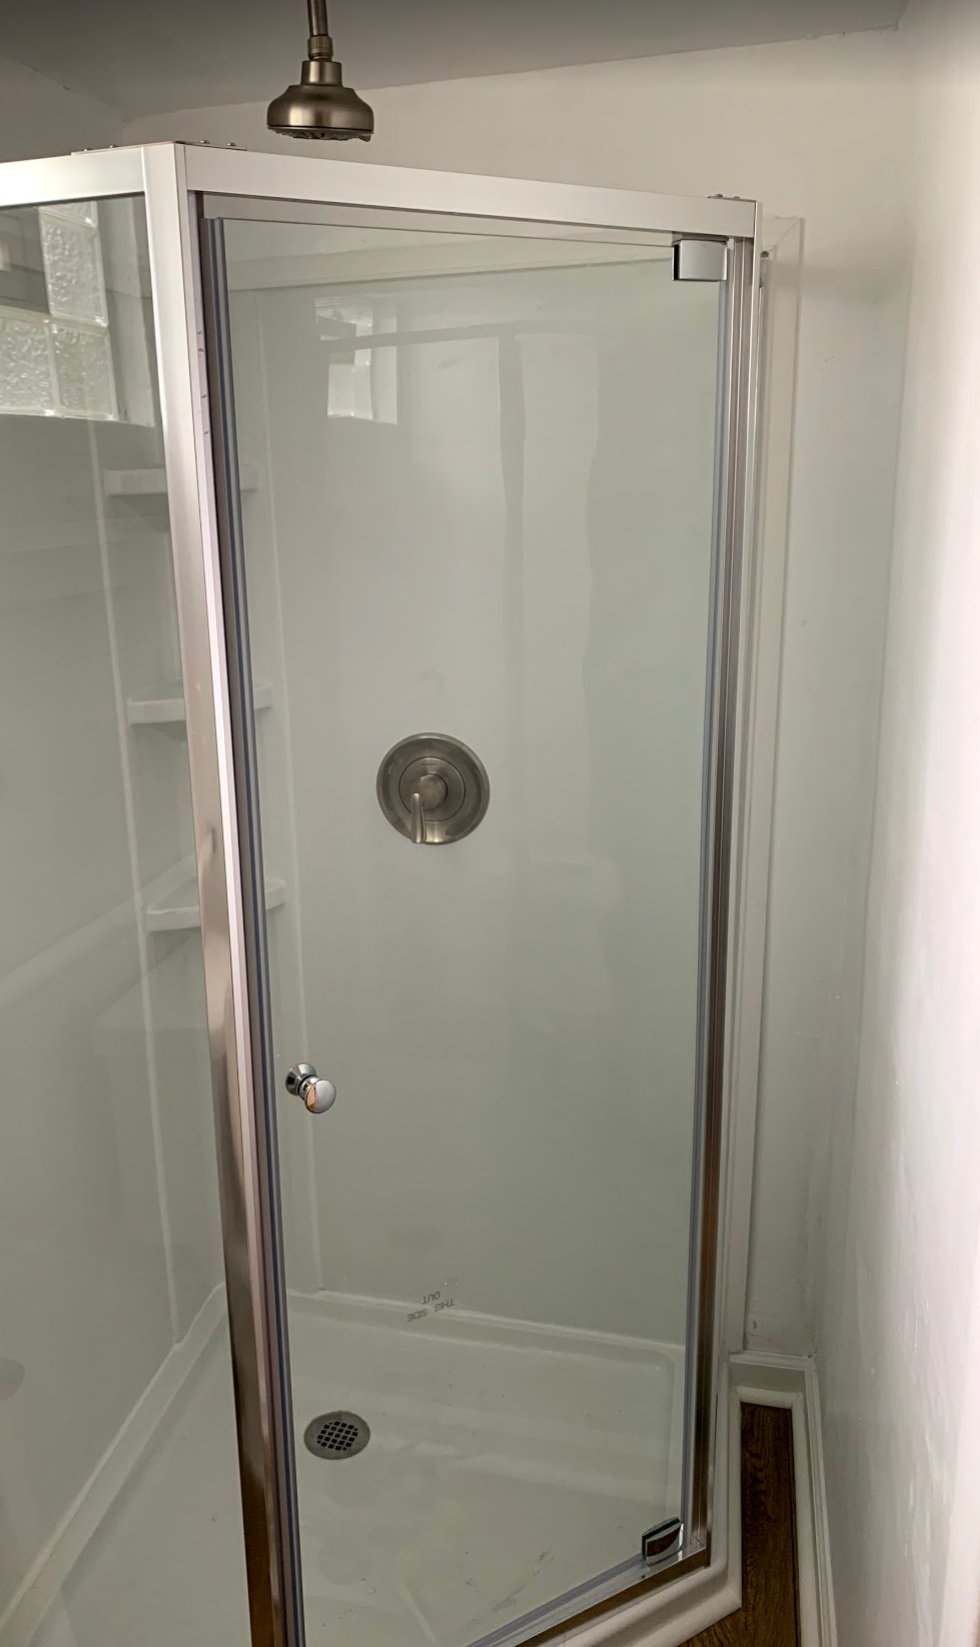
The last step of the project was to build a bar to sit at. To do this, I bought a pre-made butcher block countertop, ripped it to size, rounded the edges, attached the scrap piece as a skirt/edge, countersunk the screws, plugged them and built a frame out of 3/4in galvanized pipe. I then sealed the pipe with a rust-inhibitor, stained and polyurethaned the block, and attached the structure using 90-degree brackets to the columns.

So why did I do this? That’s a good question but I have always been the type to try and just “figure it out”. You can see some of this in the early days of First Ring Daily as I figured out how to do podcasting efficiently and this project was the same. About 10 years earlier, I remodeled my kitchen with help from my father-in-law and my dad but at that time around but I was more of a helping hand than the lead contractor. This time around, I was the lead contractor and others were helping out when the timing was right.
Now for the numbers and what I learned during the project.
Part of the joy of doing it yourself is saving quite a bit of money as you are not paying for labor. While I did outsource some of the project, those were minor portions of the overall project. Keep in mind that these numbers are for finishing 820sqft and are rounded up as well:
- Lumber:
- Wood: $300
- Trim: $200
- Walls:
- Panels: $430
- Mudding: $1500
- Insulation: $300
- Flooring:
- Vinyl planks: $2200
- Dricore Panels: $1300
- Bathroom:
- Shower: $600
- Toilette: $100
- Plumber Work: $800
- Fan: $220
- Electrical:
- Lighting/Outlets: $800
- New Tools: $350
- Bar:
- Butcher Block $240
- Pipes: $60
- Misc Materials: $800
- HAVC Duct
- Fasteners/glue
- Plumbing supplies
- Doorknobs
- Other
The total cost to overhaul the basement: $10,200 or about $12.45 per sq ft.
Keep in mind, this does not include the cost to install a sump pump nor upgrading our HVAC system. Those were different expenses and will vary significantly based on your location and the methods/products that you choose.
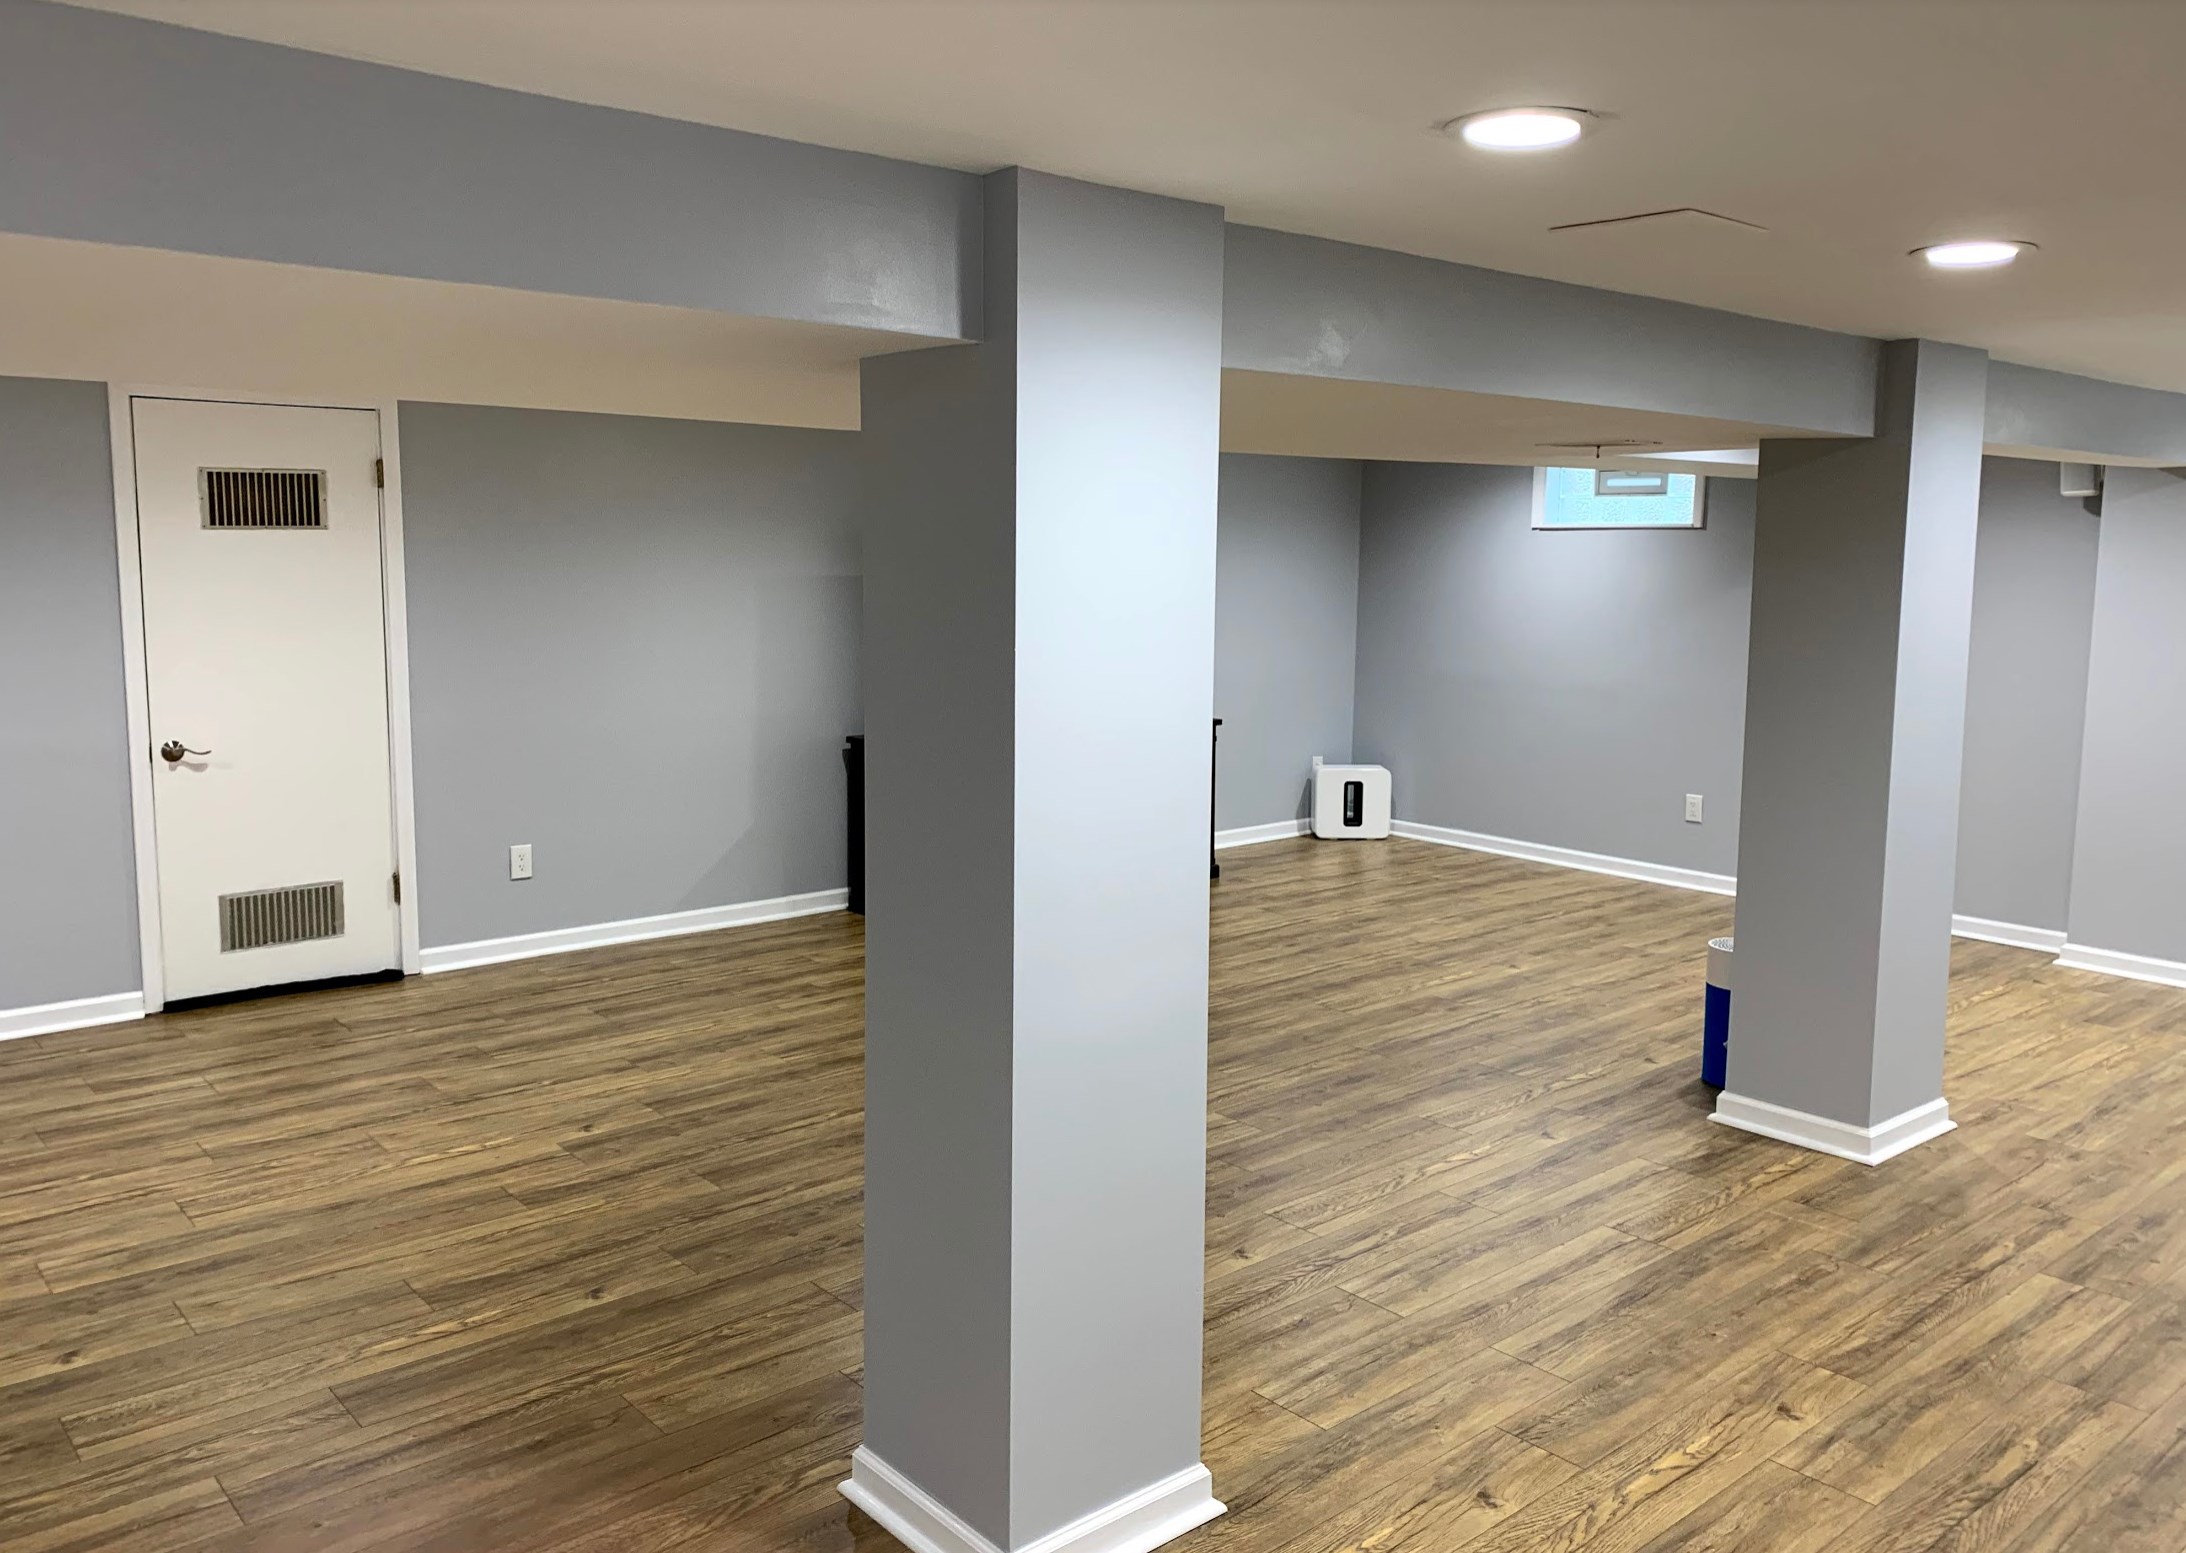
The other fun number is how many trips did I take to the hardware store? I primarily went to Home Depot, as it’s easier to get to this store than Lowes, and every time I used the “email receipt” and by applying a date filter to my email, 86 trips to Home Depot. This does not include a couple of deliveries that brought the drywall/flooring/lumber to my house.
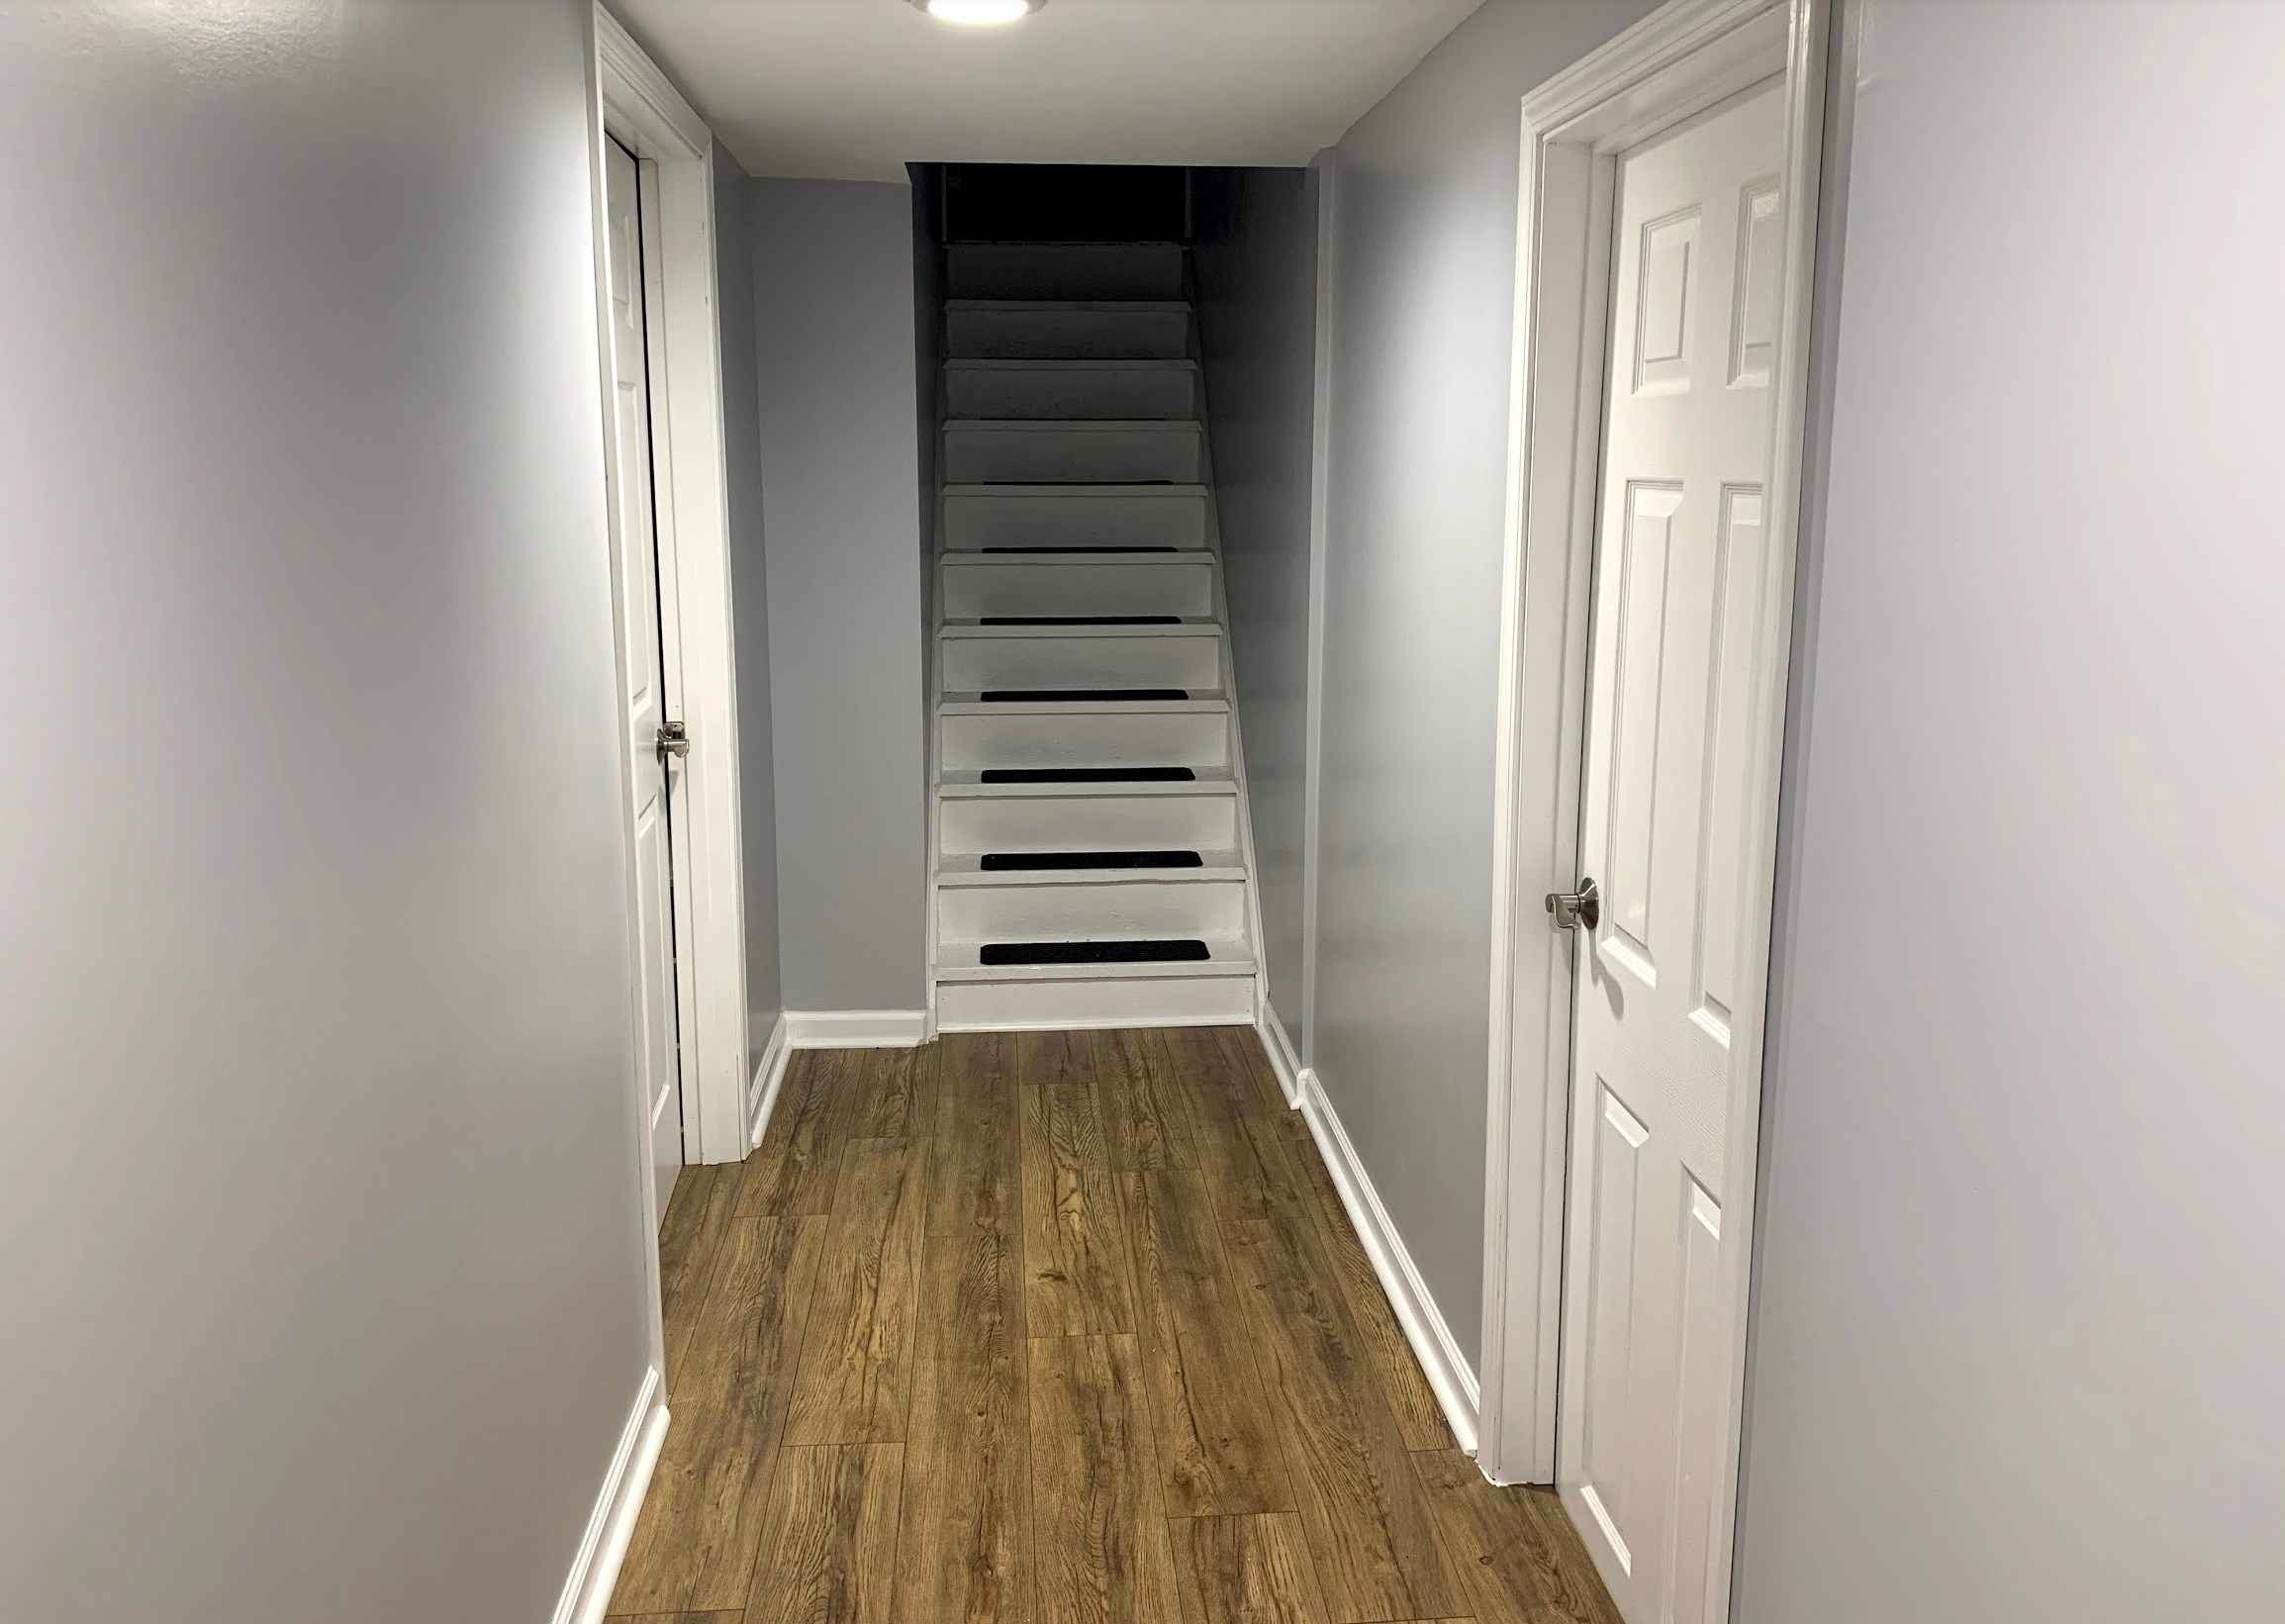
What did I learn doing this? A lot. For starters, how to break down the project into meaningful steps that I can accomplish was a vital step to keeping me motivated. I can’t “finish a basement” but I can, remove old lights and nail up new ones. The way I approached each day was to set a small objective and try to accomplish it and always leave the work area clean at night. It sounds simple and wasn’t some project-management breakthrough but when you are looking at a mountain, it’s easier to take steps than trying to summit in an entire day.
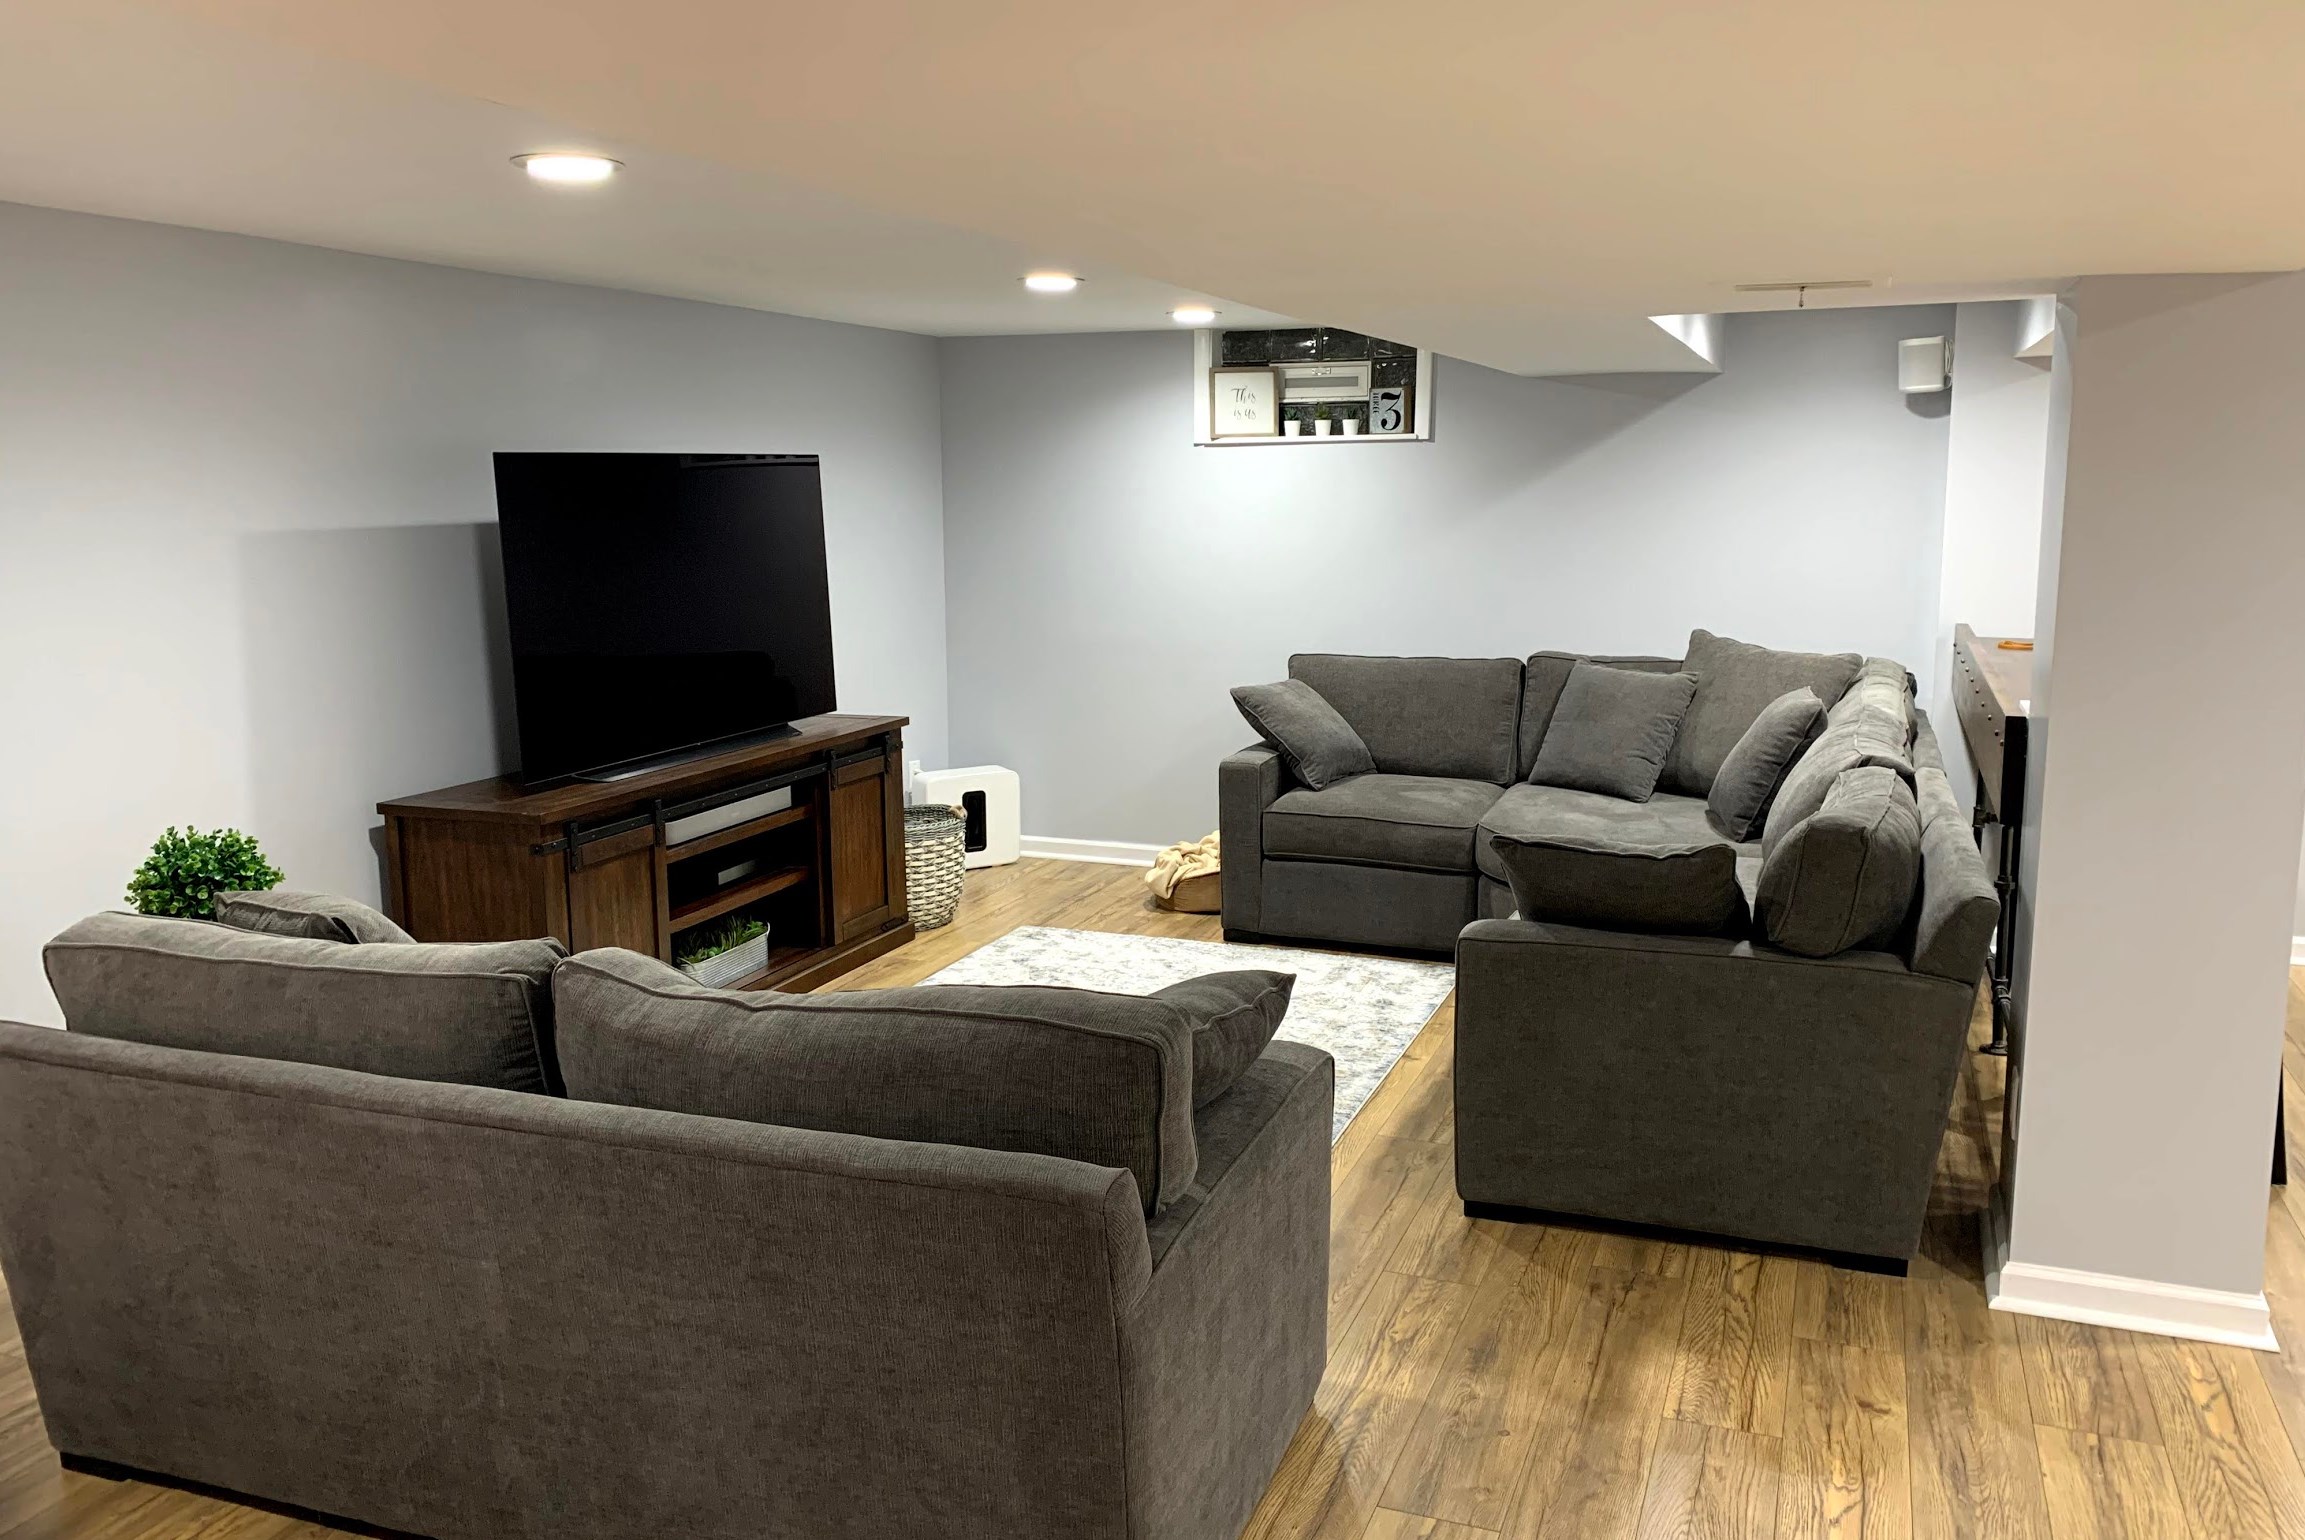
The other challenge was when I did have help was maximizing their time. Having someone come over to help but then having to run to Home Depot is inefficient. Much of my time was set to getting projects to the point where my Father-in-Law would come over and have him devote his time to only working, not planning (as much as possible) or running to the store, etc.
This means thinking several steps ahead about what supplies we will need when we will need them, and where to store them so that they were not blocked by other materials.

Most of the work was done in the evening hours or on long weekends. Saturdays and Sundays usually started at 9 AM and sometimes went until 11 PM depending on what I was trying to accomplish: this was a huge project and took about 3 months to complete. Having Christmas/Thanksgiving holidays also helped with a few days off of work to devote to the basement and was certainly one of the hardest projects I have undertaken.
The last thing to do to finish the basement will be to put cabinetry, another bar top, and a fridge in the location above on the back wall behind the bar. Because of COVID-19, we are waiting for this to pass and then will finish this part of the basement.
While I was the primary contractor for the job, this was certainly not possible without my wife and family members. Having help from my father-in-law to work on the basement would double what I could accomplish in a day but the other side too means that if I am working in the basement, our daughter still has schooling and a life to live which means that burden fell on my wife. So when thinking about doing a project of this size, it’s important to remember that not only is it time spent working on the project itself but it’s also time not spent doing other things too.
Overall, this remodel has worked out exceptionally well for us and we have already used the space a significant amount. No other major projects are on the horizon but one thing is certain, I am now significantly more confident in my abilities to fix basic household issues.

Gain unlimited access to Premium articles.
With technology shaping our everyday lives, how could we not dig deeper?
Thurrott Premium delivers an honest and thorough perspective about the technologies we use and rely on everyday. Discover deeper content as a Premium member.