The WinForms Notepad Project: Page Setup and Printing (Premium)
- Paul Thurrott
- Jan 18, 2020
-
5
After months of work on .NETpad’s printing functionality, I think I’ve finally arrived at a solution that works. By which I mean Charles Petzold figured it out using C# 18 years ago and I converted his code to Visual Basic, making only minor changes.
Which, honestly, is a small achievement in its own right. But rather than take any credit for this work, let me instead explain how you can add printing support that actually works to .NETpad.
I first added basic but mostly broken printing support to the app in The WinForms Notepad Project: New Window, Printing Basics (Premium) over a month ago, assuming I could improve it over time and make it right. But that proved difficult, in part because the way that Windows Forms handles printing is so crazy and incomplete. And in part because I simply wasn’t up to the challenge.
In that part of this series, I had you add three components to the project, a PrintDocument, a PageSetupDialog, and a PrintDialog. We will still need those. But all of the code we previously added the project needs to go. That includes the following two lines of code in the Form1_Load event handler:
PageSetupDialog1.PageSettings = New Printing.PageSettings
PageSetupDialog1.PrinterSettings = New Printing.PrinterSettings
And it includes the following event handlers and methods. Just delete all of them from Form1.vb.
PageSetupToolStripMenuItem_Click
PrintToolStripMenuItem_Click
PrintDocument1_PrintPage
Now, let’s move forward.
First, open Form1.vb and scroll to the top if necessary, to the area directly inside the top of the Form1 declaration where the various properties (which, stupidly, I still think of as global variables) are. You’re going to add four more properties related to printing:
Public Property PrintText As String
Public Property StartPage As Integer
Public Property NumPages As Integer
Public Property PageNumber As Integer
Now, open Form1.vb [Design] and select PageSetupDialog in the list of components below the form. In the Properties pane, change its Document property to PrintDocument1. Then, select PrintDialog1 in the list of components below the form. And in the Properties pane, change its Document property to PrintDocument1 as well.
This was a simple change I had figured out myself: We were previously writing code to ensure that changes made by the user in the PageSetupDialog made their way to the PrintDocument and then to the printed page (via the PrintDialog). But by linking them in this way, there’s no need to write or maintain that code.
I had also figured out that we didn’t need to manually create an event handler for the PrintDocument’s PrintPage event (which I had called PrintPageHandler). It’s not easy to find, but Visual Basic will create an empty event handler for us. To do this, open Form1.vb and, open the second (middle) drop-down above the code editor, and then locate and select PrintDocument1.
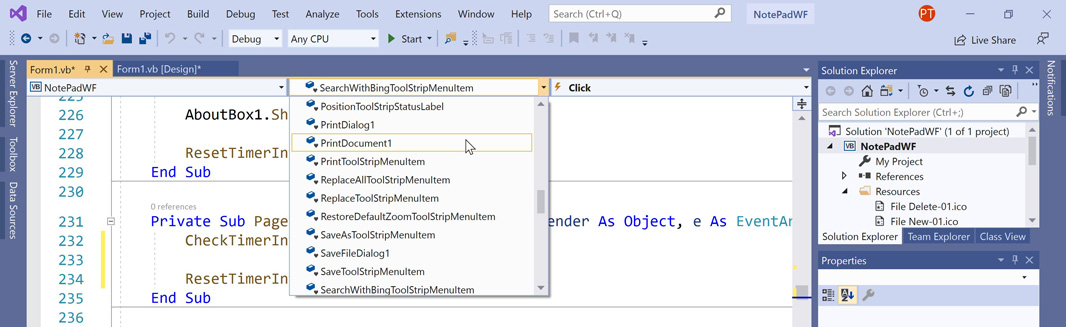
Then, in the third (rightmost) drop-down, locate and select PrintPage. This will create a new, empty event handler called PrintDocument1_PrintPage.

We’ll add code to that in a moment. But first, open Form1.vb [Design] and double-click on File > Page Setup in the form to (re)create a new, empty event handler called PageSetupToolStripMenuItem_Click. Then, do the same for File > Print (re)create a new, empty event handler called PrintToolStripMenuItem_Click.
Because both of these event handlers will display a dialog box (Page Setup and Print, respectively), both will need that matching pair of CheckTimerInterval() and ResetTimerInterval() calls to ensure that an Auto Save dialog doesn’t appear while the user is interacting with them. So they should look like so:
![]()
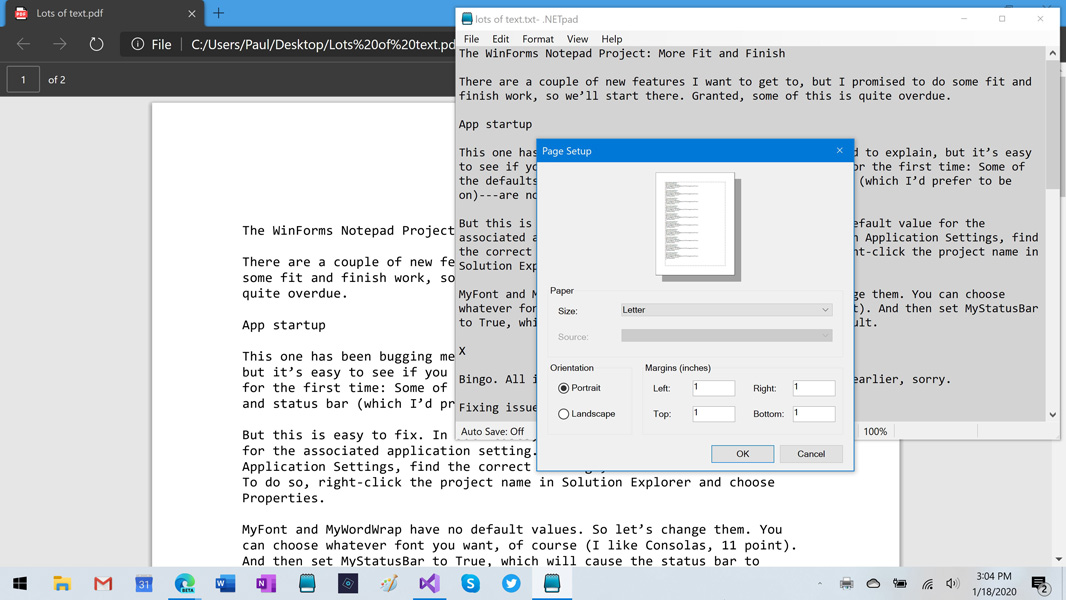
PageSetupToolStripMenuItem_Click is the easiest of these to complete because all it has to do is display the Page Setup dialog. Any changes made here by the user will automatically be made to PrintDocument1.Document and will thus be made to PrintDialog1.Document too, ensuring that these changes are made to the printed page. So the entire PageSetupDialog1.ShowDialog() event handler should now look like this:
CheckTimerInterval()
PageSetupDialog1.ShowDialog()
ResetTimerInterval()
Before writing the code for PrintToolStripMenuItem_Click and PrintDocument1_PrintPage, we need to create a helper function that’s used by the latter as part of the crazy calculations you need to do when you’re printing, especially across multiple pages, in Windows Forms. So add the following new function at the bottom of Form1.vb, right above End Class.
Private Function CharsInLines(PrintText As String, NumLines As Integer) As Integer
        Dim Index As Integer = 0
        Dim X As Integer = 0

        While X < NumLines
            Index = 1 + PrintText.IndexOf(vbLf, Index)
            If Index = 0 Then
                Return PrintText.Length
            End If
        End While
    Return Index
End Function
With that out of the way, let’s tackle PrintToolStripMenuItem_Click. This is a lot longer than the code I had been using because Petzold accounts for the different possible print range choices that the user might make. So enter the following code between CheckTimerInterval() and ResetTimerInterval():
PrintDialog1.AllowSelection = TextBox1.SelectionLength > 0

If PrintDialog1.ShowDialog() = vbOK Then
    PrintDocument1.DocumentName = TextBox1.Text

    Select Case PrintDialog1.PrinterSettings.PrintRange
        Case Printing.PrintRange.AllPages
            PrintText = TextBox1.Text
            StartPage = 1
            NumPages = PrintDialog1.PrinterSettings.MaximumPage
        Case Printing.PrintRange.Selection
            PrintText = TextBox1.SelectedText
            StartPage = 1
            NumPages = PrintDialog1.PrinterSettings.MaximumPage
        Case Printing.PrintRange.SomePages
            PrintText = TextBox1.Text
            StartPage = PrintDialog1.PrinterSettings.FromPage
            NumPages = PrintDialog1.PrinterSettings.ToPage - StartPage + 1
    End Select

    PageNumber = 1
    PrintDocument1.Print()
End If
So that’s easy enough to understand. But the real mess, and complexity, comes in PrintDocument1_PrintPage. Here it is, complete with Petzold’s comments (and a bit of code that I’ll leave in, just in case we want to add Print Preview, a feature the real Notepad lacks).
Dim Grfx As Graphics = e.Graphics
Dim Font As Font = TextBox1.Font
Dim CyFont As Double = Font.GetHeight(Grfx)
Dim StrFmt As StringFormat = New StringFormat()
Dim RectfFull, RectfText As RectangleF
Dim Chars, Lines As Integer

' Calculate RectangleF for header and footer
If Grfx.VisibleClipBounds.X < 0 Then
    RectfFull = RectangleF.op_Implicit(e.MarginBounds)
Else

    RectfFull = New RectangleF(
                              e.MarginBounds.Left - (e.PageBounds.Width -
                              Grfx.VisibleClipBounds.Width) / 2,
                              e.MarginBounds.Top - (e.PageBounds.Height -
                              Grfx.VisibleClipBounds.Height) / 2,
                              e.MarginBounds.Width, e.MarginBounds.Height)
End If

' Calculate RectangleF for text
RectfText = RectangleF.Inflate(RectfFull, 0, -2 * CyFont)

Dim DisplayLines As Integer = CInt(Math.Floor(RectfText.Height / CyFont))
RectfText.Height = DisplayLines * CyFont

' Set up StringFormat object for rectanglar display of text
If TextBox1.WordWrap Then
    StrFmt.Trimming = StringTrimming.Word
Else
    StrFmt.Trimming = StringTrimming.EllipsisCharacter
    StrFmt.FormatFlags = StrFmt.FormatFlags Or StringFormatFlags.NoWrap
End If

' For "some pages" get to the first page
While PageNumber < StartPage AndAlso PrintText.Length > 0
    If TextBox1.WordWrap Then
        Grfx.MeasureString(PrintText, Font, RectfText.Size, StrFmt, Chars, Lines)
    Else
        Chars = CharsInLines(PrintText, DisplayLines)
    End If

    PrintText = PrintText.Substring(Chars)
    PageNumber += 1
End While

' If we've prematurely run out of text, cancel the print job
If PrintText.Length = 0 Then
    e.Cancel = True
    Return
End If

' Display text for this page
Grfx.DrawString(PrintText, Font, Brushes.Black, RectfText, StrFmt)

' Get text for next page
If TextBox1.WordWrap Then
    Grfx.MeasureString(PrintText, Font, RectfText.Size, StrFmt, Chars, Lines)
Else
    Chars = CharsInLines(PrintText, DisplayLines)
End If

PrintText = PrintText.Substring(Chars)

' Reset StringFormat display header and footer
StrFmt = New StringFormat()

' Decide whether to print another page
PageNumber += 1
e.HasMorePages = (PrintText.Length > 0) AndAlso (PageNumber < StartPage + NumPages)

' Reinitialize variables for printing from preview form
If Not e.HasMorePages Then
    PrintText = TextBox1.Text
    StartPage = 1
    NumPages = PrintDialog1.PrinterSettings.MaximumPage
    PageNumber = 1
End If
And yeah. Wow.
Be sure to test this thoroughly. That should include documents both big (with multiple pages) and small. With Word Wrap on and off. With various Page Setup settings—paper size, landscape/portrait mode, and margins—customized. I believe it works. But … it is a lot of complex code. So there could be some issues.
Woo-hoo.

Gain unlimited access to Premium articles.
With technology shaping our everyday lives, how could we not dig deeper?
Thurrott Premium delivers an honest and thorough perspective about the technologies we use and rely on everyday. Discover deeper content as a Premium member.