The WinForms Notepad Project (2022): It’s (A)live! (Premium)
- Paul Thurrott
- Jan 25, 2022
-
7
Well, this is rather scary: my C#/WinForms/.NET Framework 4.x version of .NETpad is now available on GitHub. That means that you can—or anyone—can pull it from GitHub into Visual Studio and create a local copy of the application that can be installed and used (and uninstalled) normally. You can also follow along as I modernize this version of .NETpad in the coming weeks. Or you can fork .NETpad, make your own modifications, and create your own unique version of the app.
For those unfamiliar with all or most of what I wrote above, no worries. Here’s how you can get started.
Download and install Visual Studio Community 2022
You do so by navigating to the Visual Studio website, choosing Download Visual Studio, and then Community 2022. Visual Studio will eventually require you to sign in with your Microsoft account, and when prompted to choose from the available Visual Studio workloads, choose “.NET desktop development” under “Desktop & Mobile.”
Clone my .NETpad repository from GitHub
When Visual Studio first runs, you can choose from an existing project or a set of options under “Get started.” Choose “Clone a repository.”

Here, you will paste the following URL into the Repository location field:
https://github.com/thurrott/NotepadWF-CS.git
(You can also find this URL by navigating to my project in GitHub using your web browser. Choose Code > Clone > Copy.)
Then, click the Clone button.
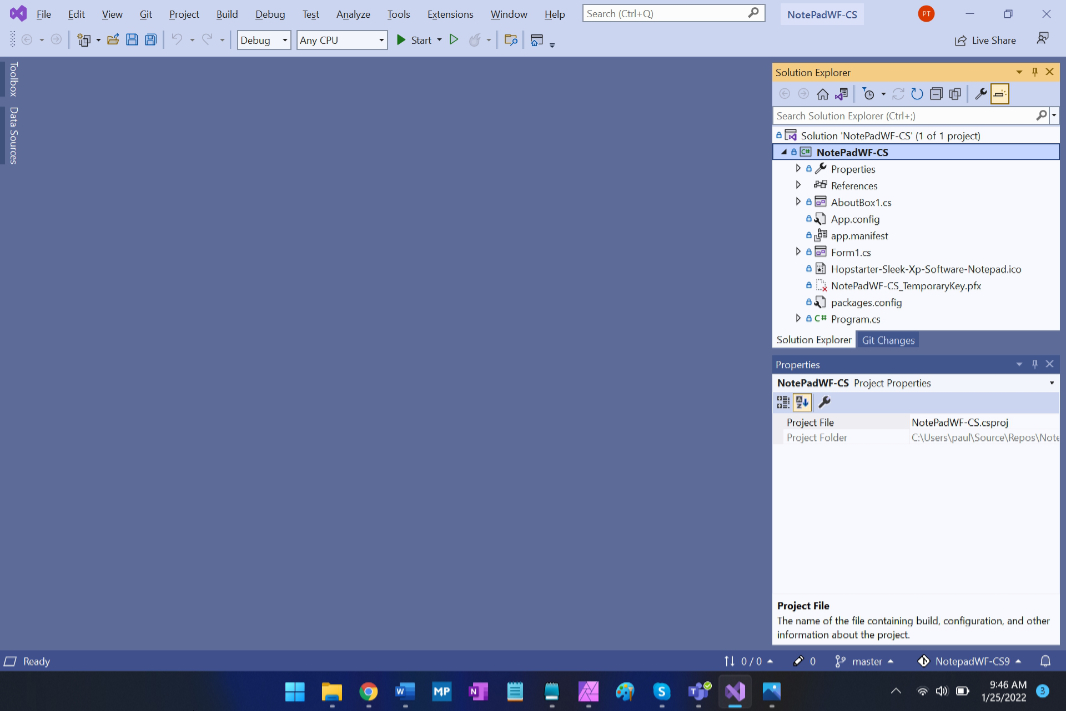
Visual Studio will do its thing, meaning it will clone the repository and create a local copy of the .NETpad project folder on your PC. (You can find this in File Explorer by navigating to C:\Users\your-user-name\source\repos\NotepadWF-CS by default, unless you changed the location for Visual Studio projects and/or the name of the project.)

Visual Studio doesn’t open this project in a way that makes sense to me, and maybe someone out there has a better way to do this. But here’s what I do now:
- Double-click NotePadWF-CS.sln in the Solution Explorer pane. This displays the project in a more standard way, and you can expand NotePadWF-CS now in the Solution Explorer to see all the files in the project.
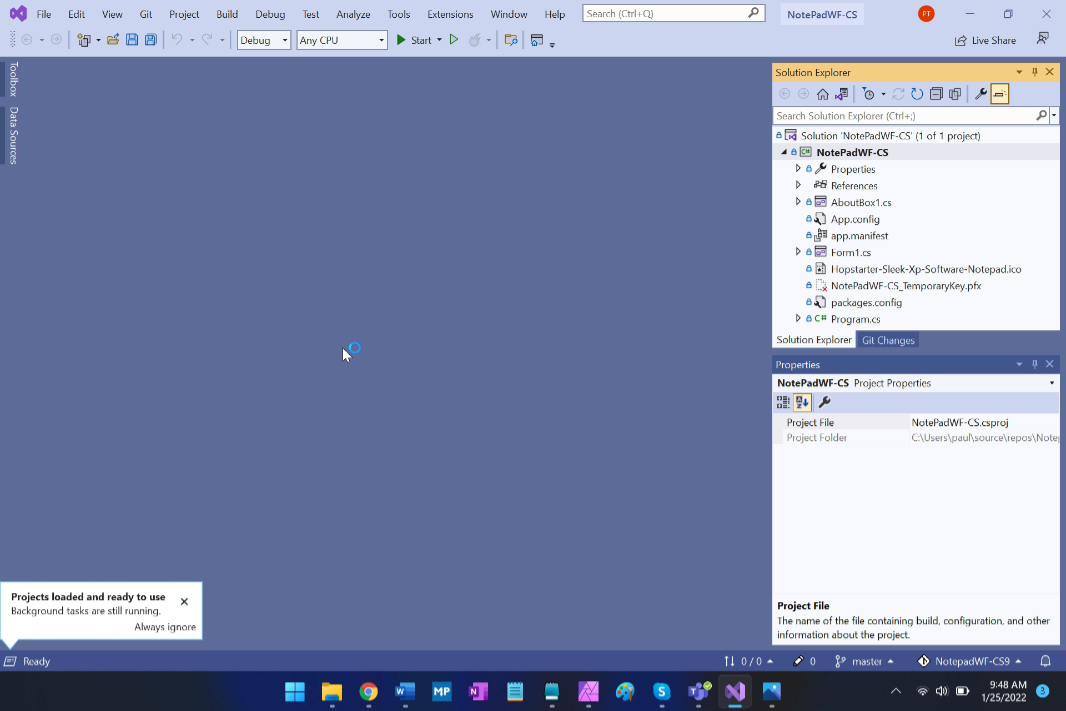
- Select File > Close Solution. Visual Studio will close and redisplay that initial window where you can choose from recent projects or the Get started list. You will see a folder named NotepadWF-CS in the Open recent list, but you don’t want that. Instead, select “Open a project or solution” under “Get started.”
- An Open Project/Solution dialog will appear. Navigate to the project’s location in the file system (again, C:\Users\your-user-name\source\repos\NotepadWF-CS by default) and open NotePadWF-CS.sln. Visual Studio will open and display the project normally.
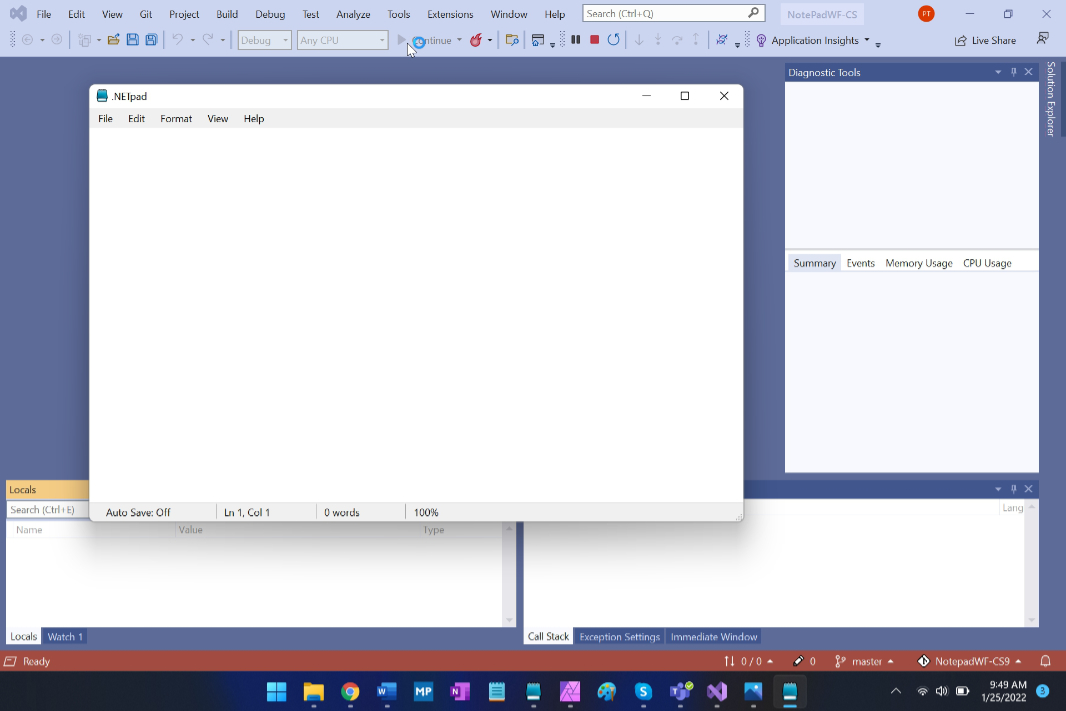
Build and run .NETpad
To build the project and run the application, select the Start button (with the green arrow) in the Visual Studio toolbar. Unless I’ve completely screwed this up, .NETpad should run normally.
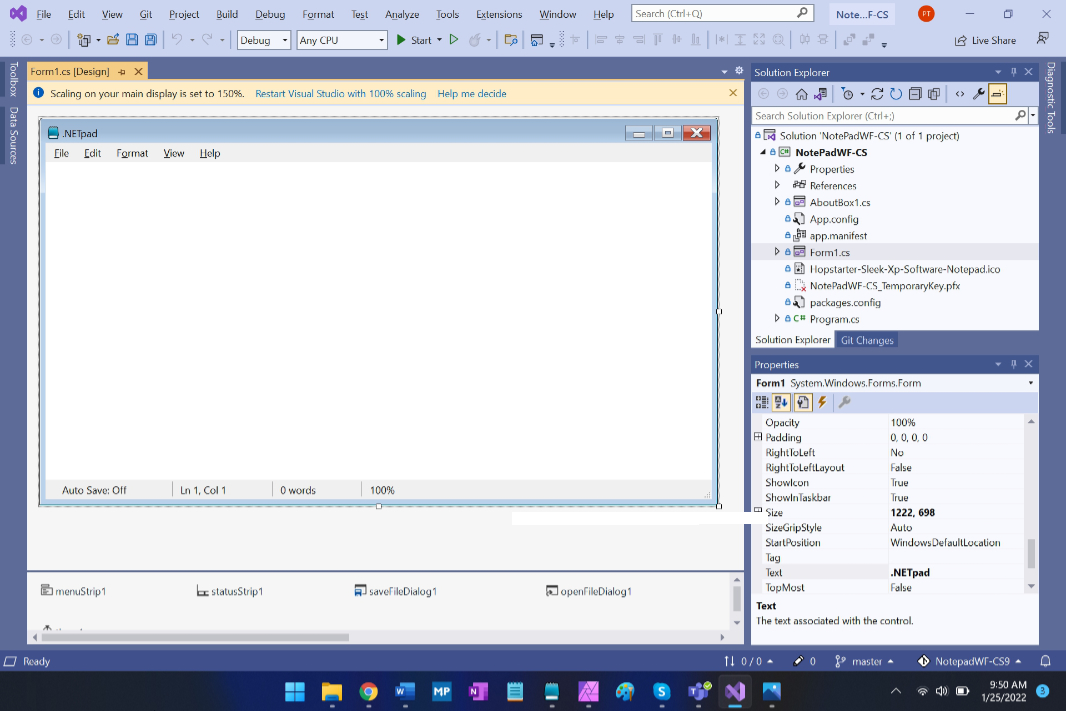
From here, you can close the app and examine the source code and the designer—the important files can be seen by opening Form1.cs in the Solution Explorer. (You can ignore/close that yellow warning about scaling.)
Some optional steps…
Publish .NETpad
If you want to install and use .NETpad normally, you need to publish it first. You do so in Visual Studio by navigating to Build > Publish NotepadWF-CS. The Publish Wizard will appear.

Select the Next button three times in succession to work your way through the wizard and accept the defaults. Then, click Finish. Visual Studio will create an installer folder under the project’s folder in \publish and display it in File Explorer.
You can copy/move or ZIP this folder as needed before installing it.
Install .NETpad
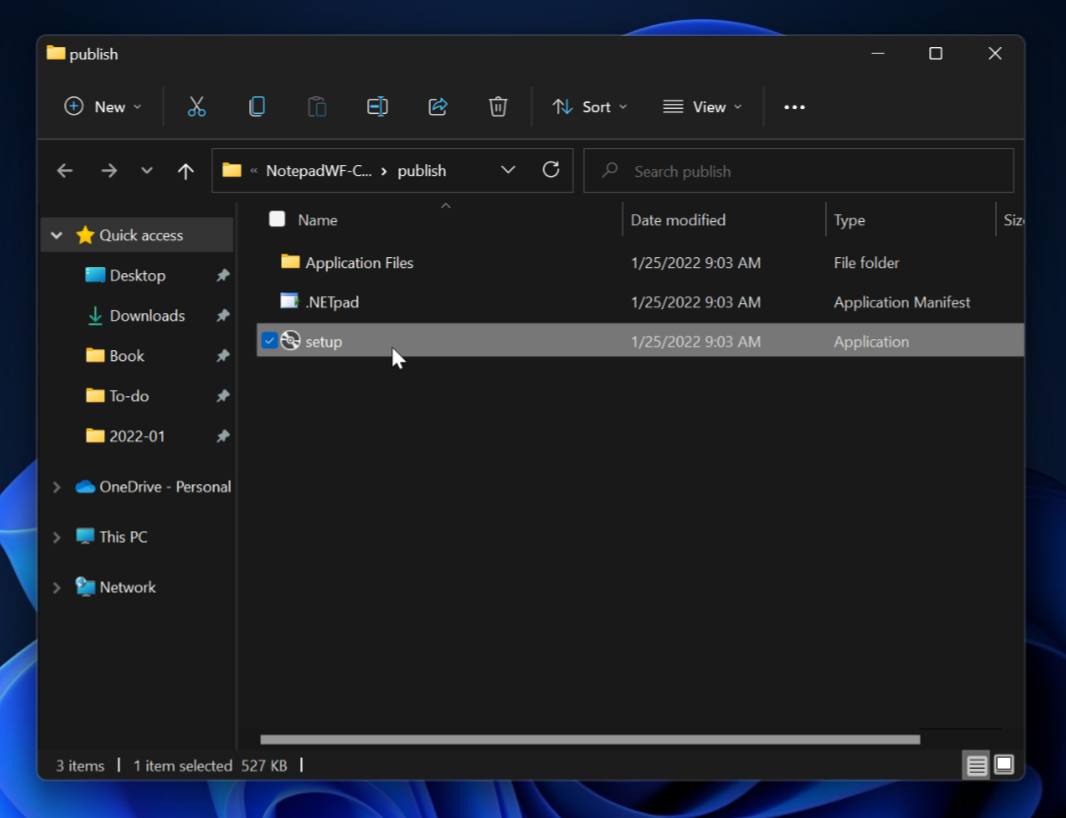
To install .NETpad, run the Setup application in the publish folder.
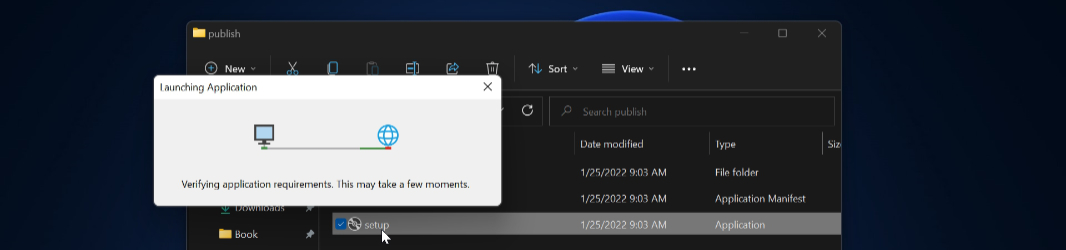
The installer window will appear.
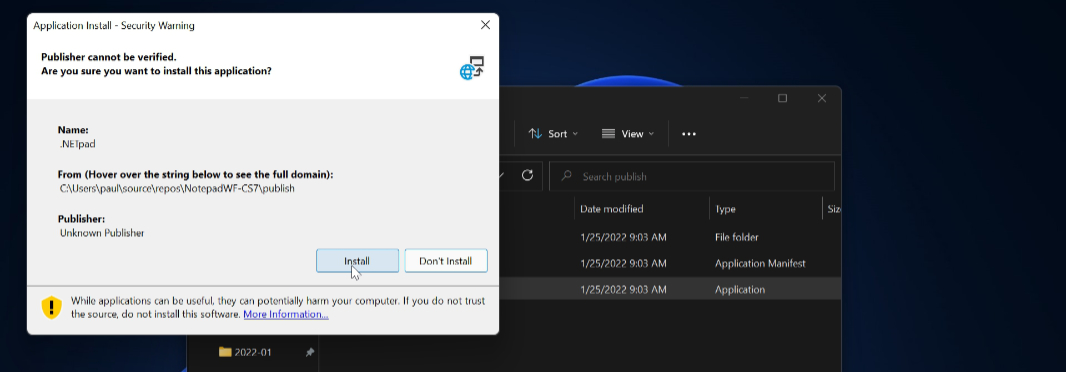
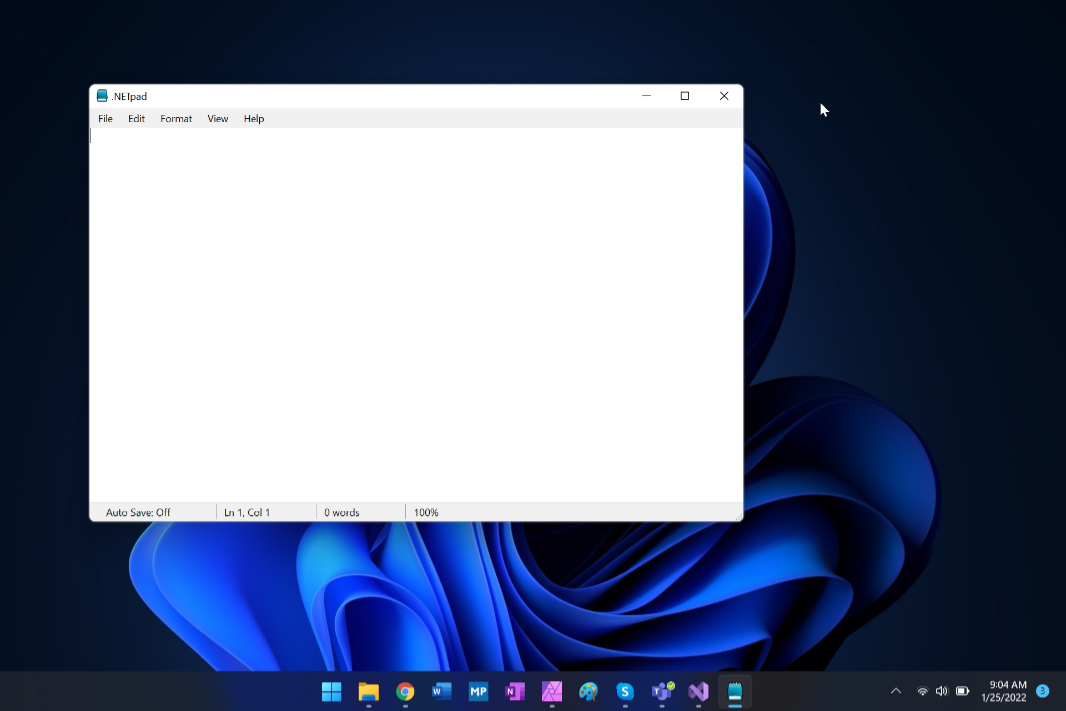
Click Install to install .NETpad. The application will install and launch.
And you will see that it is installed in the Start menu as well.
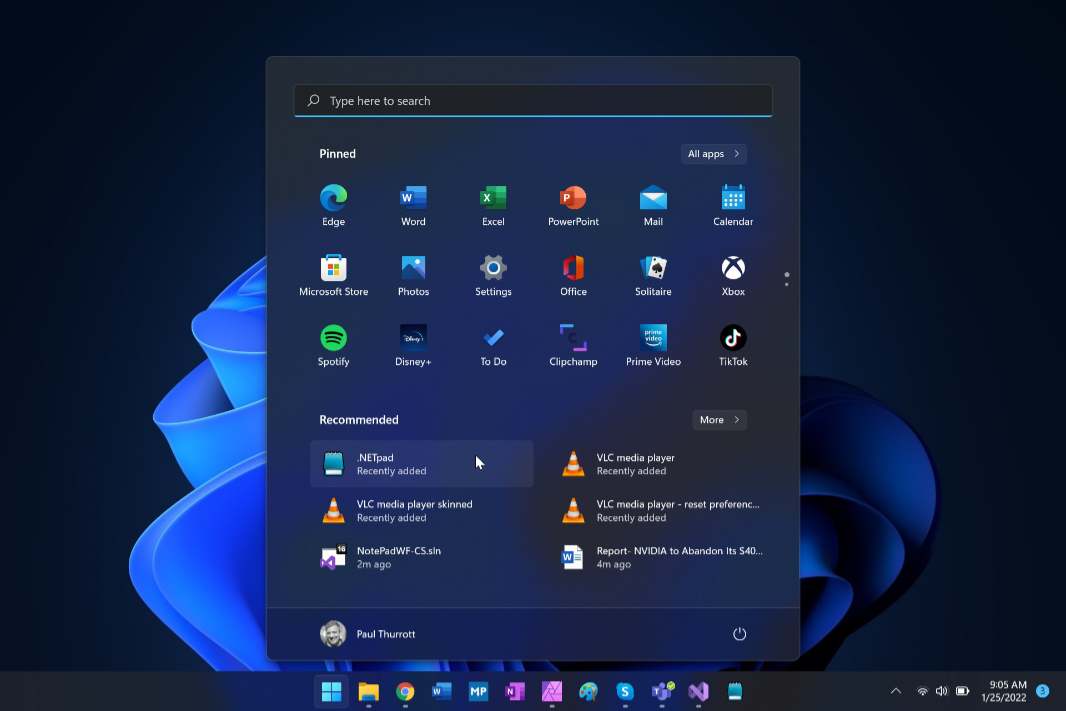
From here, you can pin .NETpad the taskbar or Start and use it normally. If you make app configuration changes, like choosing a theme, they should stick, meaning that they will be retained when you close and then re-run the application.

Uninstall .NETpad
To uninstall .NETpad, just right-click it in the Start menu and choose “Uninstall.” Or, open Control Panel (Start search > “control panel”) and navigate to Programs > Uninstall a program. The Programs and Features control panel will appear and .NETpad should be right at the top.
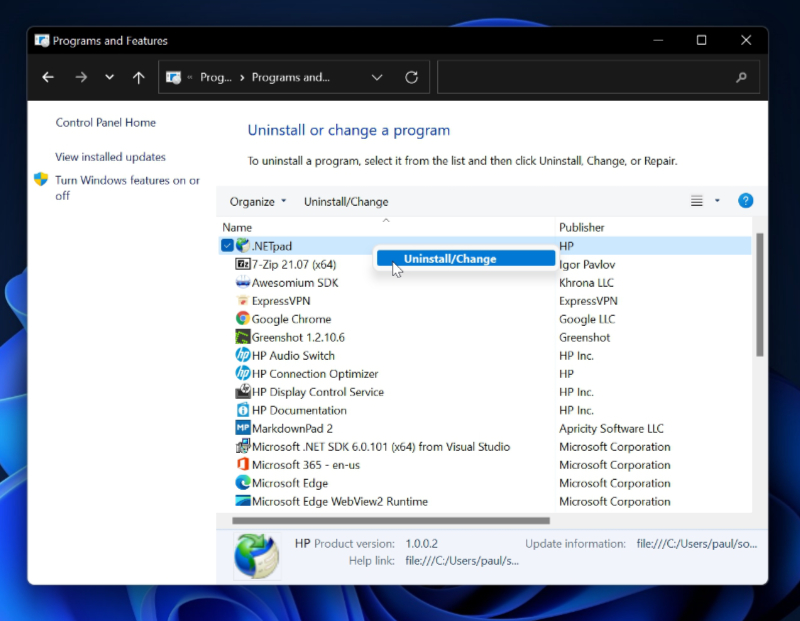
Right-click .NETpad and choose “Uninstall/Change.” The option “Remove the application from this computer” will be selected in the .NETpad Maintenance dialog that appears. Just click OK to do the unthinkable.
Next steps
In February, I will begin modernizing this version of .NETpad and fixing some of its many bugs. I have some ideas about that, of course, but I’m curious what you’d like to see. Remember that Windows Forms is 20 years old, and so some very modern features—like WinUI 3 support or whatever—are not possible. But in the future, I’ll be looking at modernizing other versions of .NETpad that use more modern frameworks. This is just the first step.
Thanks for joining me on this adventure. I’m not a professional developer and opening up this project like this is a bit scary. So please bear with me.

Gain unlimited access to Premium articles.
With technology shaping our everyday lives, how could we not dig deeper?
Thurrott Premium delivers an honest and thorough perspective about the technologies we use and rely on everyday. Discover deeper content as a Premium member.