A Recovery Sequel (Premium)
- Paul Thurrott
- Apr 28, 2025
-
10
When I first got my Surface Laptop 7, I wasn’t concerned about compatibility or performance, and I certainly wasn’t worried about the security or privacy implications of Recall. But I was concerned about system recovery, the one part of the Windows 11 on Arm experience that was, at that time, still a bit dicey.
As you may know, Microsoft didn’t offer an ISO download for Windows 11 on Arm, and so my options were limited. Fortunately, Microsoft does offer recovery image downloads for Surface, so I went through that rigmarole to make sure I had an out if everything went south. You have to type in your device serial number, which you can get most easily in the bundled Surface app, and then after the 3.1 GB download (for this model anyway), you have to manually create USB-based recovery media. That involves using the Recovery Drive utility built in to Windows, unzipping the recovery image download, which takes forever, and then copying the contents onto the USB-based recovery disk. Which also takes forever.
This process is also error-prone, apparently. Thanks to my fastidiousness, I didn’t assume that the resulting disk would just work: Instead, I unsuccessfully rebooted my Surface Laptop using my newly created recovery disk twice before I made a version that actually worked. Once that ordeal was over, I put the disk aside and then didn’t think about it again. Until I needed it for the process I described in A Recovery Story (Premium).
The good news? It worked.
Well, mostly. In the bad news department, recovery took a long time, and though I had previously upgraded this PC from Windows 11 Home to Pro, the recovery process of course put it back to Home edition. Worse, it didn’t work fully: Though I was able to get the system back up, as I was reinstalling my apps, it occurred to me that I should test the on-disk Windows Recovery Environment (WRE) that had failed previously. And when I did that, it failed again, with the same blue screen. As I wrote at the time, this felt to me like a ticking time bomb. But I worked on the laptop that day and over the weekend, trying–unsuccessfully–not to think about it.
But I’ve been thinking about it. A lot.
❓Why did this happen?
It’s impossible not to wonder what screwed up the WRE on my Surface Laptop, but I think I found the culprit. I had enrolled the PC in the Windows Insider Program’s Dev channel back in November when Microsoft finally and belatedly began testing Recall (and Click to Do) there on Snapdragon X-based PCs like this one. Between then and now, I had reset the PC at least twice, I lost track. But in January, one of the builds that Microsoft issued to the Dev channel delivered an unwanted payload.
“A 0xc0e90001 error will occur when booting into Windows Recovery (WinRE) on Arm64 PCs,” Microsoft wrote at the time. “This will be fixed in the next Dev Channel flight. For recovery options on your PC, visit Settings > System > Recovery.”
Whether that was fixed or not is unclear–apparently so, according to Microsoft–but it’s odd that this error, which I don’t believe I’d ever seen, was the same one that Microsoft caused back in January. I feel like it was never fixed on my PC. But that’s just a theory.
? Would the laptop boot directly to USB?
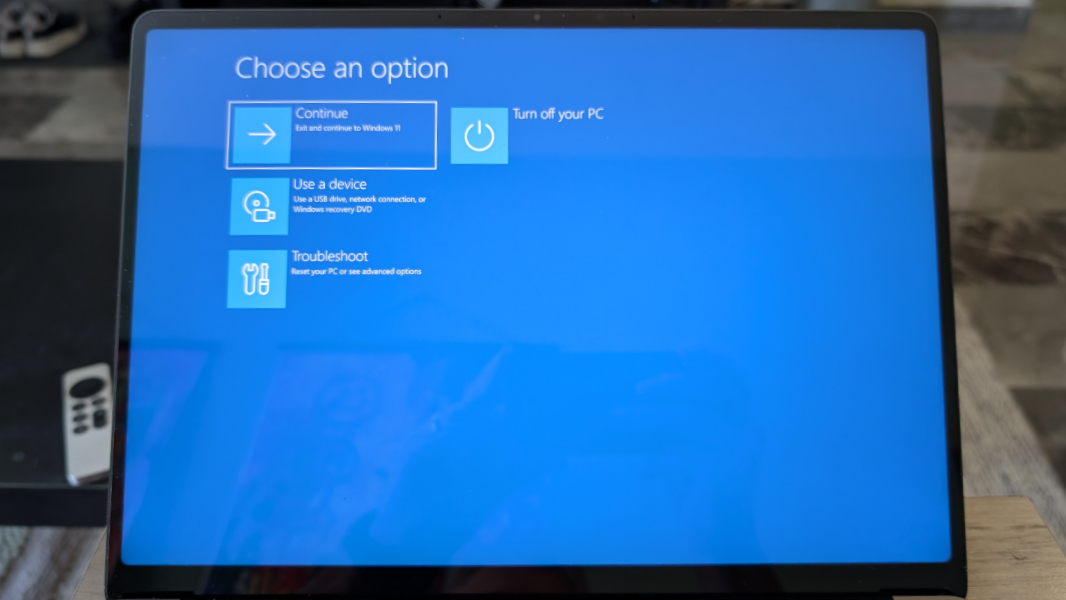
When I want to boot from a USB disk on a Windows 11 PC, I typically reboot into the WRE and take it from there. But every PC has a way to interrupt a cold boot so you can do things like access the firmware or boot from a different device. The problem is that this process is different on every PC. (This is why I use the WRE when possible.)
I had to Google this for Surface, as it had been a while. But it’s simple enough: After shutting down the PC, you hold down the Volume Down key/button and tap the Power button. The white Windows logo appear onscreen and you release the Volume Down button when the progress circle appears below the logo.
If you think back to why I ran into this issue in the first place, I was trying to boot the system with an Ubuntu 25.05 installer disk (for Arm64), and when I used my usual method for doing that, it displayed a blue screen instead of the normal WRE, which has a Boot from USB option. So I tried doing this again but from a cold start, as noted above. It didn’t work: After a bit of churning and bubbling, but no blue screen, it just booted to the Windows lock screen normally.
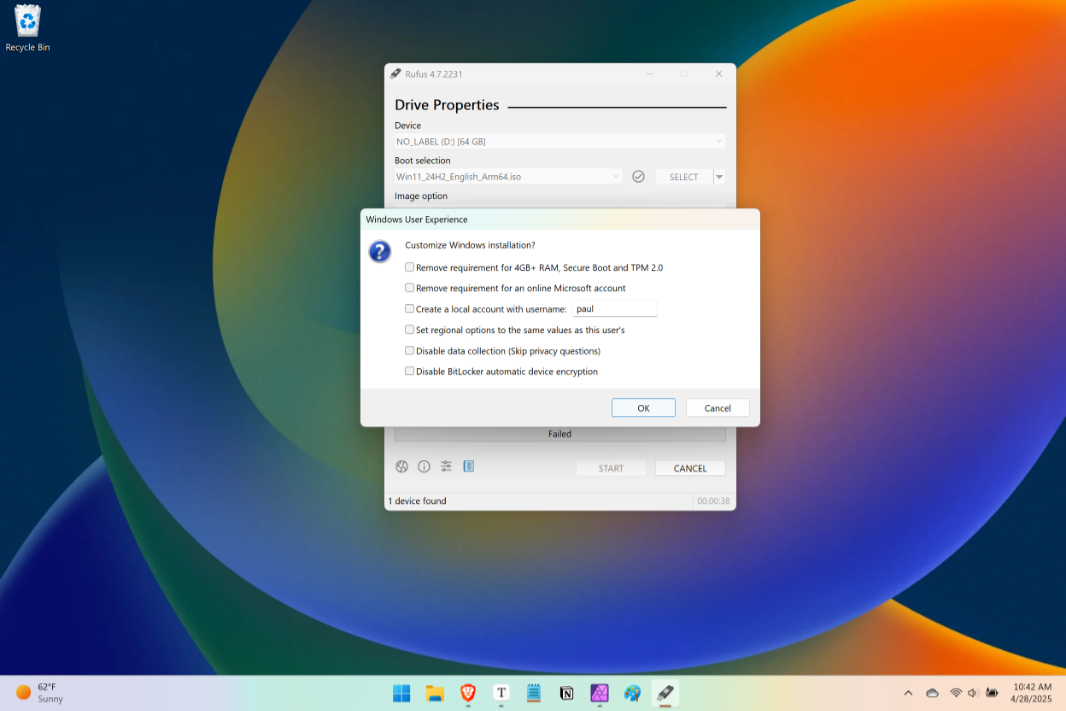
That meant that my install disk was likely the culprit. I had used Rufus to make it, and I had tried two different methods based on Rufus’s onscreen prompts. But neither seemed to work. So I tried my Surface recovery media to make sure I could at least boot a known-good USB drive. And when that worked normally–again, with no blue screens–I decided to make the Ubuntu install disk with a different utility. And since Ubuntu actually recommends balenaEtcher, I used that.
This app is only available in x64 in Windows–there is an Arm version for Mac–but it seemed to work OK. That said, I still couldn’t get the PC to boot with the Ubuntu installer. So that one remains a mystery. And a problem for another day. I had bigger issues to deal with.
? Could I … fix this?
In my original post about this topic, I glossed over some of the steps I had take to try and resolve my broken WRE without reinstalling the OS. As such, someone recommended that I try the steps noted in Add an update package to Windows RE on the Microsoft Learn website. That was among those steps I had taken previously, but I couldn’t get it to work. But now that I was back up and running, and on the stable version of Windows 11, I was curious if perhaps those steps would work. Unfortunately, they did not. I saw the same errors I had gotten originally.
So I have this working version of Windows 11 on Surface Laptop 7. It seems fine for the most part, but if I try to reboot into the built-in WRE, I get that blue screen error, just as I did before I had recovered the system. My guess–because I have to guess–is that the Surface recovery media didn’t touch the on-disk recovery partition. And because that recovery partition was screwed up to begin with, it’s still screwed up now.
But what if I could pave this thing over completely? When you boot a PC with Windows installation media, you get the full Windows Setup experience, including the first run experience in which you’re given disk partitioning options. That would let me wipe out the entire thing before installing Windows.
To do that, I would need the Windows 11 on Arm version of the Windows installation media.
You may recall that Microsoft finally did release an ISO download for Windows 11 on Arm. Before then, I had used a site called UUP dump to create my own Windows 11 on Arm ISOs, and while that wasn’t ideal, it at least worked. Indeed, I had used such a thing to recover an older Snapdragon-based laptop that I had stupidly put in the Insider Program and wanted to get back to stable.
The official ISO isn’t without its problems: It doesn’t include the dozens of small language models (SMLs) that Microsoft bundles with Copilot+ PCs like Surface Laptop 7, for starters, so those would need to download manually as required. (And they do install that way, when needed, not automatically in the background.) More problematically, the official ISO also doesn’t include device-specific drivers. This means you have to turn to your PC maker to get those drivers. But here, too, Microsoft does offer device-specific downloads.
I did a lot of downloading during all this, and I was also getting other work done. In short, I redownloaded the Surface recovery image, which is almost 14 GB, thinking I might check to see whether it was newer than the version I previously created at some point. I downloaded the Windows 11 on Arm ISO (5.1 GB). And I downloaded the Surface drivers and firmware (500 MB). Not to mention balenaEtcher and the Ubuntu 25.04 Arm64 (3.7 GB) ISO.
I used Rufus, which I had previously downloaded and installed, to create the Windows 11 on Arm installation media, and I went with a normal install with no bypasses.
When that was done, I copied the Surface driver/firmware installer file to the disk too, since I’d need those immediately after setting up the OS. And then I checked to see whether I could boot the PC with this disk. And then I … I … Huh.
Then, I had an idea.
? Epiphany is a strong word
I was literally prepping to wipe out Surface Laptop for the second time in three days. I was going to boot it using the Windows 11 on Arm installation disk I had created, and then I was going to run the Surface driver and firmware installer to get all the drivers properly installed. And as I was copying over those files, I thought, hold on a second. What is this thing? What is the driver and firmware installer, exactly?
If you look at the Microsoft Support website, you can see the page for this download is called Download drivers and firmware for Surface. And the description explains that you can use this download to manually install Surface driver and firmware updates. You just run the executable, which is an MSI file instead of an EXE. That is, it’s not a ZIP file you extract. It’s an installer.
What if I ran this installer and it updated the firmware? And what if, in doing so, it repaired the recovery partition?
What if this simple download fixed this problem?
It wouldn’t hurt to try. So as the files were still copying over to the USB disk, I ran the installer. Which comes up as Surface Laptop 7 Update 25.023.359490 (64-bit) Setup. There’s nothing to do, it just installs … whatever files. And then it prompts you to reboot. Which I did.
And then I immediately tried rebooting into the WRE, which to date has only resulted in a blue screen. But this time, the Windows logo appeared on reboot, the spinning progress circle appeared, and–voila!–the WRE popped onscreen normally. It just works now.
I tested this three times. I honestly didn’t it would be that simple. Or that fast, if you ignore the hours of work I put into this. Which I cannot. But still.
I do think the bare metal install would have fixed this. And if this wasn’t a Surface PC, that’s what I would recommend if you ever run into this kind of problem. But I’m glad I didn’t have to prove that to myself, though I probably spent more time prepping this thing for the surgery that never came than I would have spent going through that process.
? There is one more thing
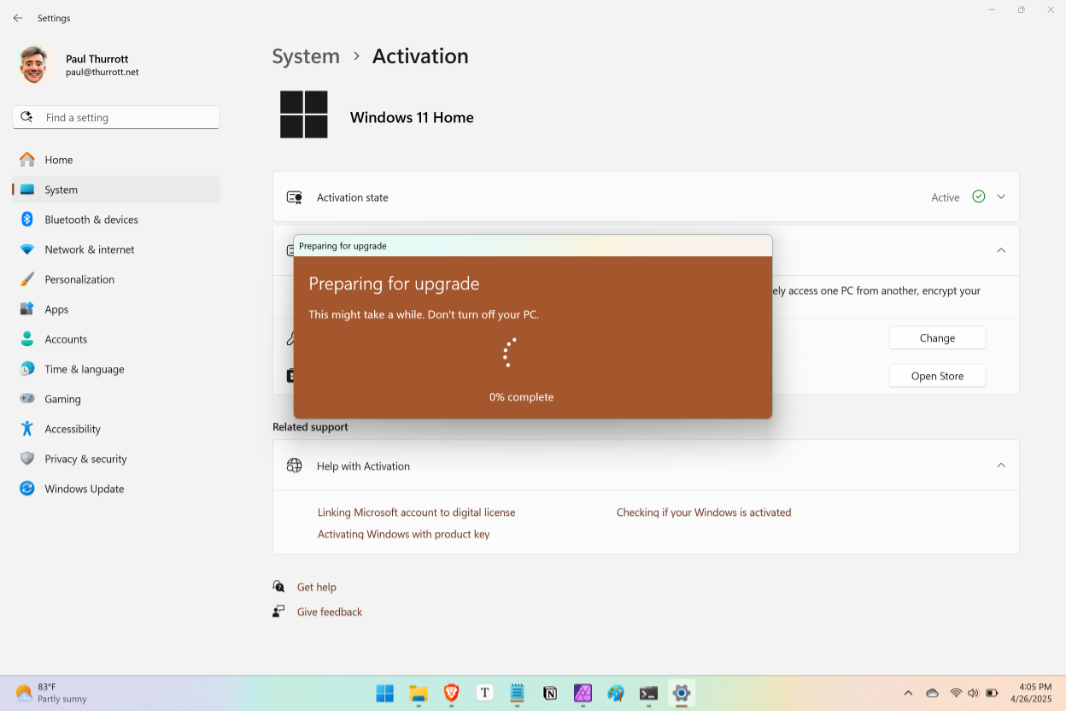
I noted above that using the Surface recovery media returned this PC to Windows 11 Home, which makes sense. But I had upgraded it to Pro, so I wanted to re-enable that. To do so originally, I had used one of those totally legal product keys that some people have illogical issues with, and so I simply found the product key, searched Settings for activate, and used Activation settings to change the product key. It worked flawlessly, and I was back at Windows 11 Pro after a reboot. So that was $10 well spent.
OK, I guess there are two more things: I still need to figure out Ubuntu on Surface Laptop 7. But as noted, that’s now a problem for another day. For now, I think I’ll just get some work done. And I’m definitely not going to reboot into the WRE a few more times this week to just make sure it’s all working fine.
Definitely.

Gain unlimited access to Premium articles.
With technology shaping our everyday lives, how could we not dig deeper?
Thurrott Premium delivers an honest and thorough perspective about the technologies we use and rely on everyday. Discover deeper content as a Premium member.