The WinForms Notepad Project: More Fit and Finish (Premium)
- Paul Thurrott
- Jan 24, 2020
-
6
Here are a few minor changes and fixes to .NETpad related to the status bar, word wrap, and app publishing.
Cleaning up the status bar (again)
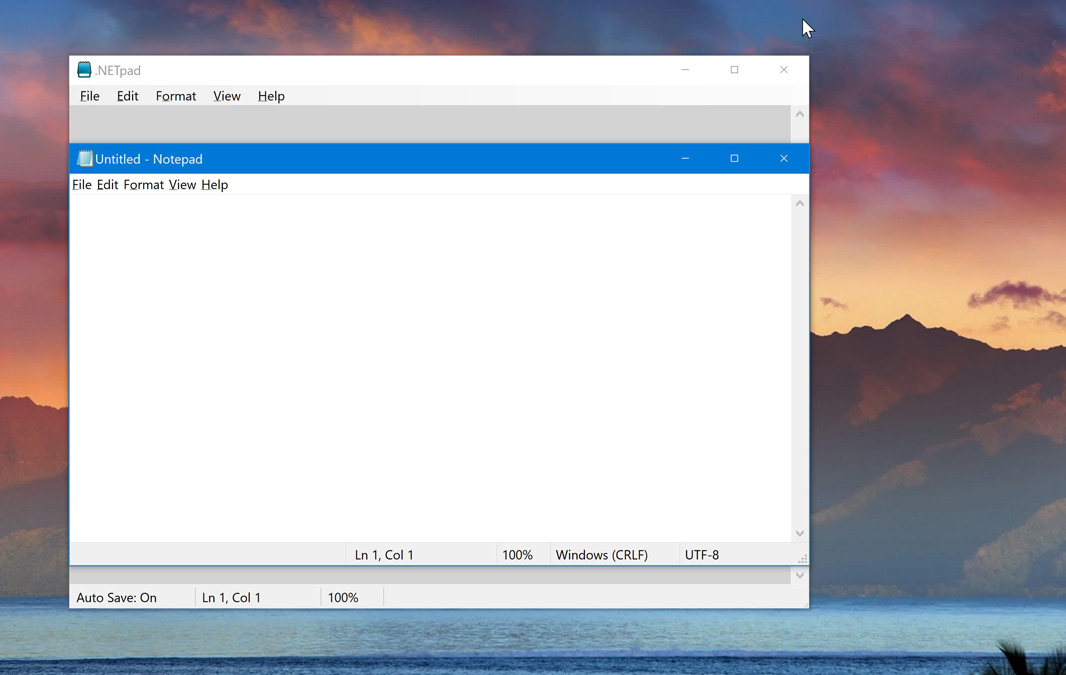
Now that I know we won’t be implementing the File encoding and line ending functionality from Notepad, we should clean up the status bar in our own app. Specifically, we don’t need the two panels that typically display “Windows (CRLF)” and “UTF-8” in Notepad.
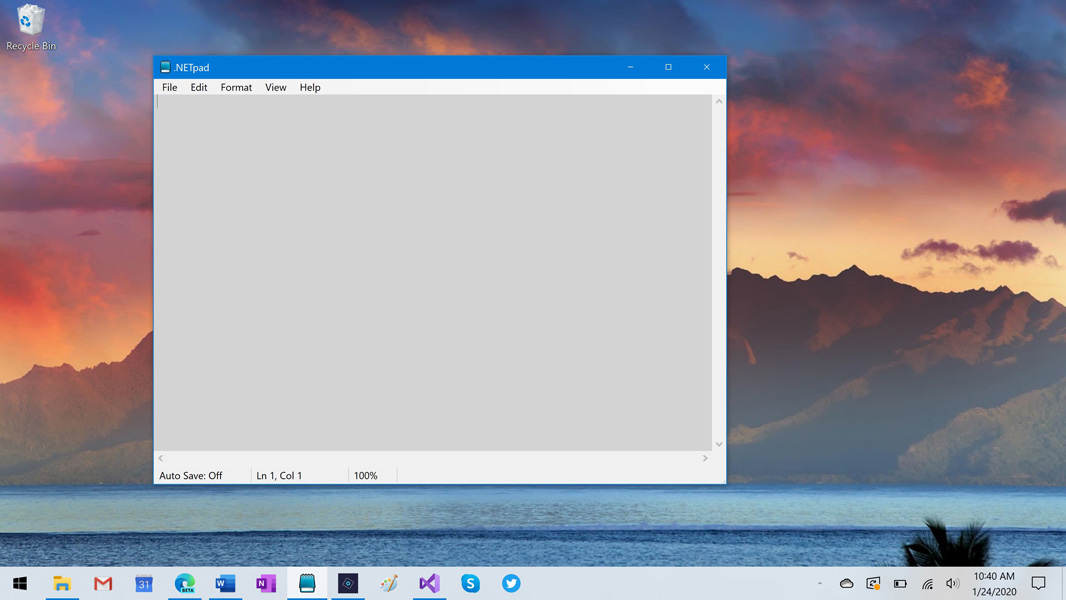
But I’d also like to change the weird right-heavy weighting of the status bar panels we are going to keep, as I’ve never really understood why all the information in the Notepad status bar is jammed up against the right side of the window. It seems to me that it should all be on the left. In the shot below, you can see the real Notepad’s status bar on the top and the look I’m going for in .NETpad on the bottom.
To achieve this, we will only need four status bar panels, not five. And we’ll want to assign specific sizes to the leftmost three panels, and enable the Spring property—which lets it auto-fill any remaining space—on the fourth. (Currently, that property is enabled on the leftmost panel instead.)
So, open Form1.vb [Design] and select AutoSaveToolStripStatusLabel. Then, change the value of its Spring property to False in the Properties pane.
Next, select one of the two right-most status bar panels (really status labels)—one of the blank ones—right-click it, and choose Delete to remove it from the app. Then, select the rightmost (blank) status label—it’s called ToolStripStatusLabel1 in my app—and change its Spring property to True.
Next, we need to change the Size property of each of the three-most status labels. I used the same size for both AutoSaveToolStripStatusLabel and Position ToolStripStatusLabel—350, 52—and set ZoomToolStripStatusLabel to 175, 52.
After that, make sure that the BorderSides property of the three right-most status labels (all but AutoSaveToolStripStatusLabel) is set to Left so we get that nice divider between each. And voila.
Fixing Word Wrap
Way back in the second article in this series, about three months ago, I implemented the Word Wrap command, which is simple enough: The TextBox control has a WordWrap property that acts as a toggle for this commonly-used feature. But somewhere along the way, I screwed it up, and the weird thing is, I’m not sure if I documented this change when I implemented application settings in The WinForms Notepad Project: More Settings, About Box Basics (Premium). Point being, you may not even have this issue.
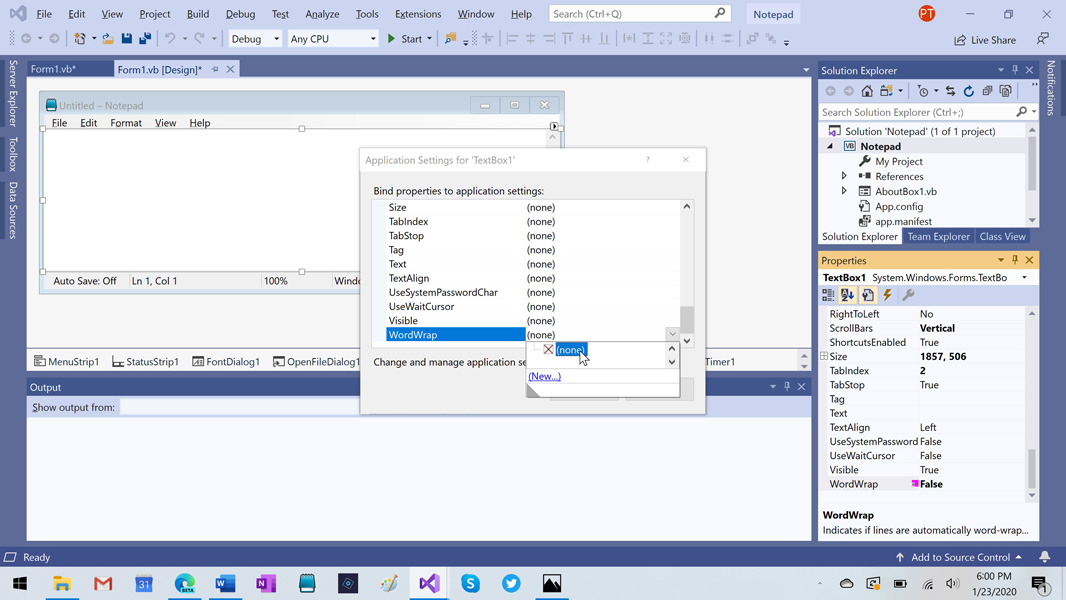
There are two ways to know if you need to fix this. The first is that Word Wrap doesn’t work: You run the app and select Format > Word Wrap and nothing changes; but when you stop and re-run the app the setting has finally changed. The second way is to open Form1.vb [Design], select TextBox1, and then examine its WordWrap property in the Properties pane. If you see a little pink box next to WordWrap in the list of properties, then it’s broken.

(If you do not see this pink box, just skip this whole section.)
What this is, is a property binding: I bound TextBox1.WordWrap to the application setting MyWordWrap. But this is unnecessary: We set TextBox1.WordWrap accordingly when the application starts by applying the value of MyWordWrap to it. And we likewise save the value of TextBox1.WordWrap to the MyWordWrap application setting when the application closes. Binding the two together is what prevented Word Wrap from working correctly.
(How I figured this out is sort of beside the point, but I did stupidly think that Word Wrap was broken. It isn’t. I just screwed it up.)
To fix this, double-click the little pink box next to WordWrap in the Properties pane. Then, in the Application Settings window that appears, change the application setting that is bound to WordWrap from MyWordWrap to “(none)”.
And now Word Wrap works again.
Debug vs. Release
Back in The WinForms Notepad Project: Cleaning Up and Publishing the App (Premium), I explained how you can use Visual Studio’s Publish wizard to create a folder with the files one would need to install the app on other PCs. But there are a few issues with publishing our app.
The first is that the app can’t be trusted by others because Visual Studio can’t verify the publisher (me, or, if you’ve been recreating this app yourself, you). So the install wizard will list the publisher as “Unknown Publisher.” To fix this problem, the app will need to be digitally signed with Microsoft Authenticode, a process that Microsoft describes on its Docs website. This is something that I will look into, since I think it might be useful to make the .NETpad installer available via the web. For your purposes, however, the application is for personal use only, and since you won’t be distributing it, it coming from “Unknown Publisher” won’t be an issue for your own installs.
But we can and should fix the second issue, which is that .NETpad, like all applications created in Visual Studio, is in what’s called debug mode by default. Applications in debug mode are not optimized, and when you build them with Visual Studio, they are created with extra symbolic debug information that helps the IDE’s debugging tools do their thing.
When we publish our app, however, we want it to be in release mode. In release mode, the app is optimized, and it’s not bogged down by symbolic debug information. There are a variety of places where you can switch the app between debug and release modes, but the most obvious is Visual Studio’s toolbar. Right there in the middle, you can see that it’s currently configured to be in debug mode.

To change this, select the drop-down next to “Debug” and choose “Release.”

Then, run the Publish wizard as before: Right-click the project’s name in Solution Explorer, choose “Publish,” and step through the wizard.
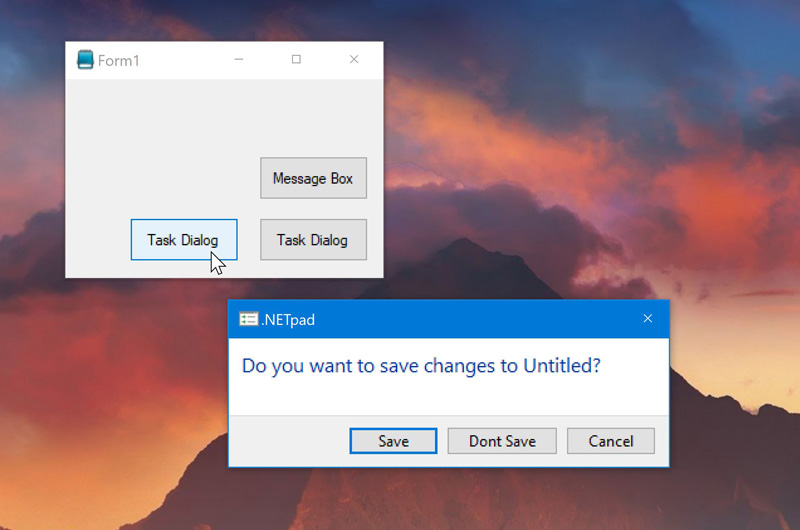
By the way, if you’re going to keep working on the application—and there will be future updates, even if it’s just for some code clean-up and bug fixing—then be sure to toggle it back to Debug mode in the toolbar. Otherwise, you’ll get this annoying dialog if you try to test the app from Visual Studio going forward.

More soon.
Speaking of which, I finally implemented a Task Dialog! I’m not sure if I’m going to actually use this in .NETpad for a variety of reasons, but I’ll probably write it up soon so you can see what it took.

Gain unlimited access to Premium articles.
With technology shaping our everyday lives, how could we not dig deeper?
Thurrott Premium delivers an honest and thorough perspective about the technologies we use and rely on everyday. Discover deeper content as a Premium member.