The WPF Notepad Project: Word Wrap, Status Bar, and Zoom (Premium)
- Paul Thurrott
- Mar 17, 2020
-
0
It’s time to start building out the Format and View menus and the commands they contain. Then, we’ll implement word-wrap and status bar toggling and wrap up with a truly complex topic: Implementing Zoom using commands.
Format menu
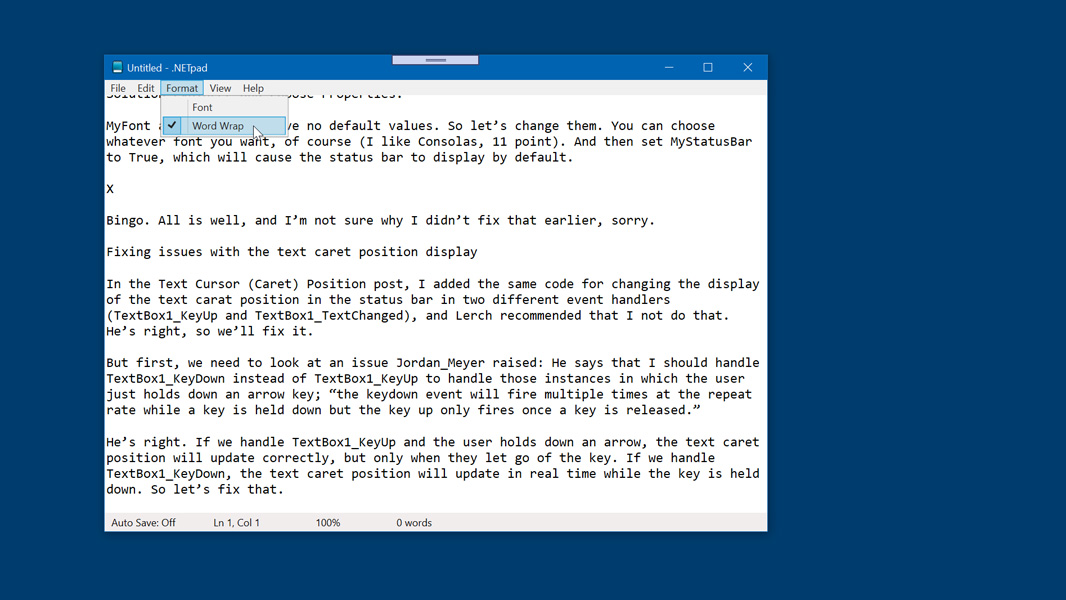
Let’s start with the Format menu. This contains two menu items: Font, which will require a custom dialog, and Word Wrap, which is easy to implement. So we’ll build both menus in XAML and then implement Word Wrap. (You may recall, too, that we have some commented-out lines of code that related to Word Wrap from last time, so we’ll get those going too.)
To do this, open MainWindow.xaml and locate the tag for Format menu item (<MenuItem Header=”F_ormat”>). Inside of its opening and closing tags, add the two menu items it contains:
<MenuItem Name="FontMenu" Header="_Font" />
<MenuItem Name="WordWrapMenu" Header="_Word Wrap" />
Since neither of these items is associated with a WPF command, we can use simpler Click event handlers in each case. So select the FontMenu item, display its events in the Properties pane and then double-click next to Click to create the following empty FontMenu_Click event handler in MainWindow.xaml.cs:
private void FontMenu_Click(object sender, RoutedEventArgs e)
{

}
Then, do the same for WordWrapMenu:
private void WordWrapMenu_Click(object sender, RoutedEventArgs e)
{

}
For now, we’ll leave FontMenu_Click empty and focus on WordWrapMenu_Click. The code you will enter below checks whether the textbox’s TextWrapping property is set to NoWrap and, if so, changes it to Wrap. Otherwise, it will perform the reverse operation. And in either case, it will check (or not check) the Word Wrap menu item accordingly.
if (TextBox1.TextWrapping == TextWrapping.NoWrap)
{
    TextBox1.TextWrapping = TextWrapping.Wrap;
    WordWrapMenu.IsChecked = true;
}
else
{
    TextBox1.TextWrapping = TextWrapping.NoWrap;
    WordWrapMenu.IsChecked = false;
}
With that simple code completed, we need to uncomment the references to WordWrapMenu in AppWindow_Initialized and SaveSettings. There are two in the former and one in the latter. When done, Word Wrap will work, and .NETpad will correctly load and save this setting.
View menu
The View menu contains three menu items: Theme (which has its own submenu), Zoom, which also has its own submenu, and Status Bar. We’ll build each of these menus in XAML and then implement Status Bar first, since it’s simple (and works much like Word Wrap).
To do so, open MainWindow.xaml and locate the tag for View menu item (<MenuItem Header=”_View”>). Inside of its opening and closing tags, add the following XAML code for its submenus:
<MenuItem Header="_View">
    <MenuItem Header="_Theme">
        <MenuItem Name="BlackOnWhiteMenu" Header="Black on _White (Default)" />
        <MenuItem Name="BlackOnLightGrayMenu" Header="Black on _Light Gray" />
        <MenuItem Name="AmberOnBlackMenu" Header="_Amber on Black" />
        <MenuItem Name="GreenOnBlackMenu" Header="_Green on Black" />
        <Separator />
        <MenuItem Name="TextColorMenu" Header="Select _Text Color..." />
        <MenuItem Name="BackgroundColorMenu" Header="Select _Background Color..." />
    </MenuItem>
    <MenuItem Header="_Zoom">
        <MenuItem Name="ZoomInMenu" Header="Zoom _In" />
        <MenuItem Name="ZoomOutMenu" Header="Zoom _Out" />
        <MenuItem Name="RestoreDefaultZoomMenu" Header="_Restore Default Zoom" />
    </MenuItem>
    <MenuItem Name="StatusBarMenu" Header="_Status Bar" IsChecked="True"/>
</MenuItem>
While we’re in the XAML file, we also need to add a Name property to the StatusBar so that we can reference it in code. So locate that tag and add Name=”StatusBar1″ to it so that it resembles the following.
<StatusBar Name="StatusBar1" Grid.Row="2">
Looking at StatusBarMenu, there’s no related command, so we’ll use a Click event handler for this, much as we did for WordWrapMenu above. So select the StatusBarMenu item, display its events in the Properties pane and then double-click next to Click to create the following empty StatusBarMenu_Click event handler in MainWindow.xaml.cs:
private void StatusBarMenu_Click(object sender, RoutedEventArgs e)
{

}
Inside this event handler, add the following code:
if (StatusBar1.Visibility == Visibility.Collapsed)
{
    StatusBar1.Visibility = Visibility.Visible;
    StatusBarMenu.IsChecked = true;
}
else
{
    StatusBar1.Visibility = Visibility.Collapsed;
    StatusBarMenu.IsChecked = false;
}
Now, we need to create a user setting related to the status bar and then read this value from settings in AppWindow_Initialized and copy it back to settings in SaveSettings. So open up Settings.settings and add the following setting:
MyStatusBar. Value is bool. Value is True.
Save that and then open MainWindow.xaml.cs. Locate AppWindow_Initialized and then add the following code below the code for reading the MyWordWrap settings value (right before the end of the event handler):
// Get Status bar from settings
if (Settings.Default.MyStatusBar == true)
{
    StatusBar1.Visibility = Visibility.Visible;
    StatusBarMenu.IsChecked = true;
}
else
{
    StatusBar1.Visibility = Visibility.Collapsed;
    StatusBarMenu.IsChecked = false;
}
Then, locate SaveSettings and add the following code below the code for writing the MyWordWrap settings value (right before the line for saving the settings):
// Copy Status bar configuration to settings
Settings.Default.MyStatusBar = StatusBarMenu.IsChecked;
Now, you can toggle the status bar and the application will remember your configuration.

Zoom
Toggling Word Wrap and the status bar are pretty basic, so let’s tackle something a bit more complex: Zoom, which utilizes a command and, for the first time, command parameters. As you know, there are three Zoom sub-menu items: Zoom In, Zoom Out, and Restore Default Zoom. Each will be attached to the same command—called NavigationCommands.Zoom—but each will pass that command’s Executed command handler a different parameter. And each will likewise need its own keyboard shortcut, which we’ll create using a new construct called a key binding. So there’s all kinds of new here.
We already created the Zoom menu items in XAML. But now we need to add Command and CommandParameter properties to each. So edit those lines of XAML in MainWindow.xaml so that they resemble the following:
<MenuItem Command="NavigationCommands.Zoom" CommandParameter="In" Name="ZoomInMenu" Header="Zoom _In" />
<MenuItem Command="NavigationCommands.Zoom" CommandParameter="Out"  Name="ZoomOutMenu" Header="Zoom _Out" />
<MenuItem Command="NavigationCommands.Zoom" CommandParameter="Restore"  Name="RestoreDefaultZoomMenu" Header="_Restore Default Zoom" />
Next, add the following line to the <Window.CommandBindings> section:
<CommandBinding Command="NavigationCommands.Zoom" Executed="ZoomCommand_Executed" />
Now, switch over to MainWindow.xaml.cs, scroll to the bottom of the MainWindow class definition, and add the following new method:
private void ZoomCommand_Executed(object sender, ExecutedRoutedEventArgs e)
{

}
You’ll see that ExecutedRoutedEventArgs confuses Visual Studio, as it displays a red squiggling line under it. Use the pop-up hint to add System.Windows.Input to the using section of the C# file to fix that.

Because all three of the menu items will call the same method when selected, we need to read the value of the e parameter and then respond accordingly. So we’ll use a C# switch statement to handle each case. (In the WinForms version of this app, Zoom In, Zoom Out, and Restore Default Zoom each called their own respective Click event handler instead.)
The code looks like so:
switch (e.Parameter)
{
    case "In":
        if (ZoomValue <= 500)
        {
            ZoomValue += 10;
            TextBox1.FontSize = (MasterFontSize * ZoomValue) / 100;
            ZoomText.Text = ZoomValue.ToString() + "%";
        }
        break;
    case "Out":
        if (ZoomValue > 10)
        {
            ZoomValue -= 10;
            TextBox1.FontSize = (MasterFontSize * ZoomValue) / 100;
            ZoomText.Text = ZoomValue.ToString() + "%";
        }
        break;
    case "Restore":
        TextBox1.FontSize = MasterFontSize;
        ZoomText.Text = "100%";
        ZoomValue = 100;
        break;
}
This works but it’s pretty tedious to use two levels of menus to access the various zoom capabilities. For this reason, we also need to create three key bindings that literally bind three keyboard shortcut to a command and command parameter. And to do that, we need to add a new section to our XAML file.
So open MainWindow.xaml and locate the <Window.CommandBindings> section. Below that, create a new section like so:
<Window.InputBindings>

</Window.InputBindings>
Now, add these three key bindings inside of the <Window.InputBindings> section:
<KeyBinding Modifiers="Ctrl" Key="OemPlus" Command="NavigationCommands.Zoom" CommandParameter="In" />
<KeyBinding Modifiers="Ctrl" Key="OemMinus" Command="NavigationCommands.Zoom" CommandParameter="Out" />
<KeyBinding Modifiers="Ctrl" Key="D0" Command="NavigationCommands.Zoom" CommandParameter="Restore" />
Now, the keyboard shortcuts (CTRL + Plus, CTRL + Minus, and CTRL + 0) all work as expected. But there’s still one more thing to do: If you look at the Zoom sub-menu in the running app, you’ll see that none of the items there display a keyboard shortcut hint. So we’ll just add an InputGestureText property to the three menu items in the XAML file to fix that little problem. The <MenuItem Header=”_Zoom”> section should now look like so:
<MenuItem Command="NavigationCommands.Zoom" CommandParameter="In" Name="ZoomInMenu" Header="Zoom _In" InputGestureText="Ctrl+Plus" />
<MenuItem Command="NavigationCommands.Zoom" CommandParameter="Out"  Name="ZoomOutMenu" Header="Zoom _Out" InputGestureText="Ctrl+Minus" />
<MenuItem Command="NavigationCommands.Zoom" CommandParameter="Restore" Name="RestoreDefaultZoomMenu" Header="_Restore Default Zoom" InputGestureText="Ctrl+0" />
Tedious, but it works.

More soon.

Gain unlimited access to Premium articles.
With technology shaping our everyday lives, how could we not dig deeper?
Thurrott Premium delivers an honest and thorough perspective about the technologies we use and rely on everyday. Discover deeper content as a Premium member.