WinUIpad: We Can Rebuild It ⭐
- Paul Thurrott
- Mar 09, 2026
-
2
Armed with an AI-built version of my app that supports multiple documents/tabs, I set out to rebuild WinUIpad myself to see what I got right, what I got wrong, and what I had never thought of in my previous attempts. There was a bit of each, as it turns out.
I started with rebuilding the UI. But after going down the path outlined below, I realized I should have started with the lower-level architecture instead. That’s fine, you live and you learn. And in this case, I had a welcome surprise waiting for me.
But first things first.
Basic app layout
One of the things I was curious about given my experiences trying this in different ways was how the Clairvoyance-created version of my app handled multiple documents and tabs. There are two basic approaches:
- You dynamically create each tab and that tab “contains” or is somehow associated with its own dynamically created TextBox.
- You maintain state for each document but reuse the same TextBox for every tab/document and manage what it displays based on which tab is selected.
The first approach is clearly more ideal, but implementing that was complicated by the fact that there is a MenuBar between the tabs and the TextBox. Would I need to also dynamically create every single menu item each time the user opened a new tab? That seemed resource-intensive.
To find out which approach Clairvoyance chose, I created a new WinUI 3 project in Visual Studio and then opened the previous (single document) version of WinUIpad and the (Clairvoyance-made) TabPad projects in separate instances of Visual Studio. Because my app’s UI is cleaner than what Clairvoyance made, I started with the XAML code for that app and blocked out the basic structure of the new app, copying and pasting between my app and the new app as needed.
Basic app layout in XAML
The basic app layout is not complicated, and it’s the same as before:

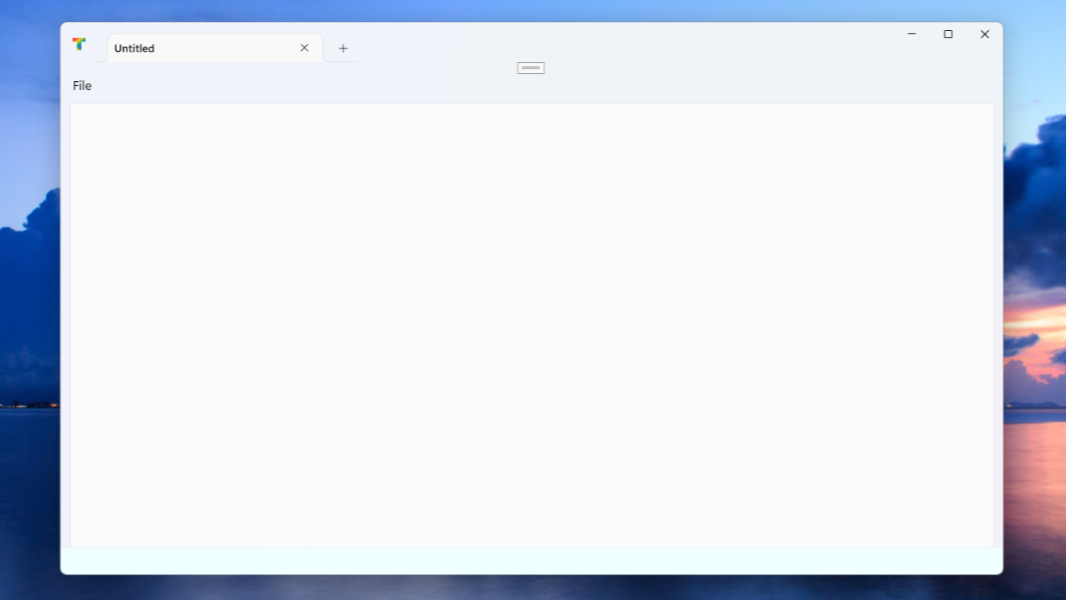
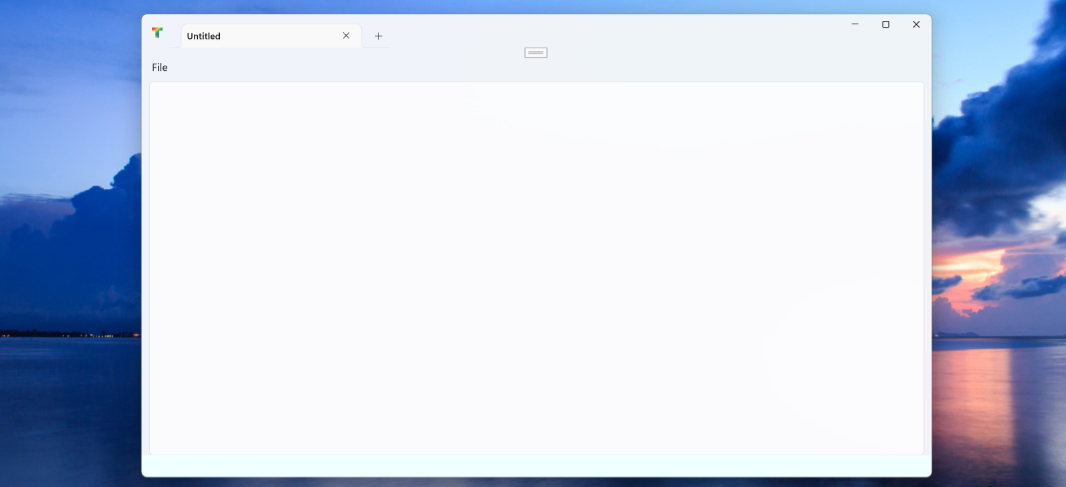
Then, I pulled in my stylized “T” logo as a graphical asset and added that to the upper-left of the app in the first row (Row 0, which will be the title bar/tab area). And then I added a second row (Row 1) for the menu system, though I just kept it to a single empty File menu item for now.
![]()
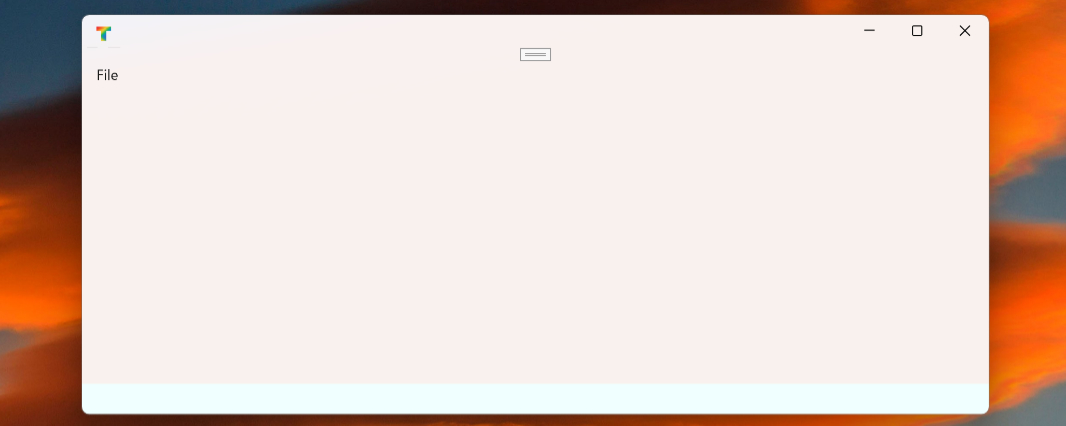
Compiling and running the app, I could see the logo and the File menu item, but the rest of the app window was, of course, empty.
![]()
And then it was time to see what Clairvoyance had done.
For the tabs, Clairvoyance put a TabView control in the first row (Row 0), so I added an empty version to start. You can see it, really, when it runs the app, but that makes sense.
![]()
For the TextBox, Clairvoyance had indeed gone the dynamic route. This is interesting (to me) because it also “hard-coded” the menu between the tabs and the TextBox(es), each of which it dynamically creates. So I was super-curious how that was going to work. But for now, I just added an empty grid similar to what I saw for that row (Row 3, with Row 2 somehow taken up by some Find/Replace functionality that I’m ignoring for now).

And then I added an empty grid for the status bar for now. I gave it a light blue background color so I could see it was there, but that will be transparent when I finally reimplement it. With that done, the basic XAML app layout was complete.
A first look at the dynamic tab, document, and TextBox generation
In the code for MainWindow, Clairvoyance starts with what it calls per-tab state. This immediately references a class it created called DocumentModel, and looking at the source code tree, I could see that the file for this class, DocumentModel.cs, was in a folder (by itself) called Models. So I copied that folder from Tabpad to the new project, renamed the workspace for the new project, and took a look.
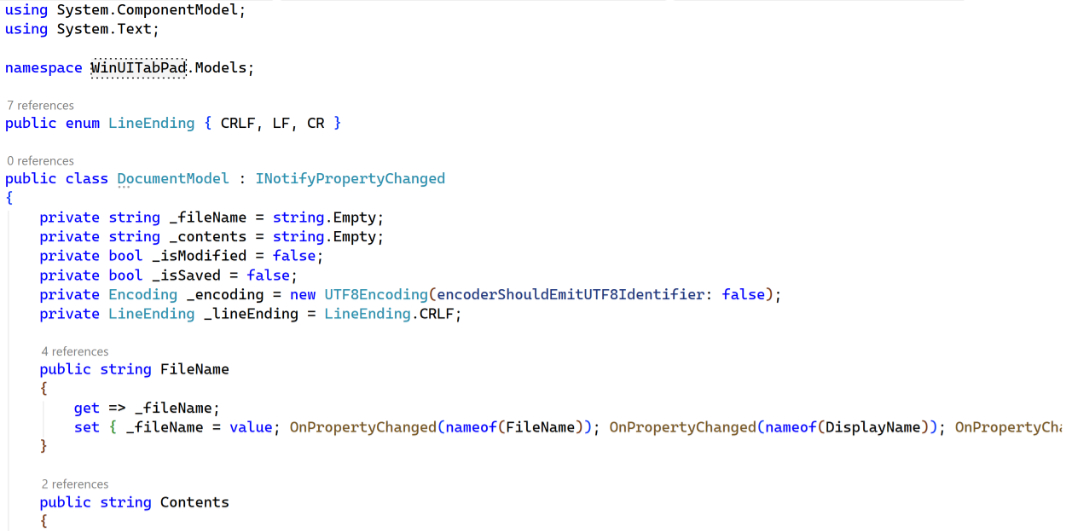
It was, as expected, an expansion of my own Document class. It includes properties like fileName, Contents, isModified, and isSaved that are similar to that work I’d already done. But it also included properties tied to some new features it had implemented, encoding and lineEnding, which makes sense. I was and still am curious about those, but the focus was on the basics at first.
OK, so that all looked fine. Returning to the MainWindow code in MainWindow.xaml.cs, I started adding the per-tab state code from Clairvoyance’s Tabpad into my new project.
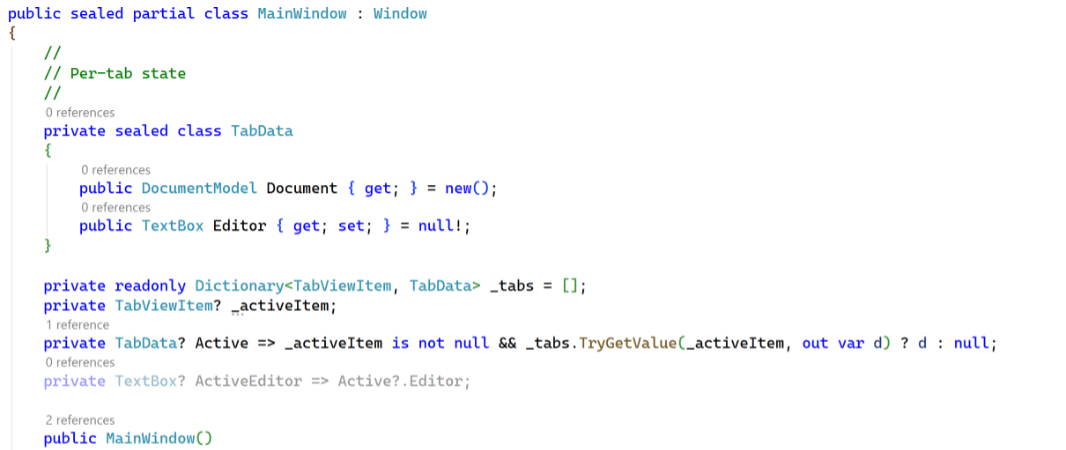
I’m not a fan of the term Editor for the TextBoxes, so I will probably change that soon. But most of this is straightforward, and it looks like Clairvoyance chose a C# Dictionary object to store the tab data.
After that, there’s some app state code I could ignore for now, so it was on to the constructor. Ignoring code that I can likewise ignore for now, there’s a single small block of code that will draw the first tab (or, if the user chose to keep state, restore the previous session):

That’s nice and simple, but the two methods it references, RestoreSession() and CreateTab(), didn’t exist yet in the new project. So it was time to find those.
Both are in a section of code in MainWindow.xaml.cs that Clairvoyance commented as Tabview event handlers. For now, I left RestoreSession() as just returning a false so that CreateTab() will always run. But CreateTab(), predictably, is a monster given how much work it has to do.
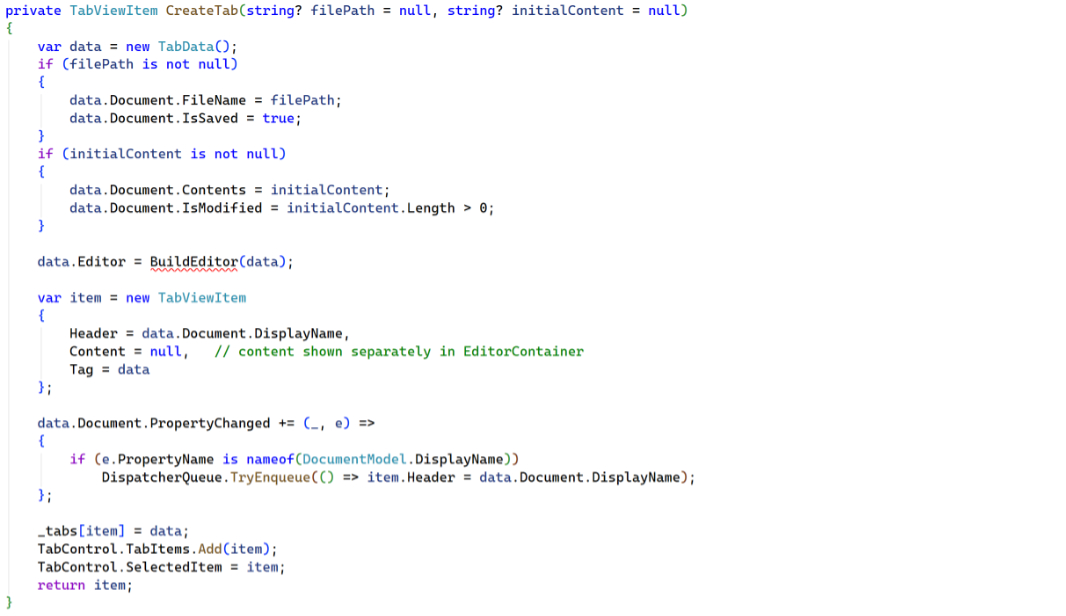
That BuildEditor() method obviously creates the per-tab TextBox, so I had to find that code next. That was in a section Clairvoyance called Tab management. The code is quite understandable.
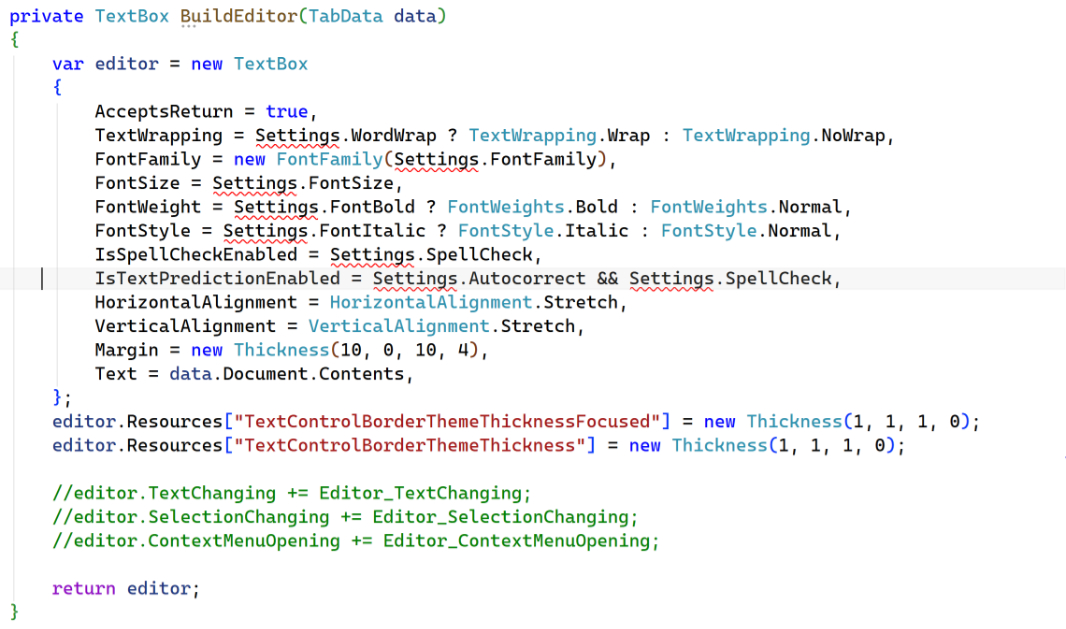
I commented out the three lines that create event handlers to start. And then I figured I’d make a Settings.setting file since it references app settings. But that’s not how Clairvoyance did this. Instead, it created its own Settings class (and file) as part of what it called app-level state. Hm.
Given this, I would need to look over that and add it to the new codebase. But first, I just changed all the references to the instance of the Settings class and just gave everything default values so I could run the app see the first tab. Like so.
OK, so that’s fun, though I will need to correctly style active and inactive tabs. No worries there.
Next up, I will look at the app architecture, which I am pleased to report closely models the way I had worked up multiple document/tab support in the past. At least I got something right.
More soon.

Gain unlimited access to Premium articles.
With technology shaping our everyday lives, how could we not dig deeper?
Thurrott Premium delivers an honest and thorough perspective about the technologies we use and rely on everyday. Discover deeper content as a Premium member.