Synology DiskStation DS423+ First Impressions
- Paul Thurrott
- Aug 17, 2025
-
9
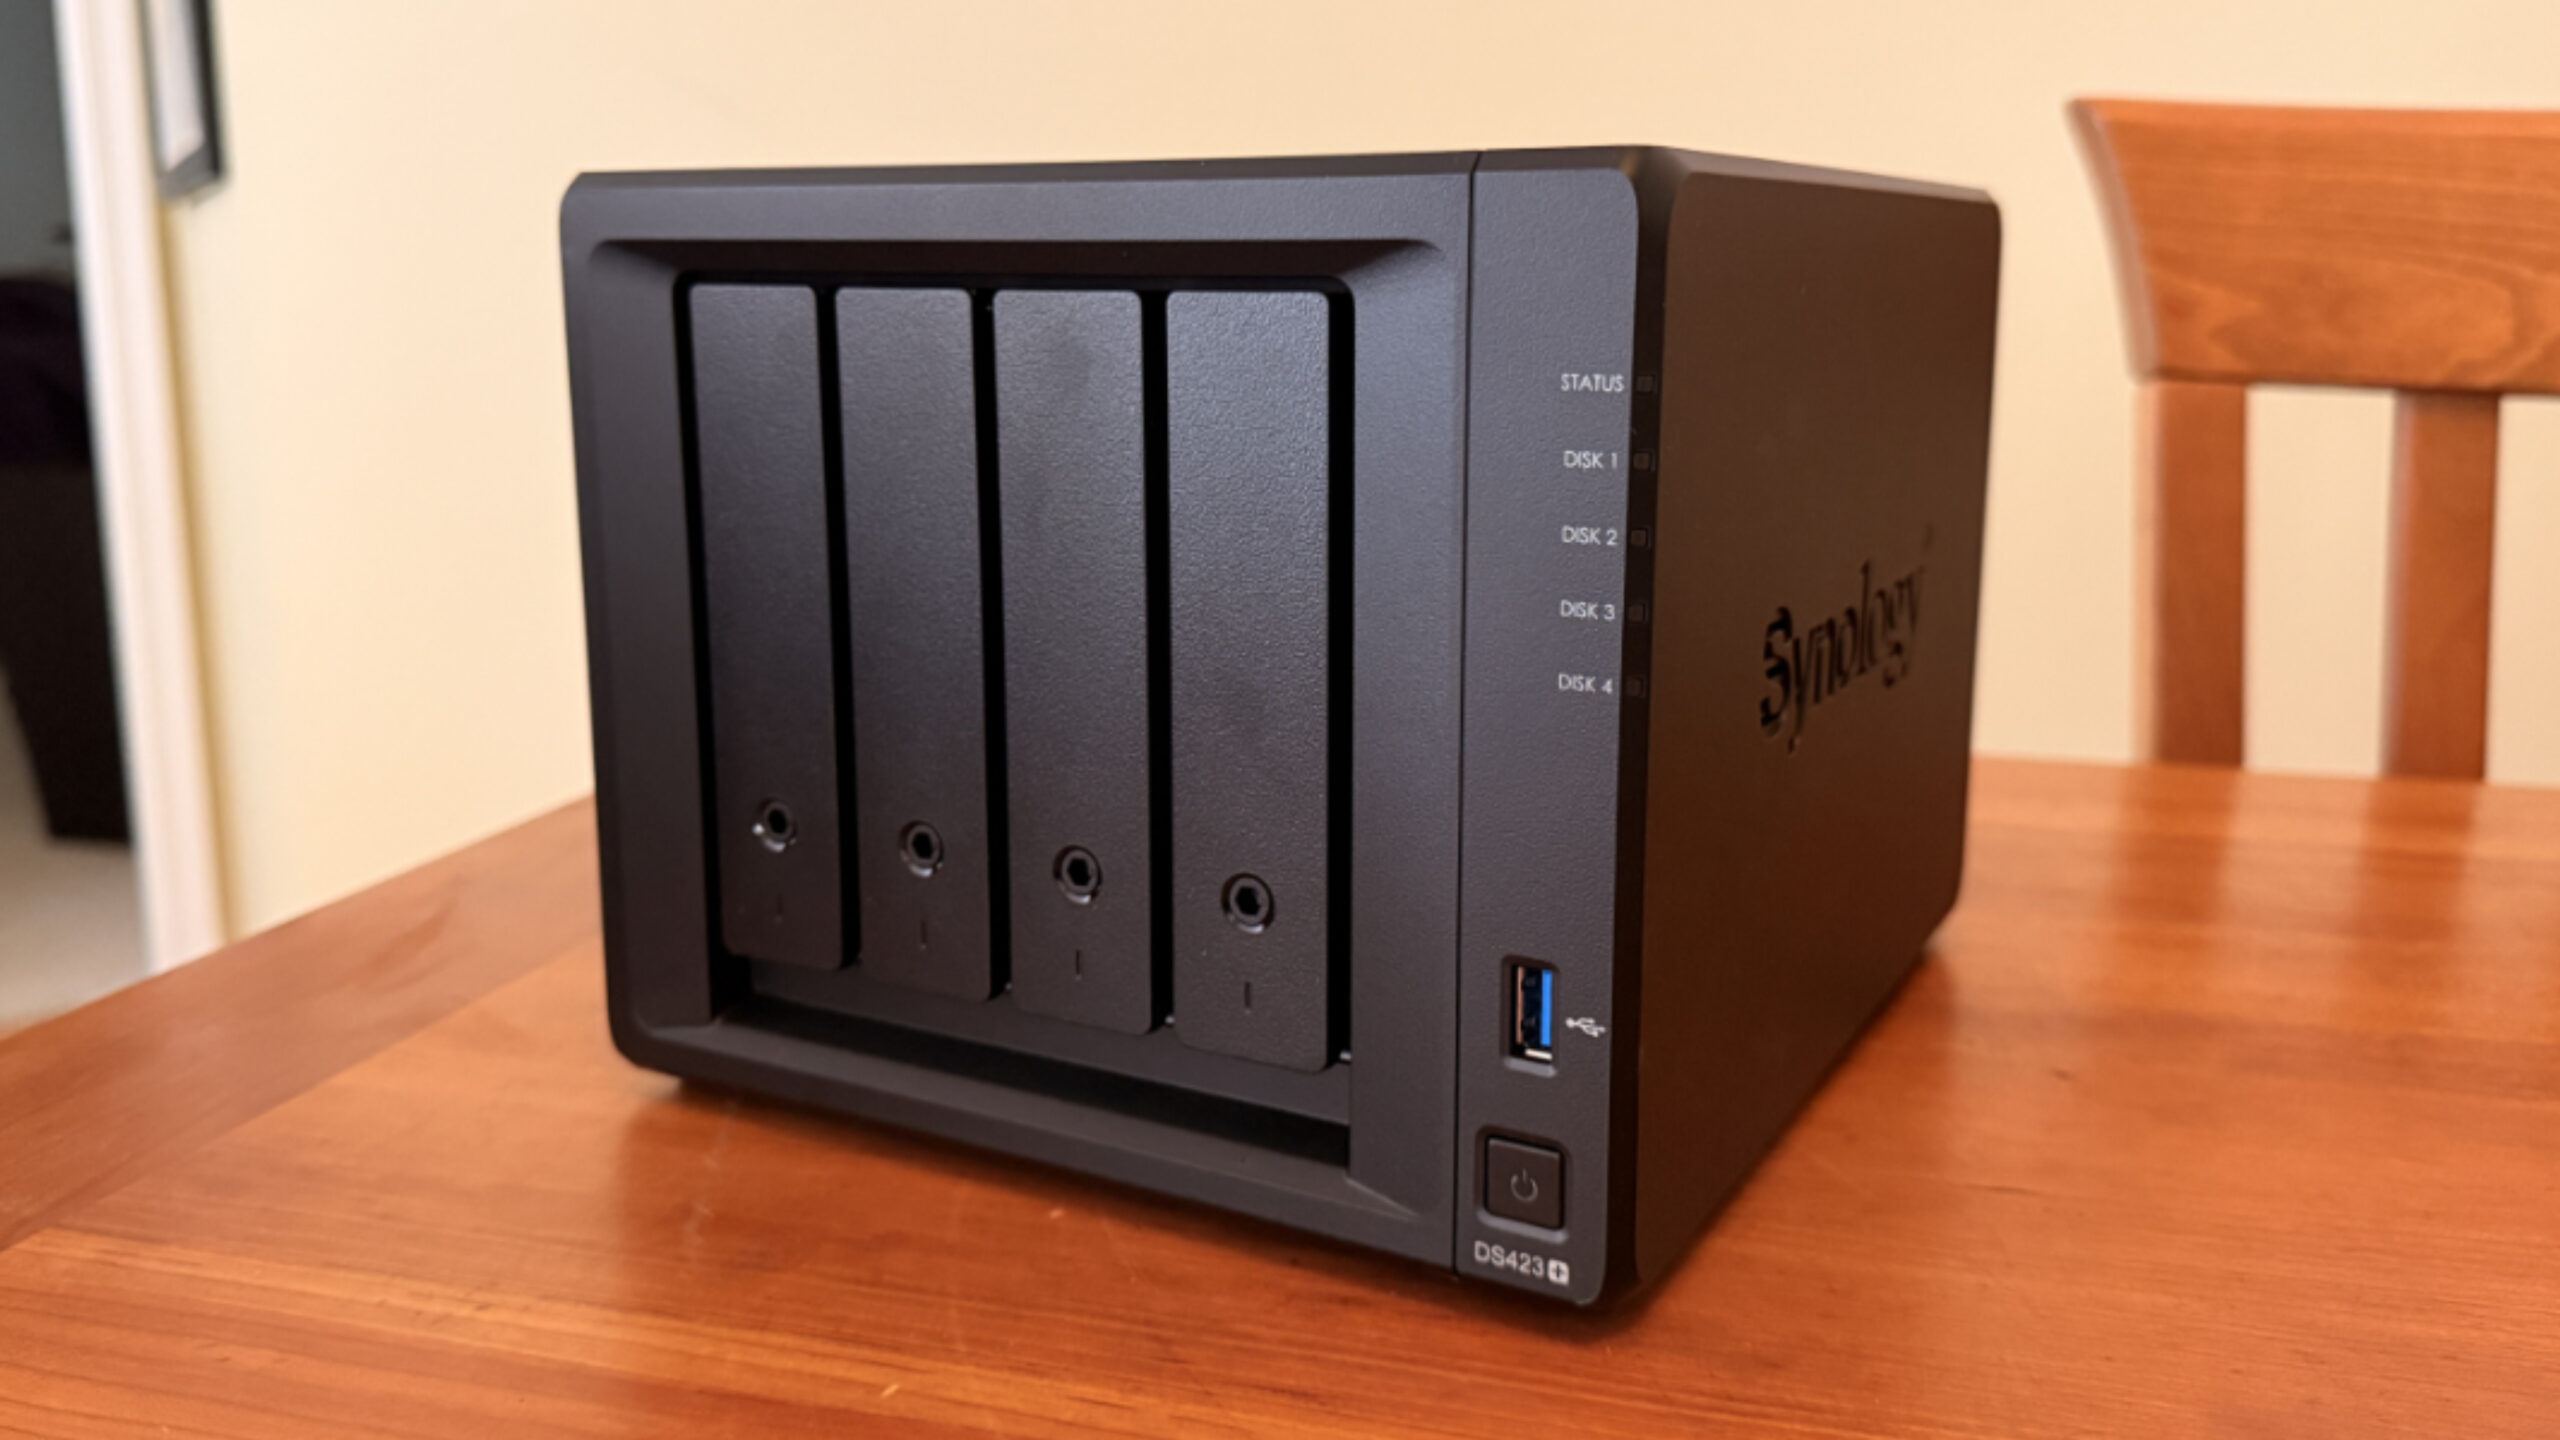
The Synology DiskStation DS423+ is a four-bay NAS (network-attached storage) device for prosumers and small businesses. It’s the second NAS I’ve purchased this year–the first is a two-bay Synology DiskStation DS224+ that I set up and configured three months ago–and it will stay here in Pennsylvania and become our “main” NAS, as I‘ll be using it for local backups. Assuming I get the two syncing and otherwise working properly, the first NAS will come with us to Mexico on our next trip in about a month.
As I wrote previously, I waited to order the DiskStation DS423+, two HDDs, and a RAM module upgrade until we were back in the States after about a month in Mexico, and this was complicated somewhat by our busy first week back, during which we drove to Charlotte, North Carolina, drove to Washington D.C. after that, and then back home. And when I did finally order everything, I discovered that the prices had gone up and the delivery times would stretch out over at least a week. And so the different parts would arrive at different times, and it wasn’t clear when I’d be able to at least get started putting it together.
? The NAS (mostly) arrives
As with the first NAS, each of the things I ordered was scheduled to arrive on different days.
The 4 GB RAM module arrived first, last Tuesday, the day before we drove home from D.C. That was fine: It’s inexpensive, is delivered in a padded envelope, and if it had to sit out on my porch overnight, no problem. But Amazon actually delivered it to our mailbox, which is locked and away from our condo, so that’s even better.
The NAS itself arrived next. This was originally expected last Thursday, but then I got a shipping update suggesting it would arrive the previous day. This was fine, as we’d be driving home from D.C. that morning, and UPS usually delivers later in the day. But when we pulled into our development, we saw the UPS truck parked in there, so I figured it had just been delivered, or was about to be. But there was a missed delivery note on the door, so I walked around the corner to see if I could just get it. Nope: The UPS truck was gone, and it had somehow left silently. So it arrived the next day. Which, whatever. I couldn’t use it anyway, as I didn’t have any of the HDDs yet.
Which is its own story. As was the case with the first NAS.
As I noted earlier, where the first NAS has two 12 TB HDDs, the second NAS was going to start out with two 16 TB HDDs because the cost difference was so small. When I ordered them, Amazon told me to expect them to arrive between August 16 (Saturday) and August 20 (Wednesday). But as last week wound down, I hadn’t received a shipping notification. And remembering what happened the previous time–though I ordered two HDDs, only one came initially and I had to cancel the order on the second drive and reorder it, which worked–I figured I was running into the same issue.
And so on Friday, I looked at Amazon’s site. I could order one or two 16 TB drives (again), but the delivery times were even further out. So I looked at the 12 TB drives, which was the original plan anyway, since the two NASes will sync with each other and I have ADHD and enjoy that kind of symmetry. Without bogging down this conversation in nuance, I had to order each 12 TB drive separately so that one would arrive Saturday, letting me get started, and the other would arrive Monday.
What I didn’t do, purposely, was cancel the previous order for the two 16 TB HDDs. I kind of wanted to see what happened there, since one of the two drives I’d ordered for the first NAS was never going to arrive. And I also figured they would be useful for the backup HDDs I’d have to buy eventually anyway. Granted, this was an expensive proposition. The two 16 TB HDDs are $300 each, or $635 including taxes and shipping. And the two 12 TB HDDs are $270 each, or about $570 all-in. So this is like $1200 just in storage. I had transferred the cost of the NAS, the RAM upgrade, and the two 16 TB HDDs–about $1200–from PayPal into our checking account, so the original order was paid for. But this was almost $600 more. And I won’t be able to pay for that until next month, probably. (That’s what I get for spending that exact amount on a laptop.) Would my wife notice?
You bet she would.
We were sitting in the living room reading the news on iPads and drinking coffee when my wife asked why I had just spent almost $2000 at Amazon this past week. It’s a fair question. But the first of the two 12 TB HDDs had arrived late Friday, a day early, and just as we were heading out to dinner. So I had told her about the drive snafu and how I had had to reorder drives again, etc. And that seemed to make sense to her. But at the time, I wasn’t sure whether I’d be keeping the two 16 TB drives. And I’m actually still not sure. Though I would like to get started backing up, of course. We’ll see.
I can tell you this. Those 16 TB HDDs did ship, both of them. They’re both arriving on different days early next week, and as I was discussing this with my wife, the first shipment notification coincidentally arrived via email and text. Or not, if you think life is even more mysterious than we understand.
? Pre-configuration
Last week was busy, as noted, but I unboxed the NAS and the RAM module after the former arrived, figuring I could at least insert the RAM into the NAS.
Physically, the new NAS is, of course, bigger than the original because of its two additional drive bays. It lacks the weird plastic front cover on the smaller DS224+, so you can see each of the four drive bay trays instead. I prefer this look, frankly.

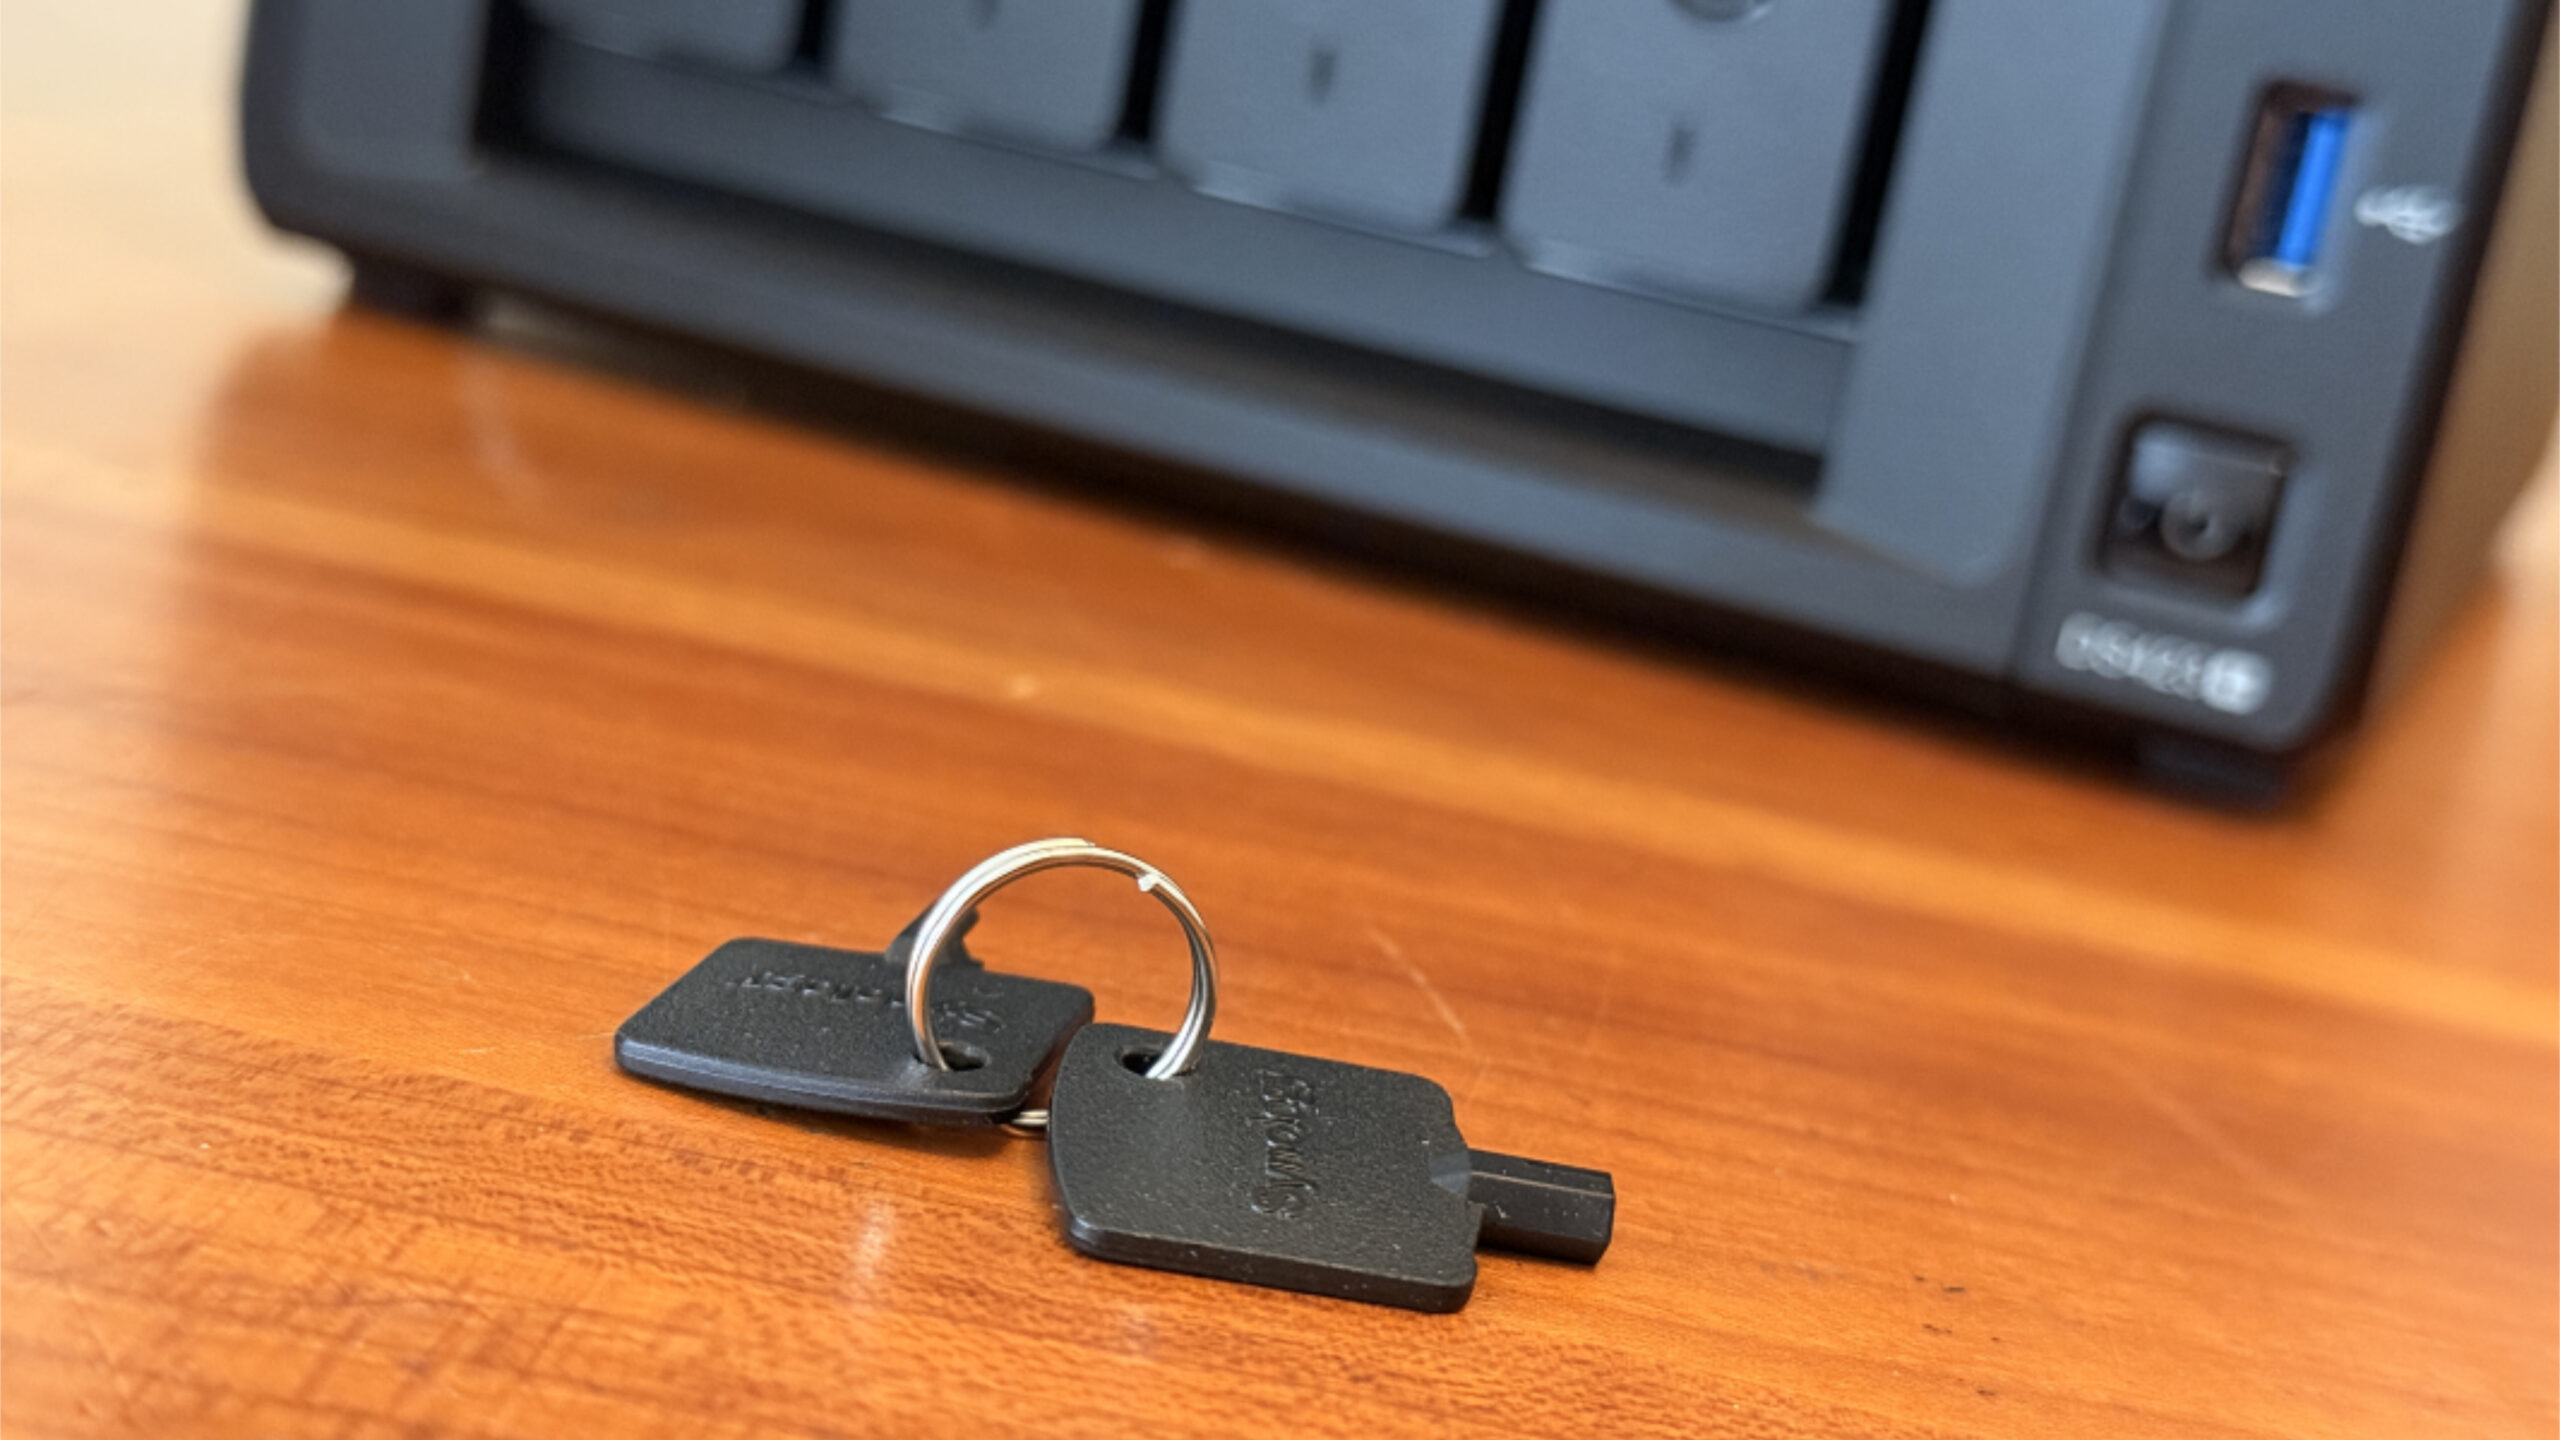
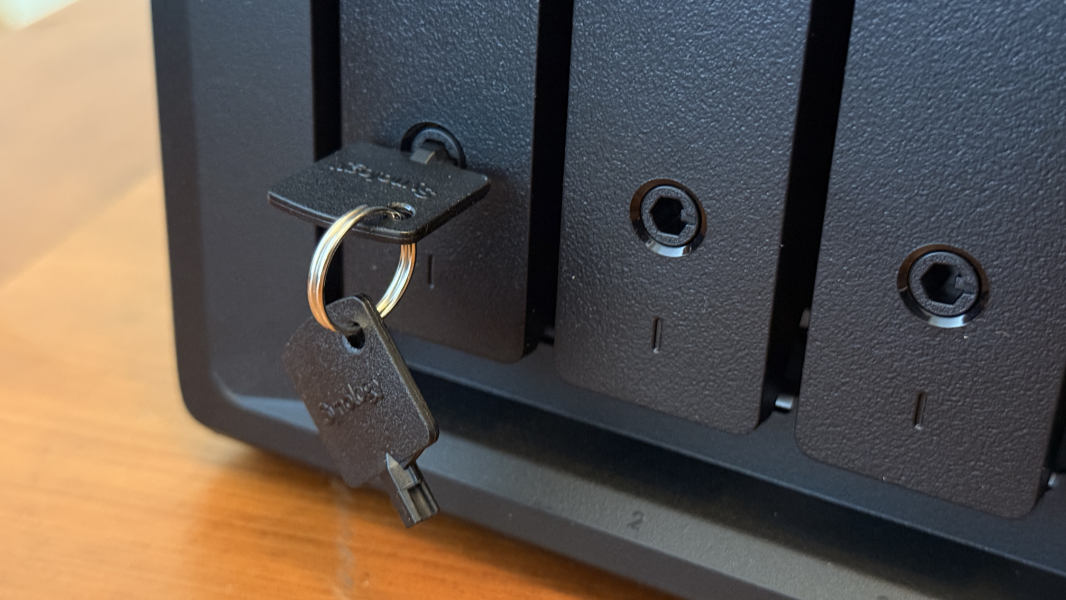
One weirdism: The four drive bay trays in the DS423+ work exactly like those in the DS224+, but they have a key hole in the front. Synology provides two little keys so you can lock and then unlock each as needed, but I can’t imagine this for security per se, given how flimsy it is. Instead, it’s more likely just to ensure the drives stay locked in place. When locked, you can’t inadvertently tap the front of one and unlock it, which could eventually lead to its drive becoming detached. I wasn’t sure I’d ever use the locks, but after I installed the first drive, I decided I would.
Beyond that, the new NAS looks and (I assume) works like the first one. There are more drive lights in the front, obviously, but the power button, USB ports, and general look/feel are all the same.
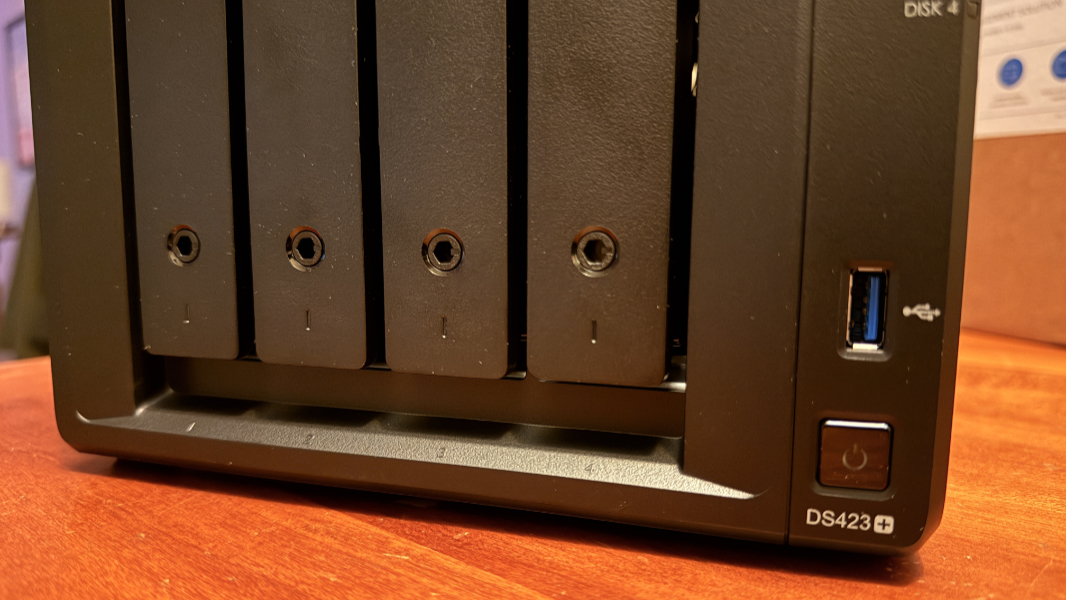
There are two fans in the back, and the power supply is a bit beefier, but basically the same. And it has the same two 1 Gbps Ethernet connections.

Anyway. On Thursday, I unpacked the NAS and took off all four of the front drive trays. As expected, a slot for the RAM module is exposed in there, on the right side. And so I popped the RAM module in.
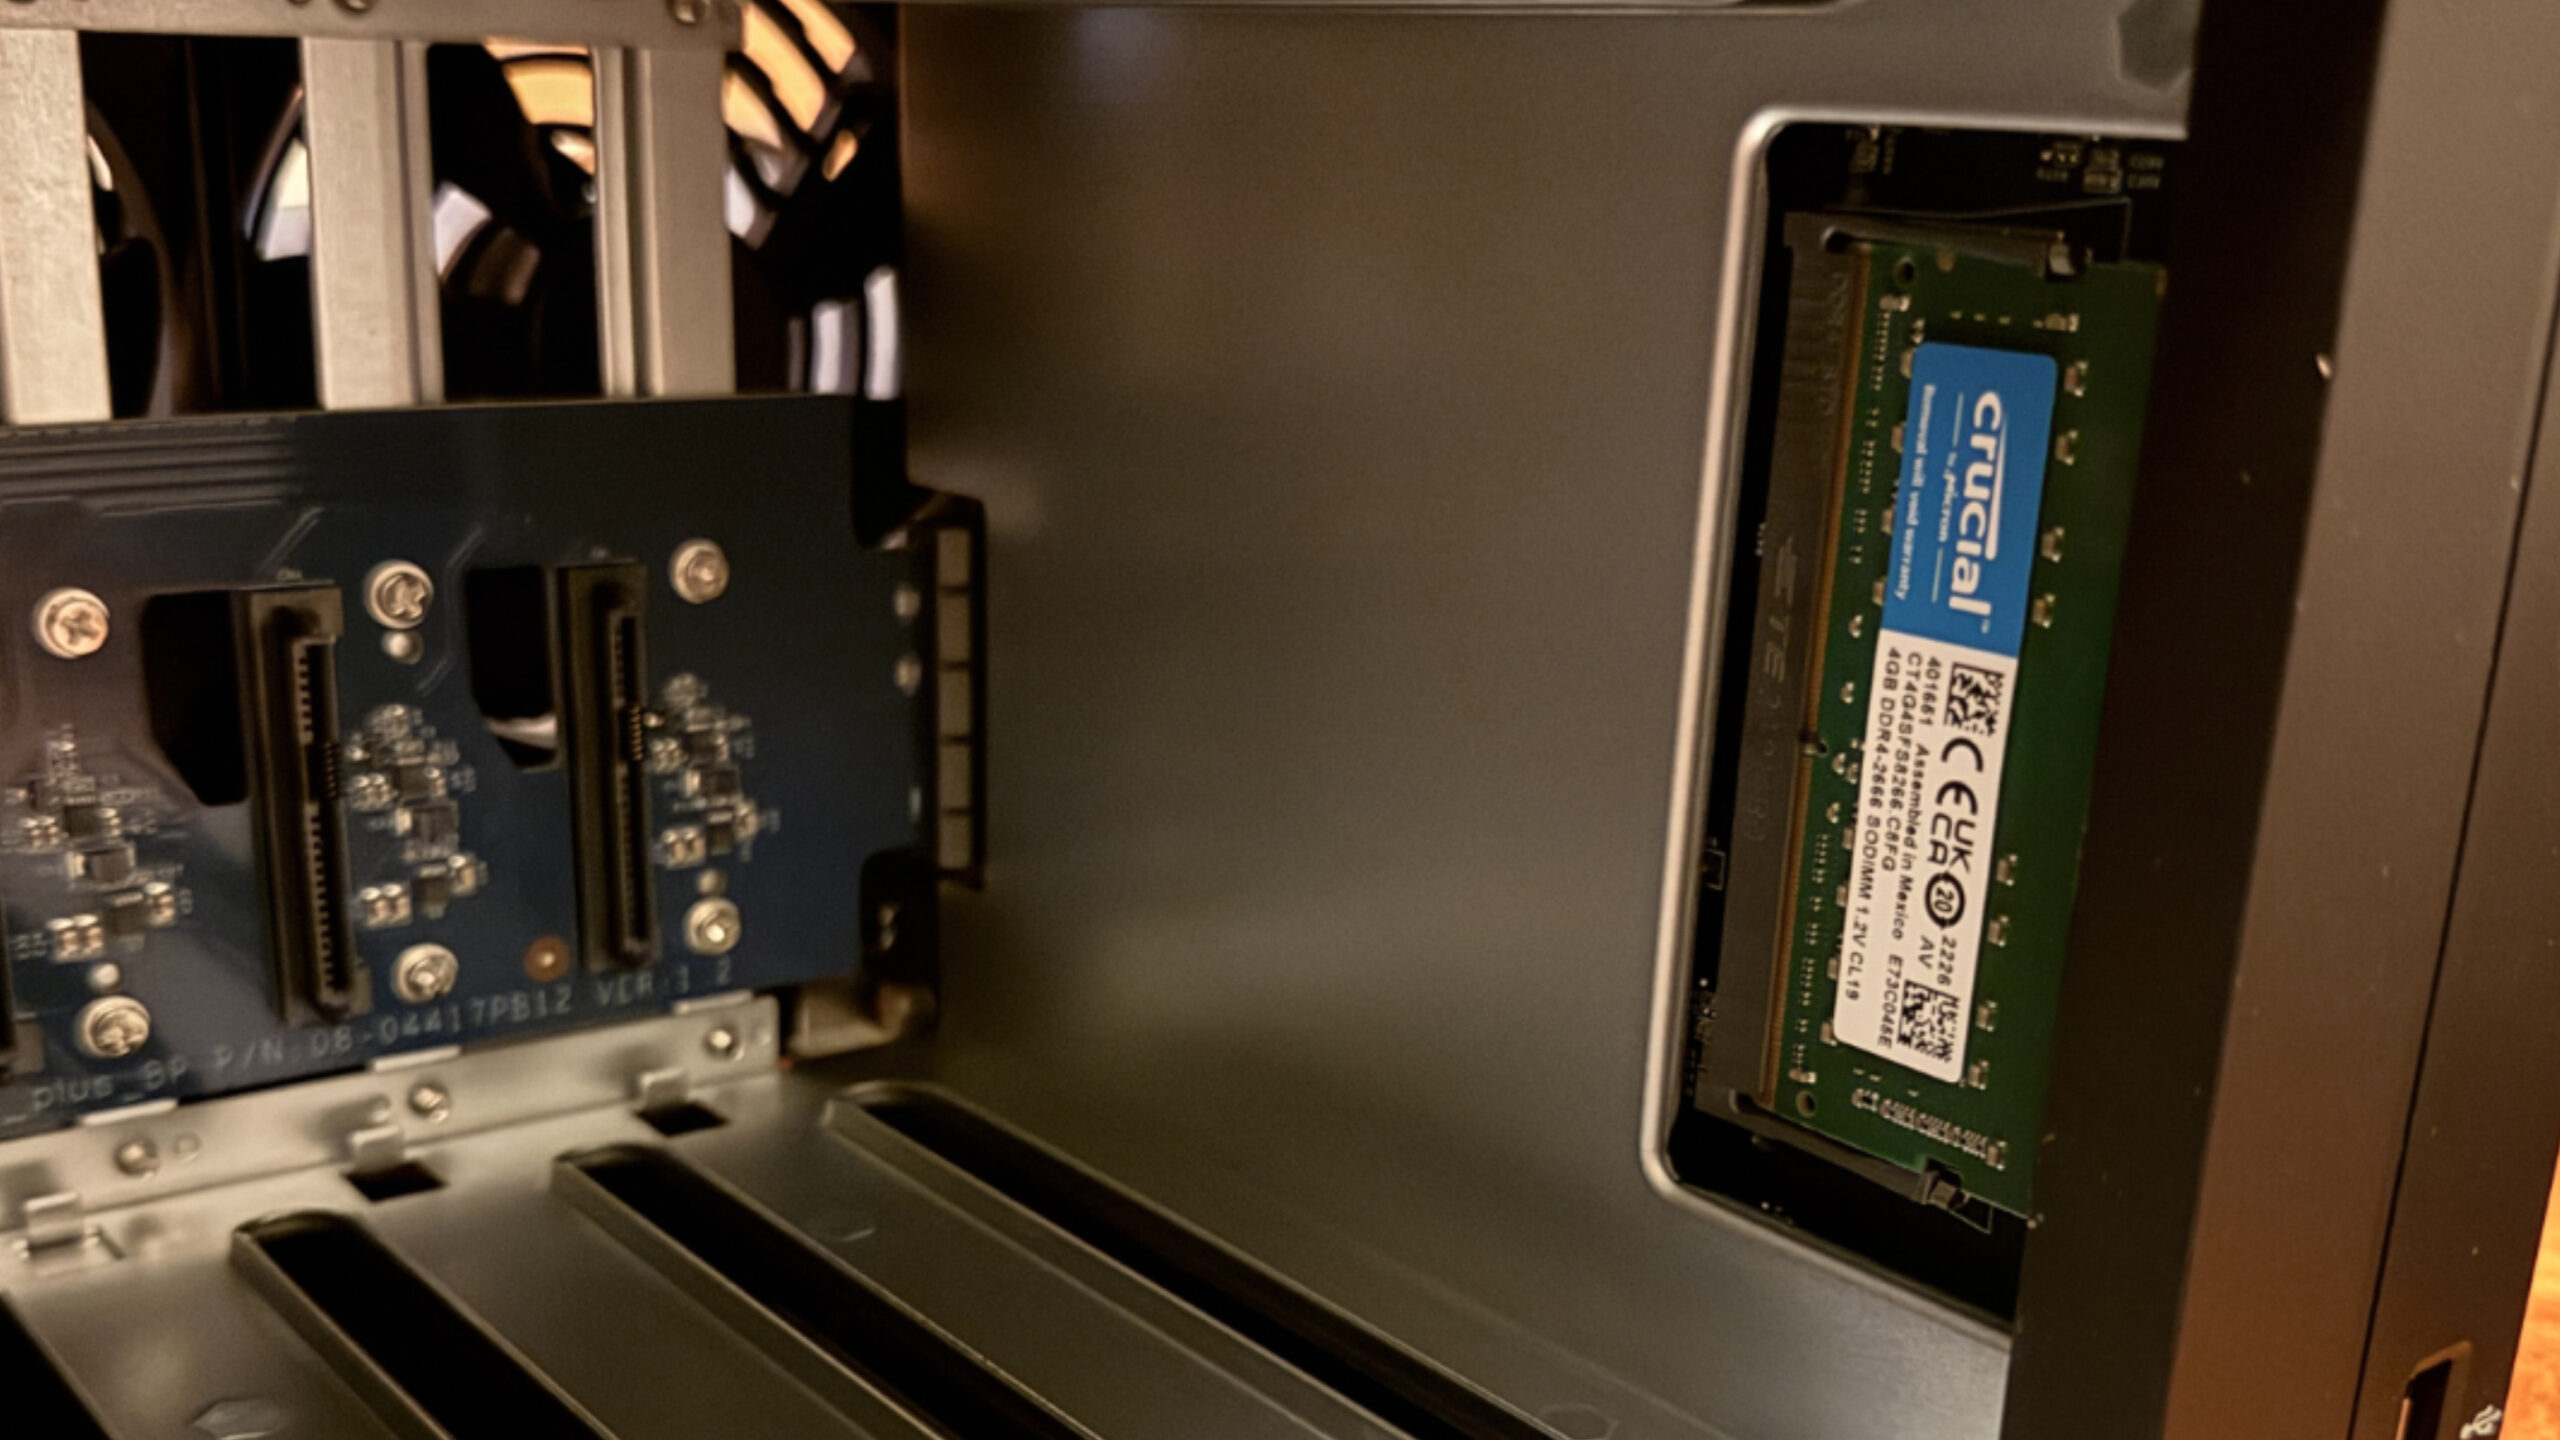
This NAS also has two M.2 slots for SSDs. These can be used for additional drive storage or used as a performance cache. I’m not using them, at least for now, and I guess one could make a case for either usage. But I’ve spent enough money on this thing and the performance of the SSD-less DS224+ has been terrific. So there’s no need I can see.
I was inordinately busy yesterday. But this morning, I finally installed the first (12 TB) hard drive. I will configure this in a SHR RAID pair with the second 12 TB HDD whenever that arrives–Monday, supposedly–but as was the case with the first NAS, there was no reason not to get started.
Installing the drive was straightforward. As with the first NAS, Synology provides a sturdy plastic tray for each drive. You remove some side rails, place the drive inside the tray, and then put the side rails back on.

The side rails each have pins that hold the HDD securely in place, so there’s no need for screws, though Synology supplies them if you need them for some reason.
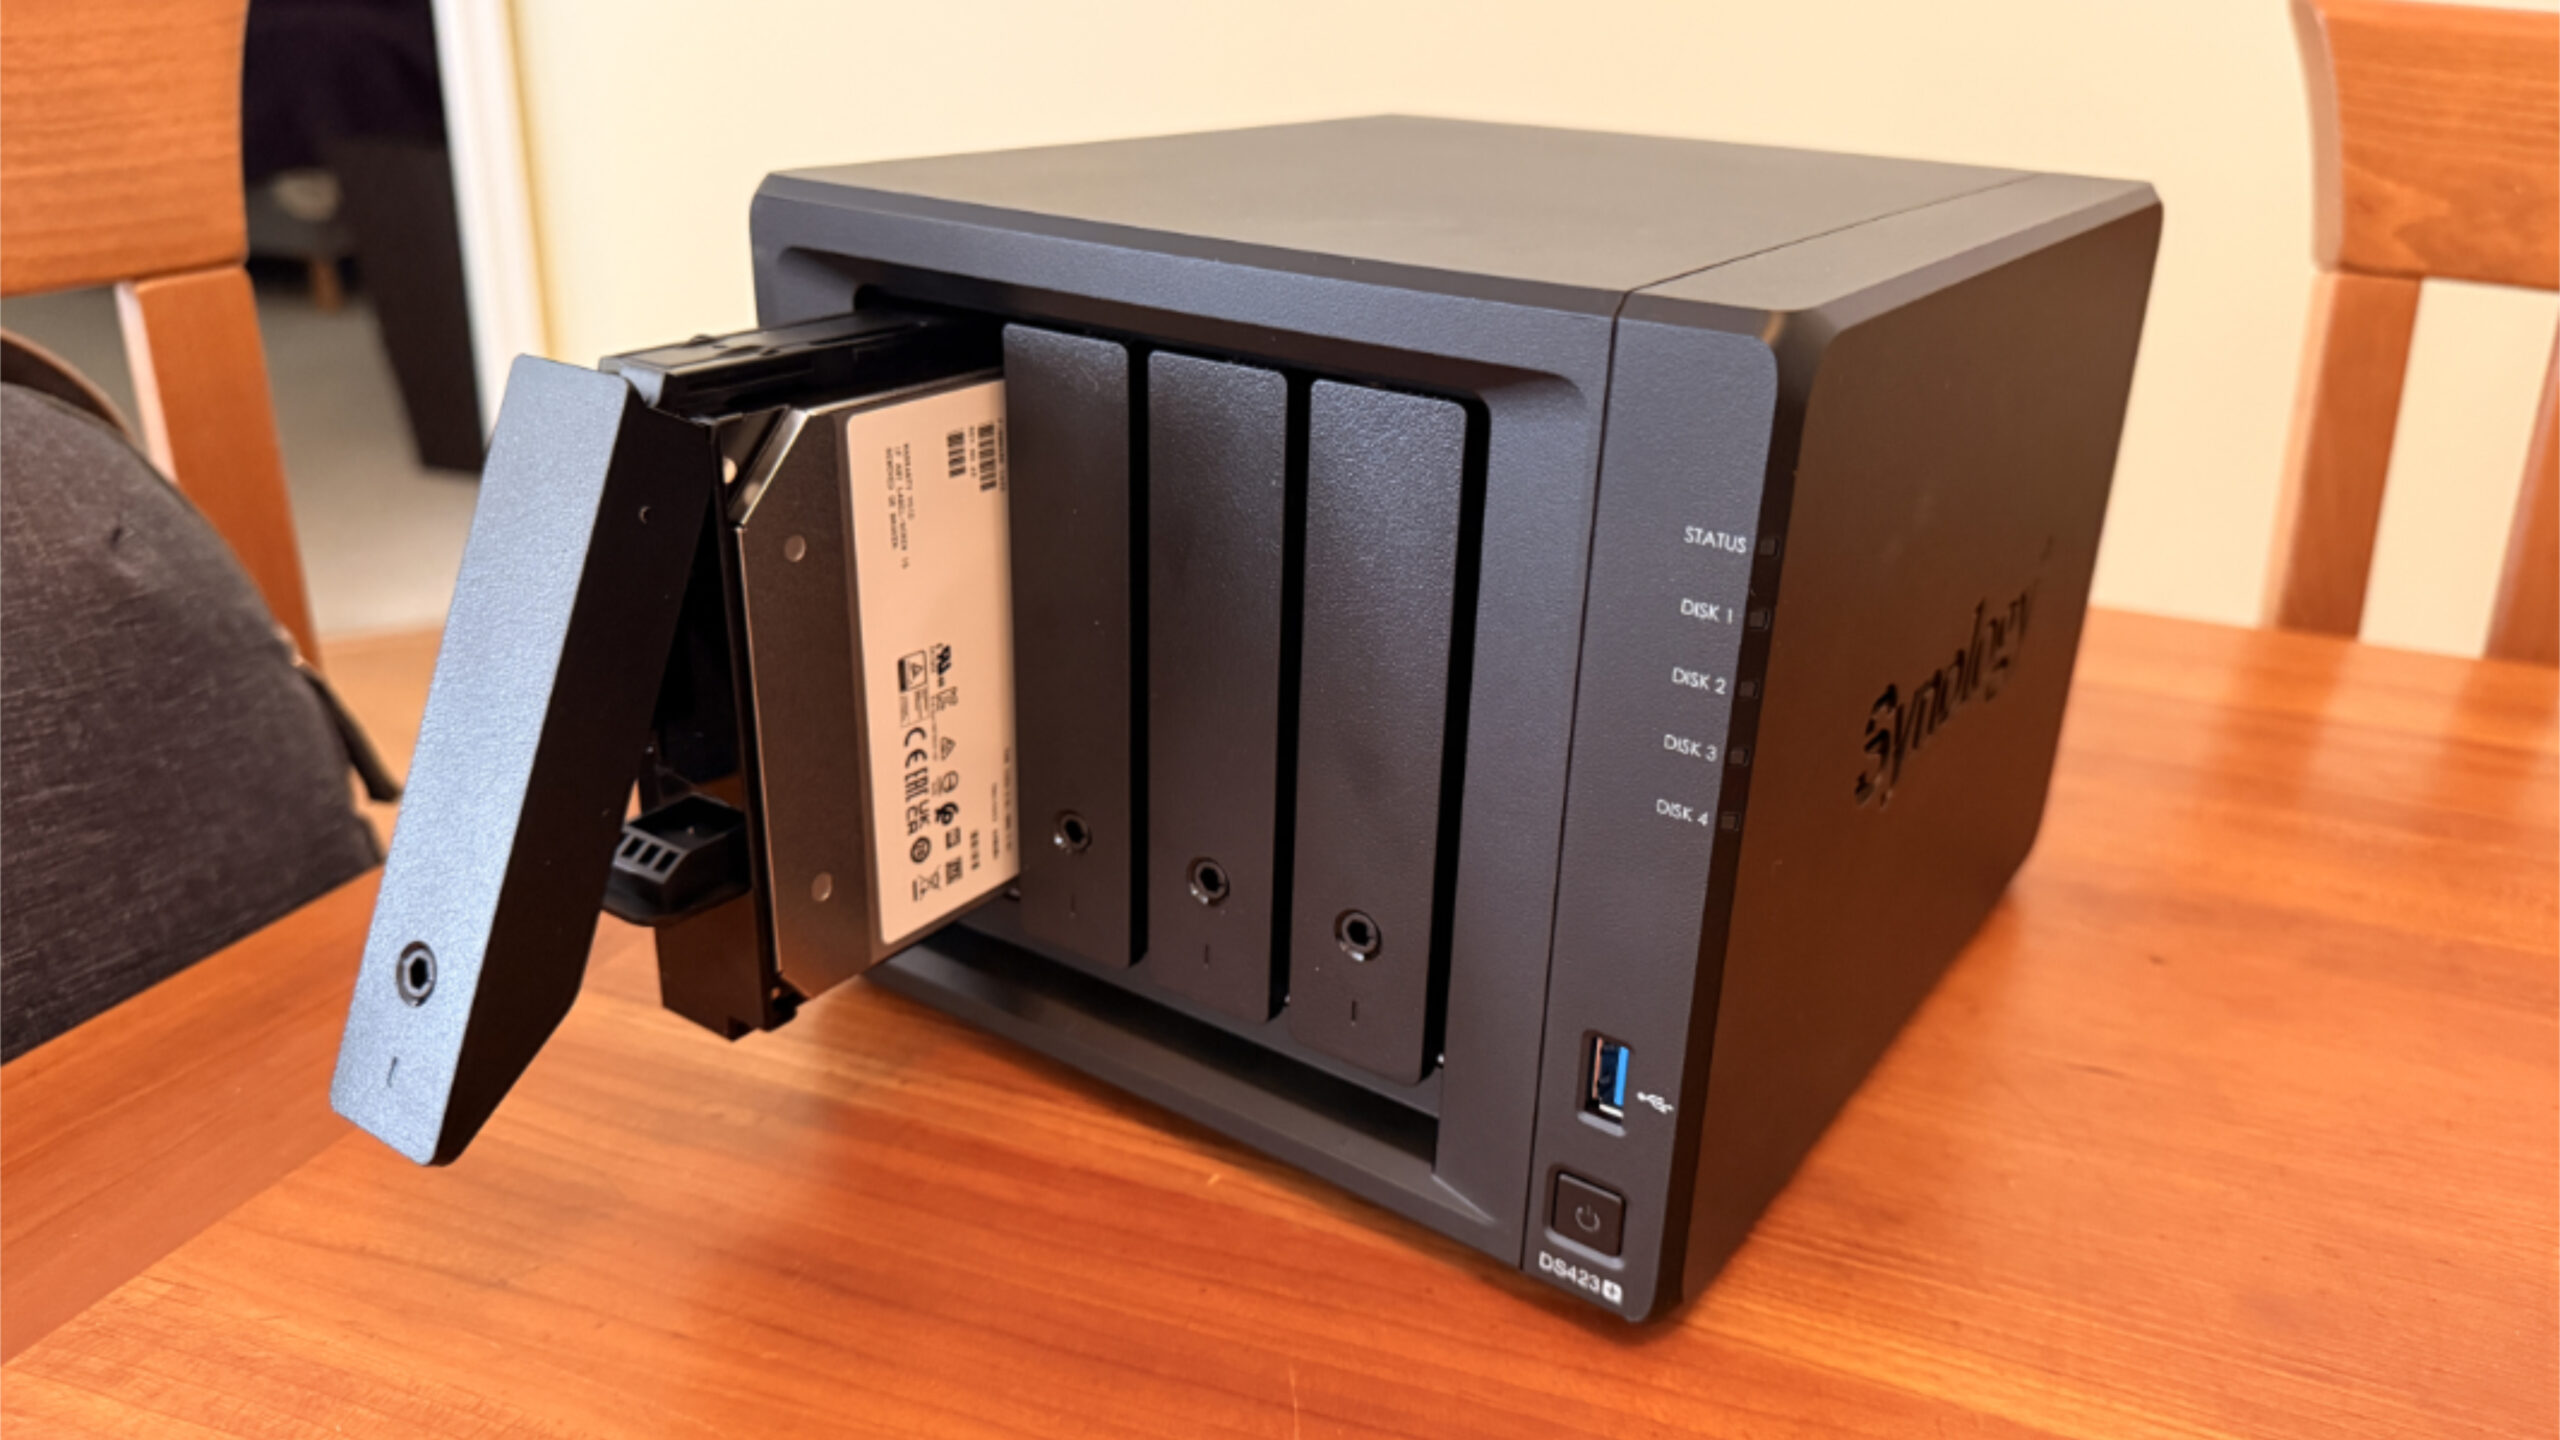
After popping the drive in its tray into the NAS, I checked out how the lock keys work. And as noted above, I decided to lock the drive in place, and will do that for the other drives I add later.
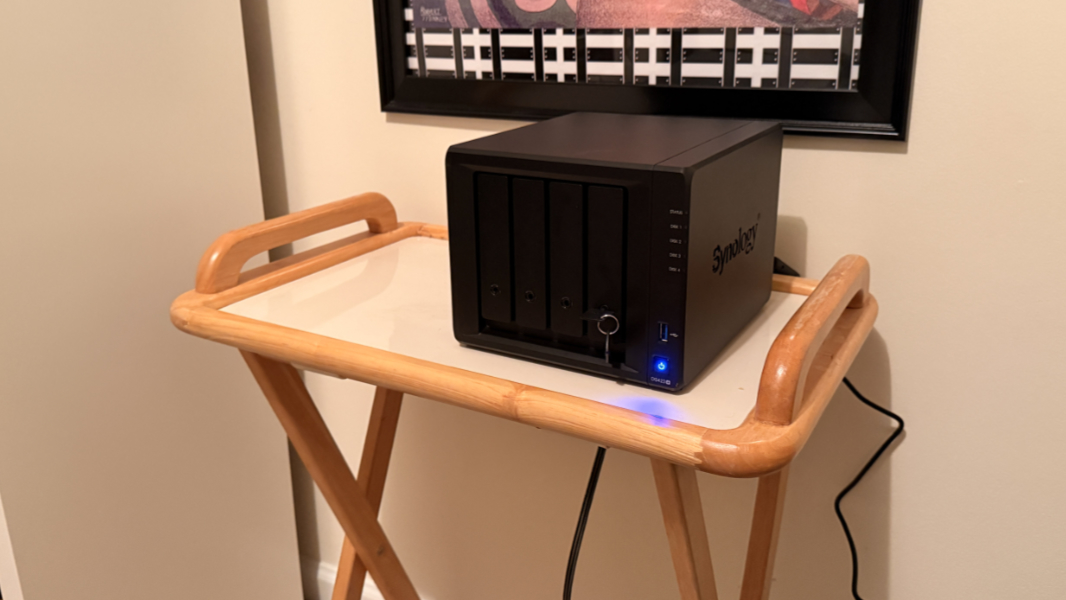
Then I brought the NAS into my home office and gave it a temporary home for initial configuration, placing it on a tray table where I could see and access it more easily. I plugged in an Ethernet cable and power. Then pressed the power button to power it up.
☑️ A minor but important configuration change for the first NAS
Before setting up and configuring the DS423+, I decided to make a small but important configuration change to the first NAS. I had given it a less than useful name that had the number 1 in it, but now this will be the secondary NAS, plus it will be in Mexico. So I wanted to give it a name that I would easily remember and made sense: Synology uses a QuickConnect feature for remotely accessing its NASes–and for connecting things like Synology Drive on PCs and phones–and this name is used for the QuickConnect ID.
I can’t imagine this will screw anything up. Is what I thought to myself as I signed in to the Synology web dashboard.
Renaming the NAS is simple enough: You just open Control Panel, navigate to Network, and then change the server name.
I was curious about the clients, as I use Synology Drive across my many review and owned laptops and my phones; I also use Synology Photos on my phones. This is something I will look at as I move from device to device, but since I was doing this work on a PC, I opened the settings interface for Synology Drive there and saw there was an “Edit connection” option. It found the new name instantly, and I just had to retype my password and then a 2FA code and it was all set.
I’ll look at my iPhone and then my other PCs and phones later.
(And see below, as this wasn’t enough.)
⛏️ Initial setup and configuration
With the original NAS renamed, I figured the new NAS would be ready for its initial setup. And after checking that it was all set–all green lights, plus the blue power light–I got started. There are a couple of ways to do this, but this time I went with the web-based find.synology.com tool, which quickly found the new NAS.
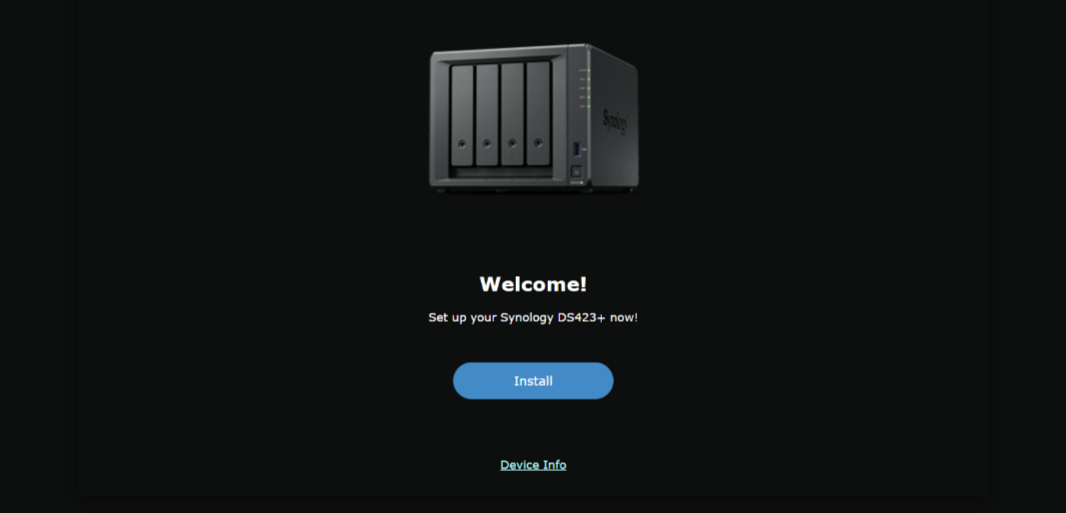
So I connected to that, agreed to a EULA, and clicked “Install” when prompted.
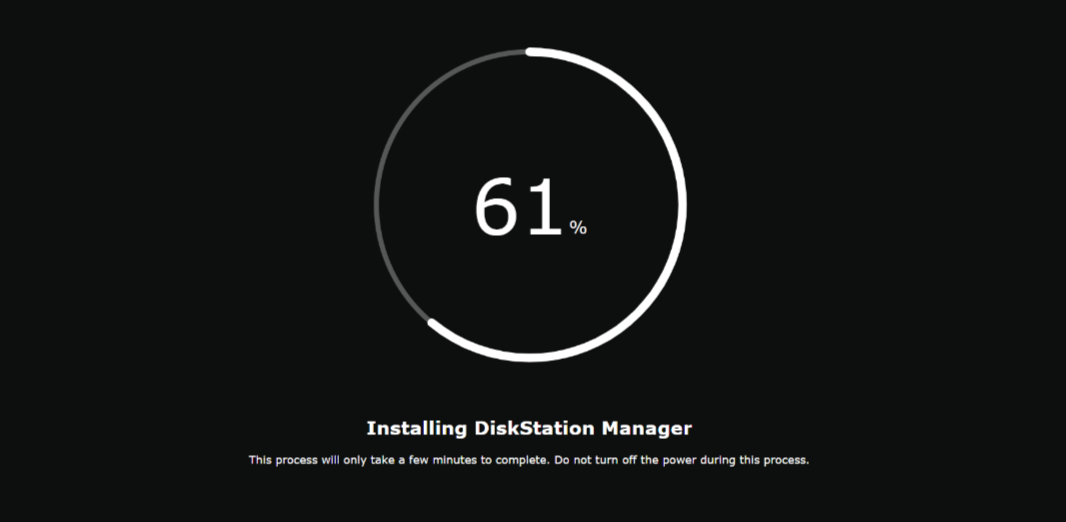
The Synology DiskStation Manager (DSM) setup wizard is mostly straightforward. First, I agreed to automatically download and install the latest version of DSM, which took only a few minutes before a reboot and what I assume was an offline install phase that it said could take as long as 10 minutes.
It took longer than that. Or, less time, really. But the NAS never rebooted, so I went into the home office after the countdown ended, powered it back up, and returned to the laptop. I reconnected and it came right up.
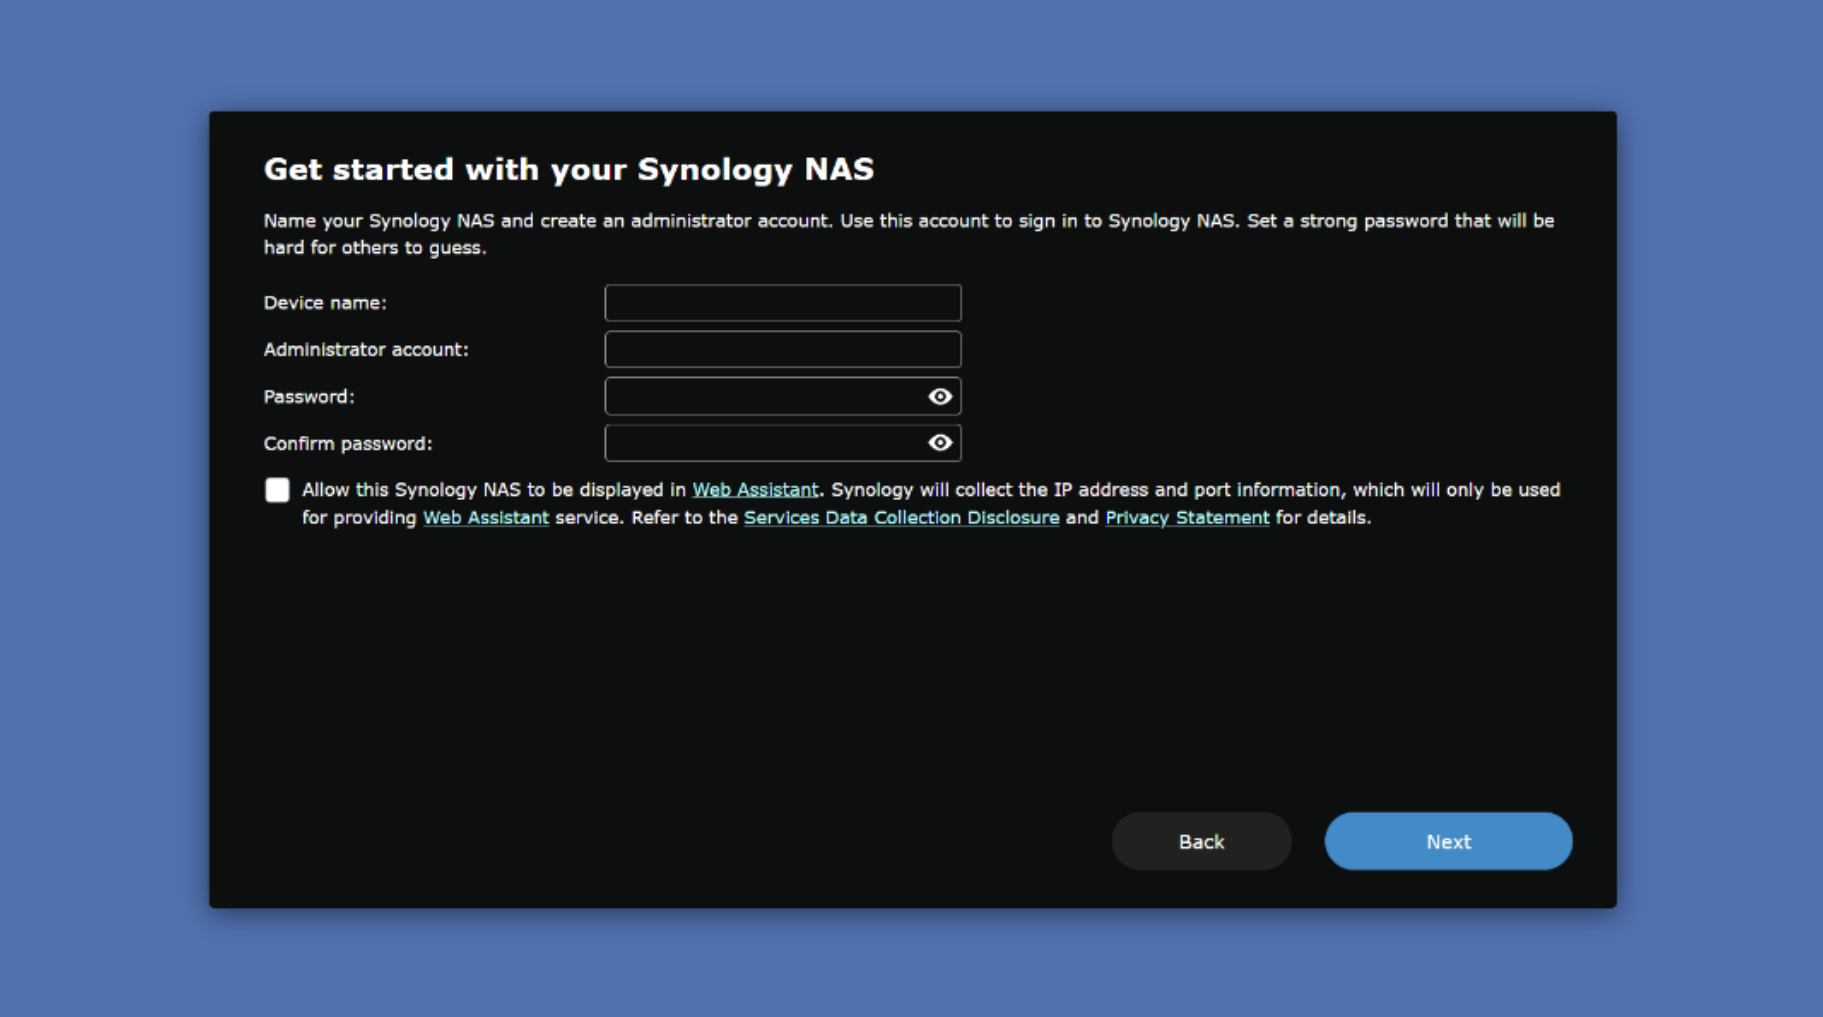
Over several steps, I named the NAS, created an admin account, configured how the NAS will be automatically updated, and then created a QuickConnect ID. Which made me realize that changing the name of the first NAS didn’t change how I connect to it remotely. And so I fixed that problem on the first NAS (it’s in Control Panel > External Access > QuickConnect, doy.)
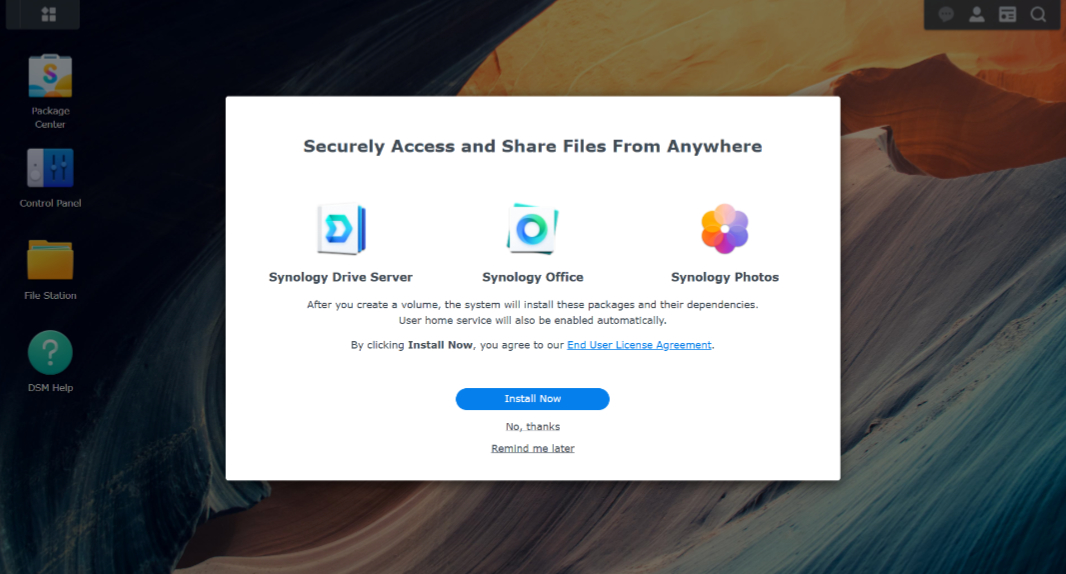
After that, I enabled Synology Active Insight (for NAS monitoring and troubleshooting), Diagnosis Service (for auto-delivering diagnostic data to Synology support if needed), and DSM configuration backup; Synology Drive Server, Synology Office, and Synology Photos; skipped the extended warranty offer; and enabled 2FA.
From there, it was time to create a storage pool and volume so that I could actually use the drive(s). As with the first NAS, I chose SHR RAID (albeit with a single drive, for now), added my one drive to the one pool, configured it to perform a drive check (which takes a long time), allocated all the drive’s storage to the pool, chose BTRFS for the file system (required for several useful Synology features), and configured it to encrypt the volume (another time-consuming process). After assigning an encryption key vault password and downloading the key so I could back it up, DSM went to work getting the drive ready for use.
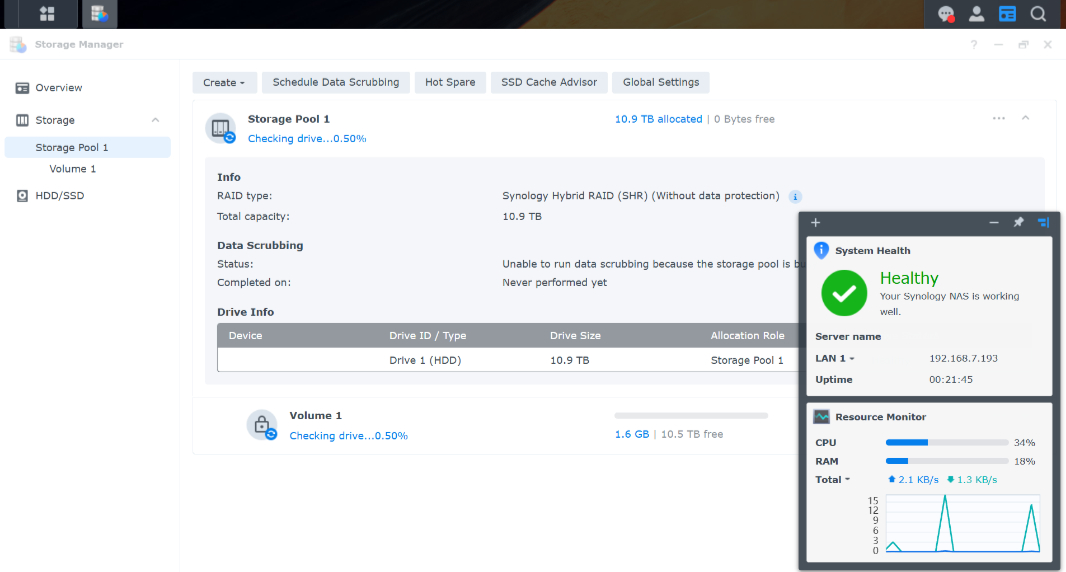
As I write this, DSM is only 0.06 percent of the way through checking the drive. So this will take a while. But this happened reasonably quickly with the first NAS after some initial waiting, so I assume it will be done before turn of the century.
? Next steps
Later today, I’ll compare the comparison of the first NAS to that of the new one to make sure they behave identically where required (for example, I want them to restart automatically after a power loss). I have to figure out how to get them synced, using Synology Drive ShareSync, though I won’t get that going until the new NAS is ready. And I will add that second 12 TB drive when it arrives. And think on the two 16 TB drives. That may be a spousal decision.
So we’ll see how it goes. But given my three months of experience with the first NAS, all overwhelmingly positive, I feel good about making it work.
More soon.