The WinForms Notepad Project: A Little Formatting (Premium)
- Paul Thurrott
- Oct 19, 2019
-
9
With the basics of our Windows Forms-based Notepad clone up and running, let’s start adding some of the small but important features and functionality this thing needs to be taken seriously. We still have a long way to go, of course, but you have to start somewhere. So let’s start with the foundation of Notepad, the text editor.
As you may recall, we used a RichTextBox control for this. But as its name suggests, the RichTextBox control works with rich text, which includes formatting like bold, italics, and even things like bulleted list items, and it can load and save to RTF files in addition to plain text (TXT) files. That’s all very useful. But Notepad isn’t a rich text editor, it’s a plain text editor.
You can see the problem if you run the application, paste in or write some text, and then select part or all of it and use a keyboard shortcut like CTRL + B to apply the bold style. (If you paste in rich text, you’ll get the formatting with it, too, including URLs.) That’s no good.
The solution, then, is to restrict the RichTextBox control to plain text, if possible, or use another control—one reader recommended the TextBox control—that only supports plain text.
As an aside, I mentioned last time that I had worked up a lot of this application ahead of time, but one of the things I hadn’t fixed was the rich text capabilities of the editor. I had chosen RichTextBox instead of TextBox in part because it was so easy to dock it to its parent container—that is, the part of the form window not displaying the menu or the status bar. That kind of thing is the entire point of using Visual Studio and a modern framework like WinForms; it gives you so much functionality automatically, eliminating the need to constantly reinvent the wheel and write tons of code.
But as it turns out, you can dock TextBox too. And since I never did figure out a way to limit RichTextBox to plain text, let’s just swap it out. It should be easy enough since we’ve only just started.
To do so, display Form1.vb [Design] in Visual Studio, select the RichTextBox control in the designer and then type DELETE. Then, find and select the TextBox control in the Toolbox—remember, Toolbox search is your friend if you can’t find it—and drag it into the middle of the form. It appears as a smallish, one-line text box.
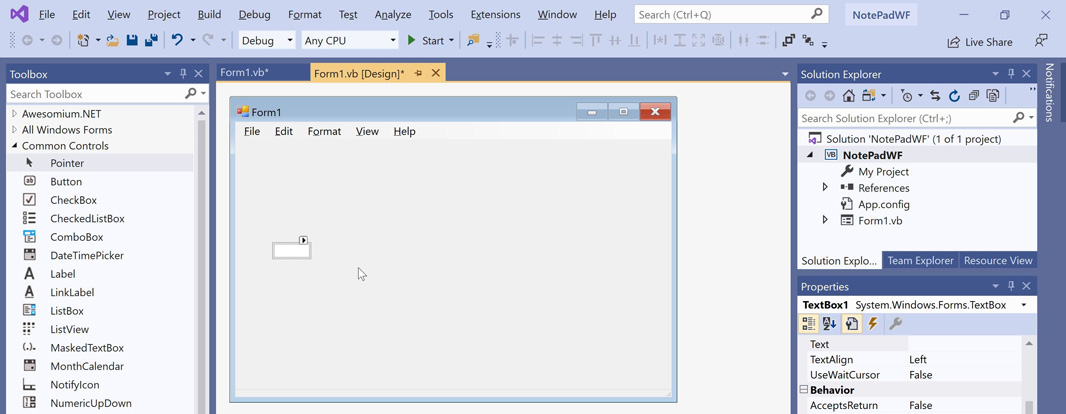
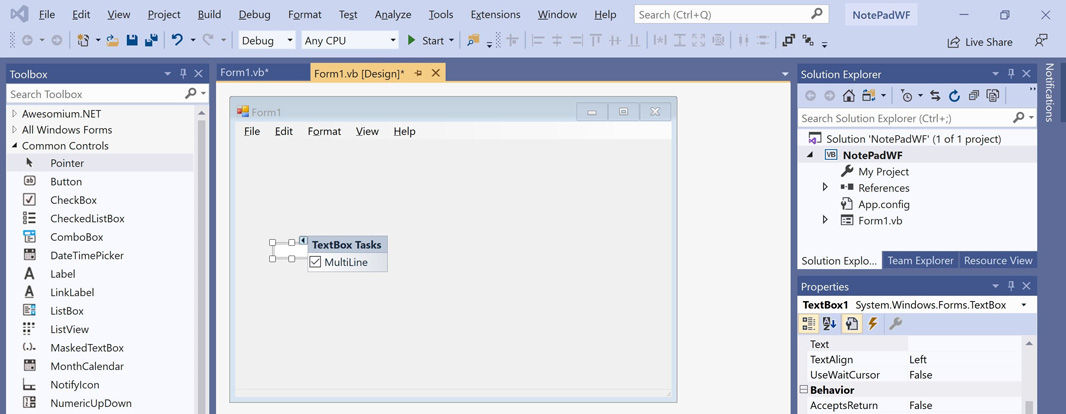
As you may recall, we docked the RichTextBox control using the Tasks context menu that’s available from the arrow/caret on that control. But when you select this item on the TextBox, you’ll see that there’s only one task available, called Multiline. Actually, we need to enable that, too, since our editor must support multiple lines and not just a single line. So check that.
To dock the TextBox control to the form, we’ll need to access the Properties pane in Visual Studio because Dock is a property of that control. With the TextBox control selected, scan through the list of properties until you see Dock in the list. As you can see, it’s currently set to None.
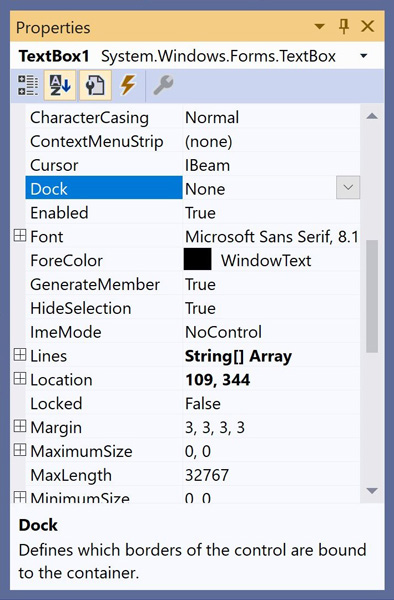
Select the caret next to “None.” A visual representation of its possible values appears, which can be a bit confusing.

Just select the middle rectangle: That represents “Fill,” which is the value we want. That will cause the TextBox control to fill the available space in its parent container, the form. In other words, now it works like the RichTextBox control worked, as you can see in the designer.

To test this, press Start in the Visual Studio toolbar to run the application. It seems to work fine, though there is a colored border around the control (blue on my PC). The show/hide status bar functionality still works too.
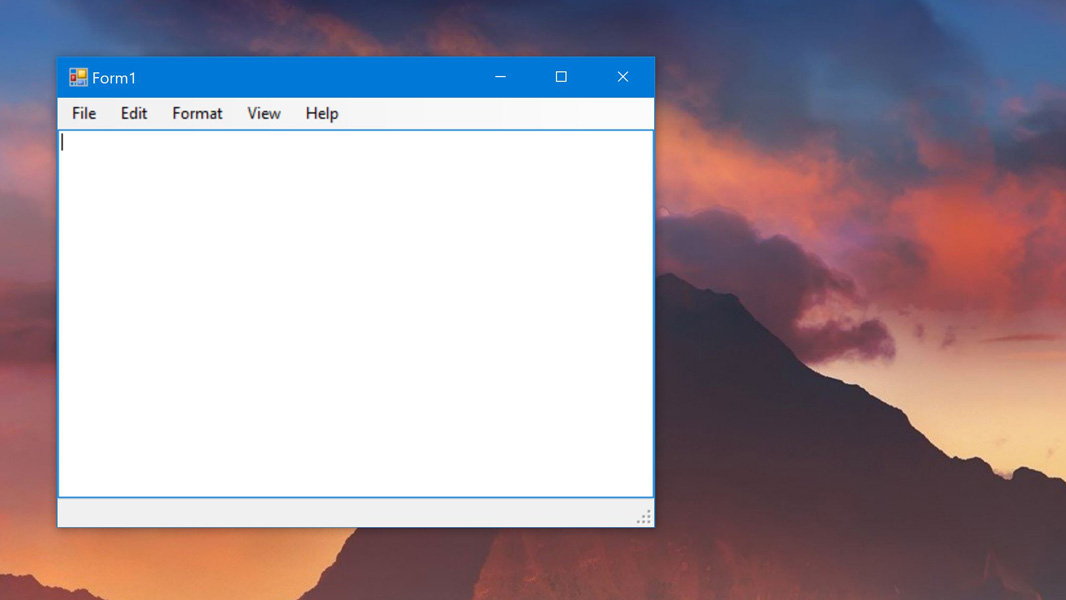
That border thing bothered me, so I scanned through the TextBox control’s properties list and found a property called BorderStyle that was set to Fixed3D. Change this to None and the border goes away. Perfect.
With that out of the way, let’s set the default font to something better and allow the user to change the font. Doing so will impact all of the text in the editor, as it does in Notepad. Actually, looking at how this does work in Notepad—there’s a Font menu item under the top-level Format menu item—it seems like we should be able to implement both of the commands available under Format (Word Wrap and Font).
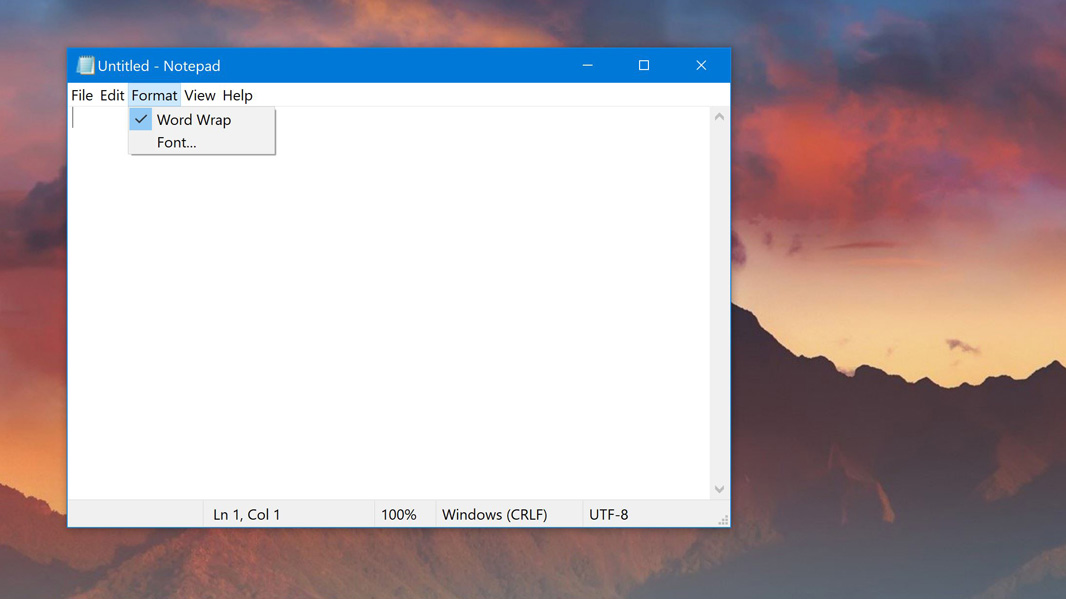
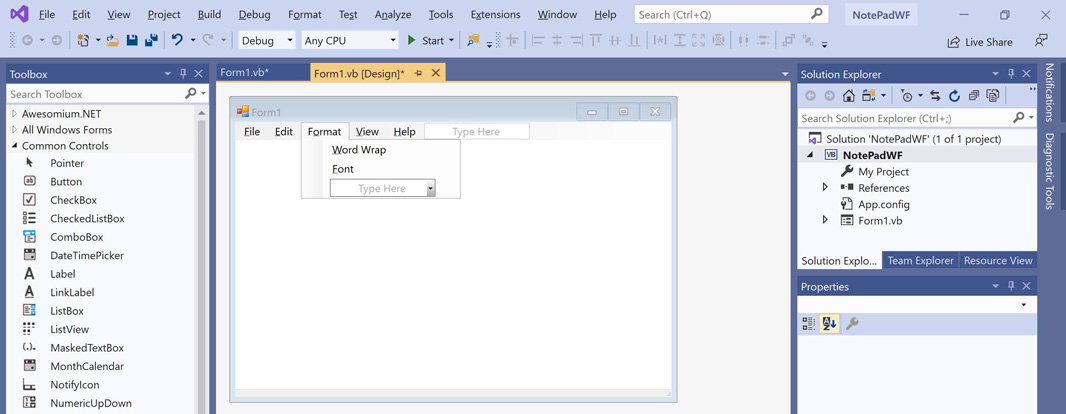
First up, create the Word Wrap and Font items (writing them as &Word Wrap and &Font, respectively, in the menu designer in Visual Studio).
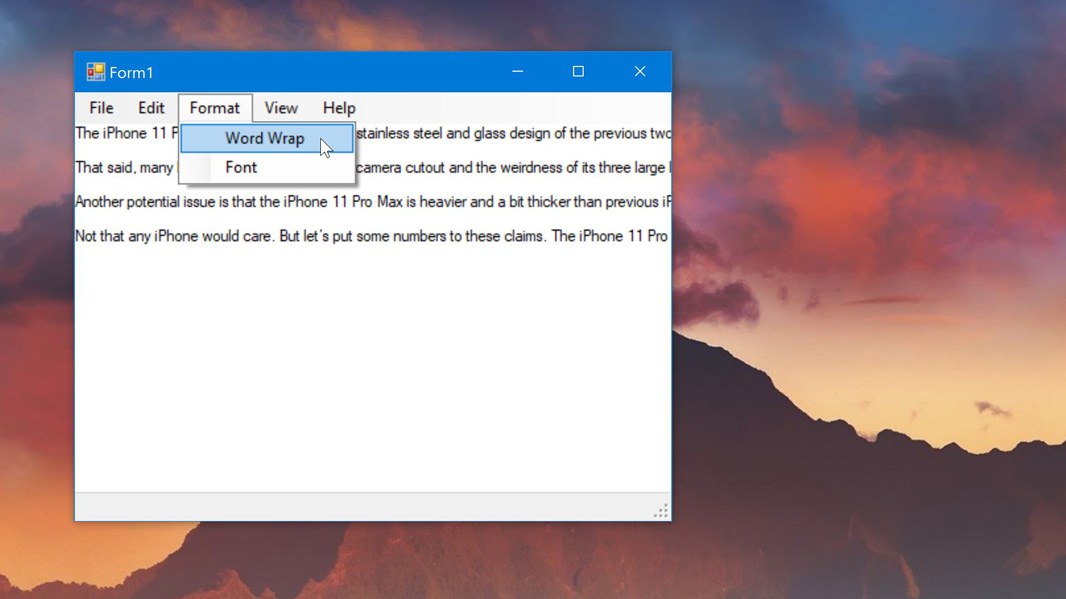
As with View > Status Bar, Format > Word Wrap is a toggle. And for now, we’ll handle it the same way: It will be enabled by default and will be checked in the menu. (Later, we might want to set the state according to the user’s preferences when the app runs.) This is simple enough to implement because the TextBox control has a WordWrap property that can be set to True or False.
First up, select the Word Wrap menu item in the designer. Then, scan the list of properties in the Properties pane and located Checked. Set that to True.
Now, double-click the Word Wrap menu item to display that menu item’s Click event handler. We’re going to take the code we wrote for the StatusBarToolStripMenuItem Click event handler and adapt it to work here. It looks like so:
If WordWrapToolStripMenuItem.Checked Then

    WordWrapToolStripMenuItem.Checked = False

    TextBox1.WordWrap = False

Else

    WordWrapToolStripMenuItem.Checked = True

    TextBox1.WordWrap = True

End If
To test this, you’ll need to paste or write a lot of text, and that text will need to have multiple paragraphs/line breaks. But it does work properly, toggling both word wrap (in the editor) and the checkbox on the Word Wrap menu item.
Next up, the font. There are two tasks here: Setting the default font to something more readable on a high-DPI screen and allowing the user to change the font.
The first one is easy because the TextBox control has a Font property. Looking at Notepad on my PC, I can see that the font is set to Consolas Regular 12 point, and while I’m not sure whether that’s the default in Windows, I’ll use it here. (You can use whatever font/size you want, of course.)
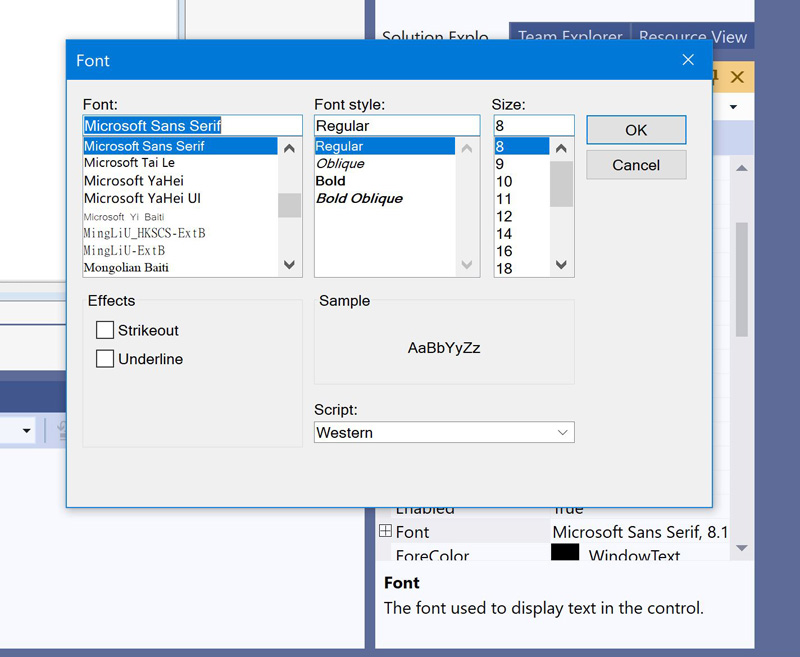
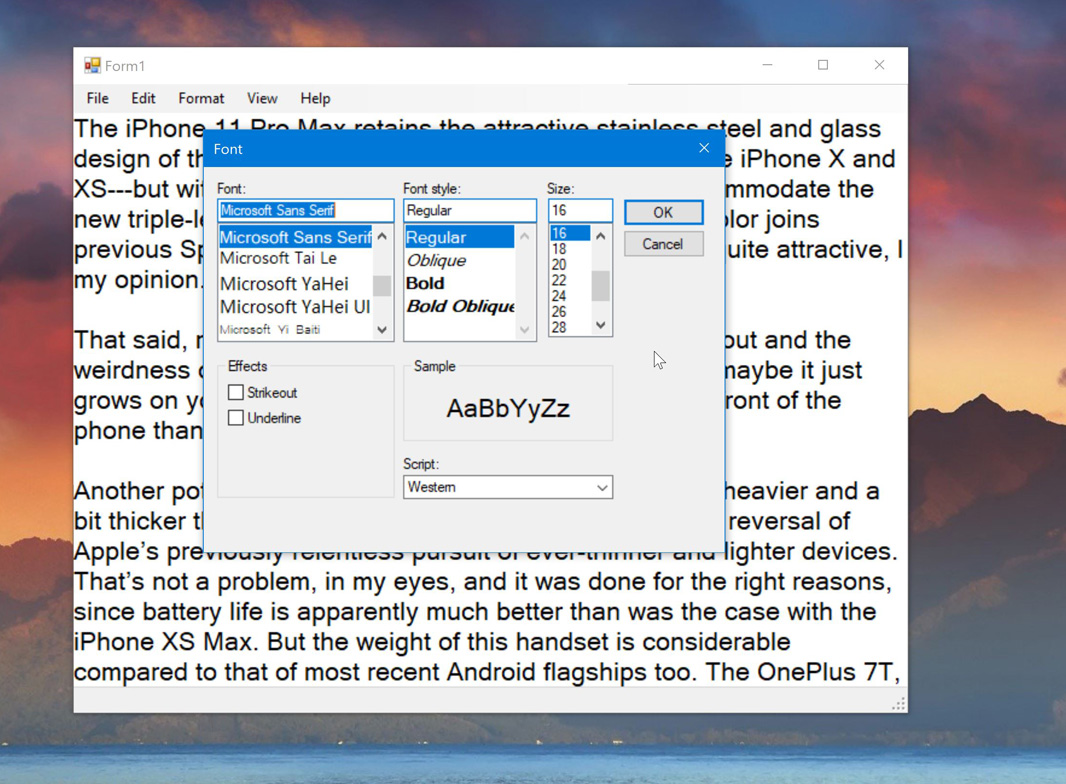
To change the default font used by our Notepad clone, select the TextBox control in the designer and then find its Font property in the Properties pane. Select the little “…” widget to the right of that and then configure the font you want in the Font dialog that appears.
Now, we can let the user change the font, too. To do so, open the Format menu on the form in the designer and double-click on the Font menu item. This will display its Click event handler, of course. Here, we want to do what Notepad does: Display a Font dialog to the user and then apply whatever changes they make to text in the editor.
Displaying a Font dialog is simple enough. There’s a FontDialog object in the Toolbox and you can drag it into your form just as you did with the MenuBarStrip, TextBox, and StatusBarStrip controls. But when you run your app, you’ll never see this object. Instead, you must display it using code. For example, if you wrote the following code inside the Font menu item’s Click event handler, the Font dialog would appear when the user selected this item.
FontDialog1.ShowDialog
But none of the changes made in the dialog would reflect in the editor. So we need some way to grab the changes that were made, if any, and apply them to the text in the editor. If the user selects a new font and/or a new font size, for example, the text in the editor should change to that.
Like any other dialog, the Font dialog returns a result value to your application when the user closes it. They may click OK or Cancel, for example, which is simple enough. But the Font dialog also allows them to make font configuration choices. And those changes are made to the FontDialog’s Font property. So that can be read and then applied to the TextBox’s Font property as well.
So. If the user selects OK, we will need to apply the font changes they made to the editor. And that’s the only result we need to test for; if the user selects Cancel or the close window box (which is Abort, I think), there’s nothing to do.
Inside the Click event handler, replace the code you may have added (from above) with:
If FontDialog1.ShowDialog = Windows.Forms.DialogResult.OK Then

    TextBox1.Font = FontDialog1.Font

End If
This kind of compounded code, where the ShowDialog bit is part of an If statement, may be confusing. But the gist here is simple enough:
- Display the Font dialog.
- If the user clicked OK, then apply the value of the Font dialog’s Font property to the text box’s (editor’s) Font property.
- Otherwise, don’t do anything.
And it works: When you run the program, add/type some text, and then change the font in any way—I usually test by making it much bigger so it’s obvious—all of the text in the editor will change to match.
Nice! And that’s probably a good place to stop for the day.
One more thing
OK, one final note. My decision to originally use a RichTextBox instead of TextBox wasn’t as arbitrary as I may have made it sound. RichTextBox offers some functionality that TextBox does not that we’re going to need for Notepad, including the ability to zoom its display. So we’ll need to work around that. My guess is that Microsoft does use a RichTextBox control in the real Notepad and that they wrote code to restrict it to plain text (by ignoring keyboard shortcuts like CTRL + B). And who knows? Maybe that is the right approach for us too. But I’m learning along with you, and we’ll tackle these problems as we go.

Gain unlimited access to Premium articles.
With technology shaping our everyday lives, how could we not dig deeper?
Thurrott Premium delivers an honest and thorough perspective about the technologies we use and rely on everyday. Discover deeper content as a Premium member.