The WPF Notepad Project: Getting Started (Premium)
- Paul Thurrott
- Mar 16, 2020
-
12

For this second project, we’re going to recreate our Notepad clone, .NETpad, using C#, Windows Presentation Foundation (WPF), and .NET Core 3.1. But as you may have seen in my short series of posts, The WPF Files, this time will be a bit different: I’ve already created the application, so here I’m doing it again and documenting it as I go. So I should be able to finish it up much more quickly.
That’s good, because the original article series, The WinForms Notepad Project, which focused on a Visual Basic/Windows Forms/.NET Framework version of the Notepad clone, took a lot longer than I had expected. Though on the positive side, I was able to accomplish more than I had hoped, too. Plus during that time, I created a separate C# port (also using WinForms and the .NET Framework.) Yes, I’ve been kind of obsessing over this.
There are two major changes this time around, at least from the perspective of the developer and their daily interactions with code in Visual Studio.
First, we’re using C#. C# is a more professional and powerful language than Visual Basic, but it’s also a bit more complex for beginners. But as a C-like language that is syntactically similar to C++, Java, JavaScript, and other popular languages, C# is a nice onramp to modern software development. It’s my favorite programming language overall. I will try to stick with C# as much as possible moving forward (though some later web projects may derail that goal somewhat).
Second, we’re WPF instead of WinForms. WPF is more modern than WinForms, but it is likewise less approachable for beginners, in part because it doesn’t offer the same simple drag-and-drop rapid application development (RAD) capabilities as its predecessor. But there are huge advantages to the approach taken by WPF, not the least of which is that Microsoft continues using it in newer frameworks and because other development environments—like Google’s Flutter—work similarly as well. So the skills you obtain learning WPF are transferrable.
There’s a third change, the move from .NET Framework to .NET Core, but that should not impact you too much, aside from some workarounds that are needed to make certain things work. Since WPF is a Windows-only technology, we can’t/won’t benefit from any of .NET Core’s cross-platform goodness, but there are allegedly some performance improvements too. Anyway, .NET Core 3.1 is the latest .NET version at the time of this writing.
So let’s get started.
Assuming you’ve already installed Visual Studio, run the Visual Studio Installer application and ensure that the integrated development environment (IDE) is up-to-date. Then, click Modify to examine the available workloads. If you followed along for the VB/WinForms/.NET Framework version of .NETpad, you should already have the .NET desktop development workload installed. If not, select that and click “Install while downloading.”
When that’s all set, run Visual Studio. In the opening window, choose “Create a new project.” In the Create a new project window, select “WPF App (.NET Core).” You can winnow the available choices by using the filters at the top of the list: Choose C#, Windows, and Desktop, respectively. (And be sure to choose “WPF App (.NET Core)” and not “WPF App (.NET Framework),” though either would work fine.)

In the Configure your new project window, give the project a name—I chose NotepadWPF, though it doesn’t matter all that much—and make sure the option named “Place solution and project in the same directory” is checked. This is a simple one-project solution.
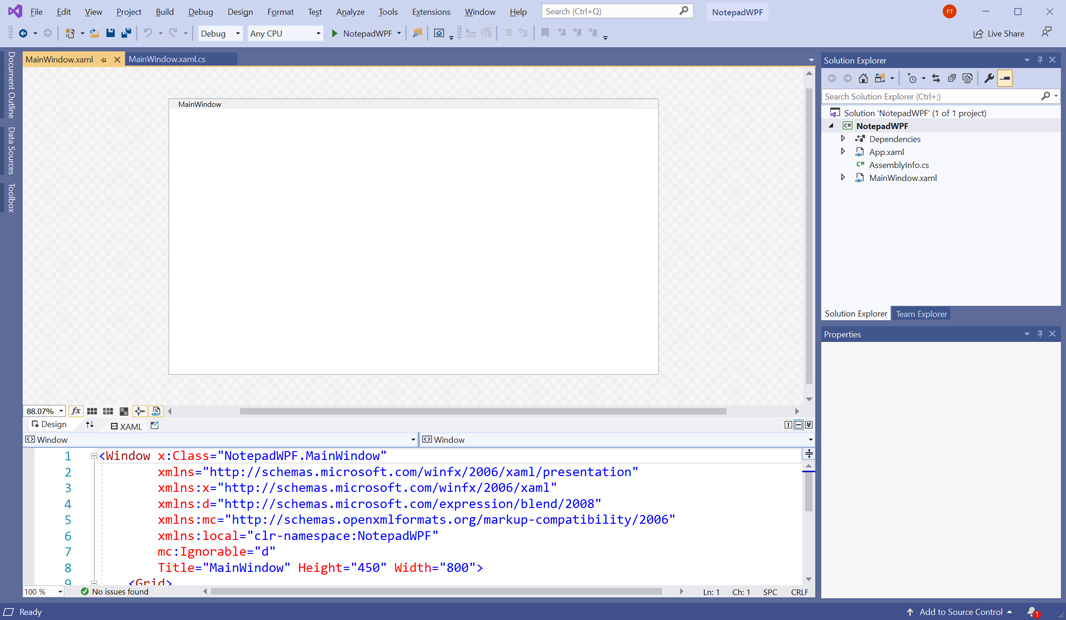
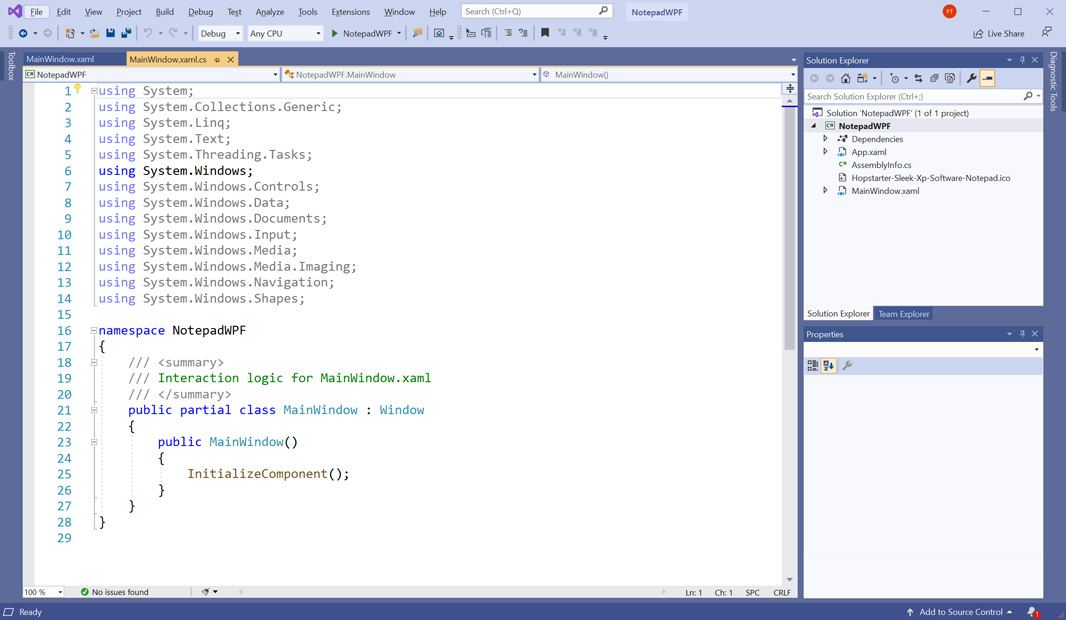
Then, click Create. The full Visual Studio IDE will appear and it will slowly load your new project and display two files in tabs, MainWindow.xaml and MainWindow.xaml.cs. The first of those tabs uses a split view in which you can see the designer at the top and code at the bottom.
This requires a bit of explanation.
WPF uses a declarative XML-based language called XAML—pronounced “zammel,” like “camel”—to describe the user interface for your application. There is a designer, so you may initially hope that it works like that provided by WinForms. It does not. Yes, you can technically drag controls from the Toolbox on the left onto the designer surface. And yes, there are even improvements over WinForms, including the ability to drag controls from Toolbox into your code. But you won’t do any of this because the performance is terrible, because it’s impossible to visually arrange controls accurately, and because it is so much easier to create UI using XAML code once you get the hang of it.
The best part is that because .NETpad is such a simple application, from a UI perspective, it is particularly easy to writer the XAML code required to create this UI.
If you have a big enough display, you can keep the split view—with the designer and the XAML code in separate panes—onscreen. But I find it easier to work in just the code view, and it’s easy to switch to the designer when needed. So double-click the little “XAML” text in the divider between the two panes. That will display all of the XAML code that Visual Studio has already provided for our application.
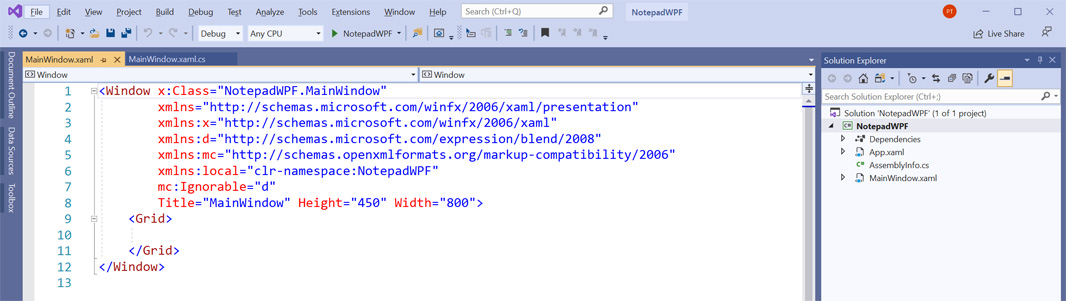
There’s not too much there, and even a beginner should be able to tell that the title of the window will be MainWindow, and its dimensions will be 800 x 450 (not pixels, as we’ll see in a moment). There’s also an empty grid, which can be expanded on to define a basic UI.
Click the Run (green arrow button with the project name next to it) in the toolbar to build and run this empty application. As expected, an empty application window appears.
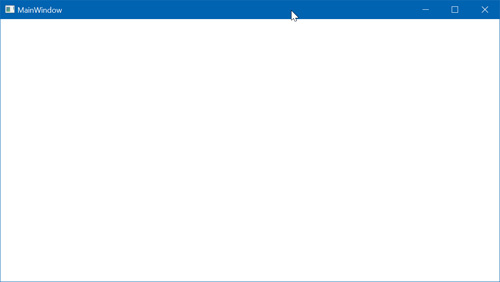
On my PC, which has a 27-inch 1440p display at 150 percent scaling, I can see that the application window is absolutely not 800 x 450 pixels. That’s because WPF doesn’t use absolute pixel sizes for sizes; instead, it uses a device-independent unit of measure that’s 1/96th of inch so that it scales your application and its contained controls correctly. In short, this application should look the same, and take up the same basic area on-screen on any PC. In my experience, this works perfectly, and is much better than the system used by WinForms, which was adapted for resolution and scaling independence years after it was first released.
If you consider the .NETpad (or Notepad) main window, you’ll see that it has three basic areas: A menu bar at the top, a text box in the middle, and a status bar on the bottom. The menu bar and status bar are both fixed sizes, but the text box fills all of the available remaining space in the middle and thus needs to resize with the window as needed. This is easily expressed in XAML. (In fact, it’s one the simplest imaginable UIs.)
I noted the grid, which is defined by the <Grid> and </Grid> beginning and ending tags. Grid is the simplest of the layout panels provided by WPF and it completely meets the needs of our app because it provides both row and column definitions (and we only need to define rows). WPF provides several other layout panel types, each with its own unique strengths, but again, Grid does the job.
So the first step is to define the grid, which will include the three rows. Add the following XAML code between the <Grid> and </Grid> tags:
<Grid.RowDefinitions>
    <RowDefinition Height="Auto" />
    <RowDefinition Height="*" />
    <RowDefinition Height="Auto" />
</Grid.RowDefinitions>
The top (menu bar) and bottom (status bar) rows will automatically size based on the needs of the controls they contain. And the middle (text box) row will fill whatever space is left.
Now, to actually fill those rows, we need to define the individual controls. For now, we’ll just throw up some basics to get something on the screen. So add the following code below the </Grid.RowDefinitions> tag (and above the </Grid> tag):
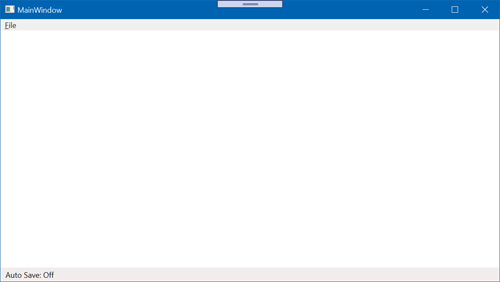
<Menu Grid.Row="0" FlowDirection="LeftToRight">
    <MenuItem Header="_File">
    </MenuItem>
</Menu>
<TextBox Grid.Row="1" Name="TextBox1" AcceptsReturn="True" TextWrapping="NoWrap" BorderThickness="0" />
<StatusBar Grid.Row="2">
    <TextBlock Width="100" Name="AutoSaveText" Text="Auto Save: Off" Margin="5,0,10,0" />
</StatusBar>
Run the application and voila, the basic UI appears.
A couple of points about this code.
The Grid.Row element is used to map controls to the appropriate row in the grid. The menu is in the first row (0), the text box is in the second row (1), and the status bar is in the third (2).
Controls we will reference in code need names, so I’m adding those up front.
In XAML, you can end a tag (like <Menu>) in two ways. Inline, as in <Menu />, or with a closing tag, as in <Menu></ Menu>. I try to use the former when it doesn’t need to contain child tags, and the latter when it does. If you look at the File menu tag (<MenuItem Header=”_File”>), you can see that I do use a separate closing tag (</MenuItem>). That’s because we’re going to add the menu items that the File menu contains inside those two tags.
Finally, you can also format XAML over multiples lines if you like. For example, the text box definition could look like so if you prefer:
<TextBox Grid.Row="1"
    Name="TextBox1"
    AcceptsReturn="True"
    TextWrapping="NoWrap"
    BorderThickness="0"
/>
(The Window tag provided by Microsoft in the XAML file uses this style, by the way.)
OK, let’s build out the application’s main menu. We already added the first item, File, so we just need to add the Edit, Format, View, and Help items. And because they will contain other menu items, we’ll use that same style, with a separate closing tag on each. When we’re done, the menu section will look like so.
<Menu Grid.Row="0" FlowDirection="LeftToRight">
    <MenuItem Header="_File">
    </MenuItem>
    <MenuItem Header="_Edit">
    </MenuItem>
    <MenuItem Header="F_ormat">
    </MenuItem>
    <MenuItem Header="_View">
    </MenuItem>
    <MenuItem Header="_Help">
    </MenuItem>
</Menu>
And while we’re at it, we may as well create the rest of the status bar too, and provide each of the items it contains—I’m using text blocks for these—with some default value. When we’re done, the status bar section will look like this.
<StatusBar Grid.Row="2">
    <TextBlock Width="100" Name="AutoSaveText" Text="Auto Save: Off" Margin="5,0,10,0" />
    <TextBlock Width="100" Name="PositionText" Text="Ln 1, Col 1" Margin="5,0,10,0" />
    <TextBlock Width="75" Name="ZoomText" Text="100%" Margin="5,0,10,0" />
    <TextBlock Width="100" Name="WordCountText" Text="0 words" Margin="5,0,10,0" />
</StatusBar>
As you would expect, when you run the app, it provides the full top-level UI we want.

Before getting into some actual C# code, let’s make a few more changes.
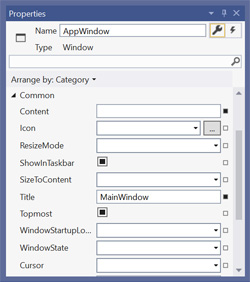
First, we’re going to want to access the main application by name, so let’s add a Name property to the Window tag in the XAML file. You can do that anywhere inside the Windows tag, but I’ve added it before the Title property.

Next, let’s add the application icon that we used for the WinForms version of the app. This is one case where WPF is simpler and more logical than WinForms: Just adding the icon to the window’s Icon property propagates it properly across the app. (You can download this icon here.) Adding it to the window works similarly to WinForms, except that the WPF Properties pane in Visual Studio is a mess. To do so, select anywhere in the Window tag in the XAML file. This will display the properties for the window in the Properties pane.
Select the “Add existing items” button (“…”) next to the Icon property to find and select the icon file and add it to your project. (You may need to change the filter in the Open file dialog to “All files” to see it.) You can’t see the new icon in the designer, but if you run the app again, you’ll see it in the application’s title bar and in the taskbar as expected.
![]()
One fun thing about properties and events in WPF: When you change these things in the Properties pane, you can see the resulting change in the XAML file. So, for example, when we add an icon using the Properties pane, Visual Studio adds the appropriate element (Icon=”Hopstarter-Sleek-Xp-Software-Notepad.ico”) to the Window tag in the XAML file. You’ll see later that this happens with event handlers too.
OK, it’s time to look at the C# code. The MainWindow.xaml.cs file has even less going on than the XAML file. There are a bunch of includes (the “using” directives at the top), most of which are gray because they’re unnecessary. And a single namespace for the app that contains the class that represents the main application window and its constructor.
Since most of those using statements are unnecessary, let’s remove them. If you hover the mouse cursor over that mess, you’ll be prompted about the using directive(s) being unnecessary and there’s a link to Show potential fixes. Select that, and it will show you all of the using directives it will remove.
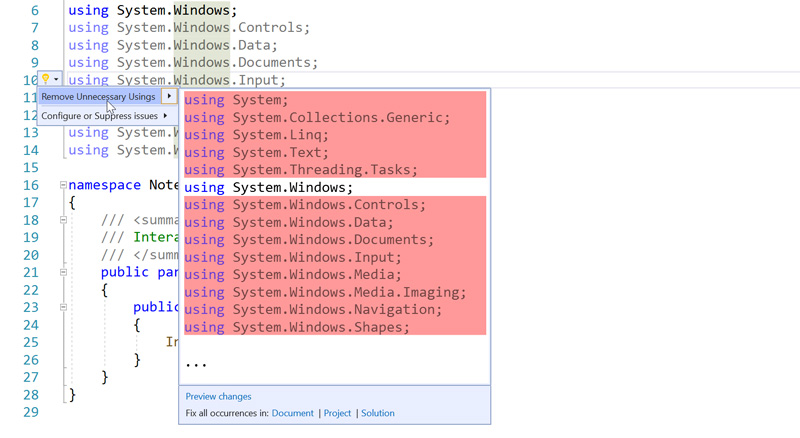
Let it do so and the code is reduced dramatically.

With that out of the way, we can add code that runs at application launch that reads in some basic application settings—its position and size, to start—and then some other code that runs when the application is closing that saves those settings. In this way, our app will remember the configuration changes that the user makes between runs.
In Windows Forms, there’s already an application settings file in the default project, but in WPF we need to add one. That’s easy enough: Right-click the project name in the Solution Explorer pane and choose Add > New Item from the menu that appears. The Add New Item window will display.

Scroll down to find Settings File. Rename it if desired (I used Settings.settings) and click Add. The settings file is added to your project, and it opens up in Visual Studio, looking much as it did in Windows Forms.

And sure enough, it is very much like the application settings functionality in Windows Forms. As we’ll see over time, however, there are some settings types (like Font) that are no longer available in WPF. So we’ll work around that.
We’re going to add five settings here, all of which start with “My” because I just happen to like that naming style. They are:
MyLocationX. This double (floating point) value represents the horizontal portion of the onscreen position of the application window’s top left corner. (Where 0,0 is the upper left of the screen.)
MyLocationY. This double (floating point) value represents the vertical portion of the onscreen position of the application window’s top left corner.
MyMaximized. This is new to the WPF version of .NETpad because I never thought to add it before. This is a bool (boolean in WinForms) value (true or false) that represents whether the application window is maximized. If false, it’s in a normal floating display mode.
MyWidth. This double represents the width of the application window.
MyHeight. This double represents the height of the application window.
You add these settings as you did with WinForms, and when you select the drop-down next to the Type field, you’ll be provided with a list of built-in types and can choose the right type from there.

When you’re done, it should look like so. Save and close this file.

OK, now we can write the code to load these settings on application start and save them on application close. As you might imagine, a WPF application window triggers various events in each case, so it’s a simple matter to choose the right events, create event handlers, and proceed accordingly. In WinForms, these events (which were tied to form windows) were OnLoad and OnClose. But WPF supports many more events during what Microsoft calls the window’s lifecycle. No matter, we’ll just focus on the two most obvious: Initialized (semi-equivalent to OnLoad) and Closing (similar to OnClose).
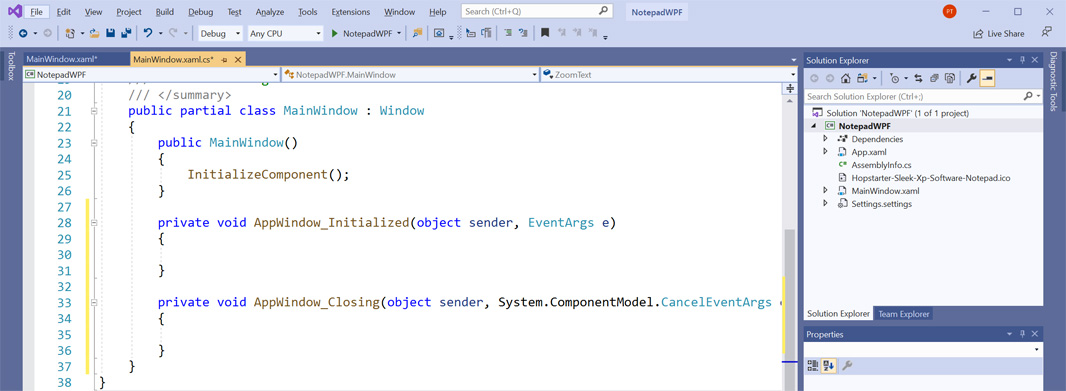
To add these, make sure MainWindow.xaml is open, select somewhere in the Window tag, and then select the Event handlers button—it resembles a lightning bolt—in the Properties pane. You’ll see a list of the available events that the window can handle.
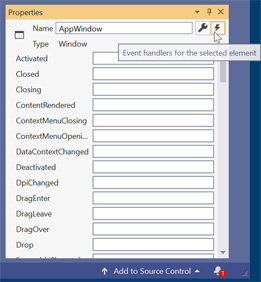
Scroll down to Initialized and double-click the text box to its right. This will create an AppWindow_Initialized event handler, which will then display in MainWindow.xaml.cs in Visual Studio. Then, switch back to MainWindow.xaml and locate Closing in the events list in the Properties pane. Double-click that to create the AppWindow_Closing event handler in MainWindow.xaml.cs.
Now we need to write code to get the window location and size from settings in AppWindow_Initialized. And then write that information back to settings and save it in AppWindow_Closing. So let’s start with some comments, an important facet of programming that was missing from my Windows Forms version of this app.
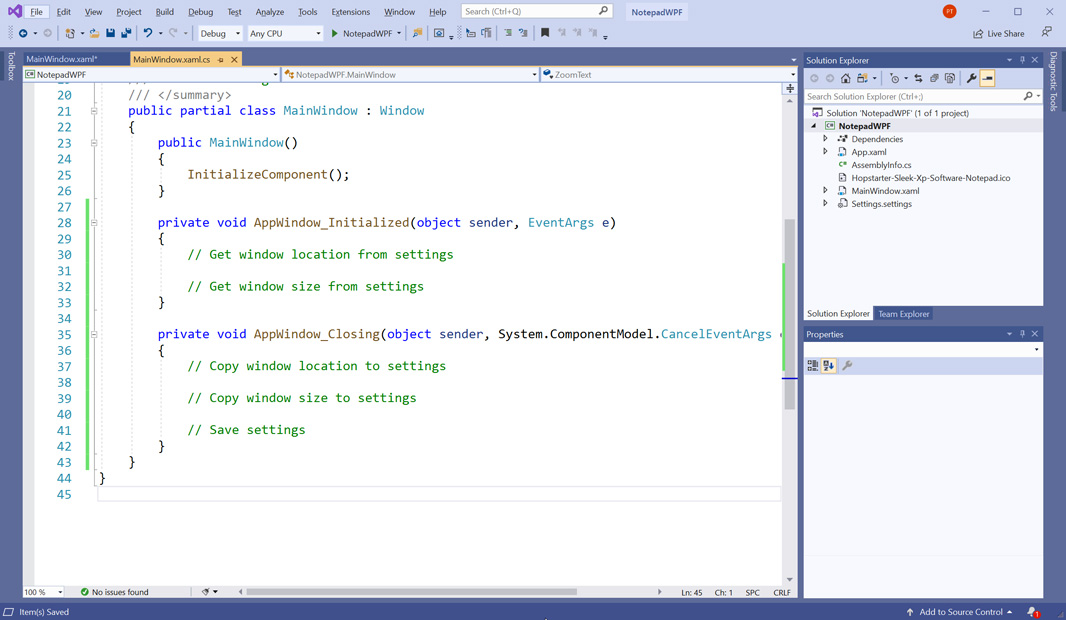
Reading and writing settings works similarly in WPF as it does in WinForms. Add the following code to AppWindow_Initialized:
// Get window location from settings
if (Settings.Default.MyMaximized == true)
    AppWindow.WindowState = WindowState.Maximized;
else
    AppWindow.WindowState = WindowState.Normal;

Application.Current.MainWindow.Left = Settings.Default.MyLocationX;
Application.Current.MainWindow.Top = Settings.Default.MyLocationY;

// Get window size from settings
Application.Current.MainWindow.Width = Settings.Default.MyWidth;
Application.Current.MainWindow.Height = Settings.Default.MyHeight;
Pretty straightforward. But this won’t mean much until we write the code that saves these things when the app closes. Otherwise, it will always just revert to the default values for each.
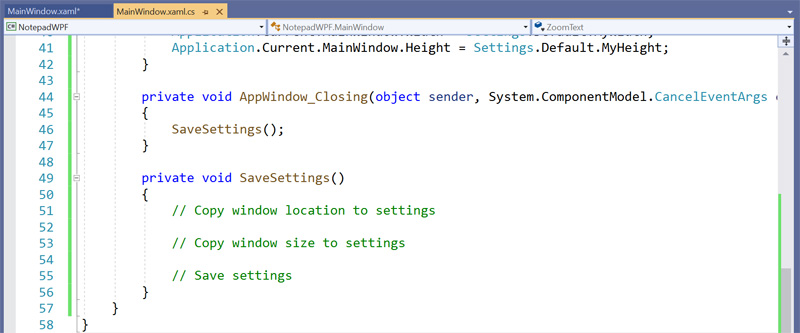
Normally, I’d write the settings save code directly in the AppWindow_Closing event handler. But because of some other changes I had to make to this app for WPF, we will be saving settings at other times too. So we’ll create a new method, called SaveSettings. And then call that from AppWindow_Closing. (And, later, from elsewhere as needed.)
To do so, make some space under the AppWindow_Closing event handler. Then, create the skeleton of a new method like so:
private void SaveSettings()
{

}
Then, move those three comments from AppWindow_Closing into SaveSettings(). And then add a line of code to AppWindow_Closing that will trigger the SaveSettings method:
SaveSettings();
When you’re done, it should look like so.
OK, now we can write the code that will copy the application’s window location and window size to settings and then save the settings. The SaveSettings event handler will look like so:
// Copy window location to settings

if (AppWindow.WindowState == WindowState.Maximized)
    Settings.Default.MyMaximized = true;
else
    Settings.Default.MyMaximized = false;

Settings.Default.MyLocationX = Application.Current.MainWindow.Left;
Settings.Default.MyLocationY = Application.Current.MainWindow.Top;

// Copy window size to settings
Settings.Default.MyWidth = Application.Current.MainWindow.Width;
Settings.Default.MyHeight = Application.Current.MainWindow.Height;

// Save settings
Settings.Default.Save();
Simple. Now, you can resize and position the application window as you like, close it, and rerun it, and the app will remember its size and position. This includes whether you prefer to run the app maximized.
Also, note that the AppWindow_Closing and SaveSettings event handlers have been added to the Window tab in the main app window’s XAML file (which I reformatted for legibility).

Next time, we’ll build out more of the menus and tackle our first WPF commands. I can’t promise that I’ll have a new article each day, but I’ll try to update this series as quickly as possible.

Gain unlimited access to Premium articles.
With technology shaping our everyday lives, how could we not dig deeper?
Thurrott Premium delivers an honest and thorough perspective about the technologies we use and rely on everyday. Discover deeper content as a Premium member.