Upgrade from Windows 10 to Windows 11 (24H2)
- Paul Thurrott
- Oct 09, 2024
-
0
For most people, upgrading from Windows 10 to Windows 11 is easy: If your Windows 10-based PC is compatible with Windows 11, Windows Update will simply offer you the upgrade. But this assumes that your PC is also ready to upgrade to Windows 11. And being ready involves two key requirements you can easily address:
Your PC must have the latest software updates. Check Windows Update, install any updates that are offered, and reboot as necessary.
Your PC’s drivers must be up-to-date and compatible with Windows 11. This one is a little bit trickier. Some PCs obtain all of their drivers from Windows Update, but some do not. If your PC maker provides its own app for updating drivers and obtaining service, use that app to make sure the PC has all the latest drivers. Again, install any driver updates that are offered, and reboot as necessary.
Key examples of these apps include Dell Support Assist, HP Support Assistant, and Lenovo Vantage.
Deal with safeguard holds
If you’re still not getting the Windows 11 upgrade then your PC is likely being held back by what Microsoft calls a safeguard hold. This is a documented condition–an unsupported driver, an incompatible app, or perhaps even an incompatible hardware peripheral–that prevents the Windows 11 upgrade from being offered to you, all in the name of ensuring that you have the best possible experience.
The problem is that safeguard holds aren’t particularly transparent: Microsoft doesn’t always provide you with a clear list of the issues so you can try and resolve them. And if the safeguard hold is related to non-Microsoft software, drivers, or devices, Microsoft may never tell you what the problem is.
One thing you can try is to unplug unnecessary hardware peripherals that might be blocking the upgrade. The problem here, of course, is that if you’re offered the upgrade now, it’s possible–unlikely, but possible–that the offending peripheral won’t work properly with Windows 11.
But you can at least try to find out whether a safeguard hold is blocking the Windows 11 upgrade. To do so, open Settings (WINKEY + I) and navigate to Update & security > Windows Update. If you see a section titled “Coming soon: Upgrade to Windows 11,” you can click the “Learn more” link to view a web page listing a customized summary of whatever safeguard holds impact your PC.
If, however, you see a section titled “Get ready for Windows 11,” then Microsoft has no safeguard hold to report. That doesn’t mean there isn’t one. Just that Microsoft has nothing to report. Yep, clear as mud.
Manually upgrade to Windows 11
If your PC meets the Windows 11 hardware requirements, but Windows Update does not offer you the upgrade, you can do so manually. And since you wouldn’t be reading this if you weren’t ready to upgrade, let’s look at how that process works. It’s not difficult.
To do so, create USB-based Windows 11 installation media (or a Windows 11 installation media ISO) using the instructions in the Create Windows 11 Install Media chapter. Then, insert the USB memory stick into a USB port in your PC (or double-click the ISO file to mount it in the file system) and run setup.exe in the root of that drive if it doesn’t run automatically or after a prompt.
After you clear a User Account Control (UAC) prompt, Windows 11 Setup appears.
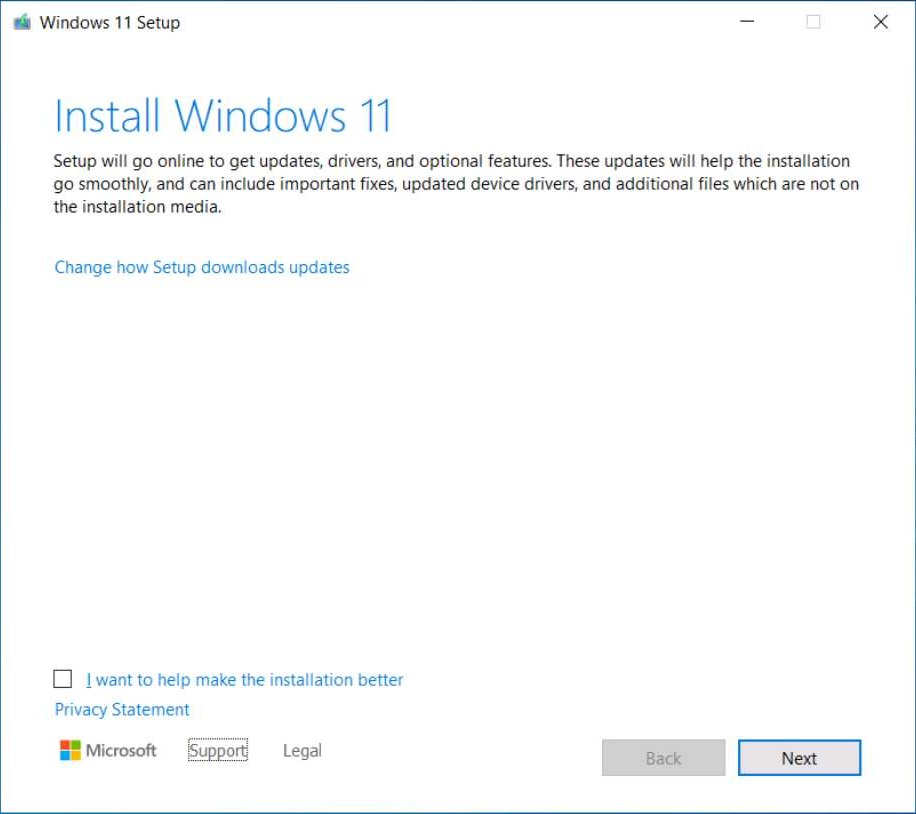
Click Next. Windows 11 Setup will check for updates and make sure your PC meets the Windows 11 hardware requirements. If it does, it will prompt you to accept the license agreement.
If your PC doesn’t meet the Windows 11 hardware requirements, Windows 11 Setup won’t continue. You can learn how to bypass that problem in the Upgrade to Windows 11 on Unsupported Hardware chapter.
Click Accept. The multistage Setup routine will do its thing and will eventually prompt you that it is ready to install.
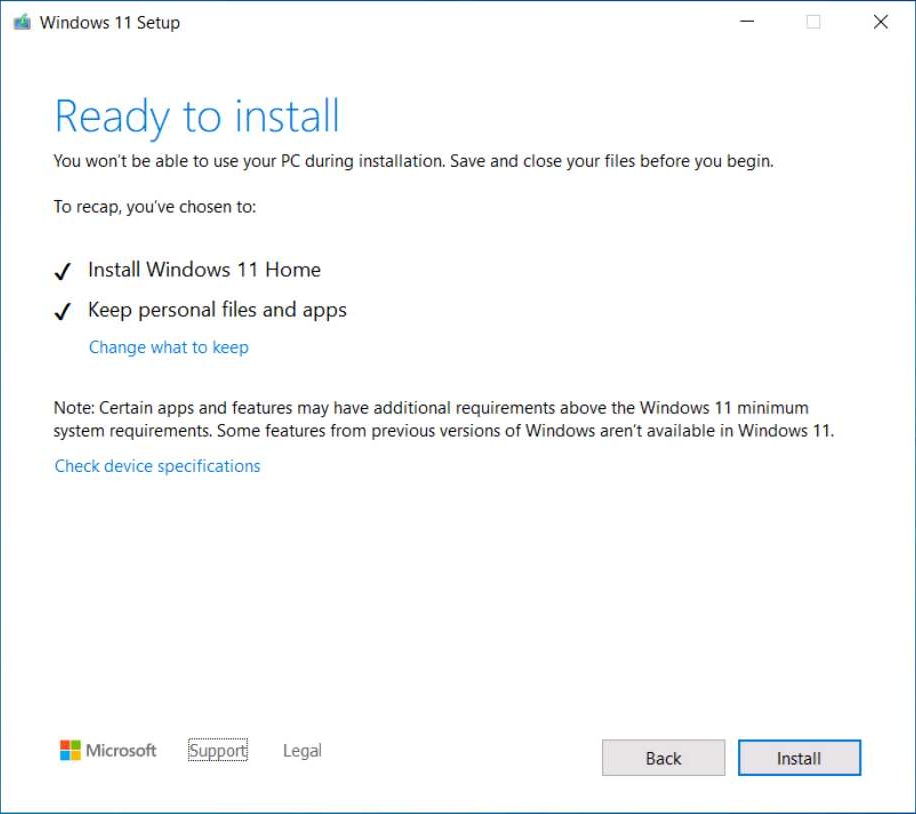
Here, you can customize the upgrade by clicking the “Change what to keep” link.
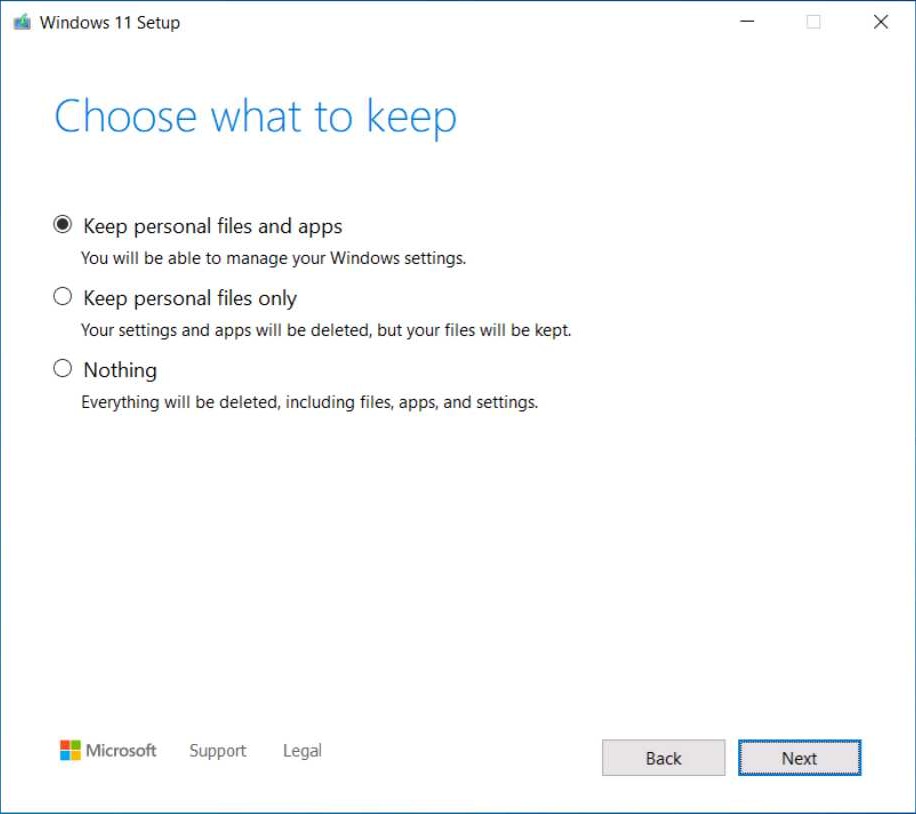

The first two options are both a form of upgrade: “Keep personal files and apps” is the least destructive and is what most people imagine when they perform an upgrade. The second option, “Keep personal files,” will remove any installed apps plus your customized settings, so only your personal files will come forward to Windows 11.
The third option is technically a clean install: Setup will wipe out Windows 10–plus your personal files, apps, and settings–and install Windows 11 as if it were a new PC. So you will need to step through the Out-of-Box Experience (OOBE) when that’s done.
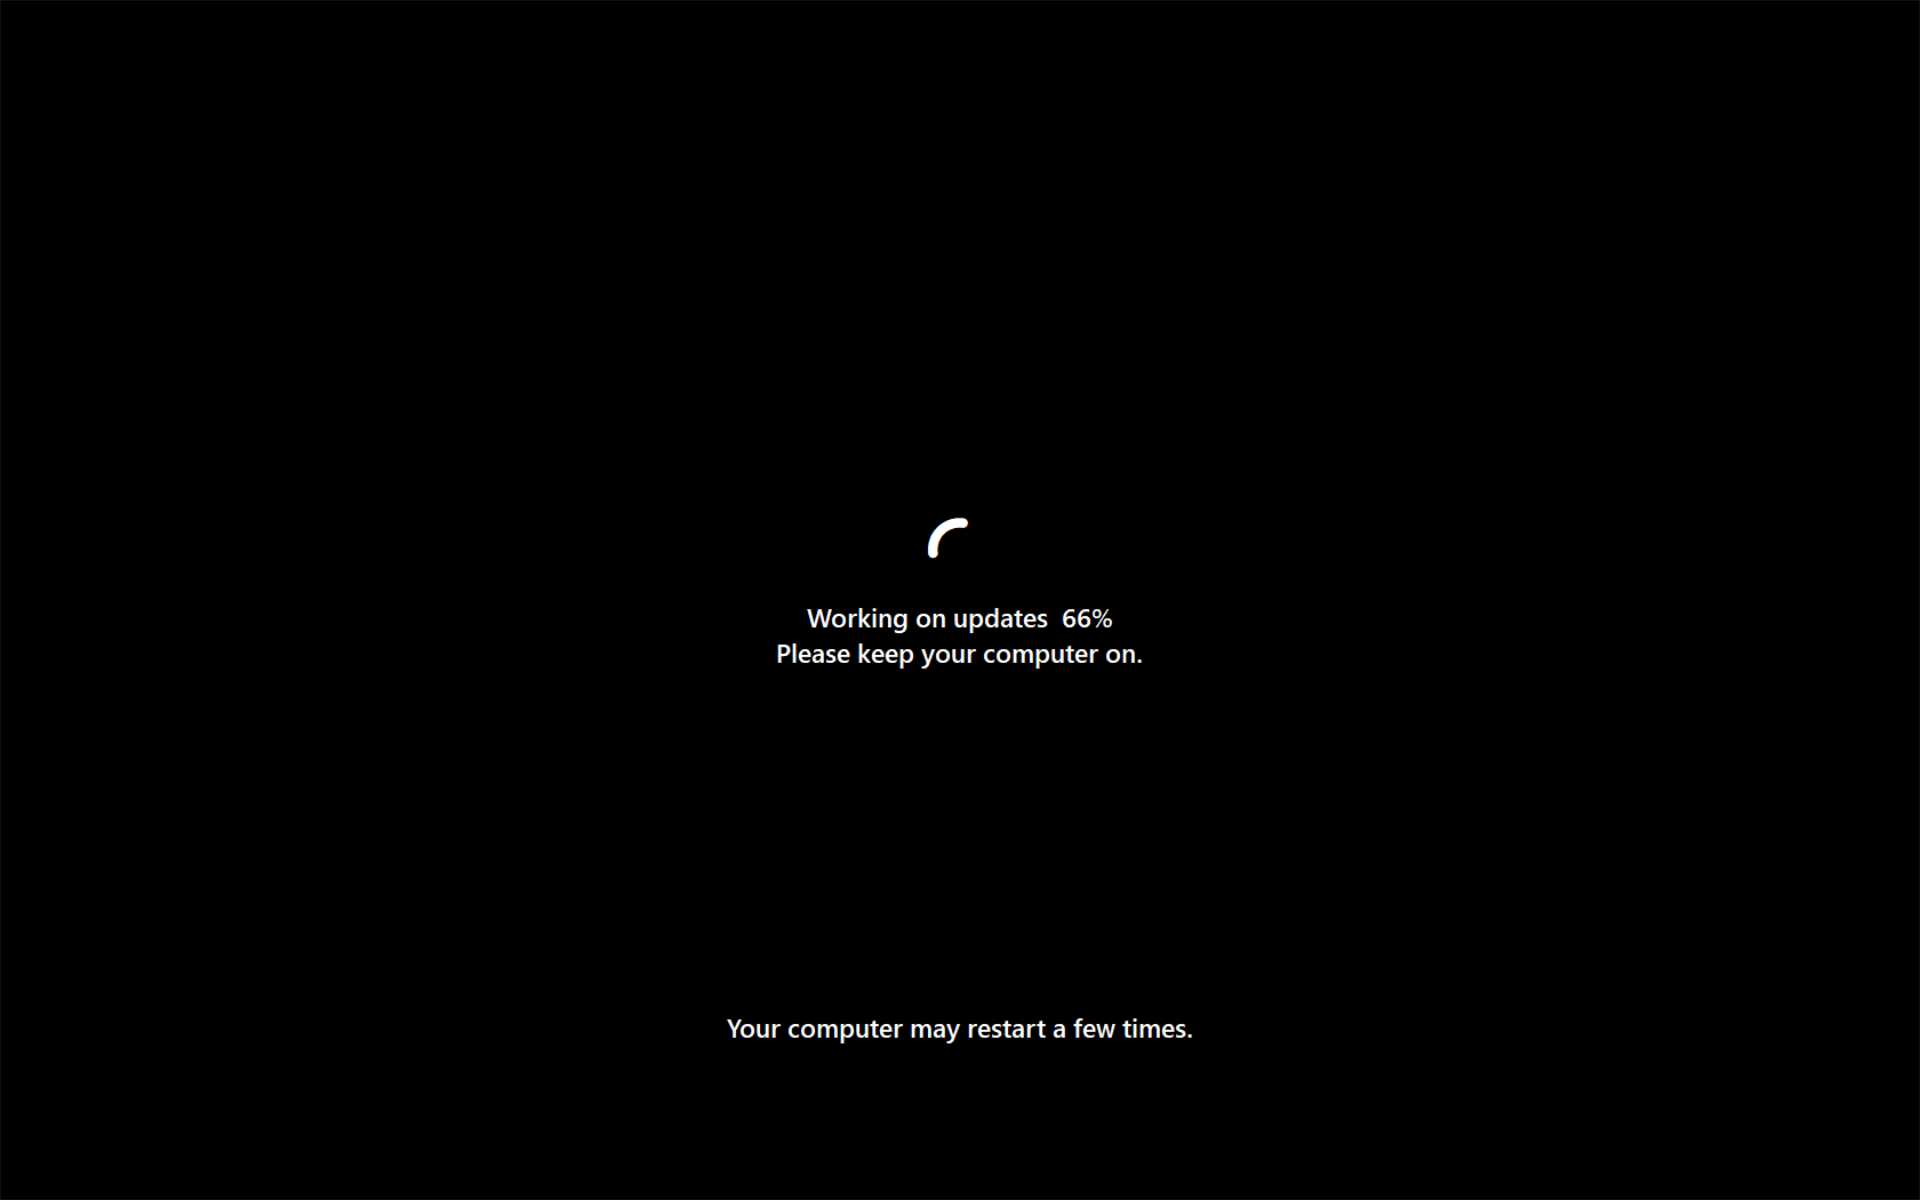
If you choose to upgrade, Setup will undertake a somewhat lengthy upgrade process that will involve at least one reboot but is entirely hands-off. That means that you won’t need to deal with the first-boot experience or the OOBE.
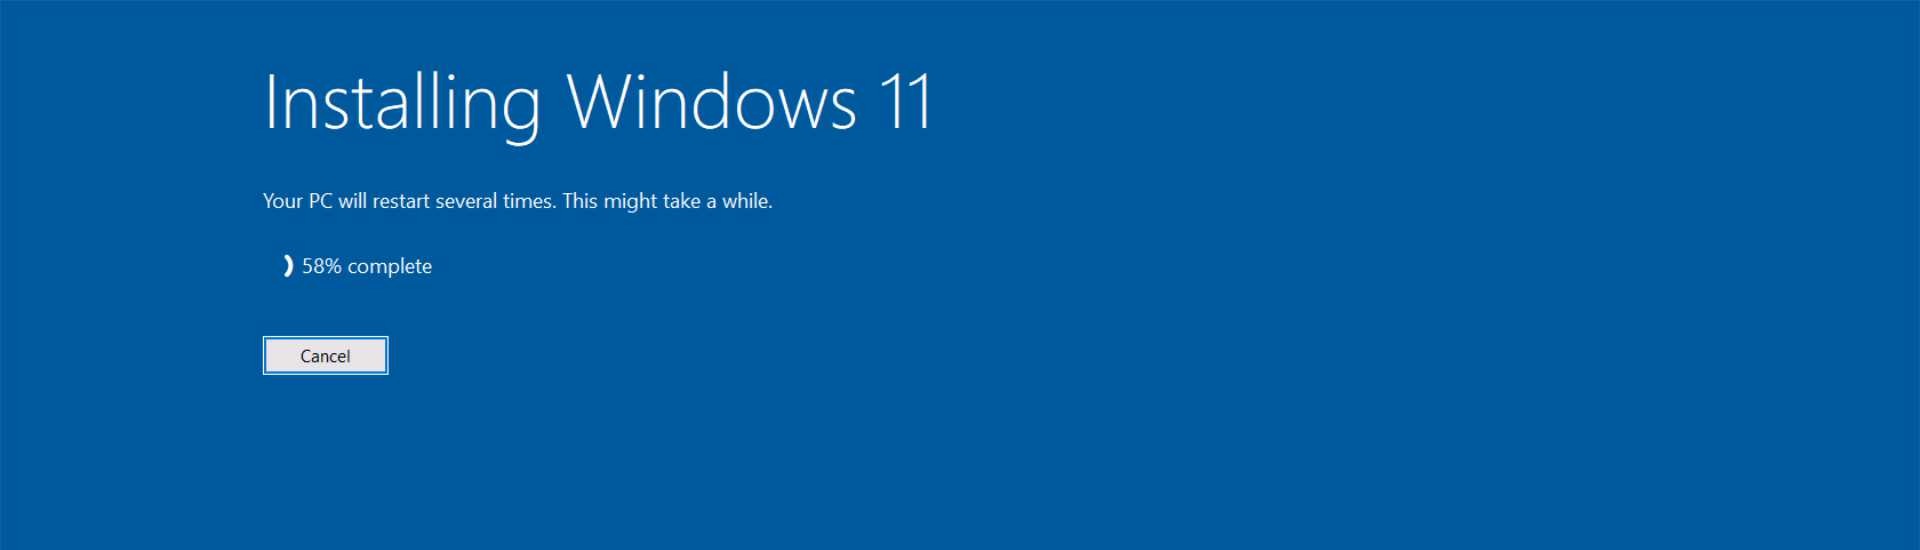
Instead, Setup will use the configurations you’ve already made and apply them–well, most of them–to Windows 11. Eventually, the PC will reboot and Setup will enter an offline phase in which it completes the upgrade.
When Setup finishes, the PC will reboot a final time and a few animated screens, you will land at the Windows 11 Lock screen, sign in normally, and arrive at your newly upgraded Desktop.
Welcome to Windows 11! Head on over to Windows 11 Personalization First Steps to see what’s next.

Gain unlimited access to Premium articles.
With technology shaping our everyday lives, how could we not dig deeper?
Thurrott Premium delivers an honest and thorough perspective about the technologies we use and rely on everyday. Discover deeper content as a Premium member.