Desktops
- Paul Thurrott
- Oct 05, 2022
-
0
Windows 11 includes a feature called Desktops that lets you create multiple virtual desktops, each with its own apps, and then easily switch between them. Desktops is useful in a variety of situations, and it helps reduce window clutter and cognitive overload by letting you group related apps—perhaps by project or type—in their own virtual desktops.
Best of all, these desktops can display different backgrounds and be named for quick identification. And they’re persistent, so they survive reboots.
To be clear, the virtual desktops and their customizations are persistent. Apps do not survive reboots.
Access Desktops
The Desktops feature is available in two places in Windows 11, both of which are part of the Task view multitasking interface:
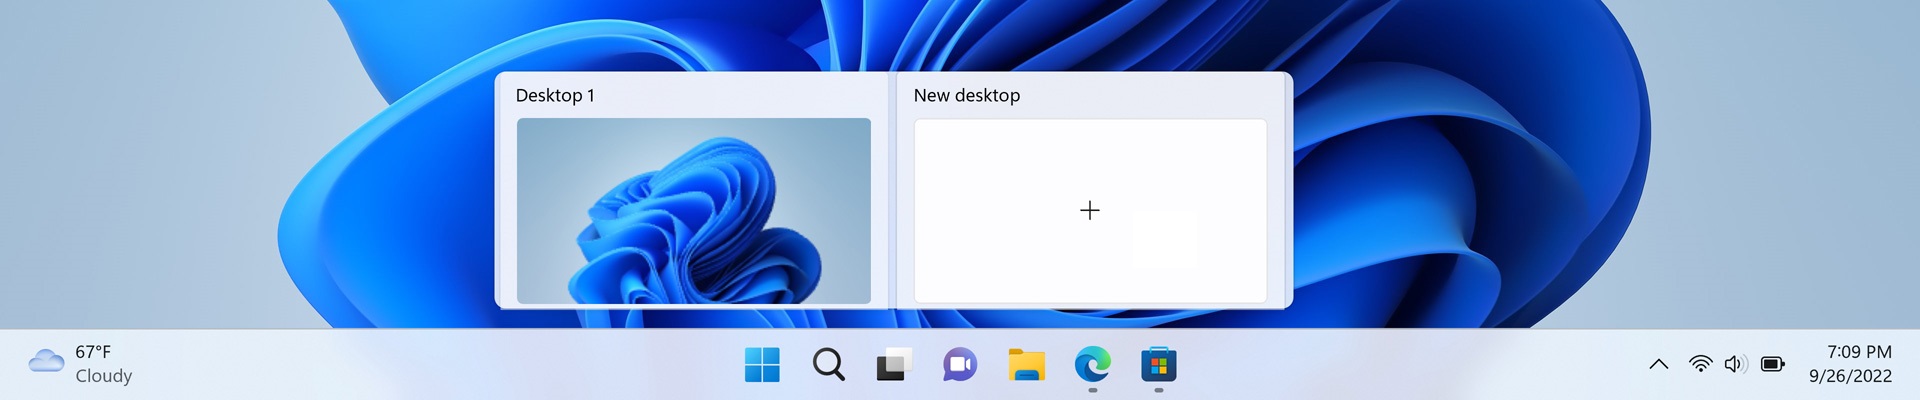
Task view button on the Taskbar. When you mouse-over the Task view button on the Taskbar, a flyout appears showing each available virtual desktop.
Task view. If you hide the Task view button on the Taskbar, you can still access Desktops via the Task view full-screen experience. Just type WINKEY + TAB.

Most of the Desktops capabilities mentioned in this chapter are available from either interface, but we will stick with the Task view button flyover interface where possible.
By default, the Desktop is referred to as Desktop 1, but you can rename it as you can other virtual desktops.
Create a new virtual desktop
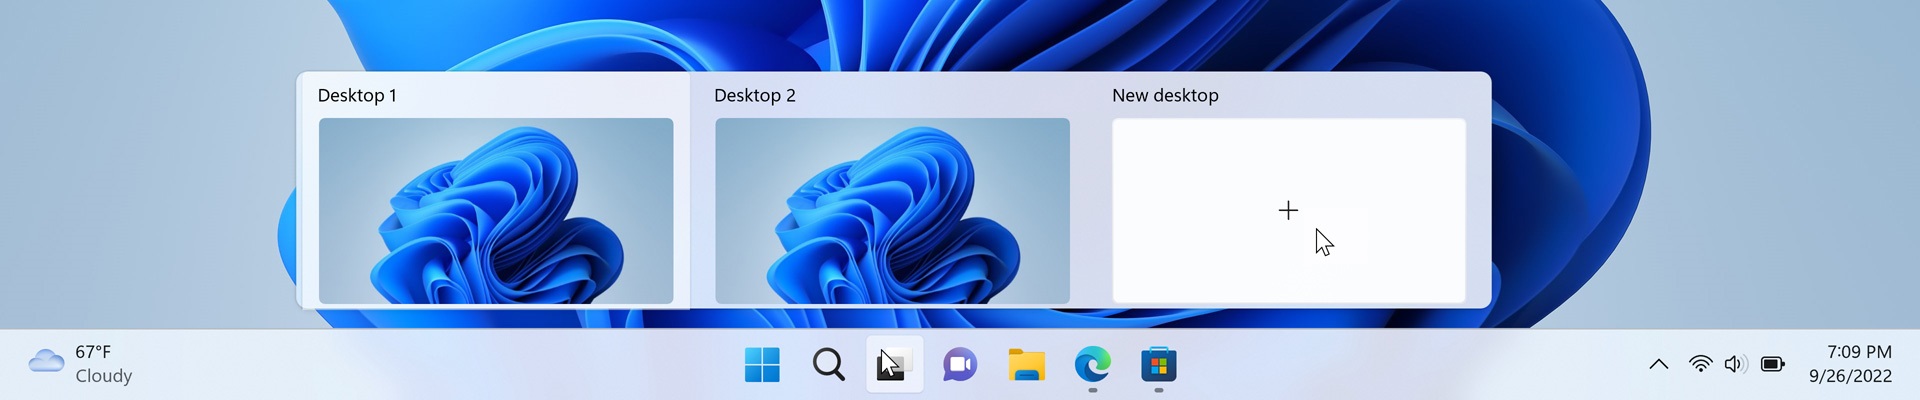
To create a new virtual desktop, open the Task view flyout and select the “New desktop” tile (“+”). A new virtual desktop, called Desktop 2, will appear to the right of Desktop 1 in the Desktops pane.
You can also type WINKEY + CTRL + D to create a new virtual desktop.
To use the new virtual desktop, select it in the Task view flyout or click anywhere on the Desktop. To return to Desktop 1 (or some other previously created virtual desktop), select that in the Task view flyout.
Switch between virtual desktops
To switch between virtual desktops, open the Task view flyout and then select the virtual desktop you prefer.
Alternatively, you can switch to the next virtual desktop by typing WINKEY + CTRL + RIGHT ARROW. Or, type WINKEY + CTRL + LEFT ARROW to switch to the previous virtual desktop.
Customize a virtual desktop
If you are going to use virtual desktops, you will find it useful to customize each virtual desktop so that they are easily recognizable as you switch between them. There are two ways to do so: you can rename each virtual desktop and you can configure a different background for each.
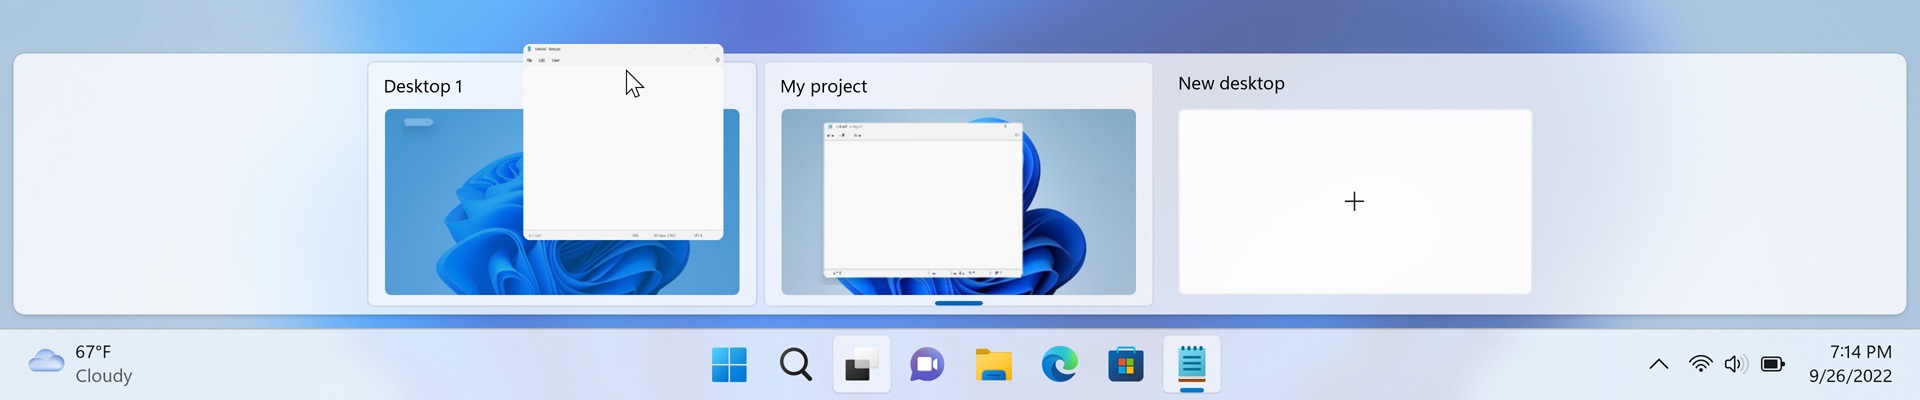
To rename a virtual desktop, open the Task view flyout, right-click on the tile representing the virtual desktop you wish to rename, and choose “Rename” from the context menu that appears. Then, you can edit the name in place on its tile.

To change the background in a virtual desktop, open that virtual desktop, open the Settings app (WINKEY + I), and then navigate to Personalization > Background. Then, select the background you want using the Personalize background section.

You can also access this functionality from the Task view flyout: just right-click the tile for the virtual desktop you would like to configure and choose “Change background” from the context menu that appears.
Move an app or window to a different virtual desktop
If you create a new virtual desktop and switch to that view, any apps or other windows you open there will open in that virtual desktop. However, sometimes you may wish to move an app or other window from one virtual desktop to another.
To do so, open the virtual desktop that contains the app or window you wish to move, open Task view, and then drag its thumbnail from the top of Task view into the tile representing the destination virtual desktop. When you let go of the mouse, the app is moved to the new location.
Close a virtual desktop
To close a virtual desktop, open the Task view flyout and select the close button (“X”) in the upper right of its tile. Any open app windows in that virtual desktop will move to the virtual desktop to its left.
Or, type WINKEY + CTRL + F4 to close the current virtual desktop.

You cannot close the leftmost virtual desktop, which is actually the “real” Desktop, and is called Desktop 1 by default.

Gain unlimited access to Premium articles.
With technology shaping our everyday lives, how could we not dig deeper?
Thurrott Premium delivers an honest and thorough perspective about the technologies we use and rely on everyday. Discover deeper content as a Premium member.