Phone Link
- Paul Thurrott
- Dec 08, 2022
-
1
Note: There is a newer version of this chapter available. –Paul
You can link your Android smartphone to your PC through your Microsoft account and access some of its key features directly with a Windows 11 app called Phone Link. These include your phone-based notifications, the ability to send and receive text messages, view and share your phone-based photos, make and receive phone calls, and control media playing on your phone.
If you have a supported Samsung smartphone, you can also use a unique screen mirroring feature to access your device remotely in Phone Link and run apps, manage files, access Settings, and perform other phone-based tasks from your PC.
Where did it go?
Phone Link was originally called Your Phone. In addition to its support for Android, that app also offered basic support for the Apple iPhone. But that integration is no longer available in Phone Link.
Link your phone with your PC
Before you can use Phone Link, you must link your PC and phone through your Microsoft account. This is a tedious, multi-step process that involves configuration in the Phone Link app on your PC and a related mobile app that you’ll need to install on your phone. Budget a solid 30 to 40 minutes for this configuration.
Ready? Let’s dive in.
Install Link to Windows on your phone
Before you can use Phone Link, you have to install the Microsoft Link to Windows app on your phone via the Google Play Store.
This app is preinstalled on Microsoft Surface Duo and select Honor and Samsung smartphones.
Link your phone and PC
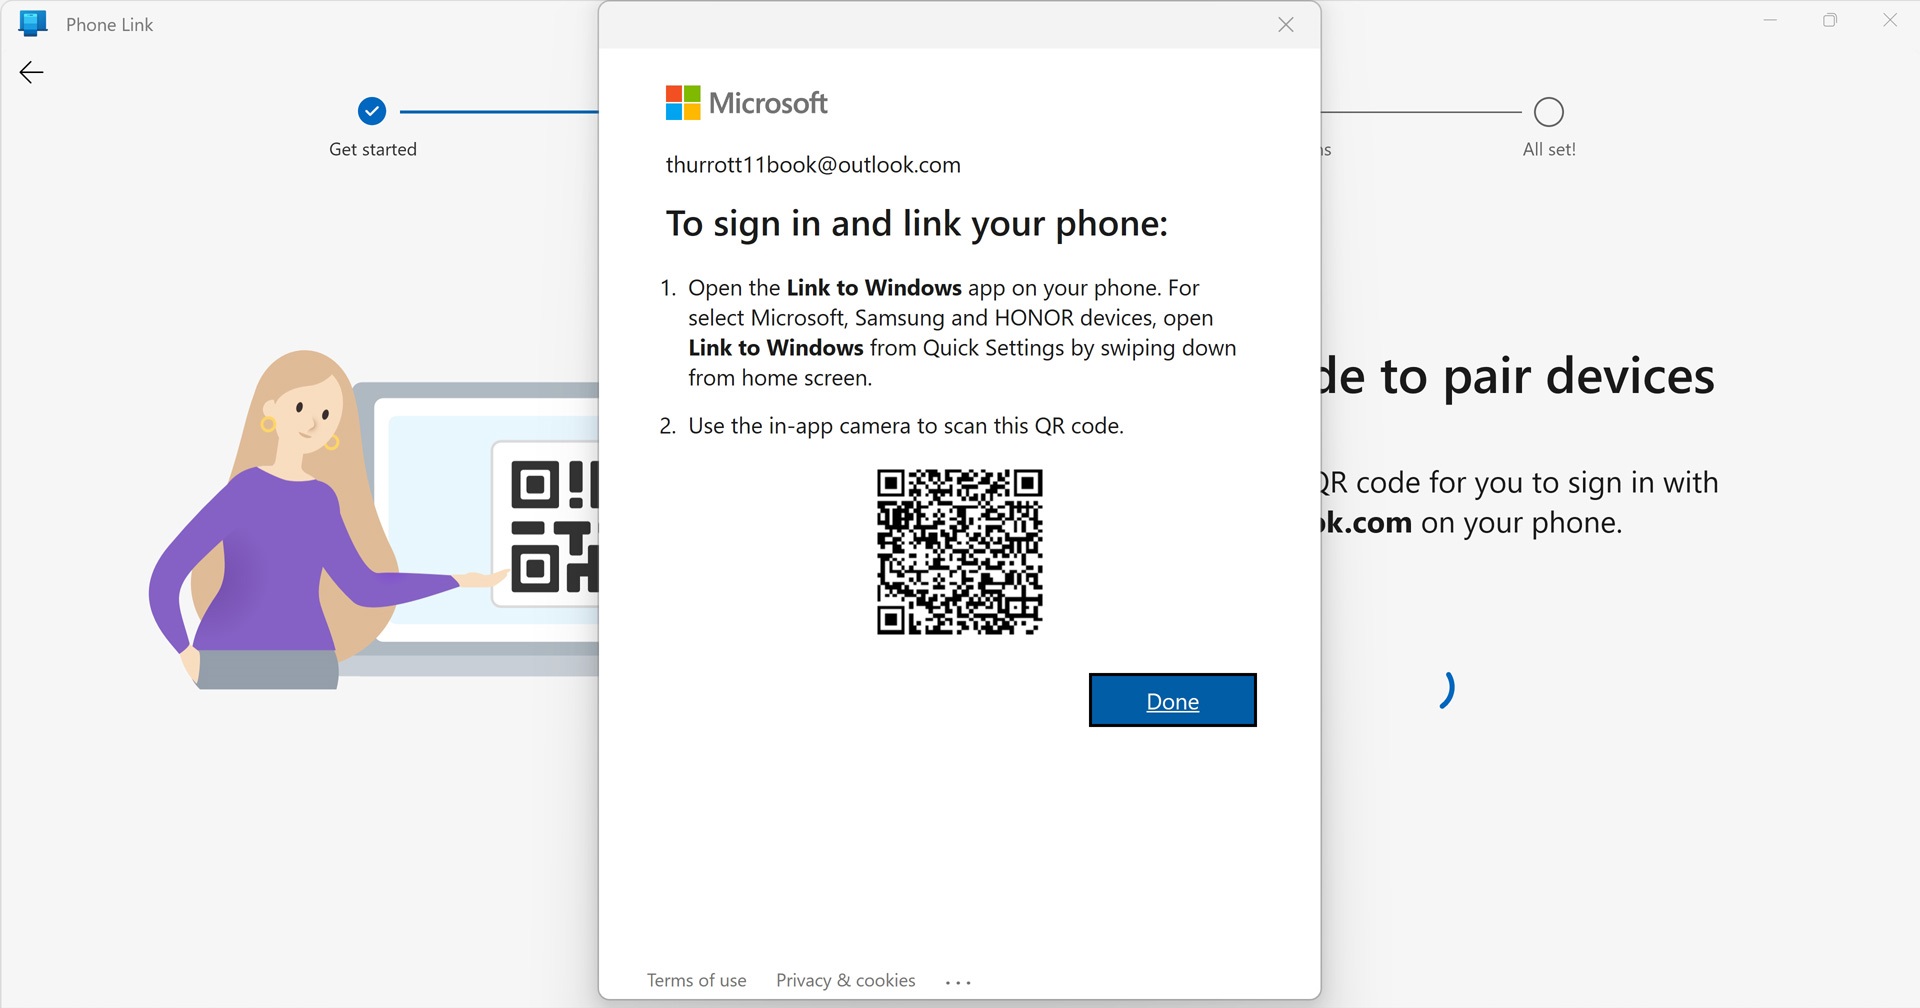
Next, run Phone Link on your PC and click the “Get started” button. Confirm that you have installed Link to Windows on your phone and then click “Pair with QR code.” Phone Link will generate a custom QR code that you can use to link the two devices.
“Pair” is perhaps a poor word choice: this connection does not establish a Bluetooth pair between your phone and PC, though that process will occur later during Phone Link’s lengthy set up process. (You can learn more about Bluetooth pairing the Bluetooth chapter.)
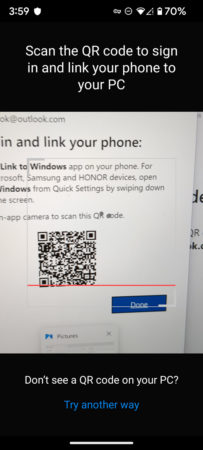
On your phone, run the Link to Windows app and tap the “Link your phone and PC” button. The app will ask you whether the QR code on your PC is ready. Tap “Continue.” After allowing the app to access your camera (choose “Only this time”), use your phone to scan the QR code as directed.
With a successful scan, your phone and PC will be linked through your Microsoft account.
Grant initial permissions on your phone
But you still have a lot of work to do: now, you must step through a multi-page wizard on your phone that gives the app the permissions it needs to integrate the two devices. You will be asked to give the Link to Windows app the following permissions:
- Your contacts
- Make and manage phone calls
- Access photos, videos, music, and audio
- Send and view SMS (text) messages
You should tap “Allow” for each.
Then, you will be asked to let Link to Windows run in the background so that your text messages and photos will stay up to date on the PC. As the app explains, doing so may have a small negative impact on your phone’s battery life. But this is the only way to ensure that any changes with these items appear quickly on the PC. So tap “Allow” here as well.
Grant notification permissions
With that out of the way, so you can return to your PC and the Phone Link app.
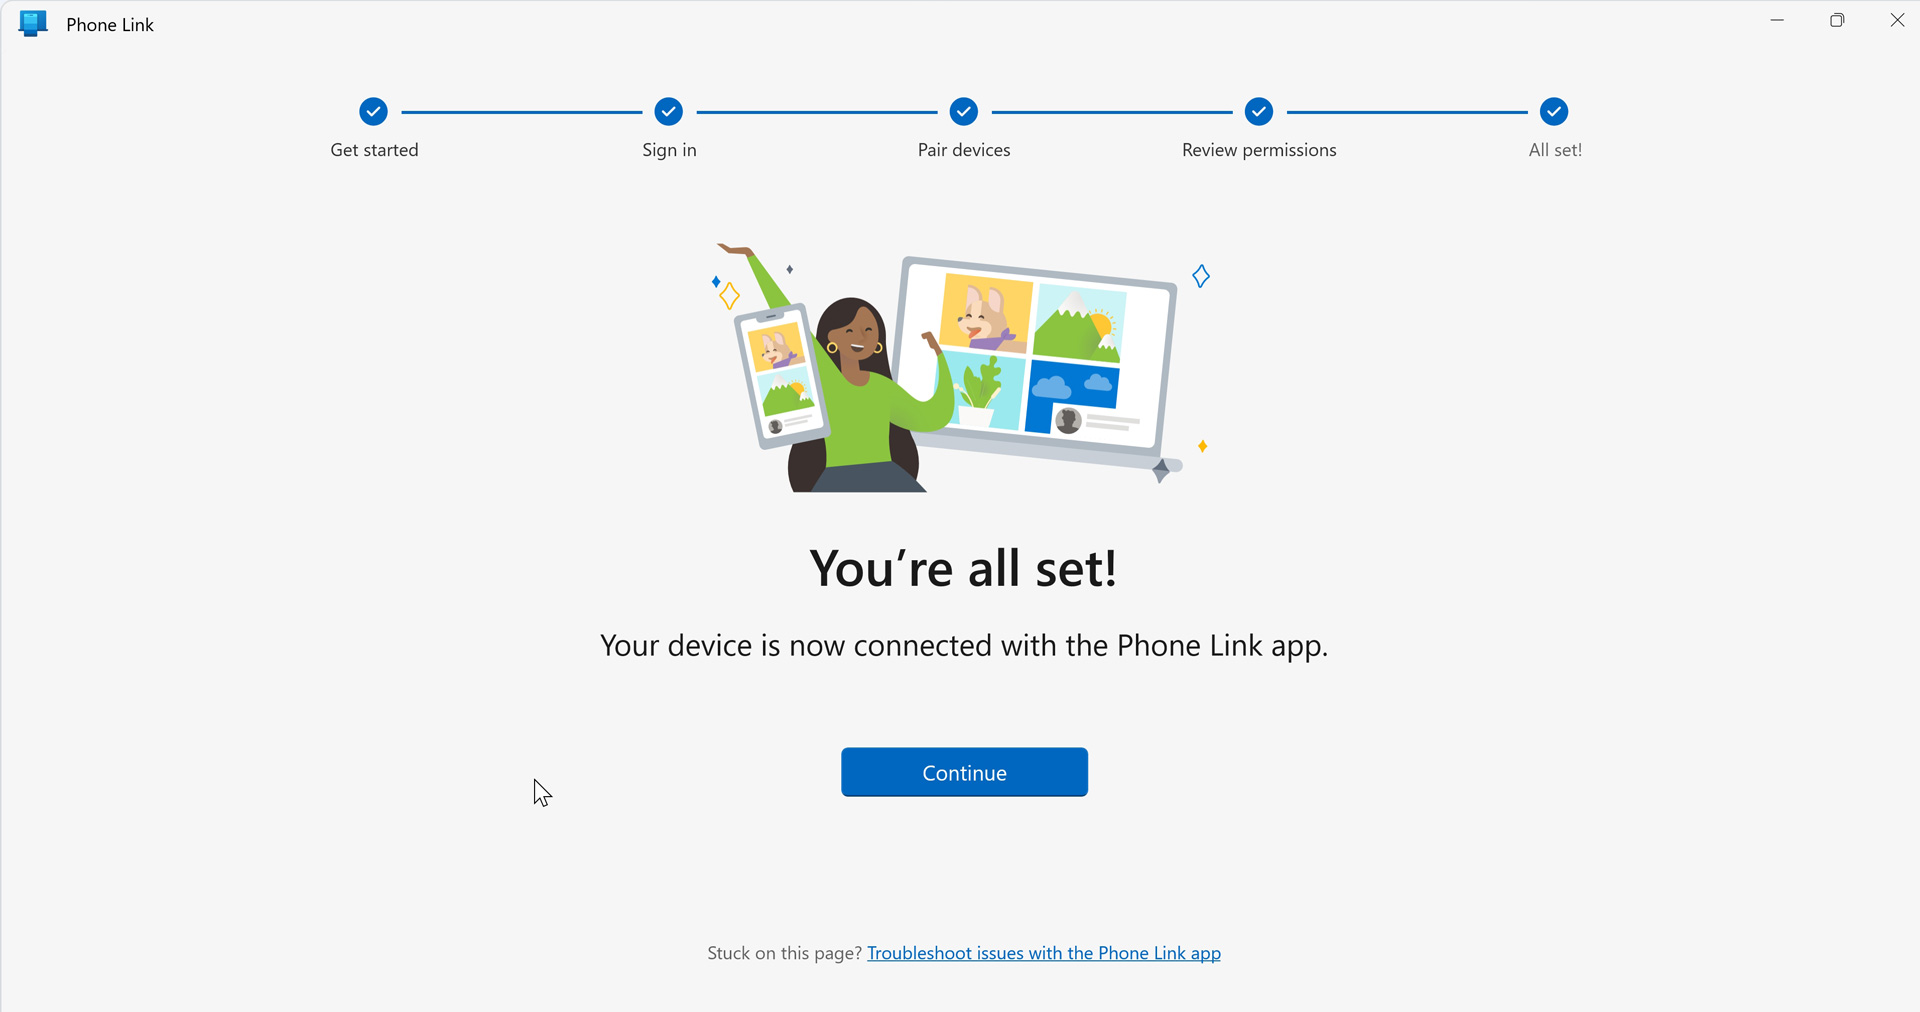
Click “Continue” and close the “Welcome to the Phone Link app!” window that appears. The Phone Link will display its default Messages view.

Click “Send notification.” Now, open the Link to Phone app on your phone if necessary. Click “Allow” in the “Allow Link to Windows to send you notifications?” notification window in the app.
In the navigation pane in the Phone Link app on your PC, you will see a message about finishing setting up notifications. Click the “Open settings on phone” button to trigger a notification on your phone.
That notification will explain that you need to give Link to Windows permission to sync your phone’s notifications to your PC. Tap “Open” in the notification and the Devices & app notifications page in Android Settings appears.

There are two lists of apps here: Allowed and Not allowed. Scroll down until you find Link to Windows in the Not allowed list. Tap that and then enable the option “Allow notification access.” Then, tap “Allow” in the window that appears.
When you go back to the PC, you will see an “All clear” message in the navigation pane of the Phone Link app.
Grant additional phone permissions
Now, select the Calls tab in Phone Link to display the Calls view.
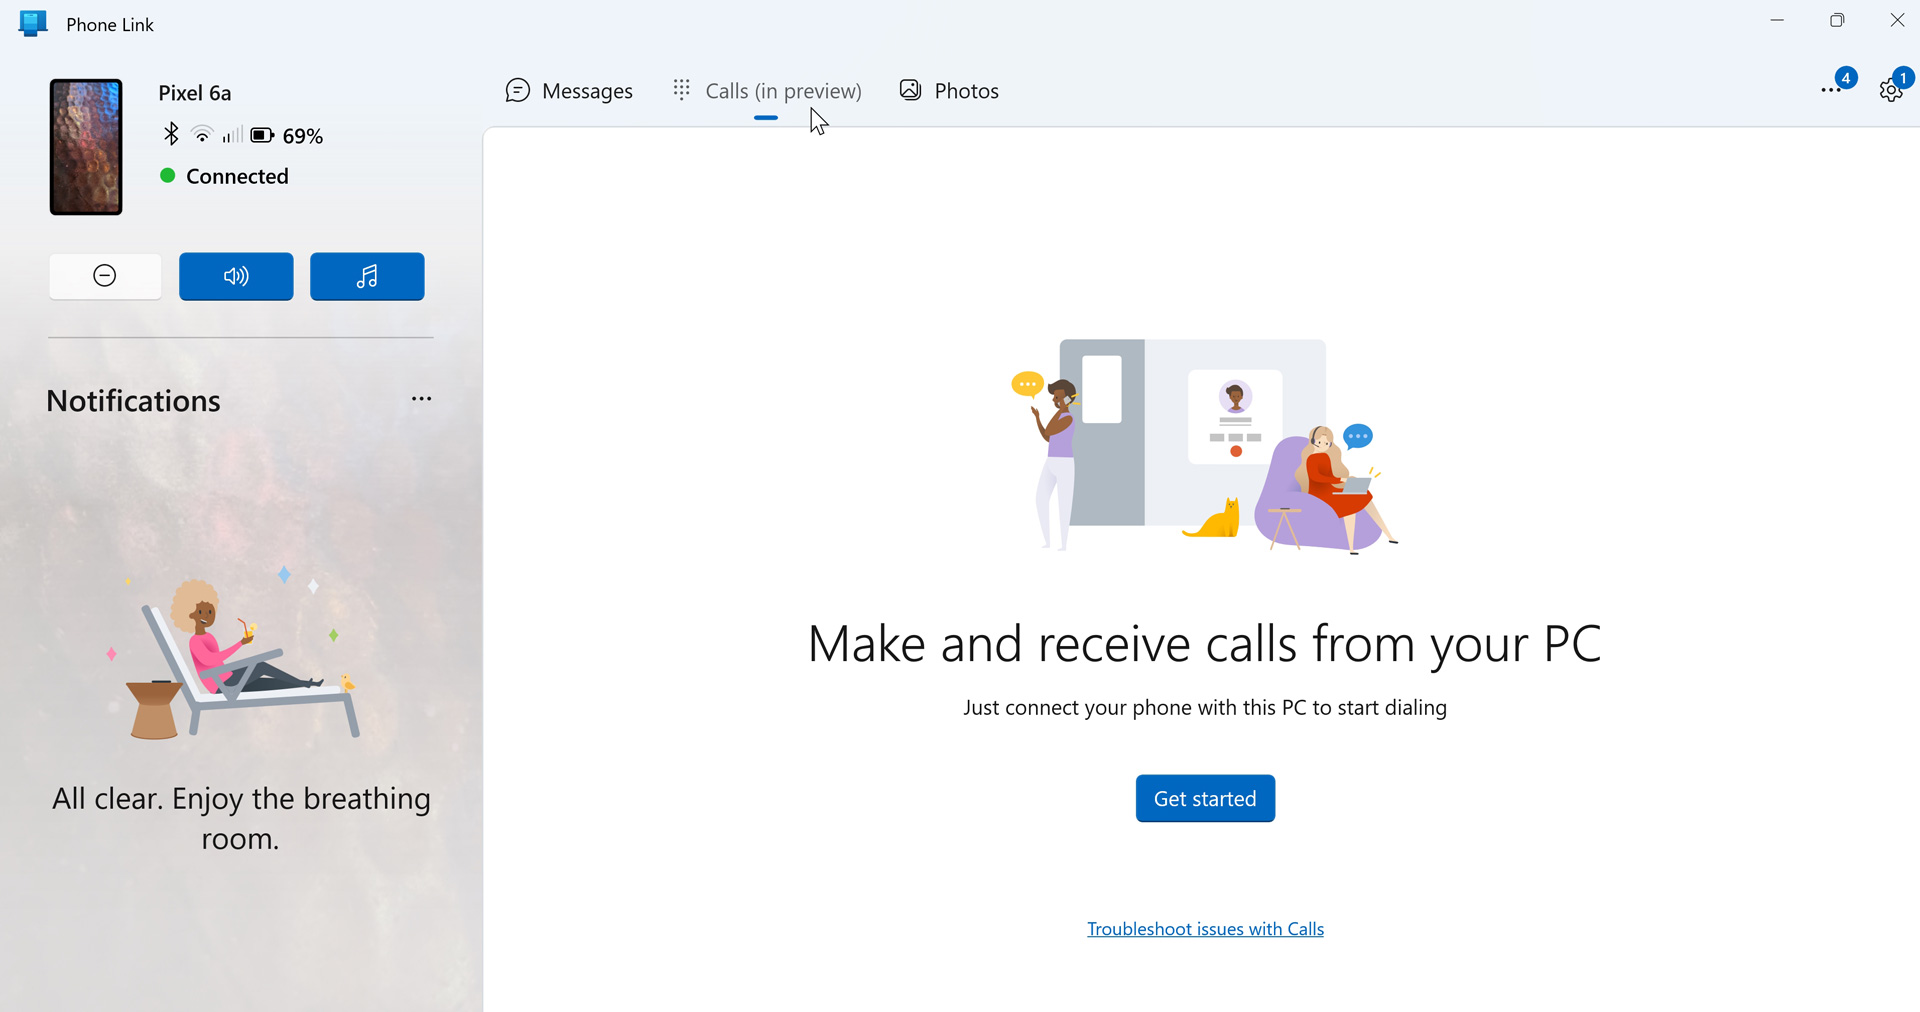
Click “Get started.” Turn on and unlock your phone and then click the “Set up” button in Phone Link. A permissions notification will appear on your phone. Tap “Open” and a window will appear in Link to Windows on your phone asking you to let the app find, connect to, and determine the relative position of nearby devices. Tap “Allow.”
A second notification will then appear on the phone asking you to make the phone visible to other Bluetooth devices for discovery purposes. Tap “Allow.” When you do, Bluetooth pair requests will appear on the phone and the PC. Accept the request on both devices.
There is one more step, as indicated in the Calls view in Phone Link on your PC.
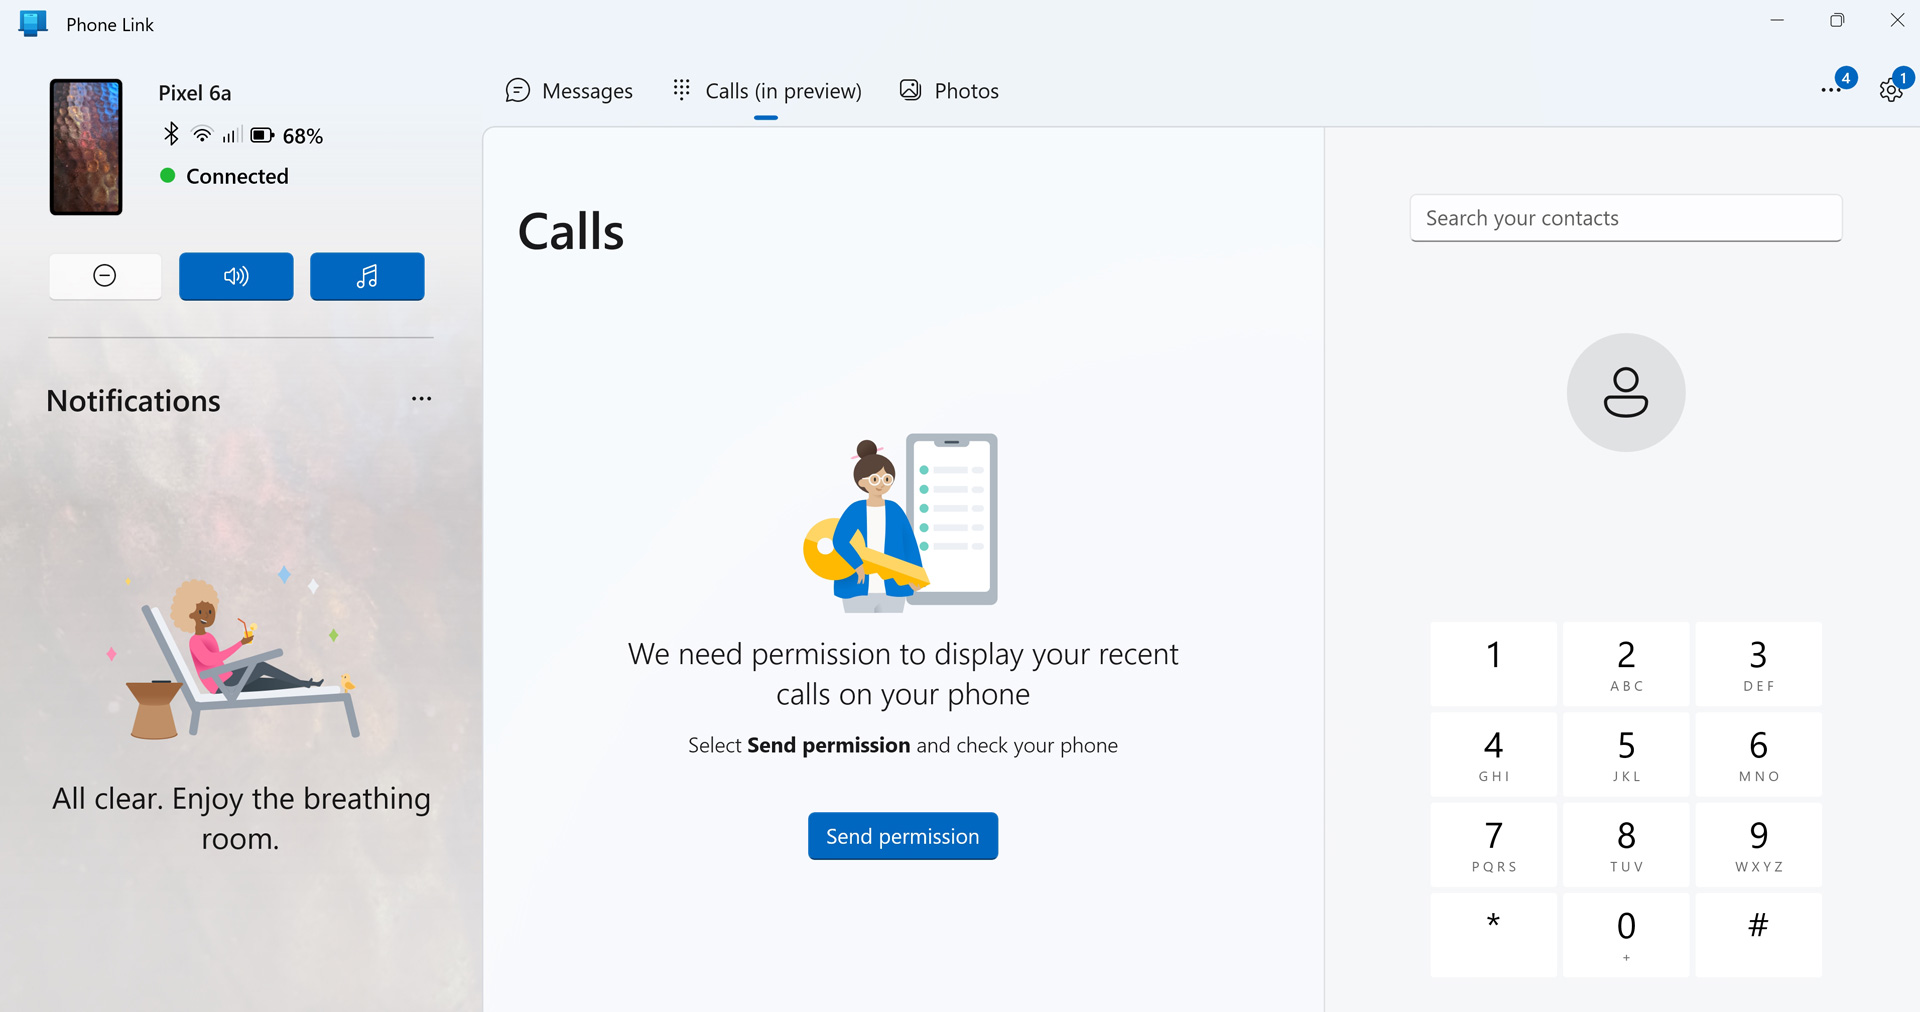
Click “Send permission.”
Another permissions notification will appear on your phone. Tap “Open” and a window will appear in Link to Windows on your phone asking you to let it access phone call logs on your PC. Tap “Allow.”
And … that’s it. Phone Link is finally fully set up. That said, you may want to configure a few more options before proceeding.
Further configure Phone Link (and Link to Windows)
Phone Link on your PC and Link to Windows on your phone both offer their own Settings interfaces. You should examine each.
Configure Phone Link
Like most other modern apps, Phone Link offers a Settings interface that is accessible, in this case, via the Settings (gear) icon in the upper right of the app window.

Most of this is pretty obvious, but you should consider the following options:
Banners. The Banners section in General lets you configure how much information appears in the Android notification banners that display on your PC.
App startup. By default, Phone Link is configured to run when Windows 11 starts. If you find that undesirable, you can disable that in General > App startup.
My Devices. This interface displays each of the phones that are linked to this PC. You can link another phone here or remove a linked phone. And if you link two or more, you can choose which one is the default.
Features. In Features, you can toggle many individual features related to messages, notifications, calls, and photos. All of them are enabled by default.
Wallpaper. By default, Phone Link displays your phone’s wallpaper as the background image in its navigation pane. You can toggle that off in Personalization > Wallpaper if you’d like.
Configure Link to Windows on your phone
Once Phone Link is up and running, you don’t really need to interact with the Link to Windows app on your phone. It’s mostly just a set of advertisements for other Microsoft mobile apps. But there are a few options to consider before you remove the app from home screen.
To access them, open Link to Windows and tap the Settings (gear) icon in the upper right. The Settings page appears. Here, you will find the following options:
Linked computers. This page will list the various PCs that are connected to your phone using Phone Link and Link to Windows. Yes, that’s right: if that setup process wasn’t grueling enough, you can go through it again on another PC. But you can also use this page to disconnect from a PC. (And, later, reconnect if desired.)
Conversely, you can also link multiple phones to Phone Link on a PC.
Let app run in the background. You probably enabled this option earlier in the setup process, but you can toggle it on or off here as needed. If you intend to use Phone Link regularly, we recommend leaving it on.
Sync over mobile data. By default, Phone Link syncs with your PC over Wi-Fi only. But if you would like to sync your phone’s activities to your PC using its mobile data plan as well, you can enable this option.
View phone notifications on your PC
Phone Link displays the latest notifications from your phone in the bottom of the navigation pane.
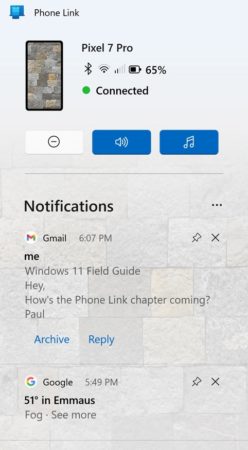
When your phone receives notifications, a notification banner will appear on the Windows 11 Desktop and the Phone Link icon in the Taskbar will display an overlay that represents the number of unread notifications.
You can remove any notification in the navigation pane by clicking its “Clear” (“X”) button. Doing so removes the notification on your phone as well.
![]()
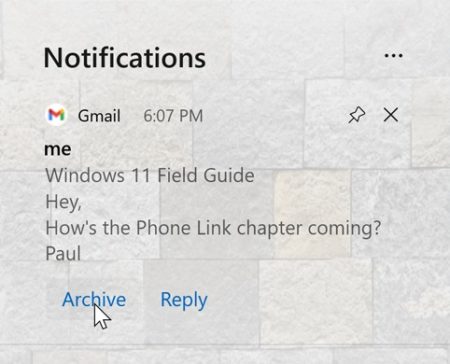
But some notifications support other actions, too, just as they do in the notification shade on your phone. For example, a notification for a Microsoft Teams chat message provides a “Like” link and an “Enter a message” text box so you can respond. And with Gmail, you can archive or reply to an email message using the appropriate links below that message in the notifications list.
To remove all of the new notifications—in Phone Link and on your phone—select the More options (“…”) button in the Notifications header in the navigation pane and then choose “Clear all” from the context menu that appears.
Make and receive text messages from your PC
You can use Phone Link to view, send, and receive text messages on your PC.
To do so, select the Messages tab.
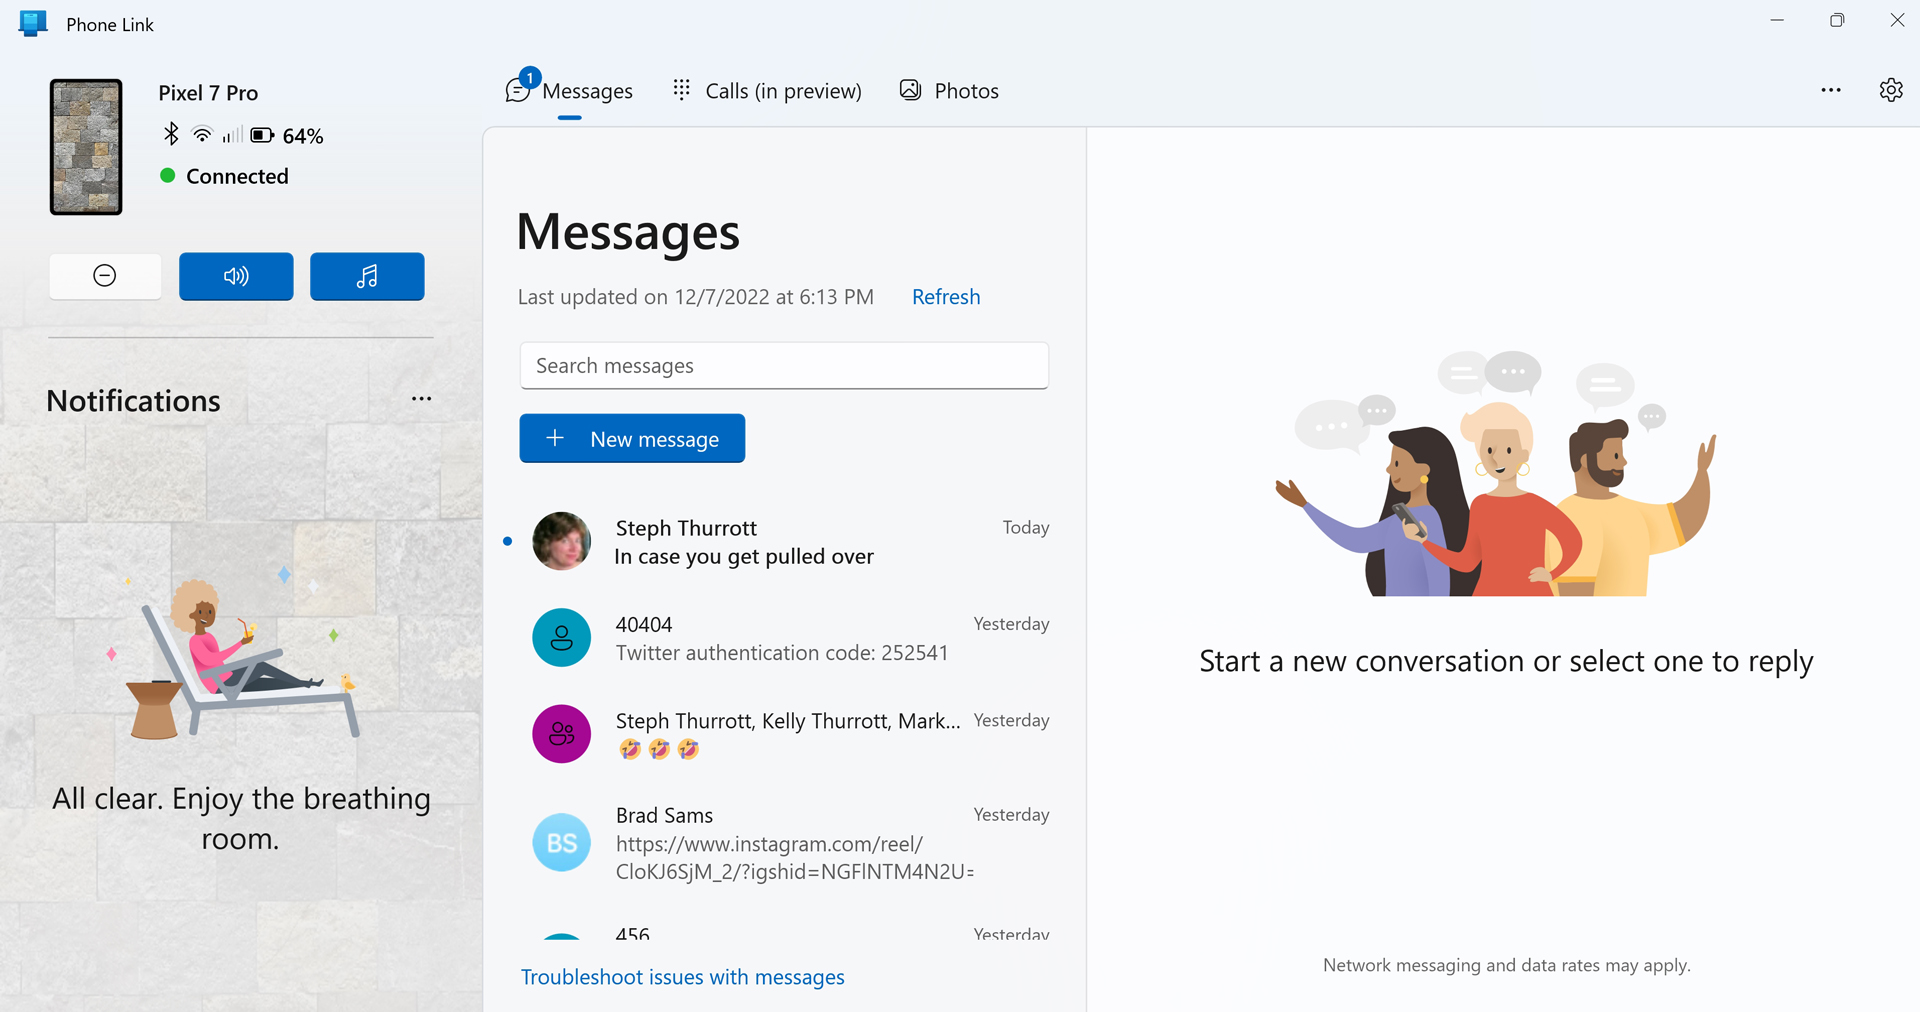
The Messages tab header will display an overlay indicating that there is an unread text message. And this view lets you perform the following tasks.
Read a text message. To read a text message—along with the entire conversation you’ve had with that individual or group as well as any shared media—simply select it in the Recent messages pane.

Respond to a text message. To respond to a text message from your PC, select the conversation, and then select the “Send a message” field. Type your reply and hit Enter—or the Send button—to send the message.

You can also add emojis, GIFs, and images to a text message using the icons below the “Send a message” field.
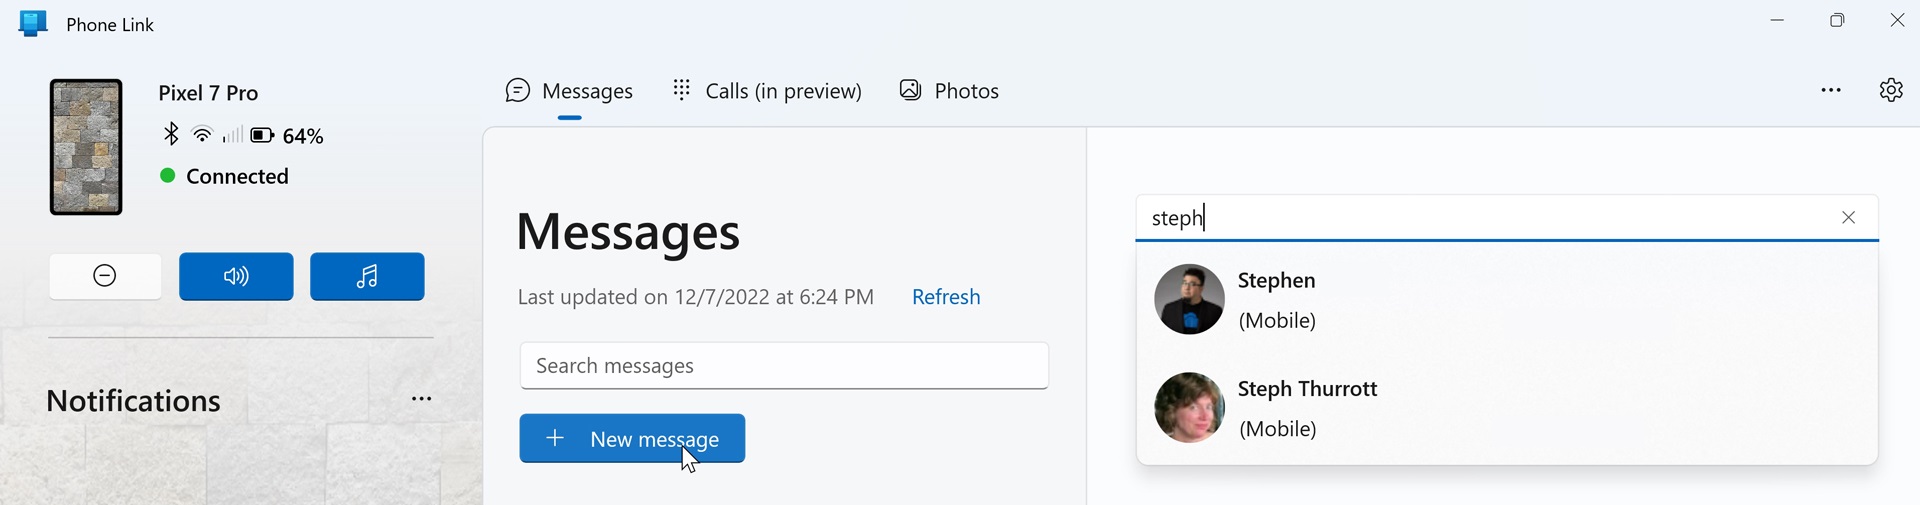
Write a new text message. To create a new text message, select the “+ New Message” button at the top of the Recent messages pane. Here, you can add one or more recipients—using contact auto-complete—and the message you wish to send.
You can also add emojis, GIFs, and images to a text message using the icons below the “Send a message” field.
Make and receive phone calls from your PC
You can use Phone Link to view your phone’s recent calls and to make and receive phone calls.
To do so, open My Phone and click the Calls tab.
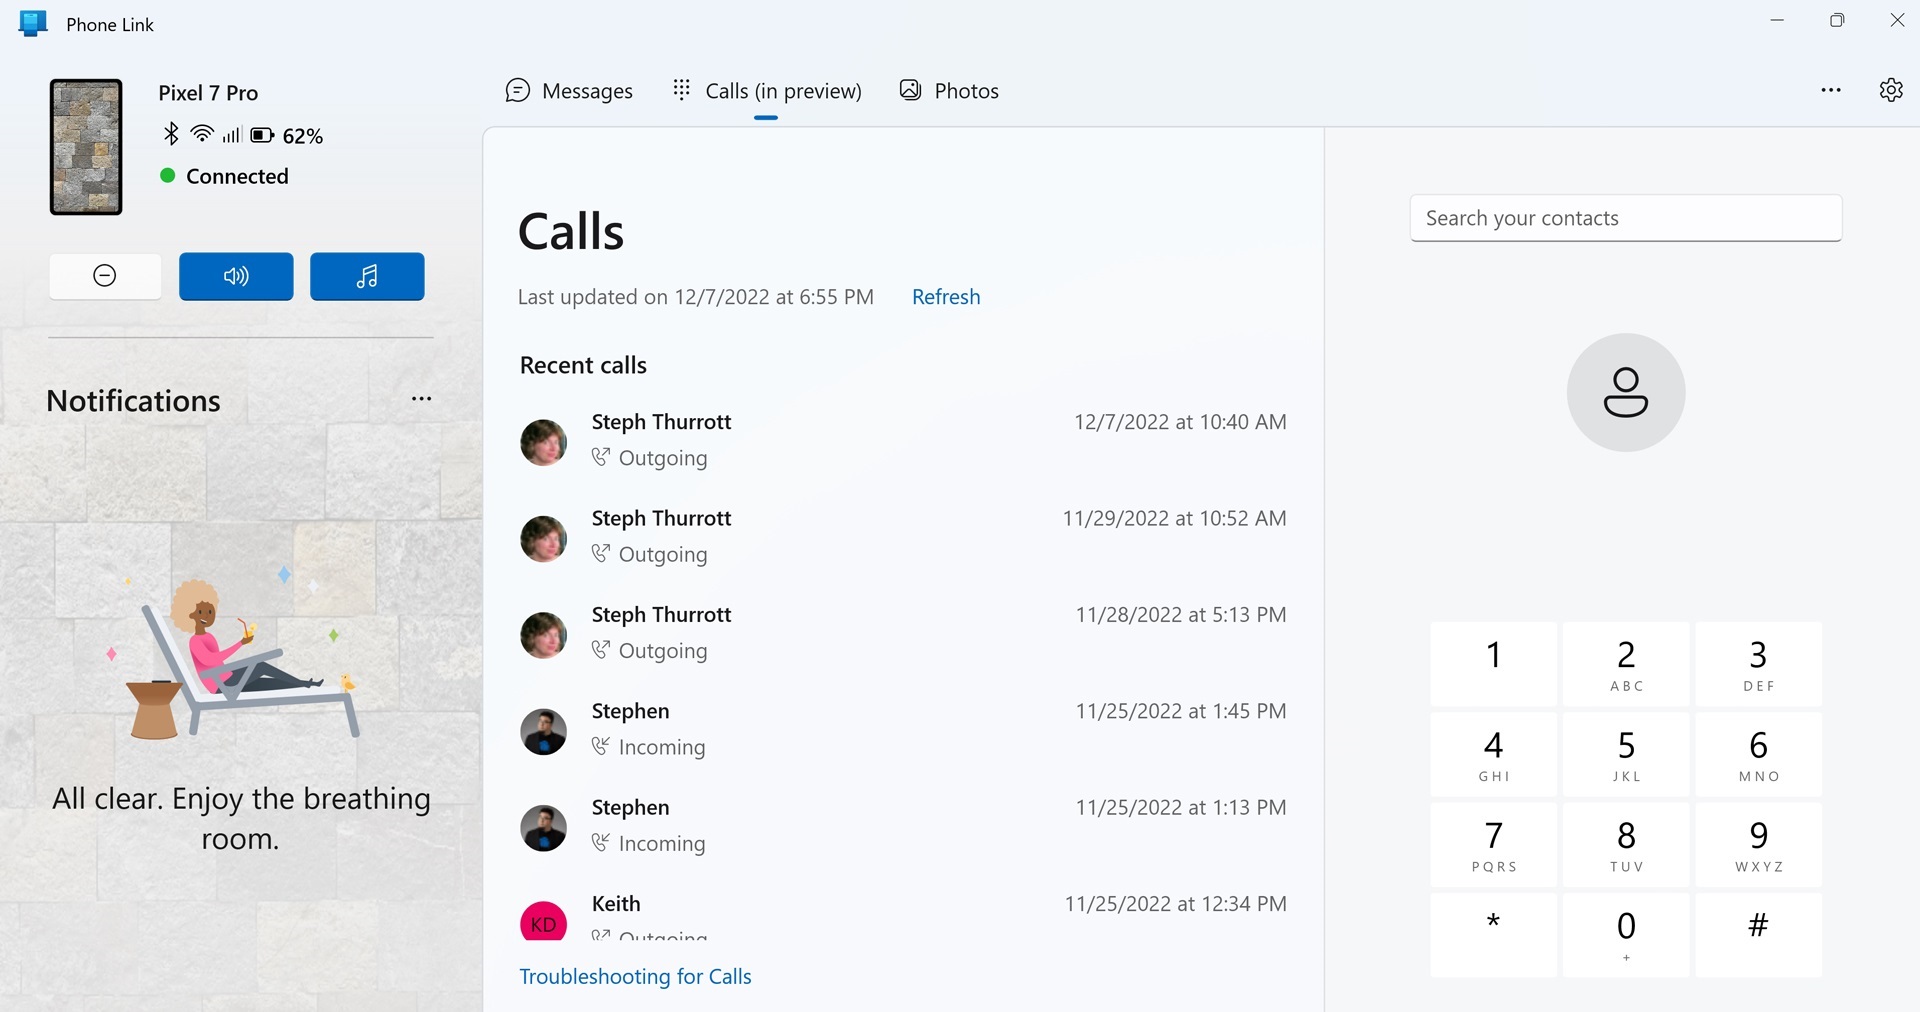
Here, you can perform the following tasks.
View your recent calls. The Calls view displays a list of your most recent phone calls in the center of the display. If you select one of these calls, icons for calling or texting that number will appear.

Make a phone call. To make a phone call through your phone, but using the default microphone and speakers on your PC, use the rightmost pane in the Calls view to search for a contact or manually type in a phone number. A Call window will appear for the duration of the call, and when the call ends, it will be added to the top of the Recent calls list.
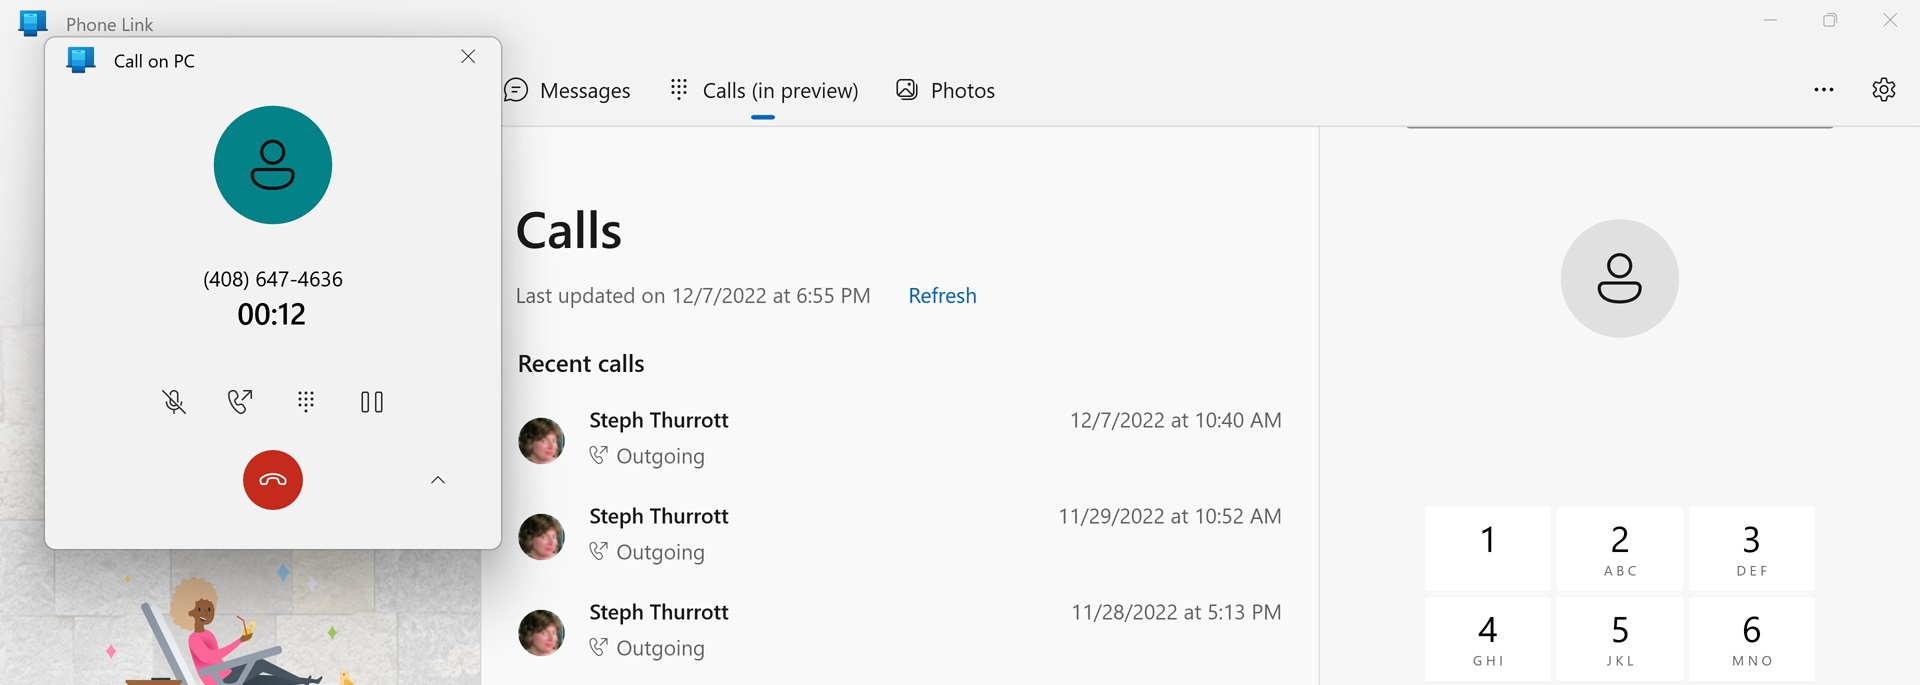
The Call window has buttons for Mute, Send call to phone, Keypad (which can be useful when you’re calling an automated service with a menu), and and Hold call, plus Hang up.
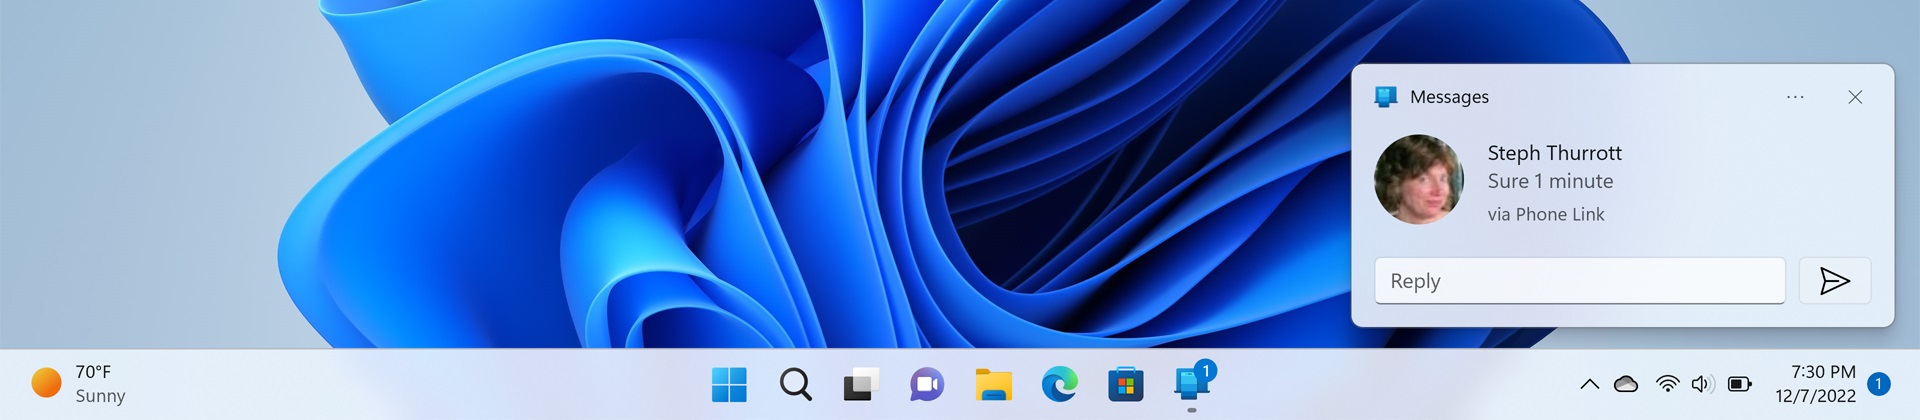
Answer a phone call. When someone else calls you, a large notification appears, letting you answer the call from your PC, decline the call, or send a text message to the person calling.
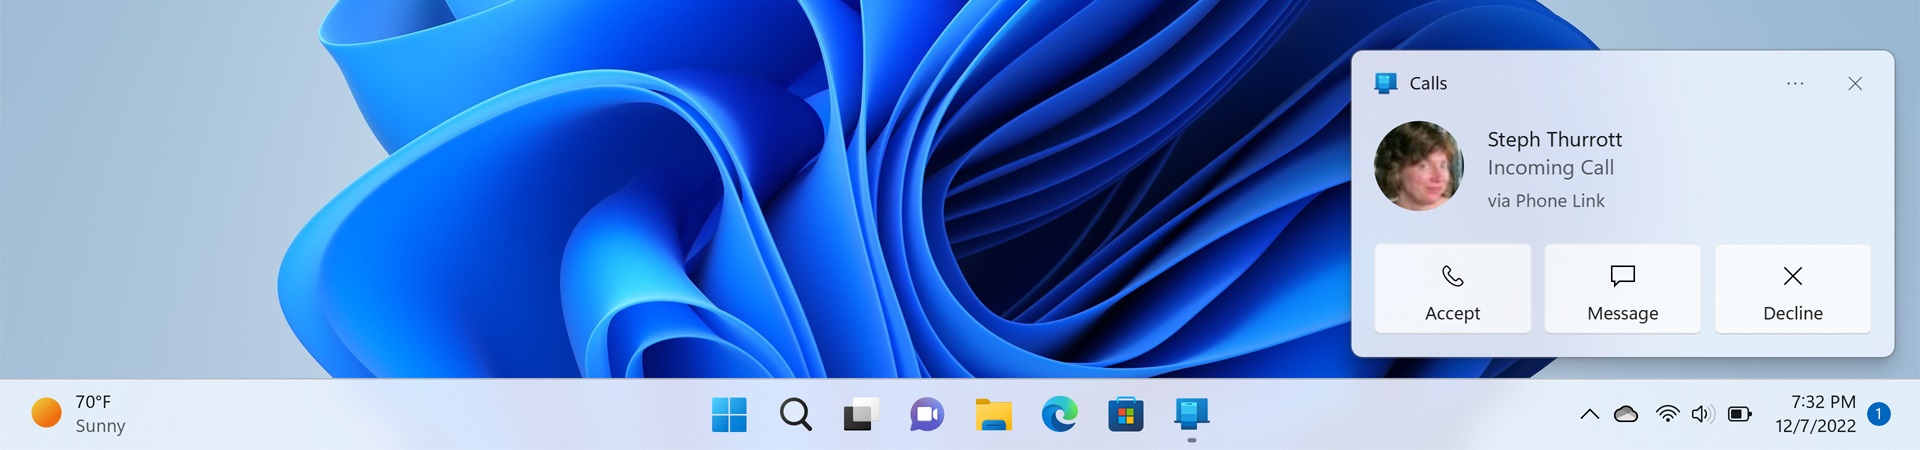
If you decline the call, it will go to voicemail.
What you can’t do here is manage your recent calls list in any way. You can’t remove calls from the list, for example.
Access recent photos on your phone with your PC
Phone Link displays the most recent photos on your phone and lets you view, share, copy, and delete them.
To do so, open Phone Link and navigate to Photos.
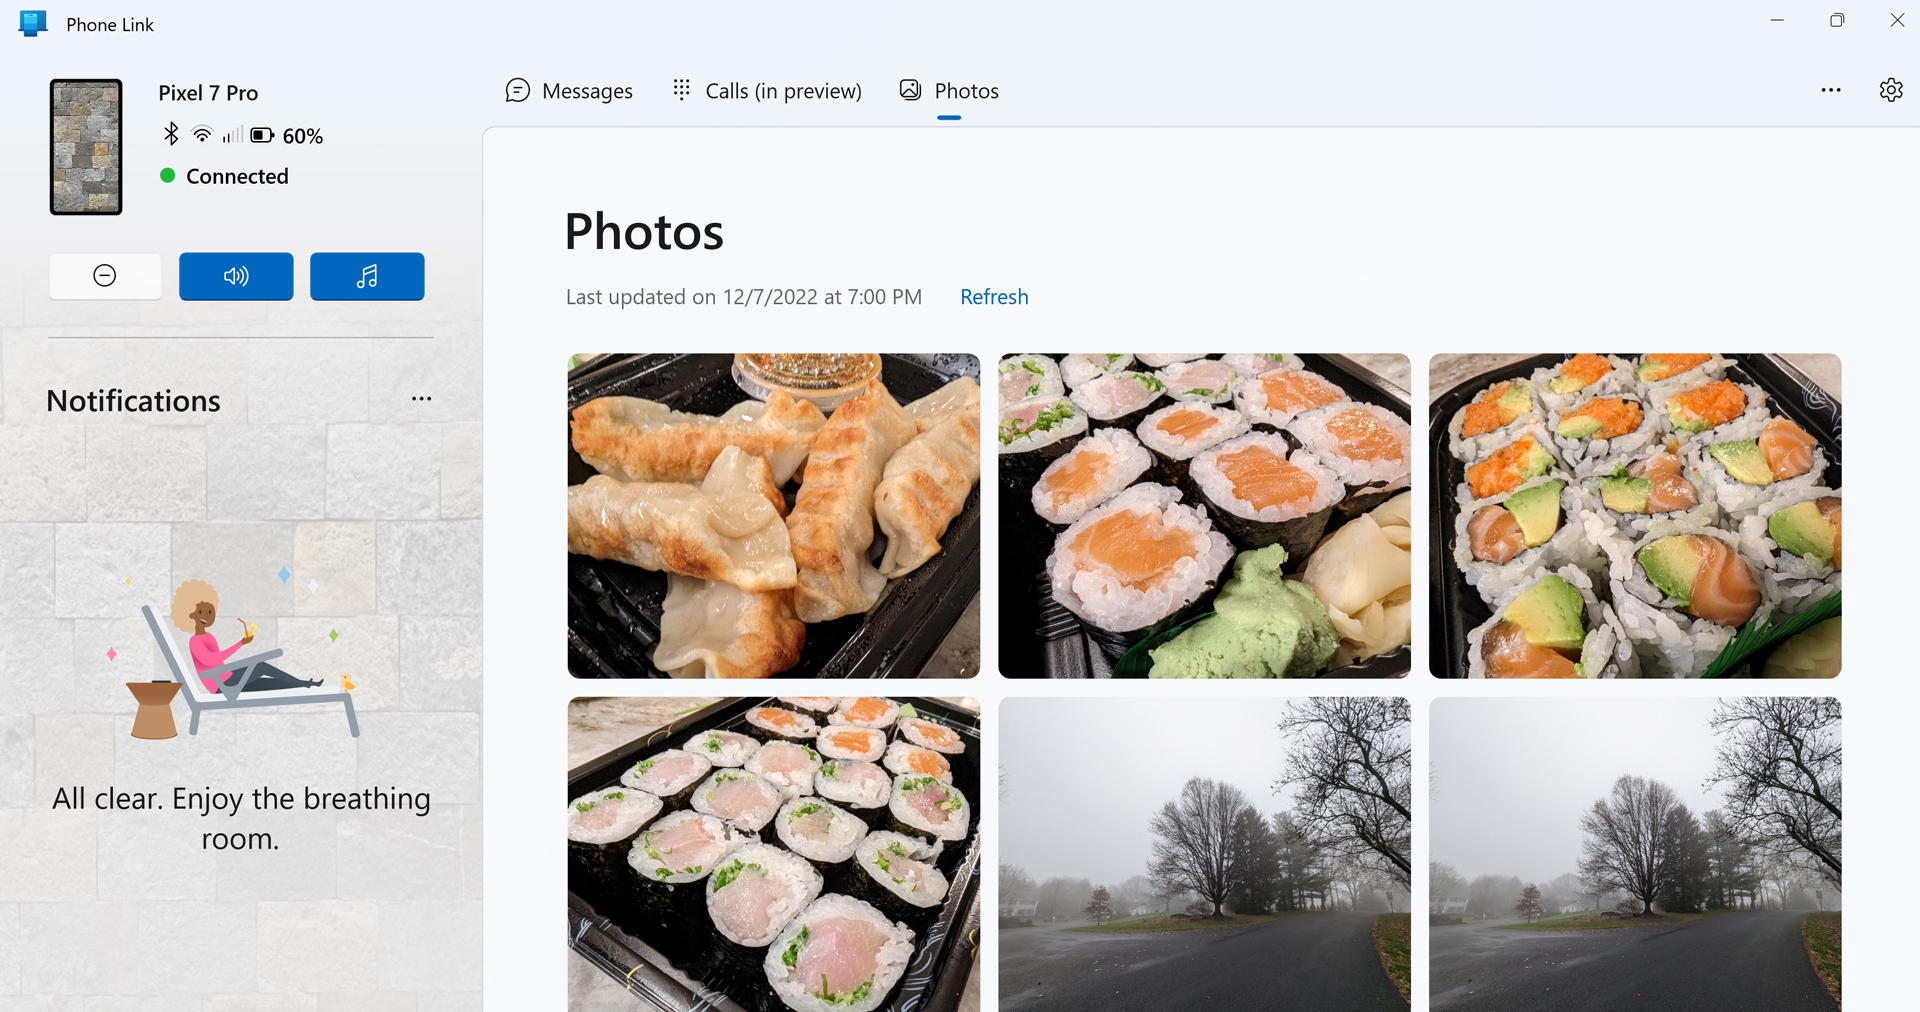
To view a photo, simply select it.
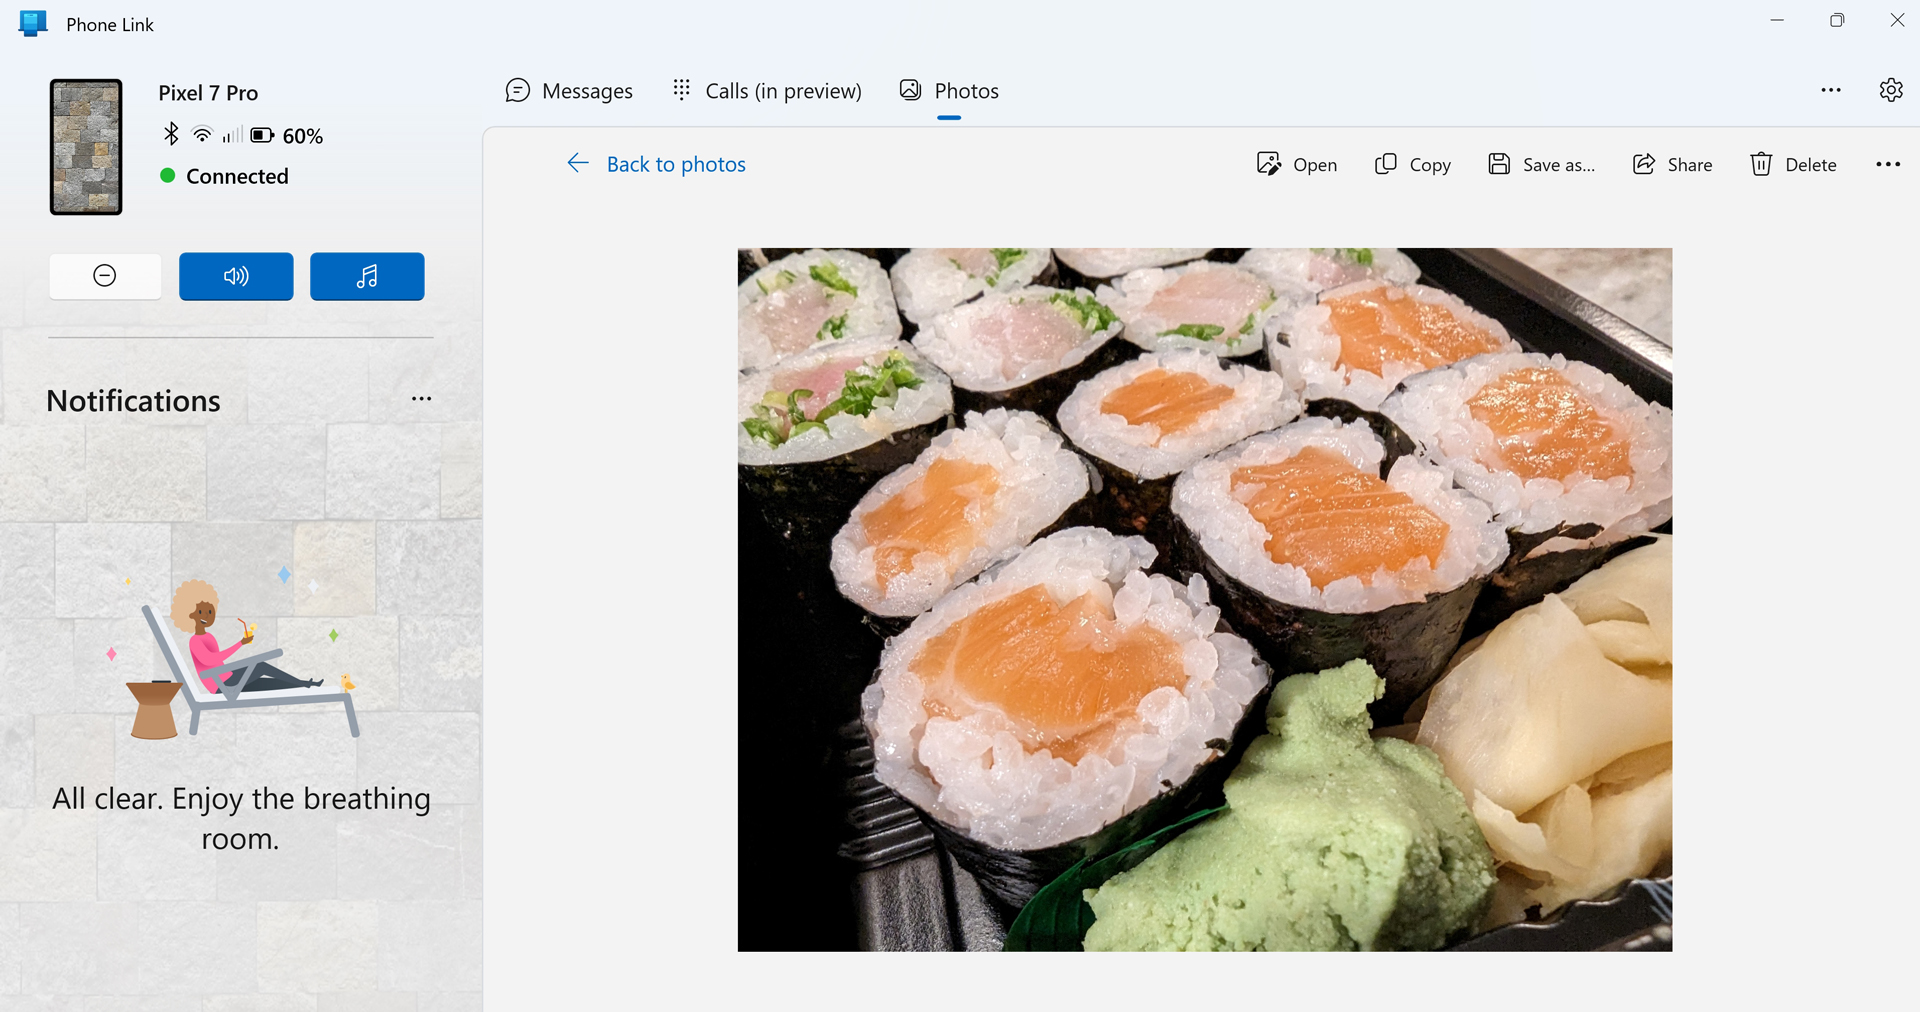
From here you can perform the following actions:
Open. Select “Open” to open the photo in the Photos app that comes with Windows. With this app, you can perform a wide range of editing options.
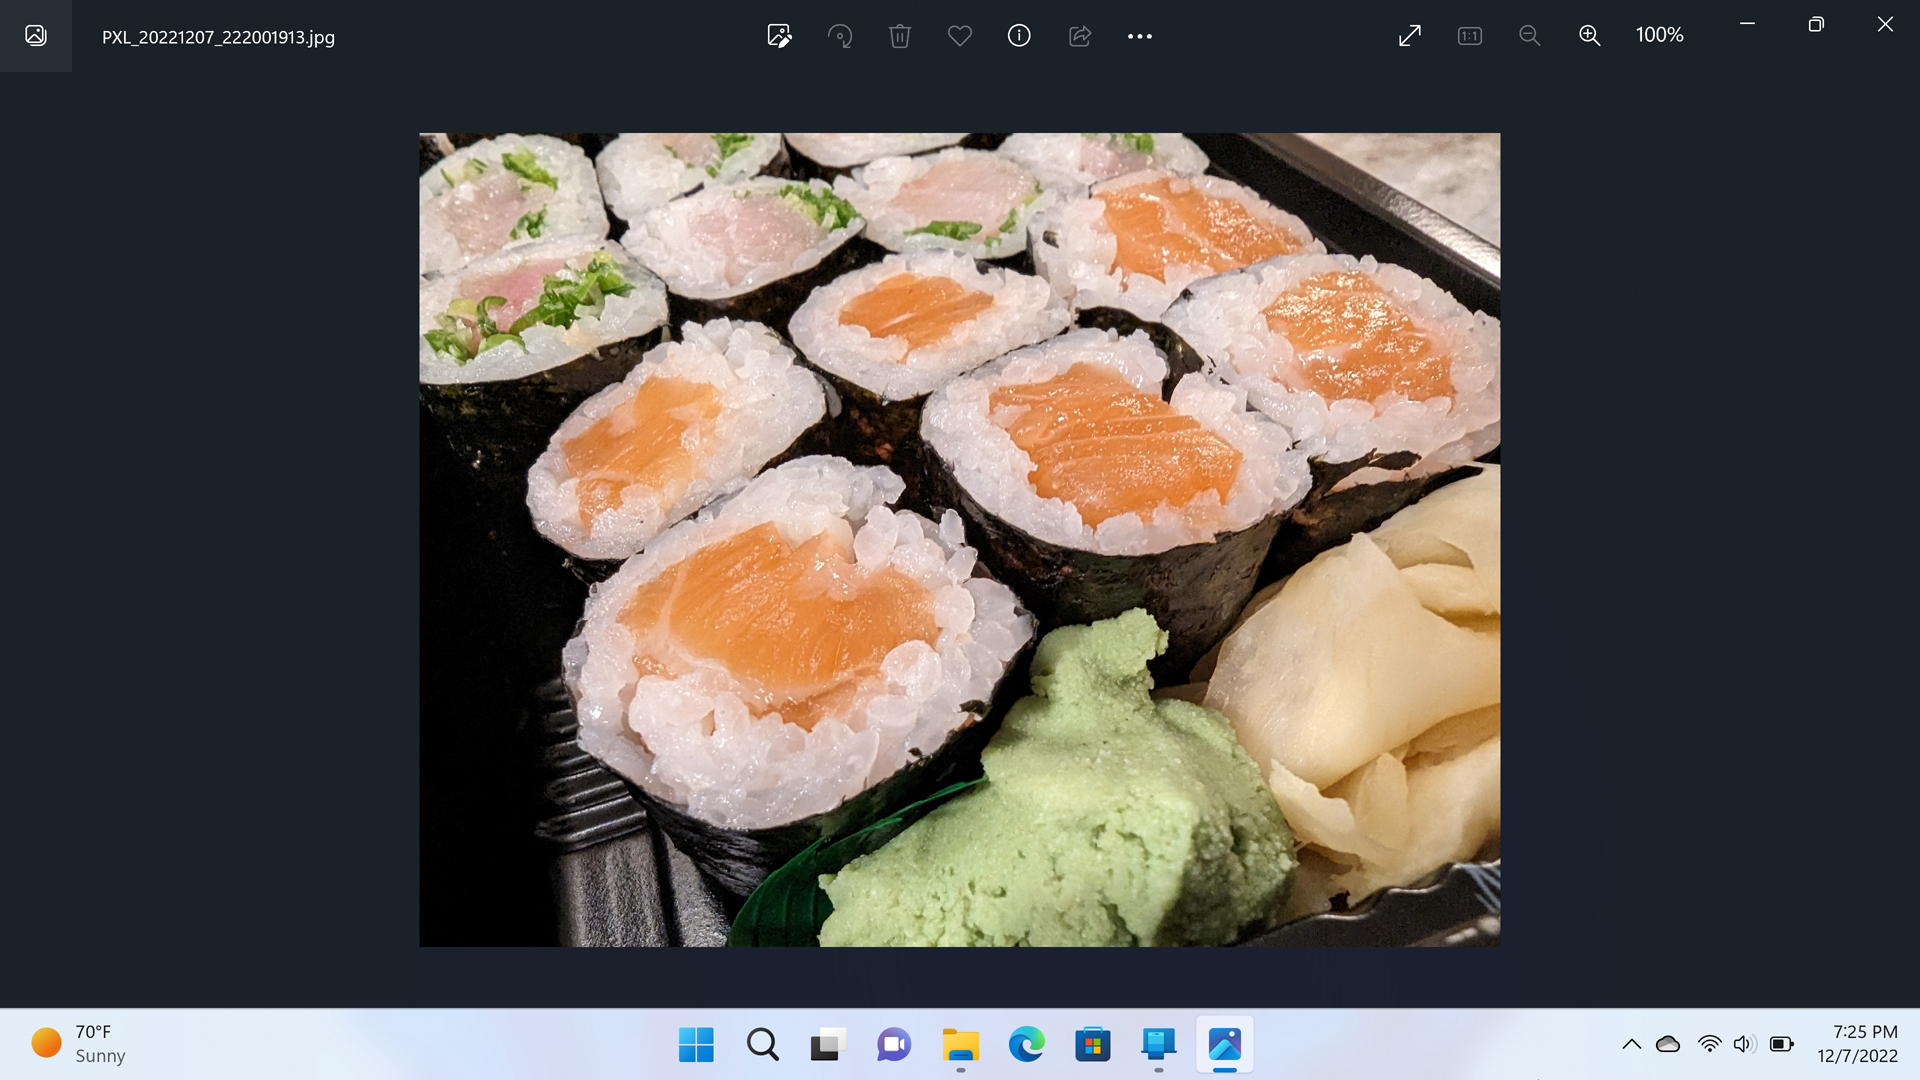
You can learn more about the Photos app and its photo editing capabilities in the Photos chapter.
If you make any changes to the photo via the Edit & Create options, you will be asked to save a copy of the photo to your PC. The changes will be applied only to the copy of the photo, not the original on your phone.
Copy. Select “Copy” to copy the photo to the Windows clipboard so that it can be pasted into another app.
Save as… Select “Save as…” to save a copy of the photo to your PC.
The “Save as…” option is OK for saving the occasional photo to your PC. But if you would like to copy large groups of photos from your phone to your PC, you’re better off using other methods. The most obvious is to connect your phone to the PC via a USB cable and use File Explorer. Alternatively, you can import the photos from your phone using the Photos app.
Share. Select “Share” to display the system Share window and share the image with others using Mail, Nearby Share, or compatible apps.
Delete. Select “Delete” to permanently delete the selected photo from your phone.
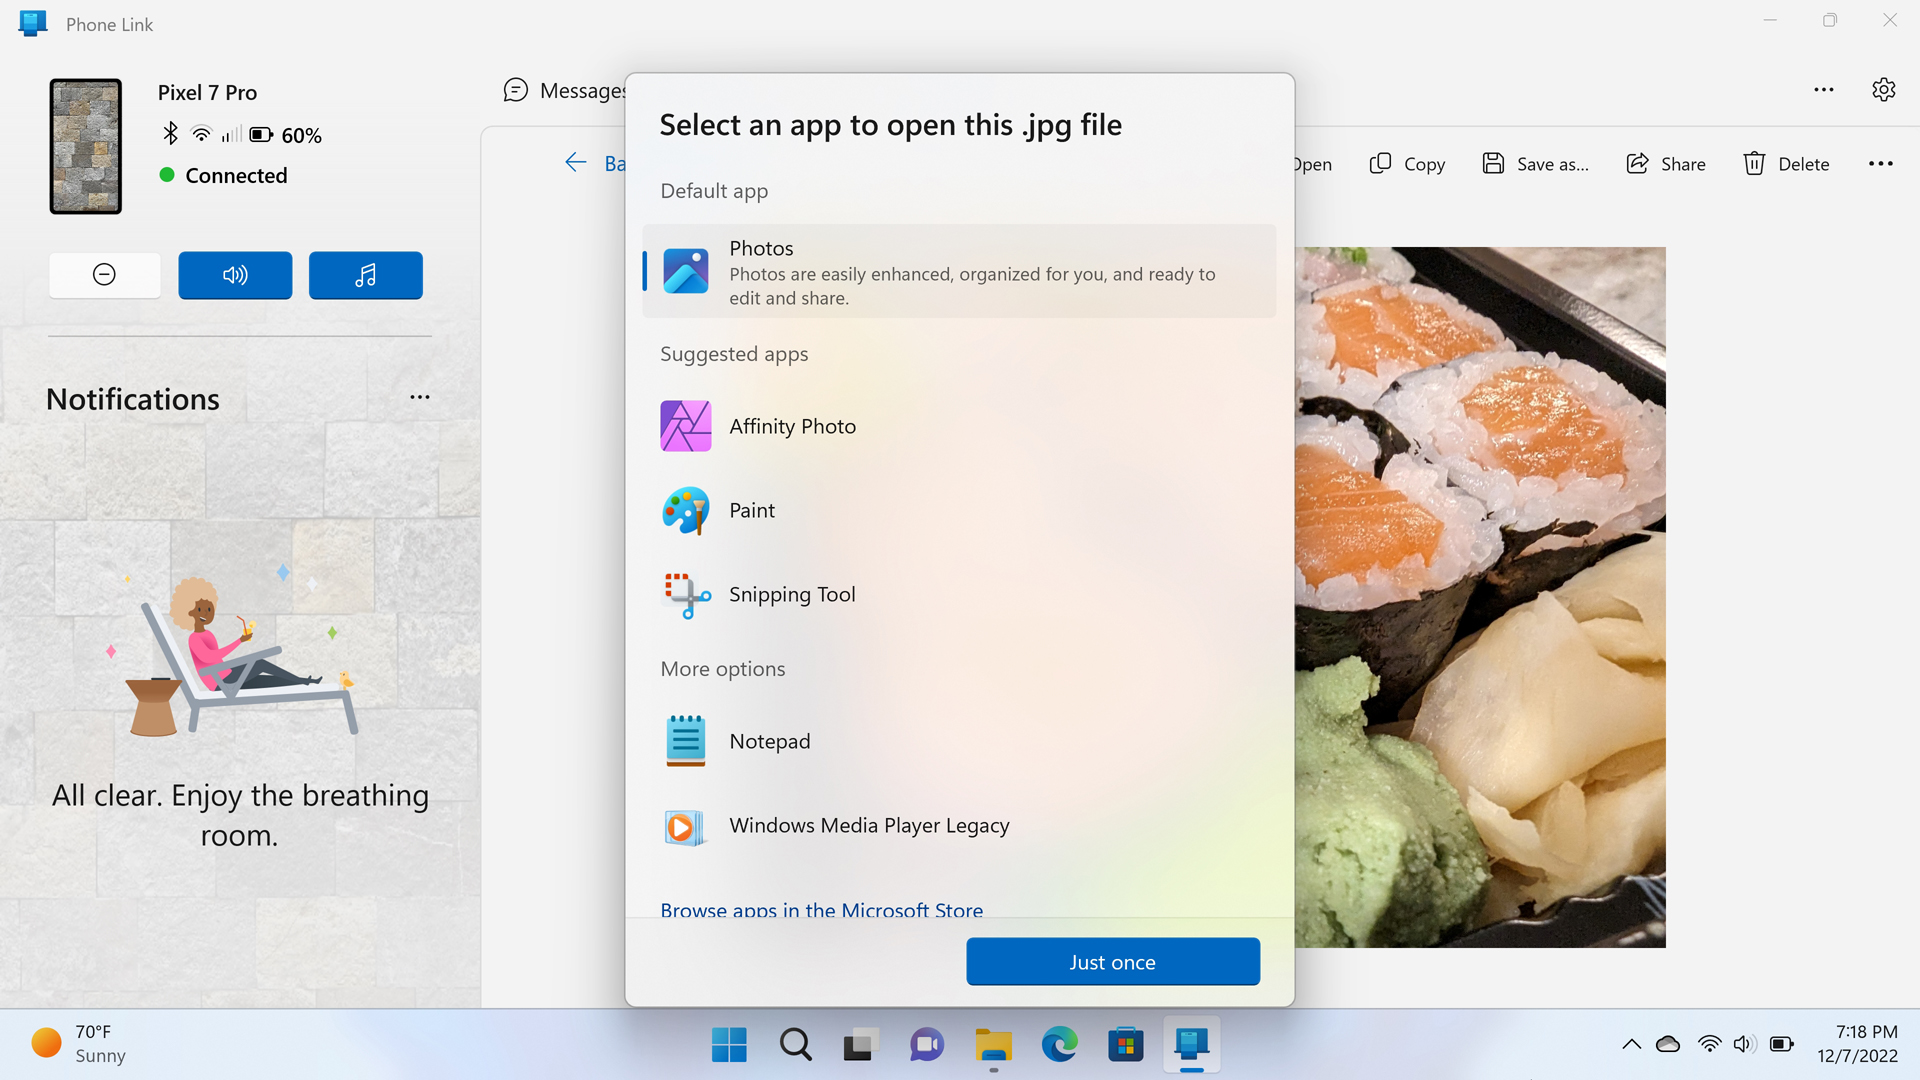
Open with… If you prefer to use a different app for photo editing, choose “Open with…” instead. In this case, you’re presented with a choice of compatible apps that are installed on your PC.
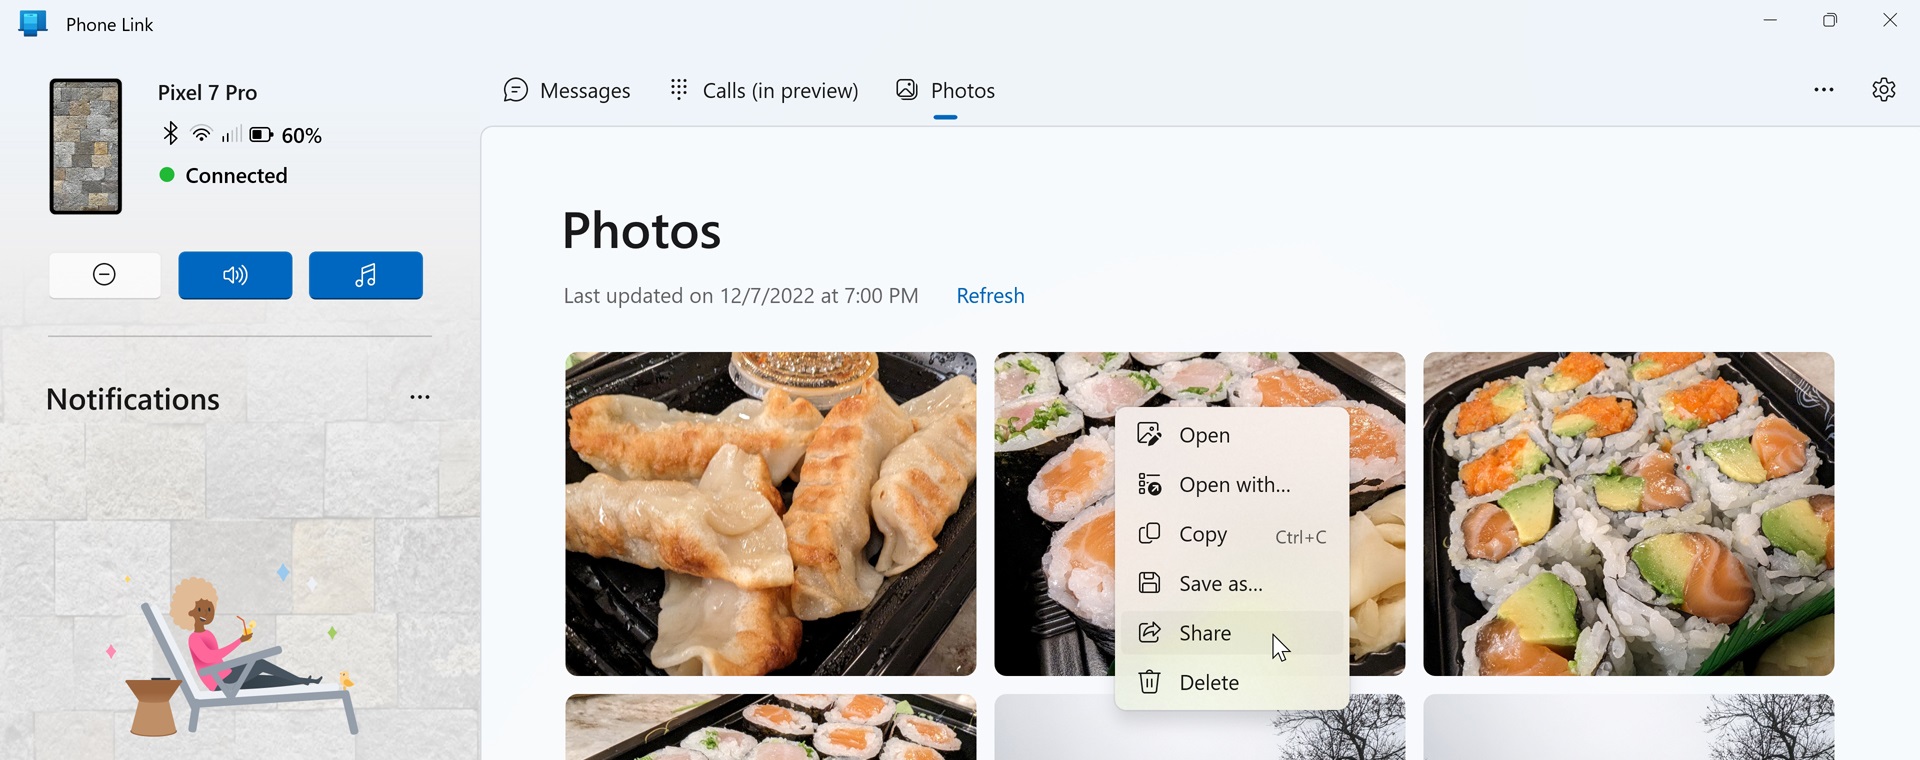
The preceding actions are all available via a right-click menu in the main Photos view as well.
View a different photo. Using the left and right arrow keys on your keyboard—or the Back (“<“) and Forward (“>”) buttons that appear when you mouse over the image you’re viewing—you can navigate through the photos on your phone one-by-one.
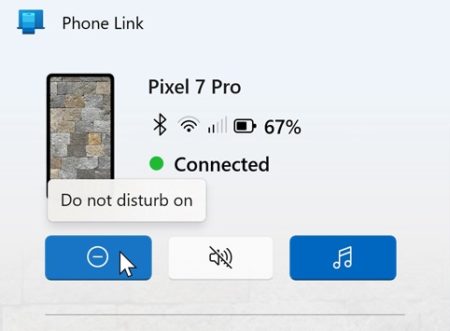
Toggle Do Not Disturb on your phone
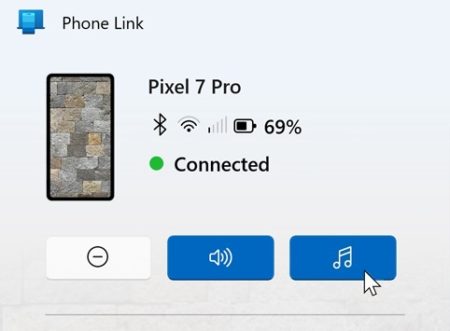
Phone Link has a Do not disturb button at the top of the navigation pane that toggle’s your phone’s Do Not Disturb feature. When in this mode, sounds, vibrations, and visual disturbances are disabled.
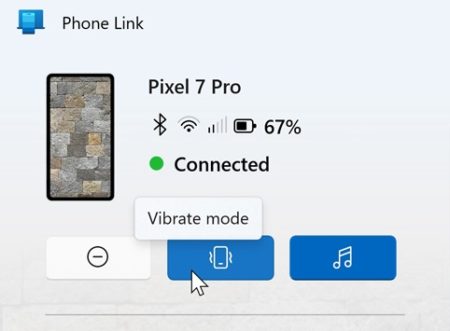
Switch between ring, vibrate, and mute modes on your phone
The Android on-screen volume slider displays three quick links at the top so you can switch the phone between ring, vibrate, and mute modes. And Microsoft has duplicated that functionality with the Volume button in the top right of the Phone Link app so that you can make this change from your PC.
The button acts as a toggle that switches between these three modes:
Volume on. In this default setting, your phone is in ring mode.
Vibrate mode. This sets the phone to vibrate mode.
Volume off. With this selected, the phone’s ringer is muted and the phone is put into Do Not Disturb mode. (The Do not disturb button in Phone Link will also be set to On.)
None of these modes impact media playback.
Access media on your phone
The Audio player feature in Phone Link lets you interact with the audio content that is currently playing on your phone. It’s toggled on and off with the Audio player button in the top right of the app.
When Audio player is enabled, you will see a large Media player tile at the top of the Notifications list in the navigation pane. This player looks and works similarly to the media player that appears in the Android notification shade: you can use it to toggle Play and Pause and to access the previous and next tracks.
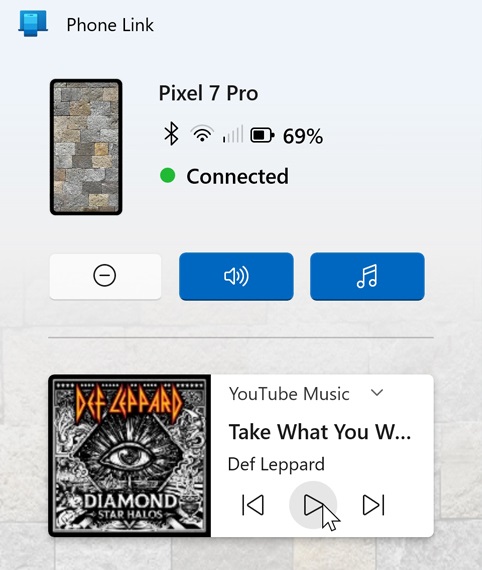
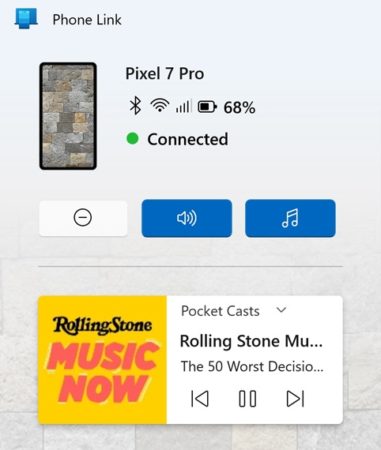
Less obviously, it can also be used to switch between multiple audio-playing apps. Other audio apps you’ve used recently can be accessed via the caret at the top of this tile.
![]()
To switch the playback, select a different app from the list.
Media playback occurs via the phone, and not through your PC as you might expect.

Gain unlimited access to Premium articles.
With technology shaping our everyday lives, how could we not dig deeper?
Thurrott Premium delivers an honest and thorough perspective about the technologies we use and rely on everyday. Discover deeper content as a Premium member.