Upgrade to Windows 11 Version 23H2 on Unsupported Hardware
- Paul Thurrott
- Oct 22, 2023
-
2
Though Windows 11 is largely identical to Windows 10 internally, Microsoft changed the hardware requirements and will block the upgrade on many PCs that run Windows 10 successfully. We discuss these requirements in Windows 11 Version 23H2 Hardware Requirements and Recommendations, so we will focus on how you can circumvent Microsoft’s blockers in this chapter.
To be fair, some of the new requirements are reasonable. For example, we don’t believe you should install Windows 11 on a PC with a very old Intel, AMD, or Qualcomm microprocessor, less than 8 GB of RAM, or 256 GB of storage. But some other requirements are considered controversial because they seem largely arbitrary and appear designed solely to convince users to purchase new Windows 11-based PCs.
Consider the potential downsides
You should also consider the potential downsides to bypassing the hardware requirements. They are:
- It’s unsupported. You can’t turn to Microsoft or your PC maker if you have software issues.
- Microsoft might stop delivering updates. This is almost certainly a hollow threat, but Microsoft does warn that “if you proceed with installing Windows 11 [on unsupported hardware], your PC won’t be entitled to receive updates, including but not limited to security updates.”
- Potential security issues. Microsoft argues that its processor and TPM requirements are for security reasons, but that’s only partially true. If your PC has a TPM 1.2 or TPM 2.0 chipset and an unsupported microprocessor, it will be no less secure than Windows 11 running on fully supported hardware.
- Annoying desktop watermark. Microsoft might display a watermark overlay on the desktop when you use Windows 11 on an unsupported PC. And while it did test displaying such a watermark, it has never done this to its customers, at least not yet. If it does, no worries: You will be able to work around this, and we will document how to do so in this book.
Upgrade to Windows 11 on an unsupported PC
Since your PC is unsupported, you will not be offered the Windows 11 upgrade normally, via Windows Update. So you will need to download the latest Windows 11 installation disc image file (in ISO format) from Microsoft and use that to upgrade instead.
You obtain this file from the Microsoft website. Scroll down to “Download Windows 11 Disk Image (ISO) for x64 devices,” expand the “Select Download” drop-down list, select “Windows 11 (multi-edition ISO for x64 devices)” option, and click “Download Now.” After Microsoft validates your request, expand the “Choose one” drop-down list under the new “Select the product language” section, and select your language (“English (United States)” in our case). Then, click “Confirm.”
After Microsoft validates this request, a new “Download – Windows 11 English” (or similar) section appears. Click “64-bit Download” to finally download the Windows 11 installation disc image file. Be sure to save it to a place on your PC you can easily find, like your Desktop.
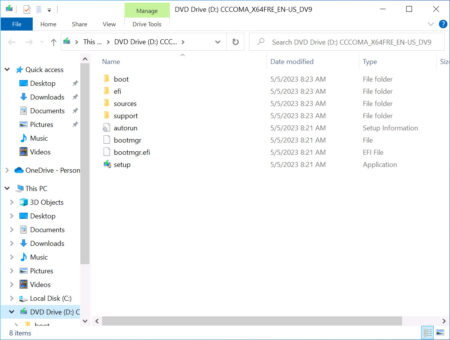
When the download completes, double-click the ISO file to mount it in your PC’s file system as if it were a physical DVD disc. In the Security Warning dialog that appears, click “Open,” and a File Explorer window will open and display the contents of the disc image file.
Normally, you would double-click setup.exe now to run Windows Setup and step through the upgrade process normally. But this would fail because the PC is not supported by Windows 11.

Instead of experiencing that, close the File Explorer window and open a Command Prompt window. (You can find this with Search in Start by typing comm.) Then, type the following command in this window.
> D:\setup.exe /product server
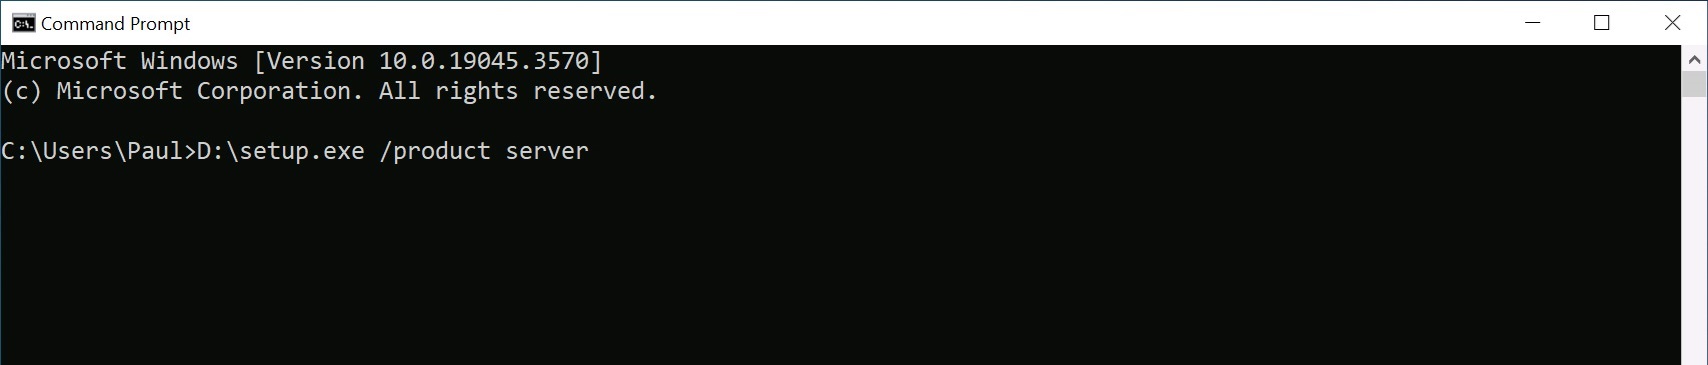
This assumes that the Windows install media has registered as the D: drive. If this is not the case–you can see which drive letter it uses in File Explorer–substitute the correct drive letter for D in the command you type.
When you type ENTER to execute this command, a User Account Control (UAC) dialog appears. Select “Yes” and Windows Setup will appear, with one curious alteration: It says that you are installing Windows Server, not Windows 11.
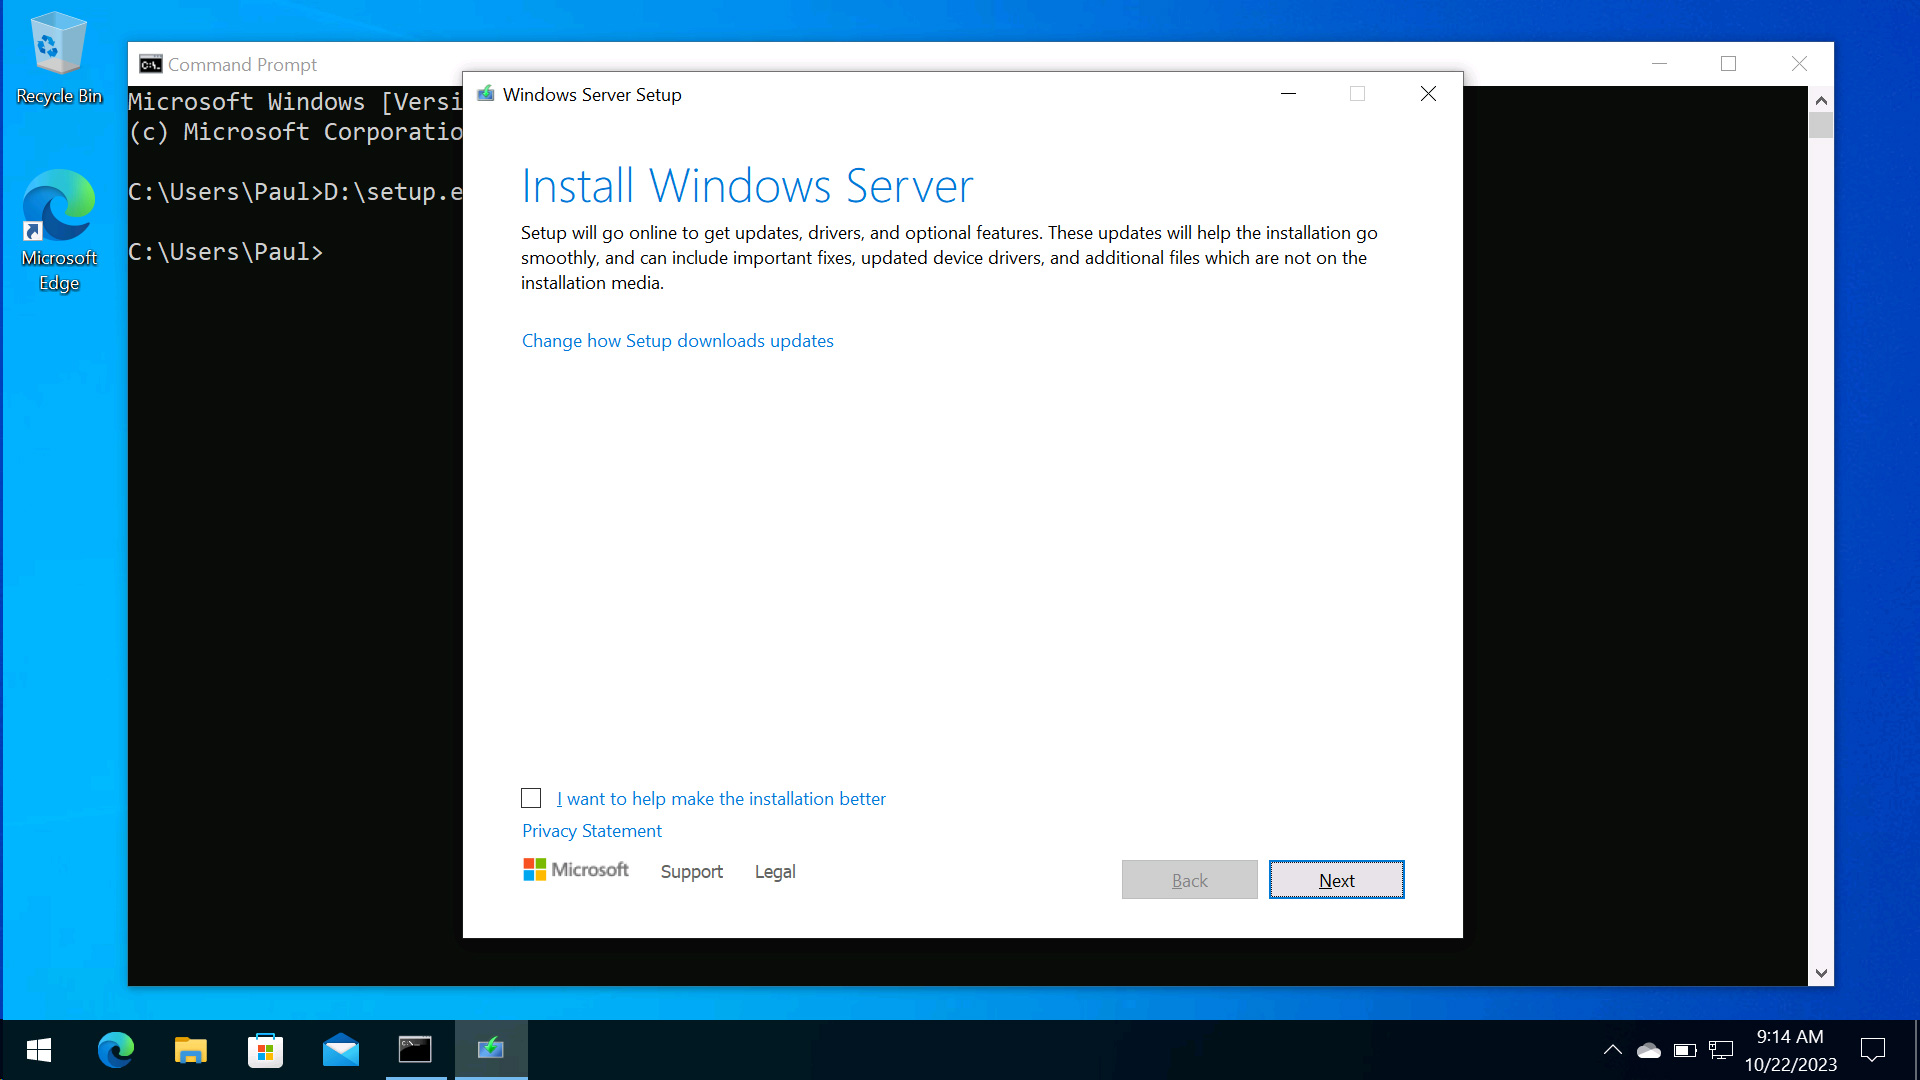
Don’t be put off by this: Despite the name change, you are upgrading to Windows 11. The only meaningful change–aside from an “Applicable notices and licenses terms” window that you can get past by clicking “Accept”–is that Windows Setup will not perform a hardware compatibility check.
From here, just step through the Windows Setup wizard normally: It now works as described in the Manually upgrade to Windows 11 section in Upgrade from Windows 10 to Windows 11 Version 23H2 and your PC will successfully upgrade to Windows 11 version 23H2.

Gain unlimited access to Premium articles.
With technology shaping our everyday lives, how could we not dig deeper?
Thurrott Premium delivers an honest and thorough perspective about the technologies we use and rely on everyday. Discover deeper content as a Premium member.