Sound Recorder
- Paul Thurrott
- Jul 26, 2023
-
2
Windows 11 includes a simple app called Sound Recorder that lets you use your PC’s microphones to record your voice and other audio.
Where did it go?
Sound Recorder replaces an app from Windows 10 called Voice Recorder. Unfortunately, Sound Recorder lacks a few feature from Voice Recorder, including the ability to trim and edit recordings.
Amusingly, if you search for voice recorder using Start search, Sound Recorder appears as the best match in the search results.
Get to know Sound Recorder
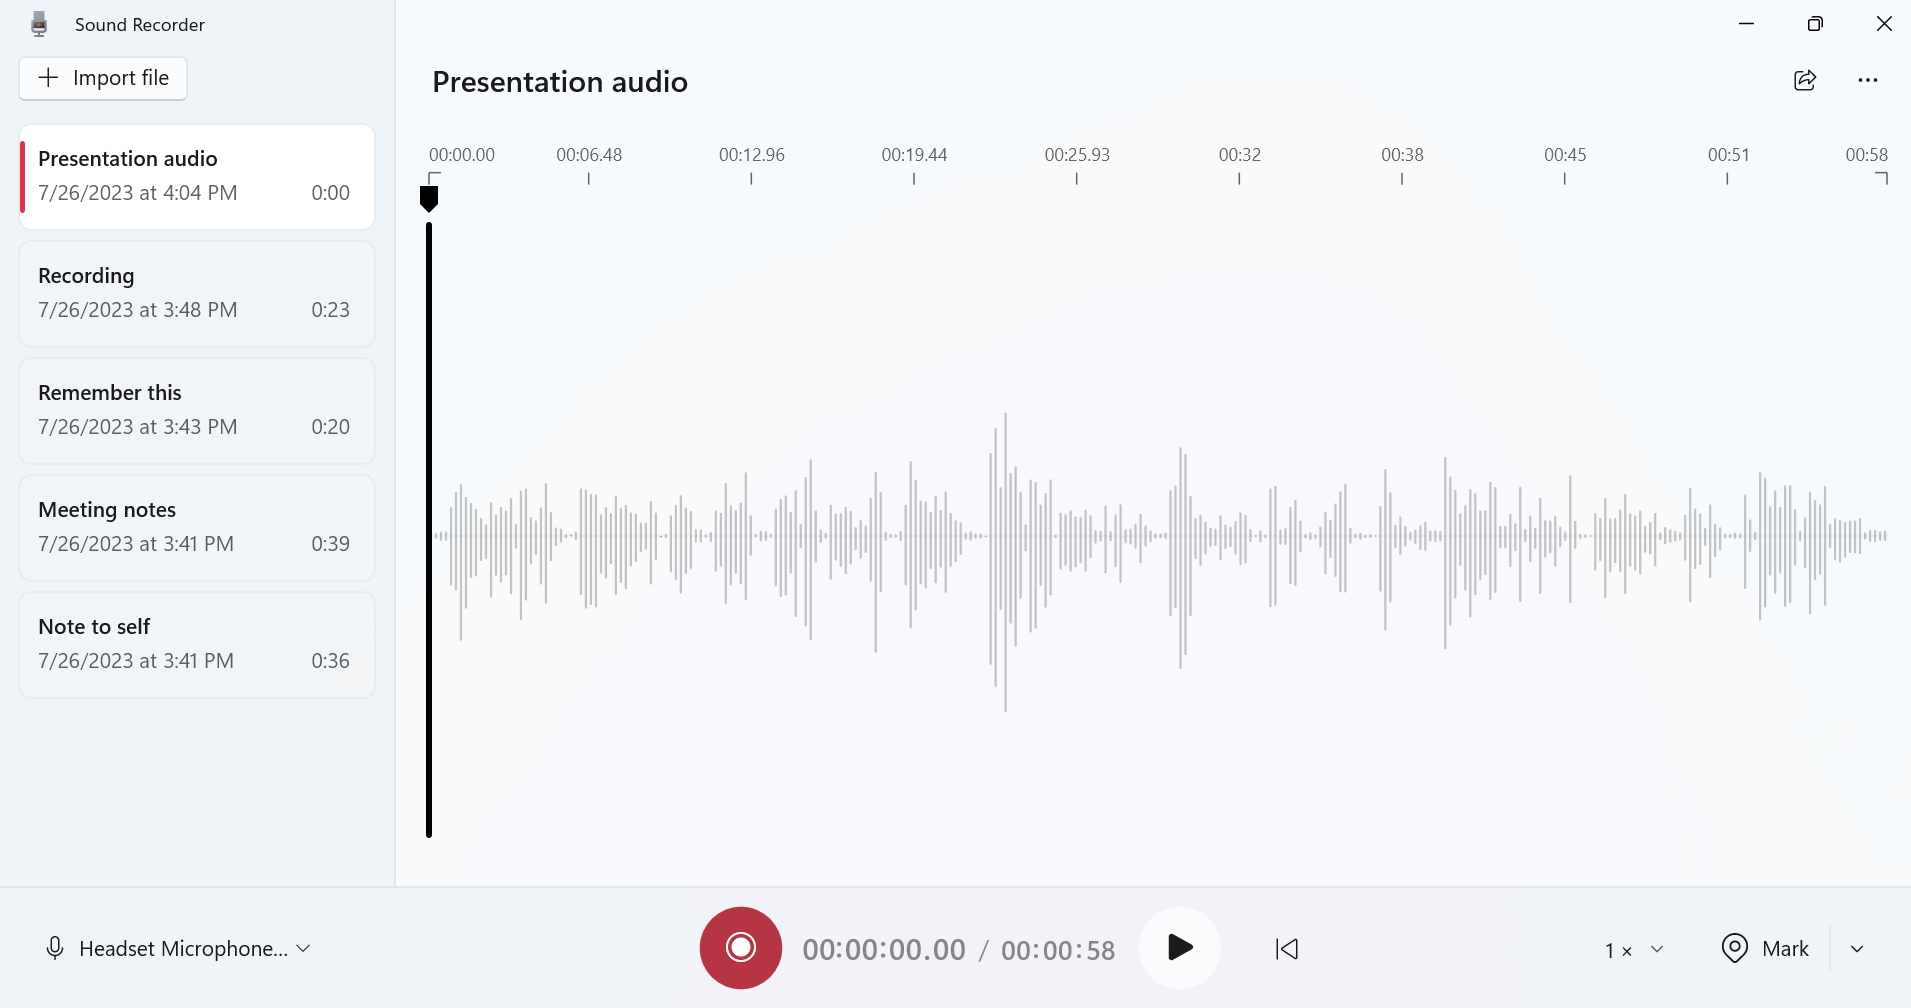
Sound Recorder couldn’t be simpler, with a navigation pane on the left for accessing previous recordings, a large recording/playback area, and a toolbar at the bottom with recording and playback controls.


And that’s pretty much it. You can jump right into audio recording, though it’s worth examining a few app settings first.
Configure Sound Recorder
To configure Sound Recorder, click “More options for recording” (“…”) in the upper-right of the app, and then select “Settings” from the menu that appears. Sound Recorder settings appears.
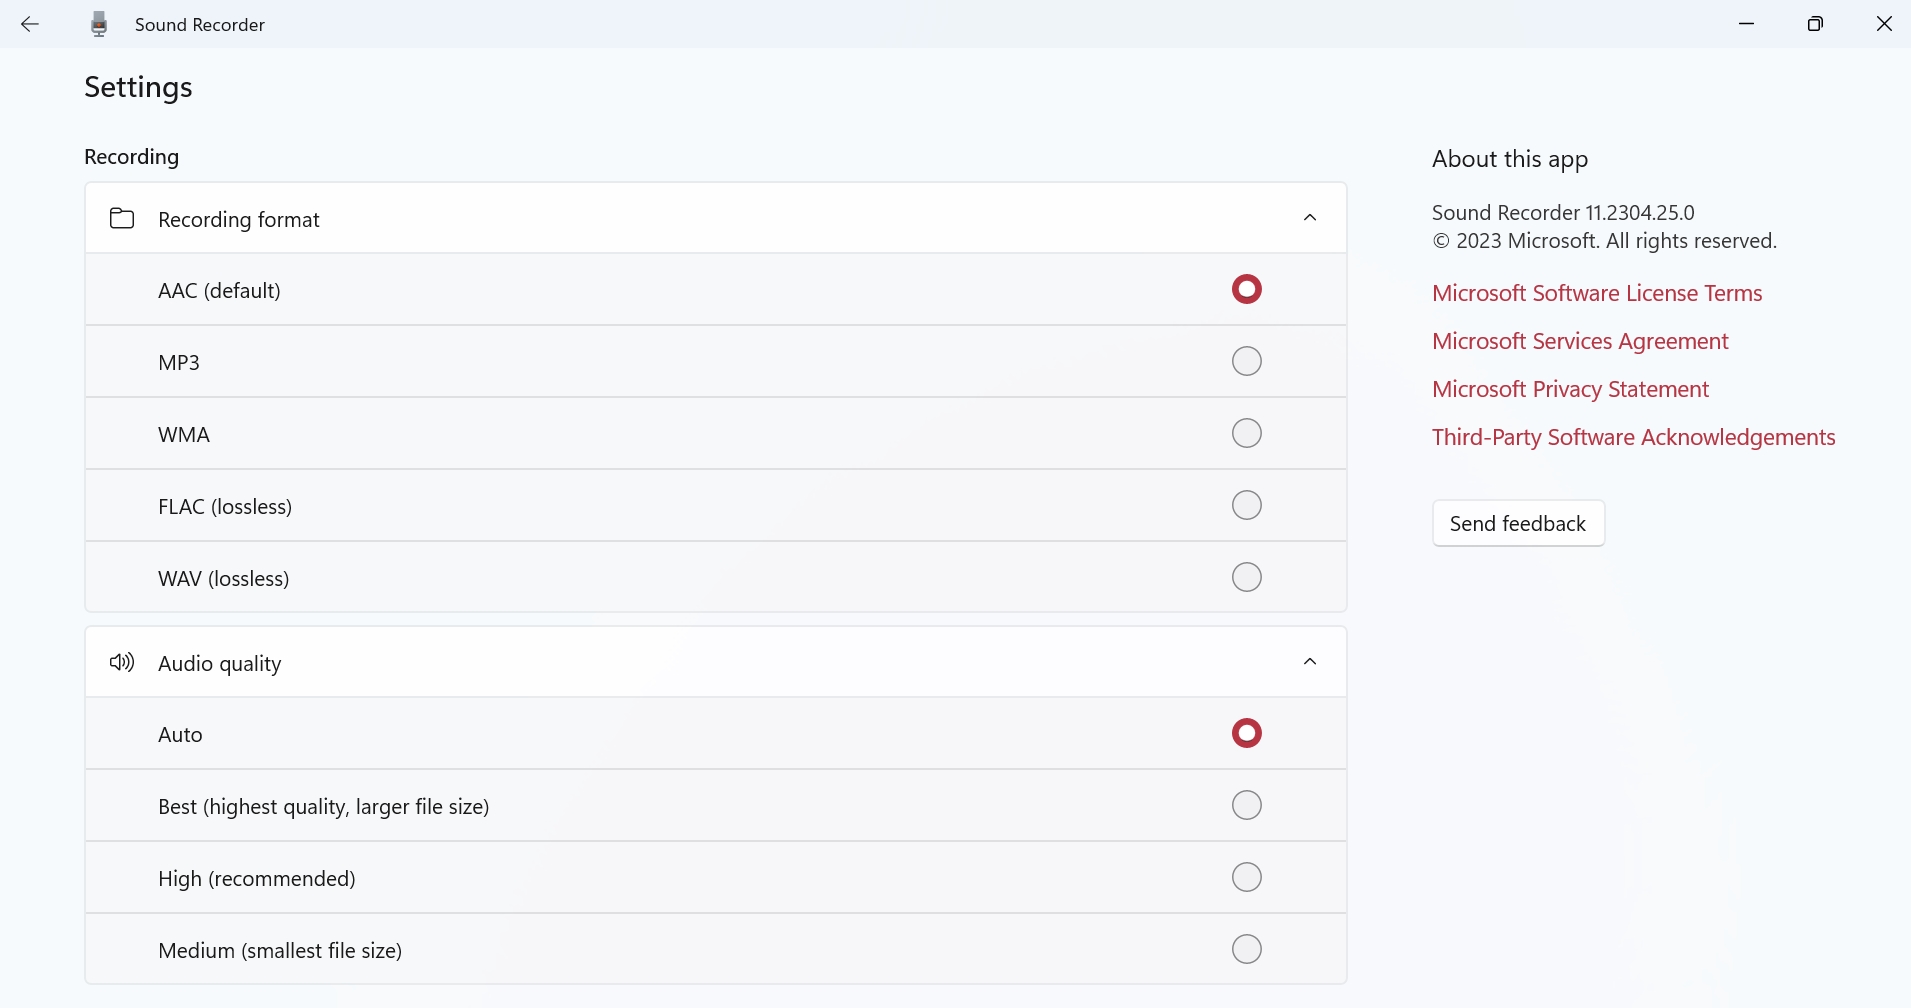

Aside from configuring the appearance, there are only two settings, which are expanded in the image above. They are:
Recording format. By default, Sound Recorder records its files using the AAC (Advanced Audio Coding) format, which is broadly compatible with audio and video applications. But you can change this to MP3, WMA (Windows Media Audio), FLAC (lossless), or WAV (lossless). Unless you know you need a specific format, Most are best served by leaving this one as-is.
Audio quality. Sound Recorder chooses the audio quality of its recordings automatically by default, though Microsoft has never to our knowledge documented how it does so. (Presumably, this is based on some combination of the recording hardware capabilities and performance characteristics of your PC.) But you can change this to Best, High, or Medium. If your audio recordings are important to you, we recommend changing this to High or Best.
If you have multiple microphones in or attached to your PC, you can choose which you will use for recording. There are two ways to do so, but both are available via the Sound Recorder app: just mouse down to the lower left of the app windows and select the Microphone drop-down menu.

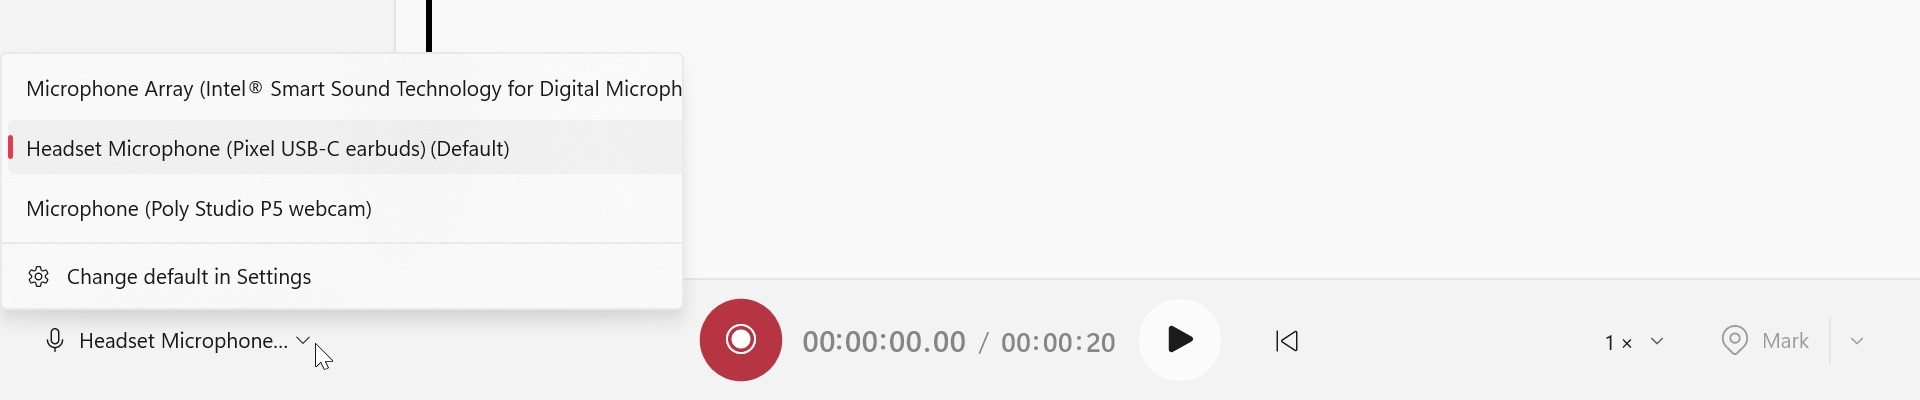
Here, you can do the following:
Choose a microphone on the fly. If you want to choose a specific microphone just for the current recording, choose it from the list in the Microphone drop-down menu.
Configure a default microphone for Windows 11. To choose a default microphone for Windows 11 (including Sound Recorder), select “Change default in Settings” in the Microphone drop-down menu. The Settings app will appear, with System > Sound displayed, and you can select a default under “Input.”


You can also configure any of the available microphones and other recording devices. To do so, select it from the list to display its Properties page, where you can configure its recording format, input volume, audio enhancements (when available), and other settings.
Record your voice or other audio
Once you’ve chosen which microphone to use (when necessary) and have configured the desired audio format and recording quality, you can use Sound Recorder to record your voice, a meeting or lecture, or any other nearby audio.
To start a recording, click the big red “Start recording” button in the Sound Recorder toolbar.
Or, type CTRL + R.


When you do, the display changes to a simpler recording interface that displays waveforms and a small set of relevant controls.


The following options are available in this mode.
Stop recording. Click the “Stop recording” button to stop recording entirely. Doing so creates a new file that is accessible in the navigation and in your PC’s file system, in a Sound Recordings folder in your Documents folder.
You can also type ESC to stop recording.
Pause/Resume recording. To stop recording temporarily, press the “Pause recording” button. Doing so will not create a new recording file. Instead, Sound Recorder will wait for you to click the “Resume recording” button that replaces “Pause recording” in the toolbar.
You can also type SPACE to pause or resume a recording.
Mark the current spot in the recording. If you are recording a meeting, lecture, or similar, you may occasionally wish to mark the point at which something important was said so that you can easily find it easier and go back to that point when you are listening to the recording. To do so and create a marker, click the “Mark recording” button in the right side of the toolbar.
You can also type CTRL + M to mark an important point while recording.
Yes, you can mark multiple points while recording.
When you are done recording, you will return to the main Sound Recorder view, where you will find a new recording, cunningly named Recording, at the top of the Sound Recorder navigation pane, denoted with the time of its creation and its length.
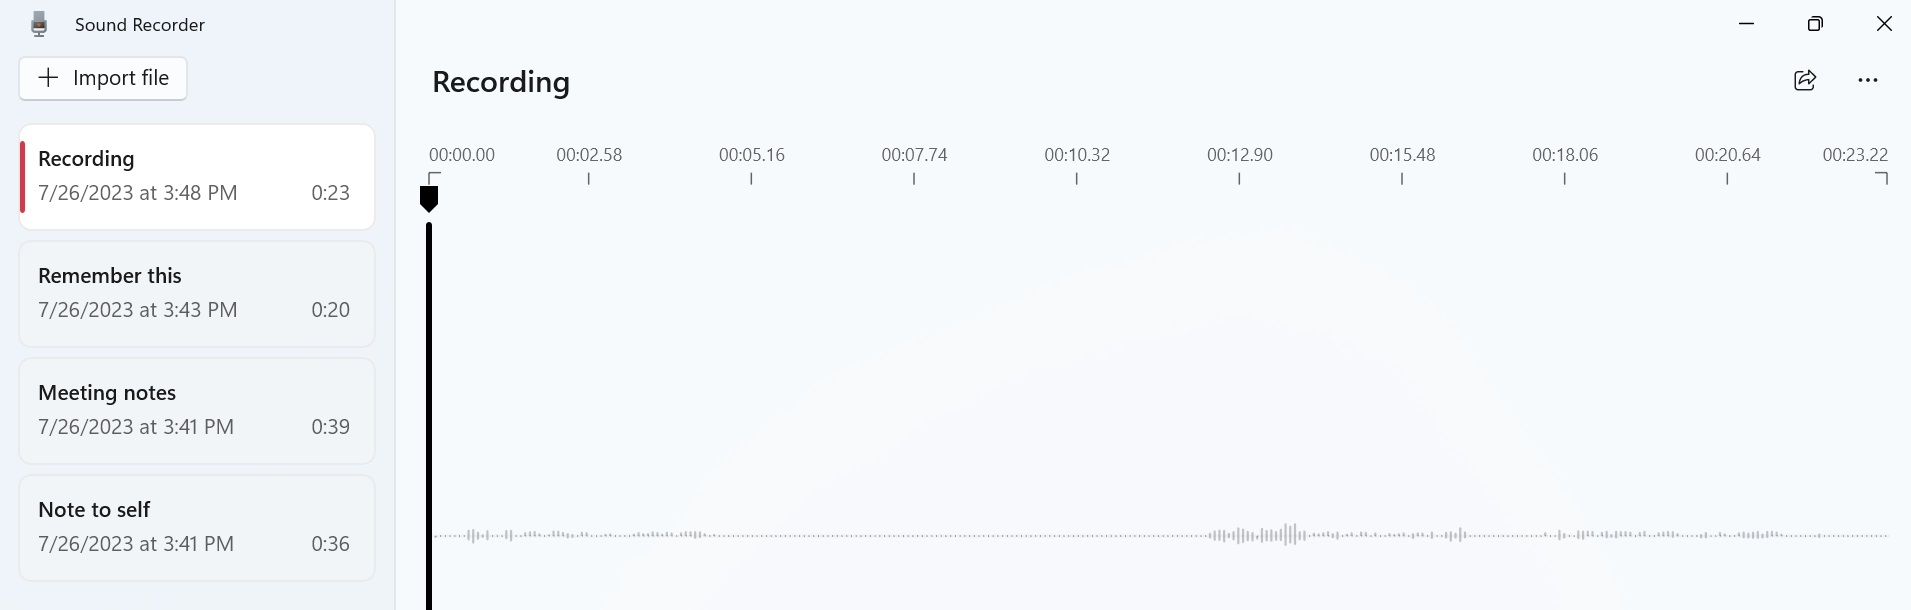

If you don’t rename your recordings, subsequent recordings will be named Recording (2), Recording (3), and so on.
Play a recording
To play a recording, select it in the navigation pane–a waveform representing the recording will appear in the recording/playback area–and then click the Play button. When you do, the recording will play and a playhead will move across that area in time with the recording.

The following options are available during recording playback.
Pause the playback. When you start playing a recording, the Play button turns into a Pause button so you can pause playback at any time.
Or, just type SPACE.
Move to any point in the recording. You can drag the playhead with your mouse to quickly move to any point in the recording.
Zoom in and out of the recording visually. As with a web browser, you can type CTRL + Plus and CTRL + Minus to zoom in and out of the playback waveform. This can help you more easily find a specific point, especially in long recordings.
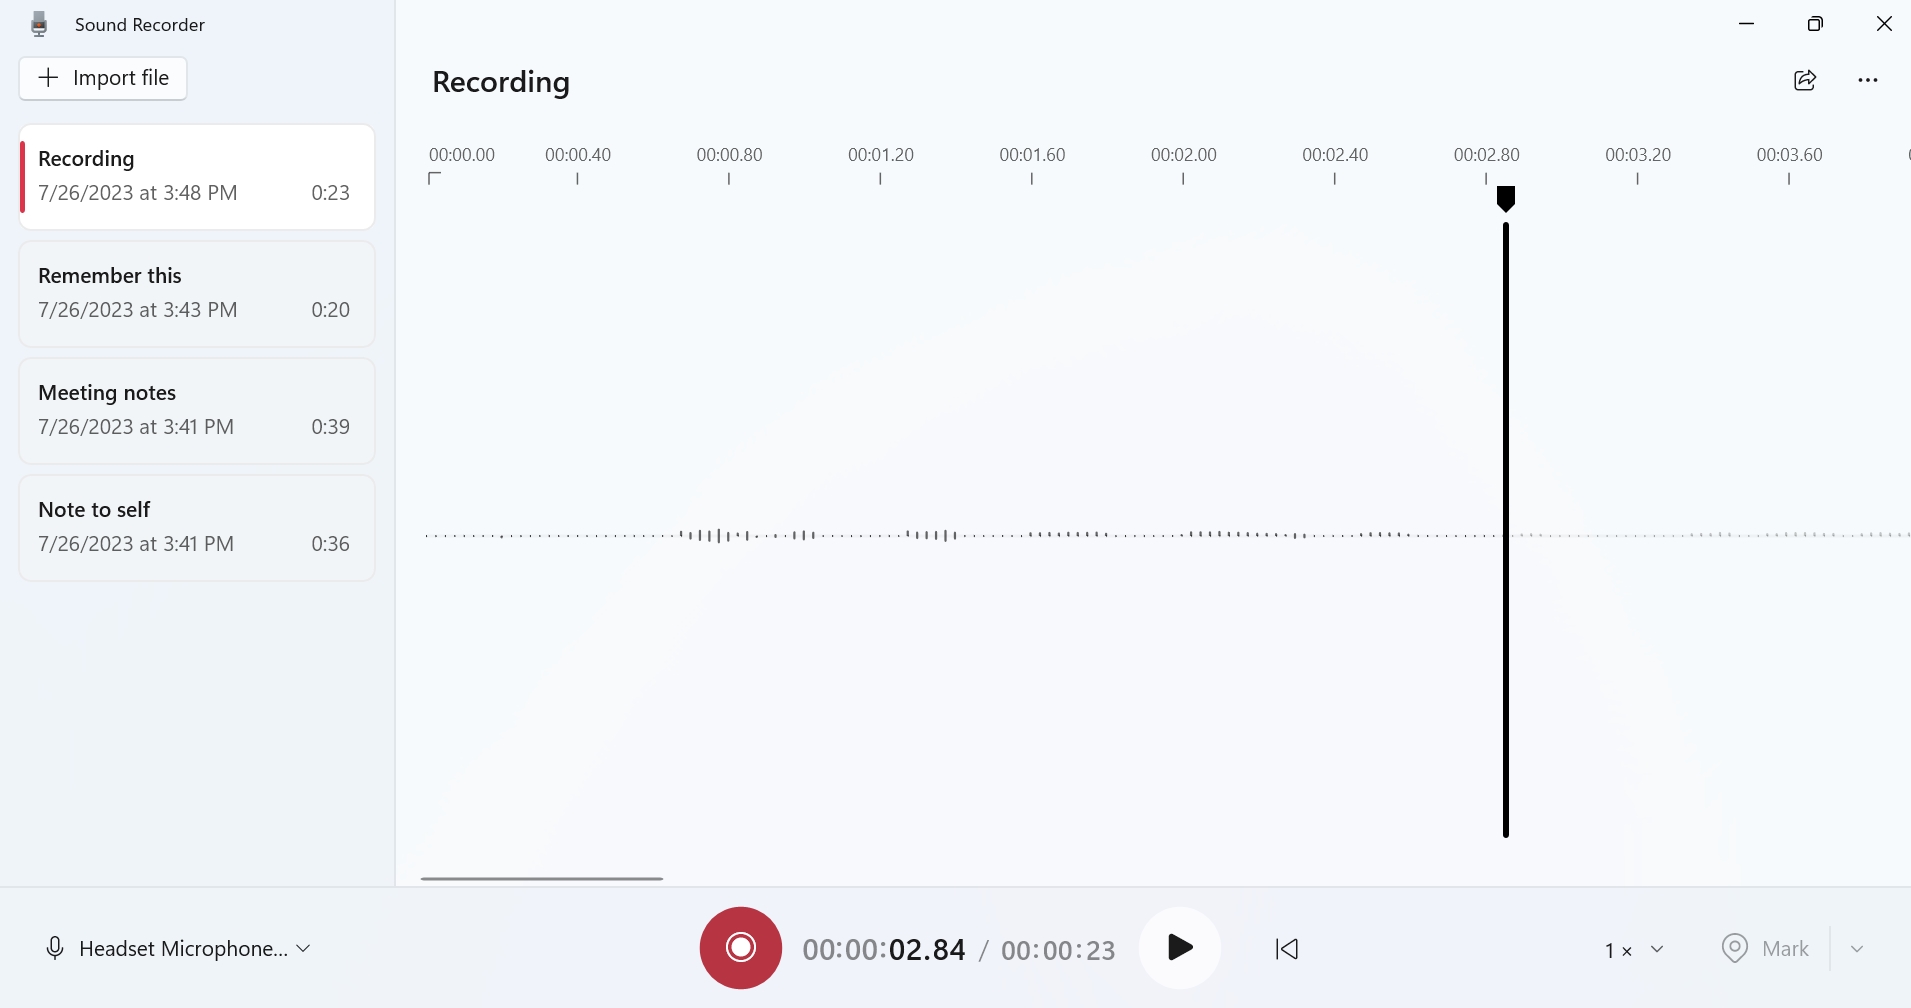

You can also type CTRL + 0 to return to the default view in which the entire recording waveform can be seen in the app without needing to scroll.
Jump to the start of the recording. To jump directly from the current place in the recording to its start, click the “Jump to start” button in the toolbar.
Or, type HOME.
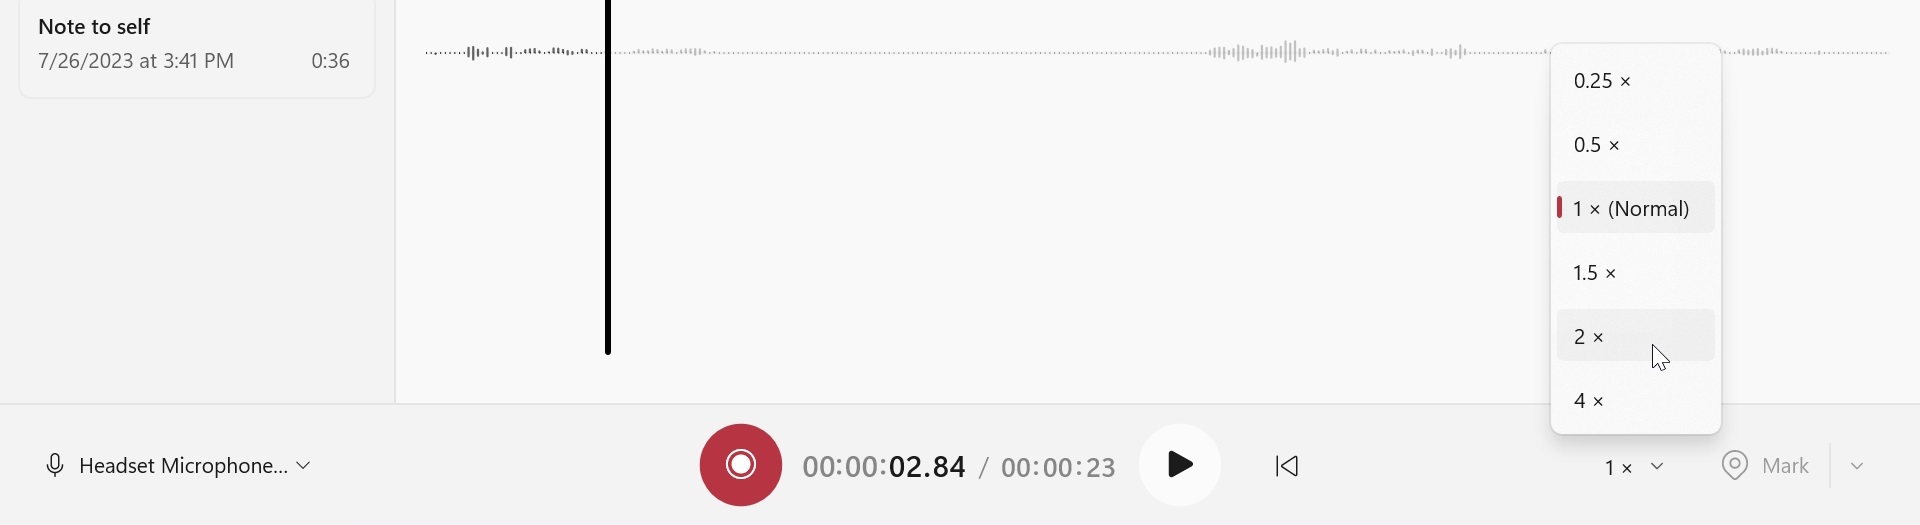
Change the playback speed. By default, Sound Recorder plays recordings at their native (“1X”) speed. But you can click the “Playback speed” control in the toolbar to select between several faster and slower playback speeds.

Mark an important point in the recording. As is the case when recording, you can mark an important point in a recording while playing it back by clicking the “Mark recording” button (identified as “Marks”) in the toolbar.
Again, you can also type CTRL + M to create a marker at a specific point during playback.
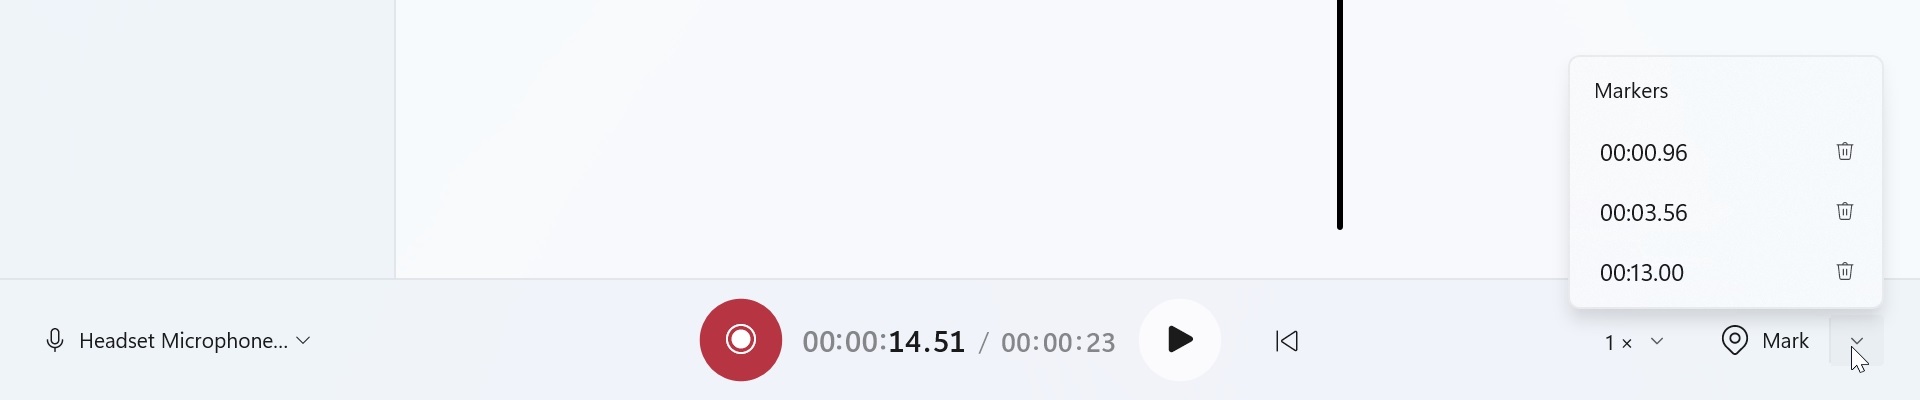
Jump to a marker. In this view, the “Mark recording” button is a split button that offers a second function: it also lets you jump to any of the available markers. To do so, click the right side of the split button and then click one of the available markers.

Manage a recording
You can perform a variety of maintenance-related tasks with any of the recordings you create with Sound Recorder. These options are accessible when you right-click a recording in the app’s navigation bar. Or, you can select a recording and access them via the menu that appears when you click “More options for recording.”
Share. Click this item to invoke Windows 11’s rather limited Share pane and share the underlying file with contacts, via other apps, or with Nearby sharing.
Rename. Click this item to give the recording a more descriptive name than Recording.
You can also type F2 to rename a recording.
Show in folder. As noted previously, sound recordings are stored in a Sound Recordings folder in your Documents folder. But you can click this item to go directly to that folder in File Explorer.
Delete. Select this item to delete the sound recording after a confirmation prompt.
You can also type DELETE to delete a recording.
Import a recording into Sound Recorder
You can also use Sound Recorder to import compatible audio files that were created outside of the app. When you do so, a copy of that file is added to the Sound Recording folder in your Documents folder, and the file appears in the Sound Recorder navigation bar alongside its own recordings.

What’s missing
Unfortunately, Sound Recorder lacks the ability to trim and edit recordings. And while Clipchamp can be used to edit these audio files, it has no way to export an audio file; it can only export video files in MP4 format. This means that Windows 11 lacks a way to edit audio files, so you will need to turn to a third-party alternative. Chances are, if you have this need, you already know of one. But there is nothing obvious we can recommend, sorry.

Gain unlimited access to Premium articles.
With technology shaping our everyday lives, how could we not dig deeper?
Thurrott Premium delivers an honest and thorough perspective about the technologies we use and rely on everyday. Discover deeper content as a Premium member.