Backup
- Paul Thurrott
- Oct 20, 2022
-
4
Windows 11 provides two ways to back up your documents and other personal files: the folder backup feature we discuss in the OneDrive chapter and a more comprehensive solution called File History that saves multiple copies of your personal files so that you can “go back in time” and recover earlier versions of them if needed.
You should enable File History if you are concerned with the integrity of your documents and other personal files and might need to recover previous versions of those files.
File History works with specific folder locations by default. It will back up all of the files you’re syncing with OneDrive, your Desktop, Documents, Music, Pictures, and Videos folders, and some other locations. You can remove any of these folders from the backup if you’d like, however, and add others.
Where did it go?
Windows 10 included a front-end to File History in the modern Settings app, but this feature is no longer available in Windows 11. This means that you must instead use the File History control panel, a legacy interface.
Worse, it means you cannot easily add arbitrary additional folders to the list of locations backed up by File History; this feature was only made available via Settings in Windows 10. In Windows 11, File History can only back up folders that are part of a library, another legacy Windows feature that we would otherwise ignore.
A library is a virtual folder that displays the content of one or more file system folders in a single view. And while most people don’t use this feature now, Windows 11 actually does include six libraries: CameraRoll, Documents, Music, Pictures, SavedPictures, and Videos.
So here’s a workaround: if you want to back up a folder that isn’t covered by File History by default, you can add it to one of those libraries first. Then, File History back it up.
To add a folder to a library, open File Explorer (WINKEY + E) and select the “Up one level” button to the left of its Address bar. (It resembles an upward-facing arrow.) Then, double-click the Libraries icon in the main view to display the available libraries. Right-click the one you want, choose Properties, and then use the “Add” button in the window that appears to add the folder you want.
File History is not available with any edition of Windows 11 on Arm.
Get started with File History
Before using File History, you will need a storage device, separate from that used by Windows, on which to store the backups. This is typically a second internal SSD or HDD drive or a removable USB storage device, but it can also be an SD or microSD card or a local network location.
Once this is made available to your PC, open the File History control panel: the easiest way is to find it with Search.
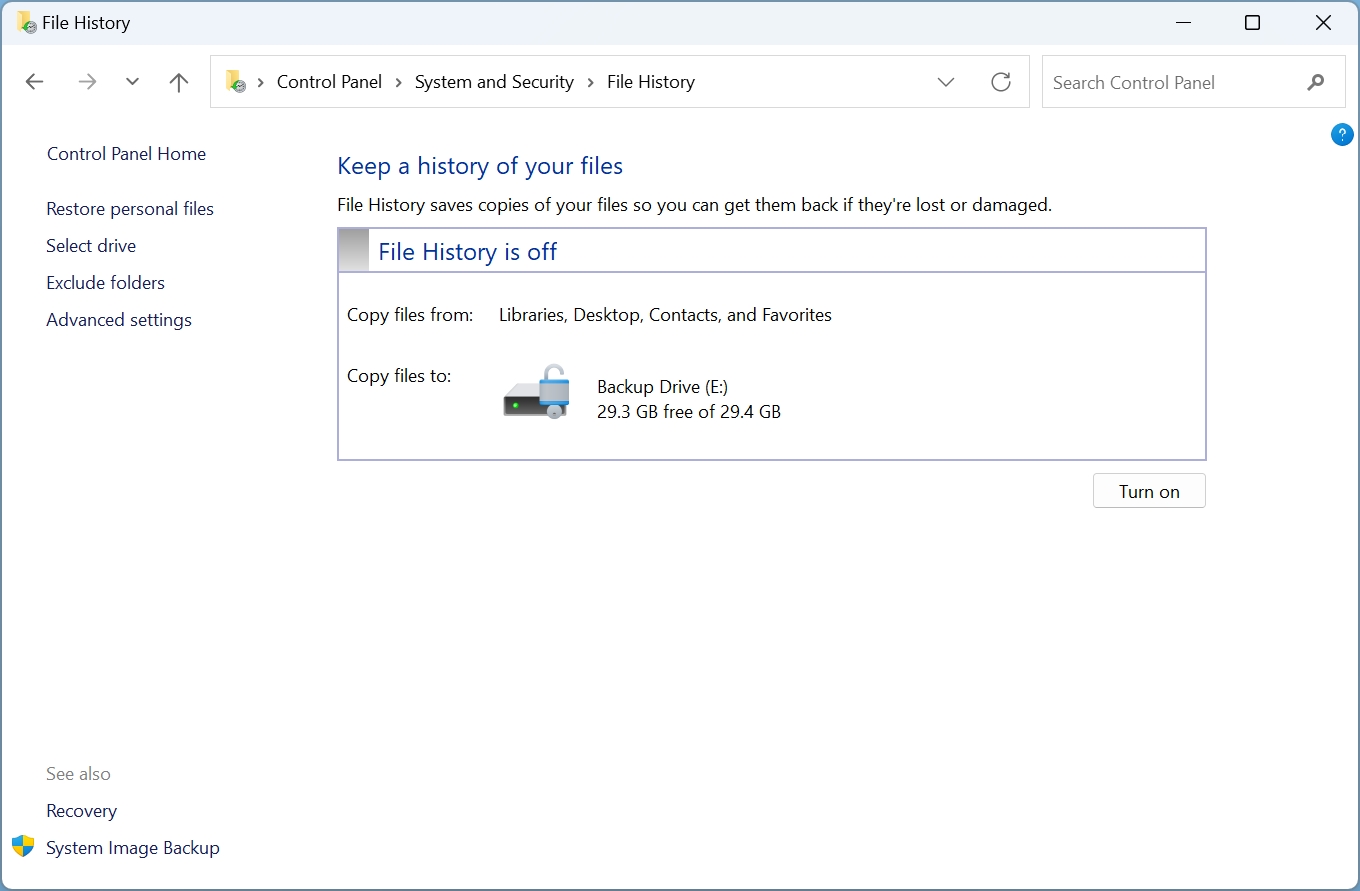
By default, File History will select a compatible storage device for you. But even if that is the correct device, you should examine the various File History options before proceeding. These options are found in the list of links on the left side of the File History window:
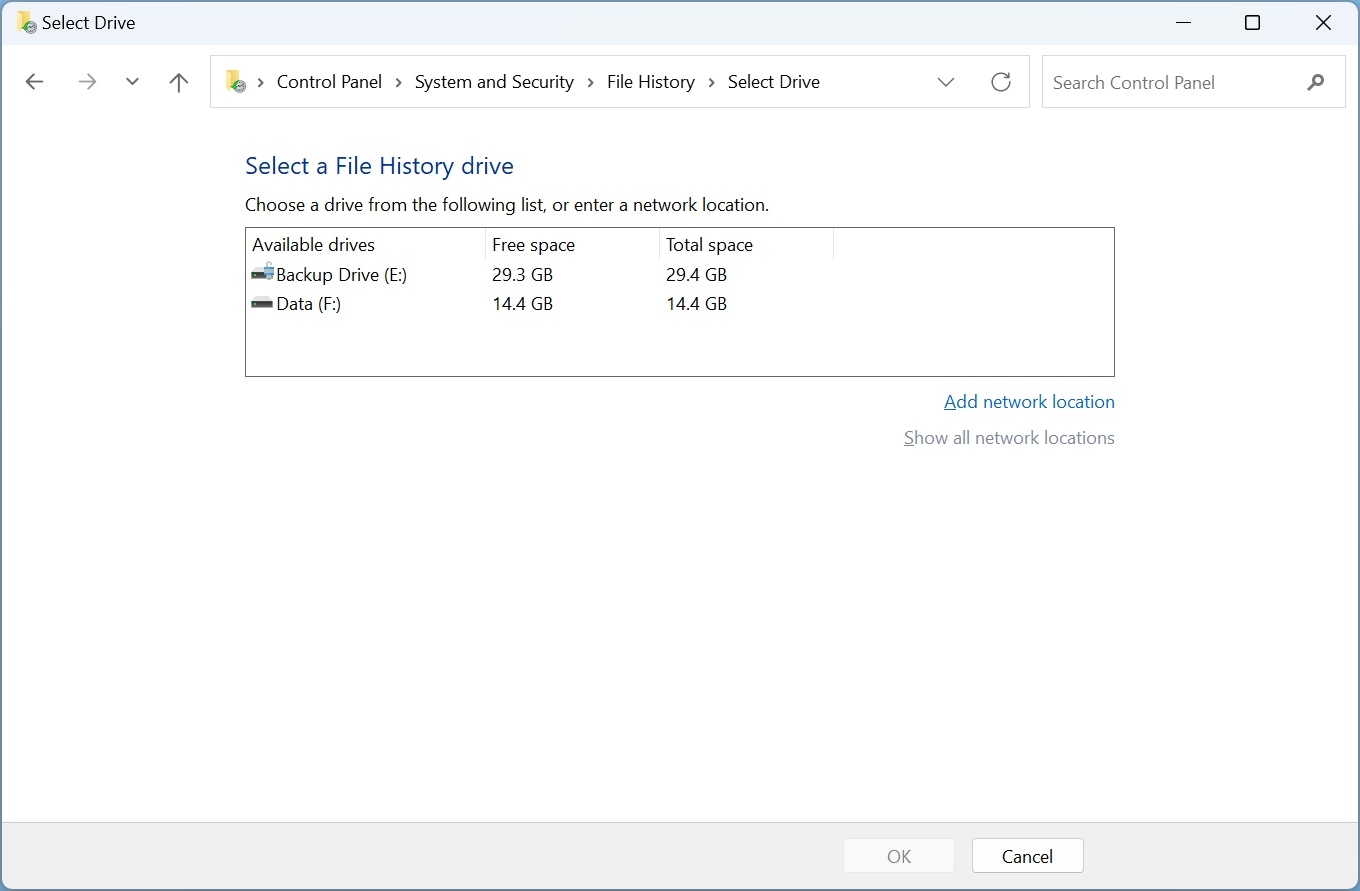
Select drive. If you would like to select another storage device or a network location to use for backups, select this link and then choose the correct drive or location.
Exclude folders. If you would like to exclude certain folders or libraries from the File History backup, select this option and then use the “Add” button to find and select the relevant items.
This is easier to do if you know exactly which folders File History is backing up. Unfortunately, File History doesn’t provide an exact list of backed up locations, so you’ll need to do a bit of legwork. Check out the section See the list of folders that File History backs up below to learn how to discover which folders it backs up.
Advanced settings. This view is used to determine how often File History saves copies of backed-up files and how long those saved versions are kept. By default, File History saves copies every hour, and keeps your saved versions forever.
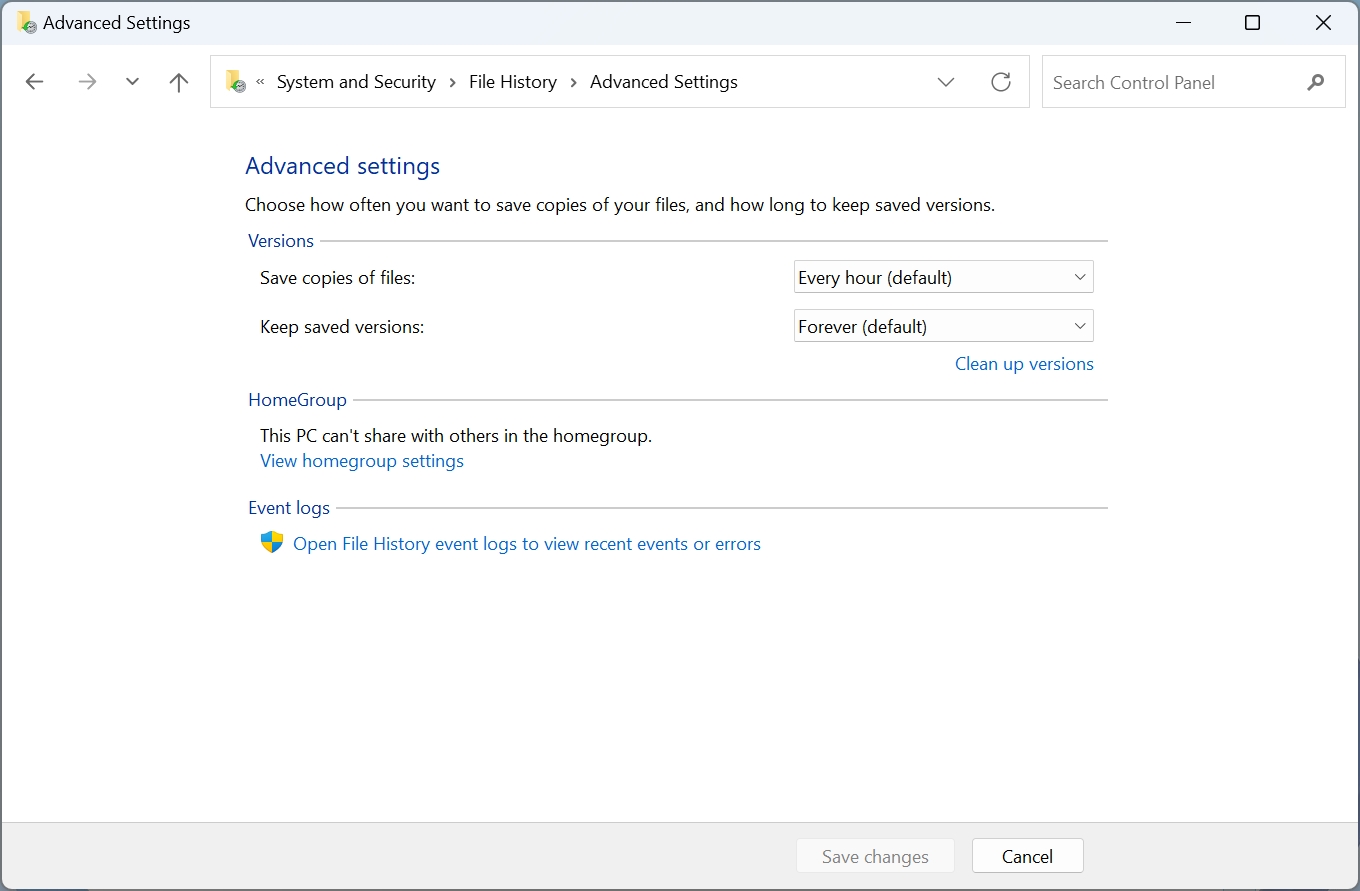
Humorously, this view also includes a link to a legacy homegroup feature that is no longer included with Windows 11. Clicking this link does nothing.
Enable File History
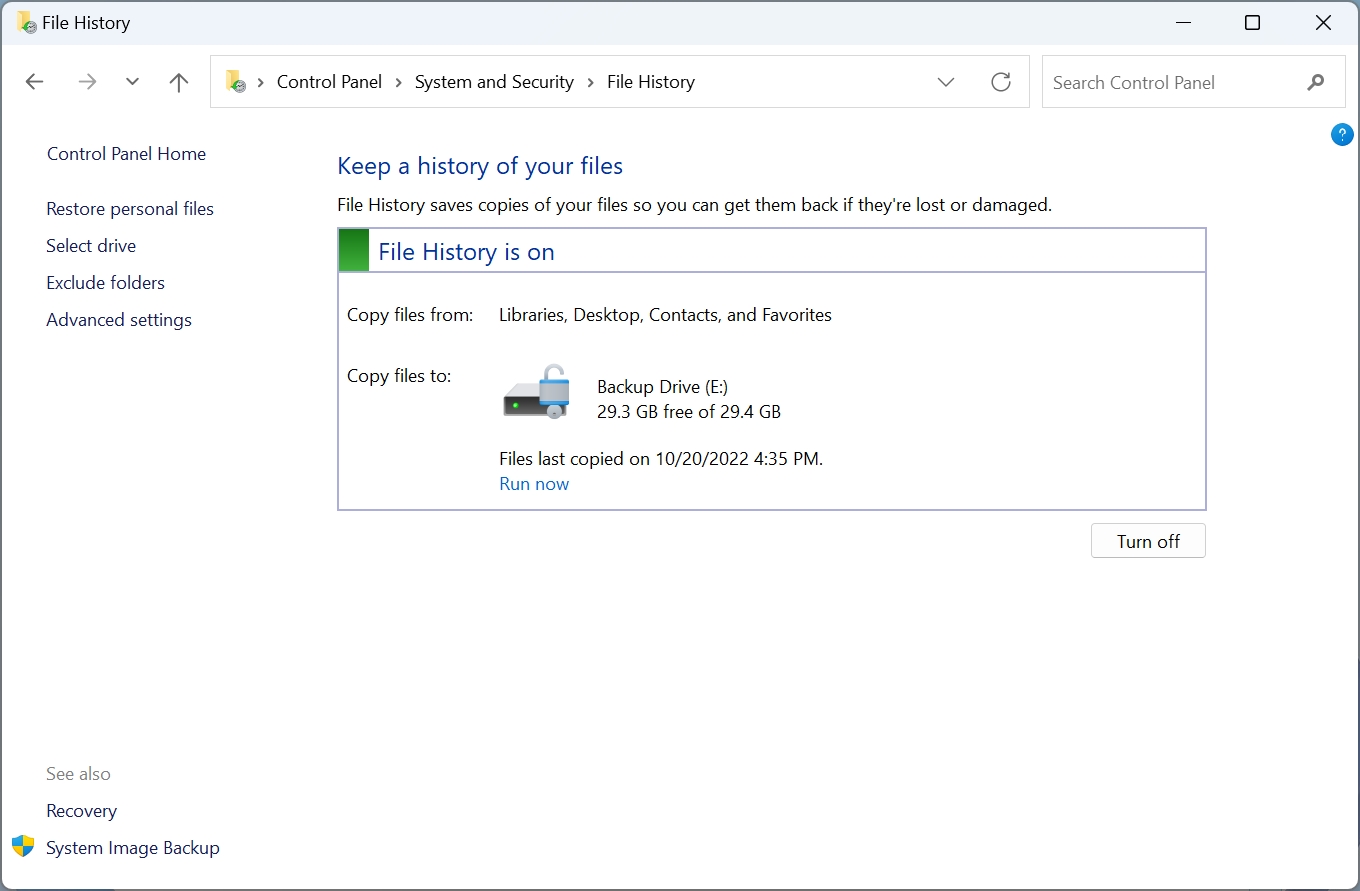
Once you have a compatible storage device to use for backups and have configured File History to your liking, you can enable this feature and start backing up. To do so, open the File History control panel and click the “Turn on” button. The interface will change subtly to indicate that File History is now enabled, and the button you just clicked is renamed to “Turn off.”
Start a backup
File History will automatically back up your personal files on the schedule you previously configured, but you can also manually run a backup at any time.
You should do so if you just enabled File History: click the “Run now” link. File History will indicate that it is “saving copies of your files” while the backup runs.
See the list of folders that File History backs up
One of File History’s many oddities is that it doesn’t provide any way to see a detailed list of exactly which folders it backs up. But once you’ve started backing up, you can examine the folder structure of the backups to see what’s there. This information is especially useful if you would like to exclude a folder from the list of backed-up locations.
To get started, open File Explorer and then open the drive you’re using for backups. In the root of this drive, you will see a folder named FileHistory that contains your backups. To see which folders are backed up, navigate to [user account][PC name]\Data[Drive letter]\Users[user account]. And there they are: the top-level folder locations
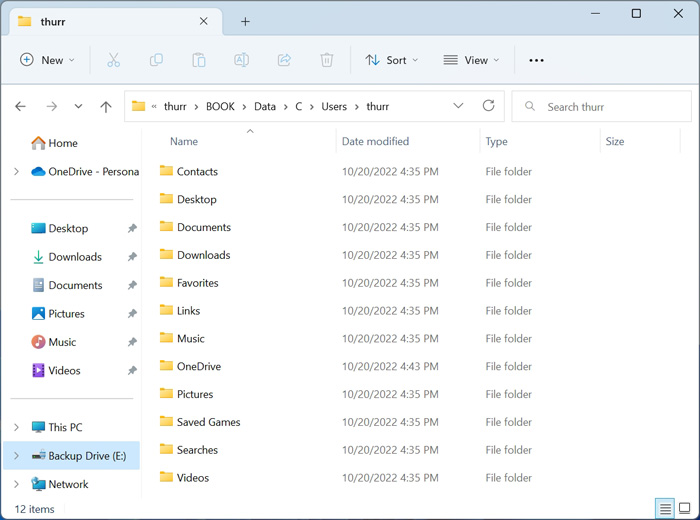
Note that this isn’t the full list of backed-up folders: some of the folders you see here might have sub-folders of their own. The OneDrive folder is a good example.
Restore an earlier version of a file
For the most part, File History is a “set it and forget it” feature: it runs automatically in the background, backing up your files, including individuals version of those files as they’re changed. But you may eventually need to recover an earlier version of a file that is being backed up by File History.
There are two ways to do so: via the File History app or via File Explorer.
Restore a file using the File History app
To restore a file using the File History app, open the File History control panel and select the “Restore personal files” link on the left. The File History app appears.
Alternatively, open Search, type file history, and then select “Restore your files with File History” from the search results that appear.
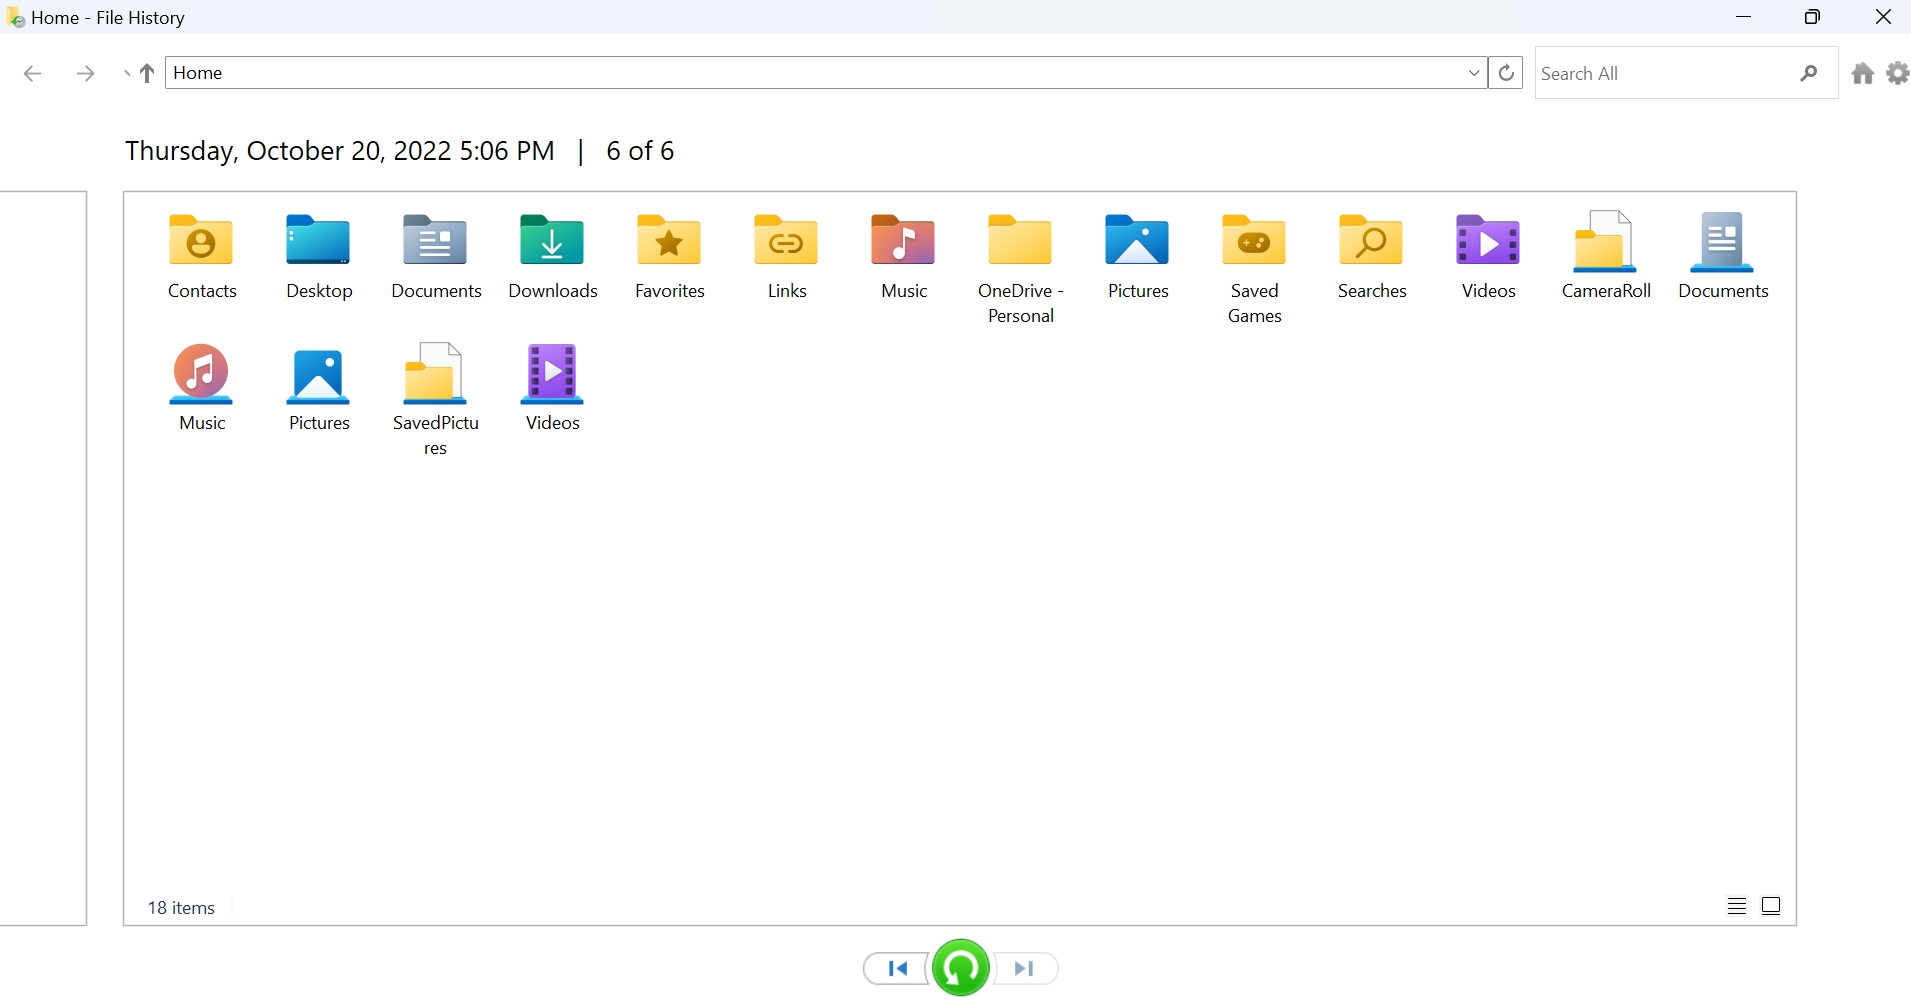
This interface lets you browse through the folders that are backed up by File History, and do so across whatever backups are available. The initial view is the most recent backup, but you can use the navigation buttons at the bottom of the window to “go back in time” and find older backup sets.
Beyond that, navigation works much as it does in File Explorer, and you can even switch the view between Details and Large Icon views.
When you find a file, folder, or set of files and folders you might wish to restore—yes, you can select multiple items at once—you can perform the following actions:
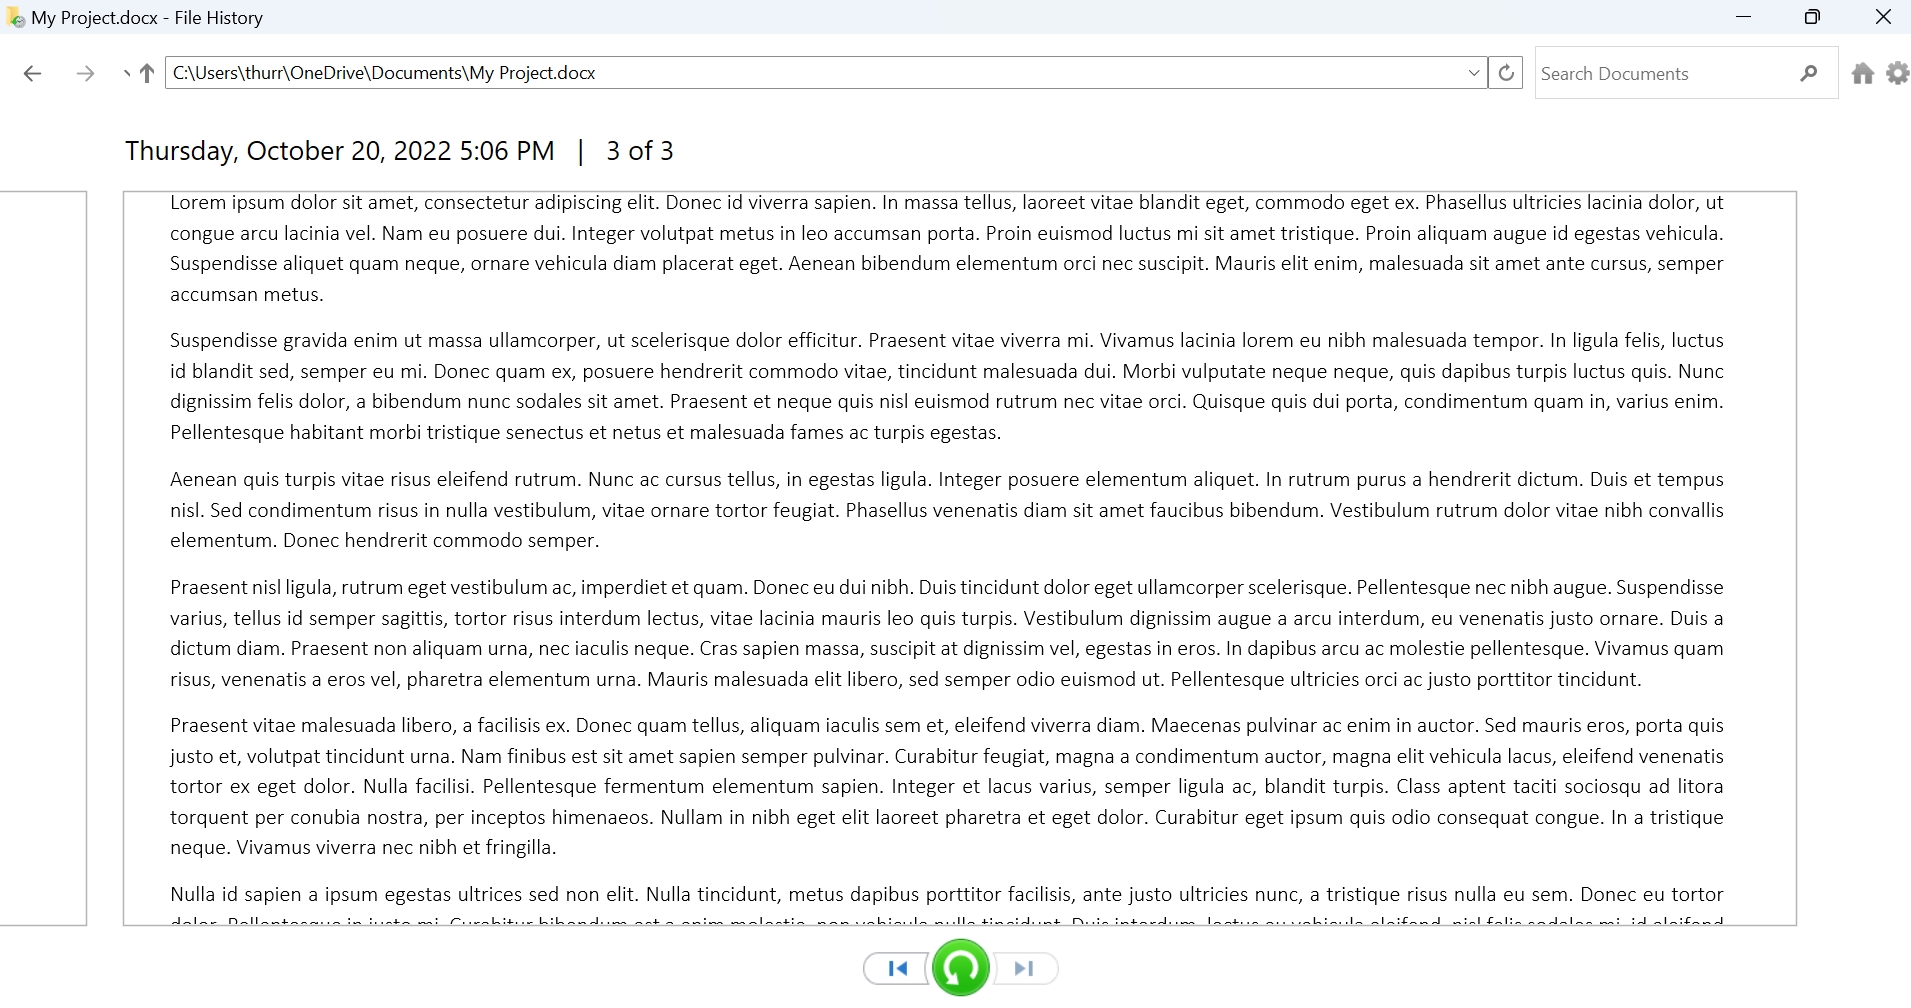
Preview an individual file. To preview a file in File History before restoring it, just double-click it normally, as you would in File Explorer. Files that can be previewed in File History will display directly within the application.
If File History cannot preview the file, the application associated with that file type will do so instead.
Restore to original location. This option will restore the selected file(s) and/or folders to their original location. To do so, select the items you wish to restore and then press the big green “Restore to original location” button at the bottom of the window. You’ll be prompted about replacing any existing items if there are newer versions of those items there already.
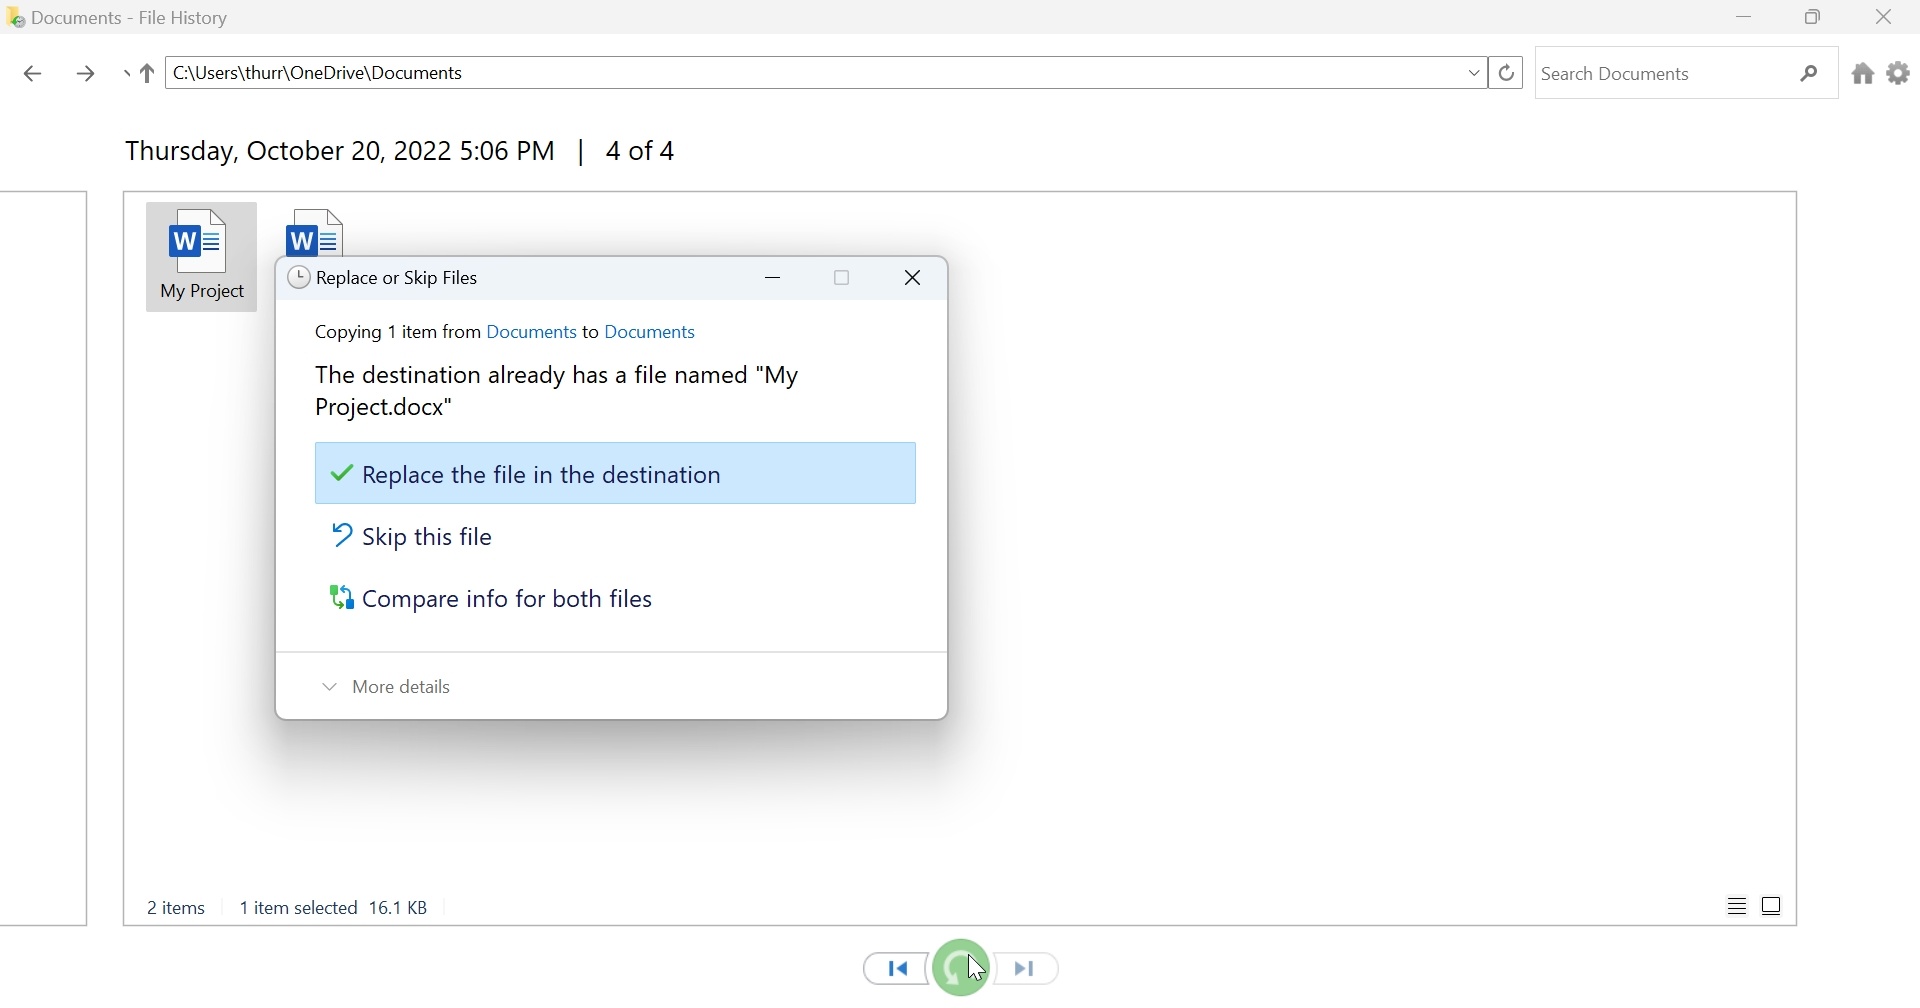
If no items are selected, File History will restore all of the files in the current folder.
Restore To. This option lets you choose a new location to which to restore the selected file. This can be the safest approach when restoring a single file or a small set of files, since you can compare the restored version side-by-side with the more recent version. To use it, select the Options menu (the gear) in the top right of the window and then choose “Restore to.”
Restore a file using File Explorer
It’s a little less friendly, but you can also restore previous versions of a backed-up file using File Explorer.
To do so, open File Explorer and navigate to the file you wish to restore. Then, right-click it and choose Properties from the context menu that appears. In the properties window that displays, navigate to the Previous Versions tab. It displays a list of backup versions.
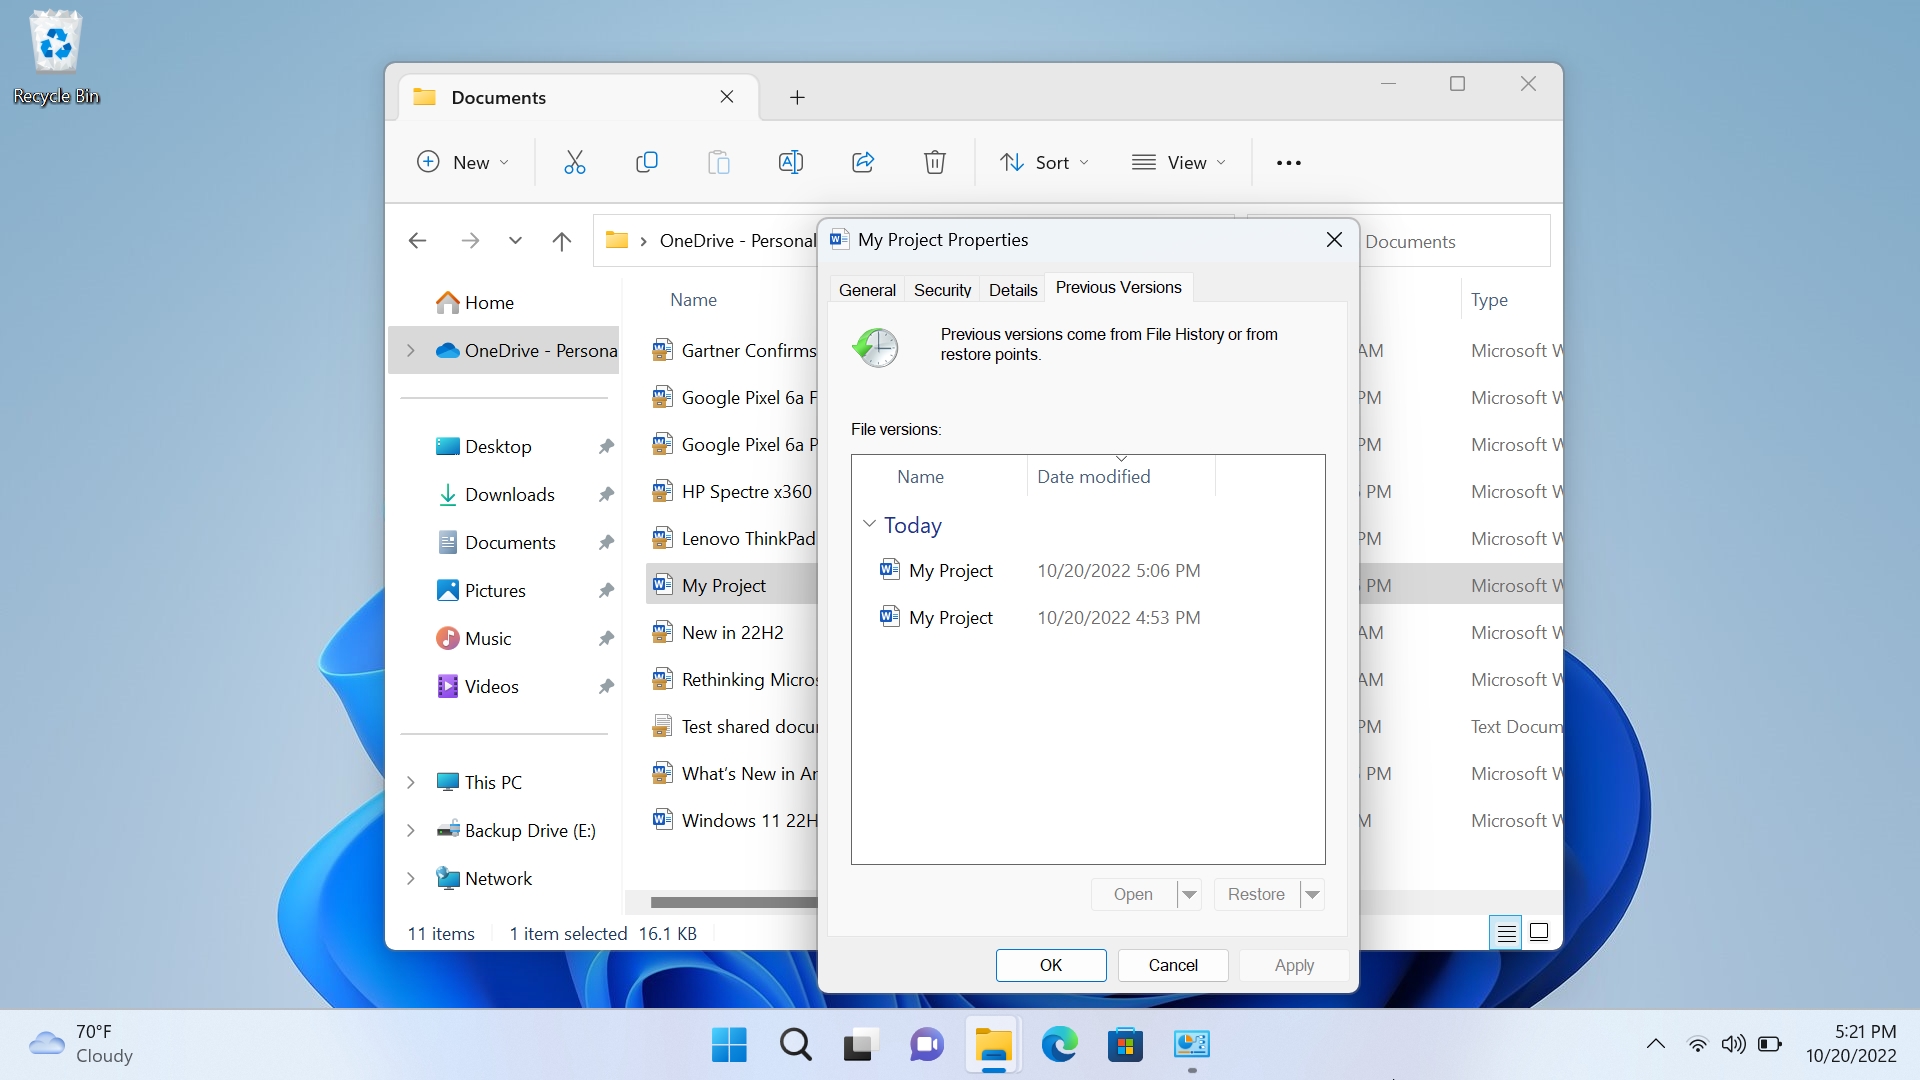
Select one or more backup versions to restore. Then, using the Restore drop-down, you can choose to restore the file(s) to their original locations (“Restore”) or to another location (“Restore To…”). As with the File History app, you’ll be prompted when restoring a previous version of a file will overwrite the current version.

Gain unlimited access to Premium articles.
With technology shaping our everyday lives, how could we not dig deeper?
Thurrott Premium delivers an honest and thorough perspective about the technologies we use and rely on everyday. Discover deeper content as a Premium member.