Do Not Disturb and Focus
- Paul Thurrott
- Oct 05, 2022
-
0
Do not disturb and Focus are two related Windows 11 features that are designed to minimize distractions and help us stay focused on our work. The former silences notifications, much like the similar feature on Android and iPhone. And the latter builds off of Do not disturb by creating a configurable focus session that also removes other distractions so you can work more effectively.
Do not disturb
Do not disturb silences notifications and sends them directly to the Notifications pane. When Do not disturb is enabled, Windows 11 and installed apps cannot display notification banners or play sounds.
Where did it go?
Windows 10 included a feature called Focus assist, but in Windows 11, it has been renamed to the more logical Do not disturb.
Enable and disable Do not disturb
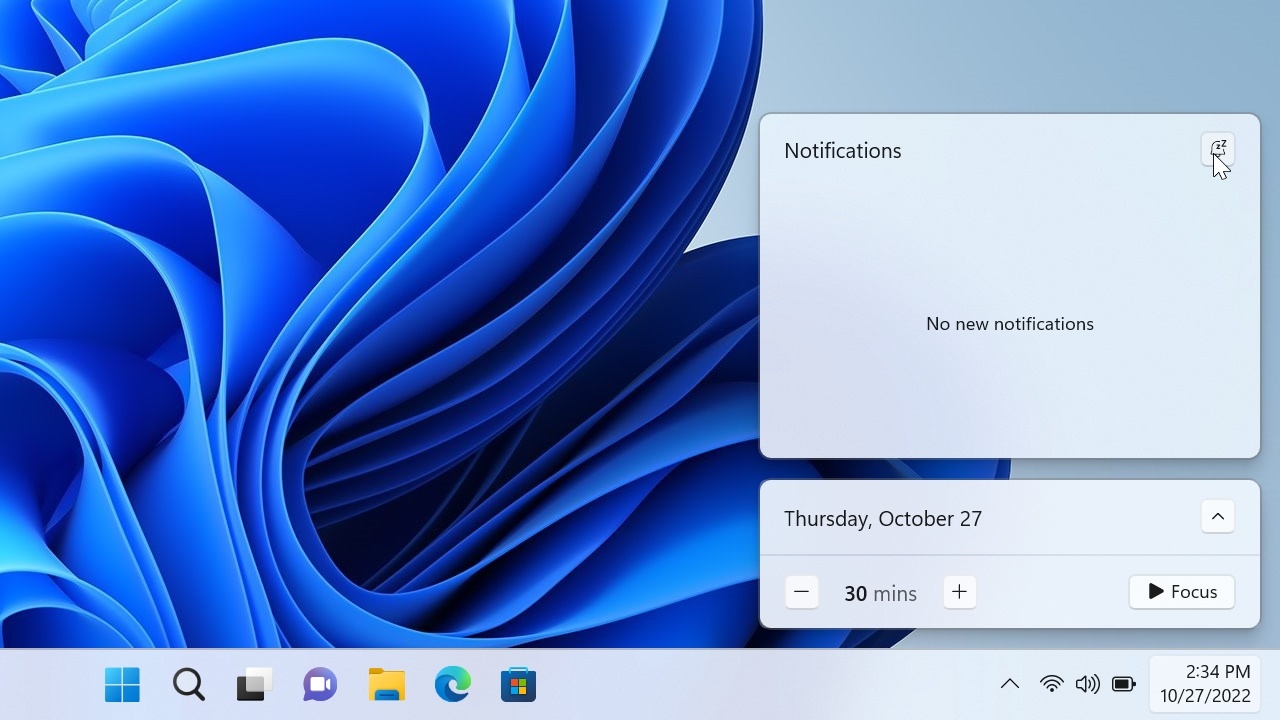
The most obvious way to enable Do not disturb is to open the Notifications and Calendar panes and click the “Do not disturb” button at the top of the Notifications pane.
You can quickly open Notifications and Calendar by typing WINKEY + N.
When you do so, the button visibly changes to indicate it is selected, a message about Do not disturb being enabled appears in the Notifications pane, and the time and date display in the far right of the notification area on the Taskbar displays a “Do not disturb” icon.

You can also enable Do not disturb by opening the Settings app, navigating to System > Notifications, and changing the setting “Do not disturb” to “On.”
To disable Do not disturb, display the Notifications pane and click the “Do not disturb” button. The visual changes noted above will all be reversed and notifications will be enabled again.
Use Do not disturb automatically
In addition to letting you manually toggle Do not disturb on and off, Windows 11 also engages this feature automatically under certain conditions and provides a way to schedule Do not disturb so that it is automatically enabled—and later disabled—at certain times of the day.
To view the default configuration and potentially make changes, open the Settings app, navigate to System > Notifications, and expand the setting “Turn on do not disturb automatically.”
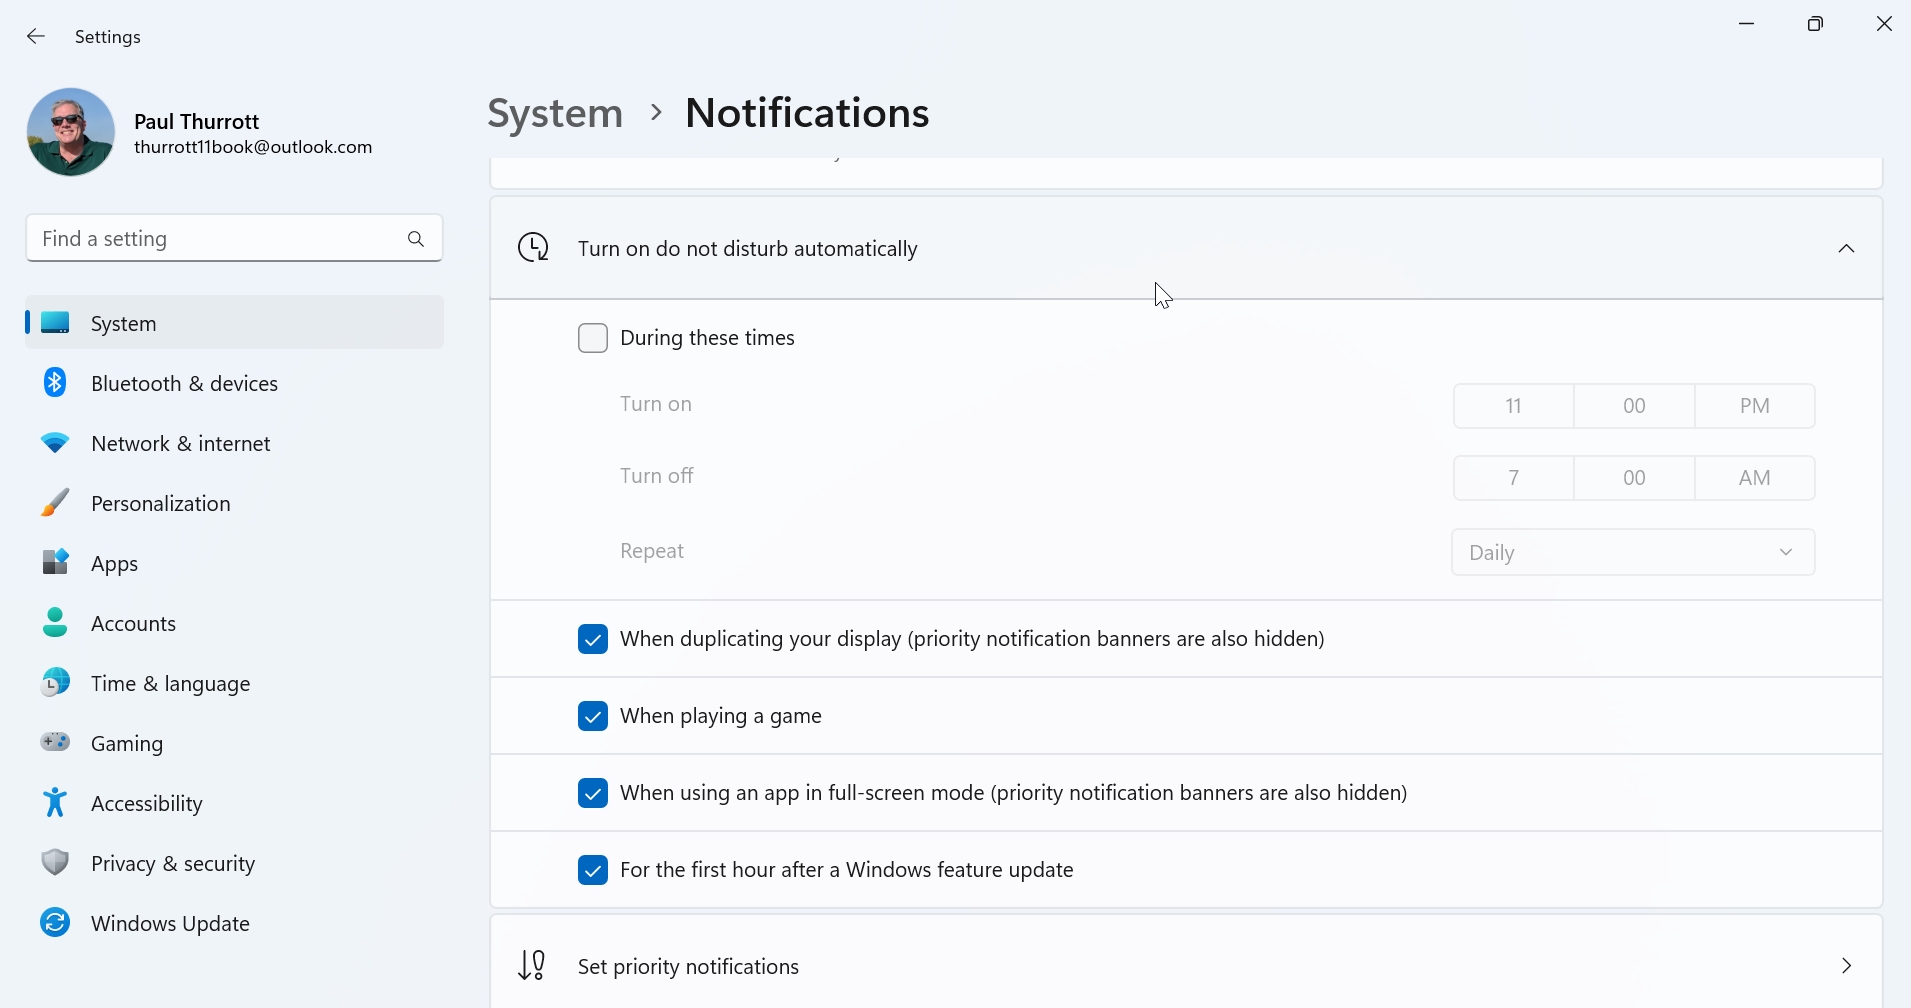
By default, Do no disturb will be turned on automatically when you are duplicating your display to an external display, playing a game, using an app in full-screen mode, and for the first hour after a Windows 11 feature update (version upgrade) install. You can disable this capability for any of these conditions if you’d like.
You can also schedule times of the day when Do not disturb will be enabled (and later disabled), and then establish a schedule for that to be repeated daily, on weekends, or on weekdays.
Configure priority notifications
As with many things in life, there are always exceptions, and Do not disturb can be configured to let through certain priority notifications. Some, like alarms (from the Clock app) and “important app notifications,” are always allowed to display and sound when Do not disturb is enabled. But others, including incoming calls and reminders as well as notifications from a specific set of apps that includes Clock, Nearby sharing, Snipping tool, Xbox (app), and the Xbox Game Bar, are enabled by default and can be disabled.
To do so, navigate to Notifications settings in the Settings app and select “Set priority notifications.”
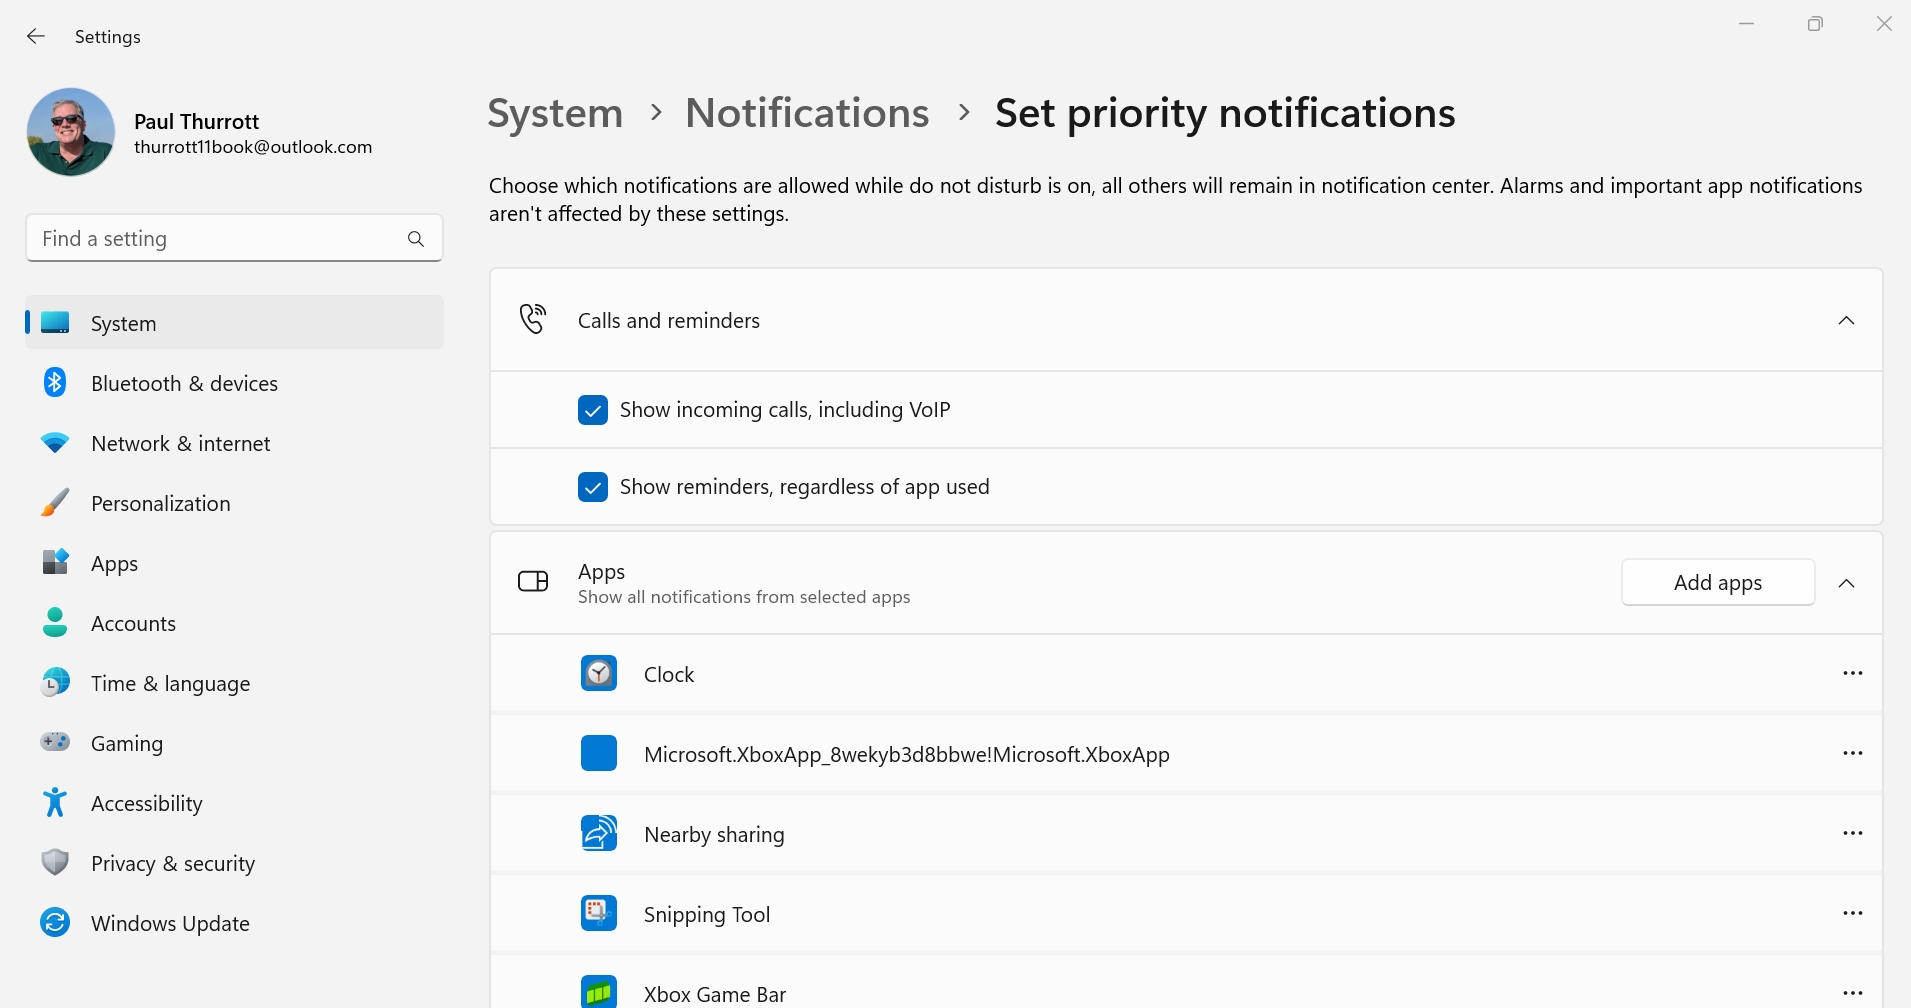
Here, you can opt to disable priority notifications from the default set of calls and reminders and apps that are preconfigured in Windows 11. You can also add one or more apps to the list of apps that are allowed to break through Do not disturb.
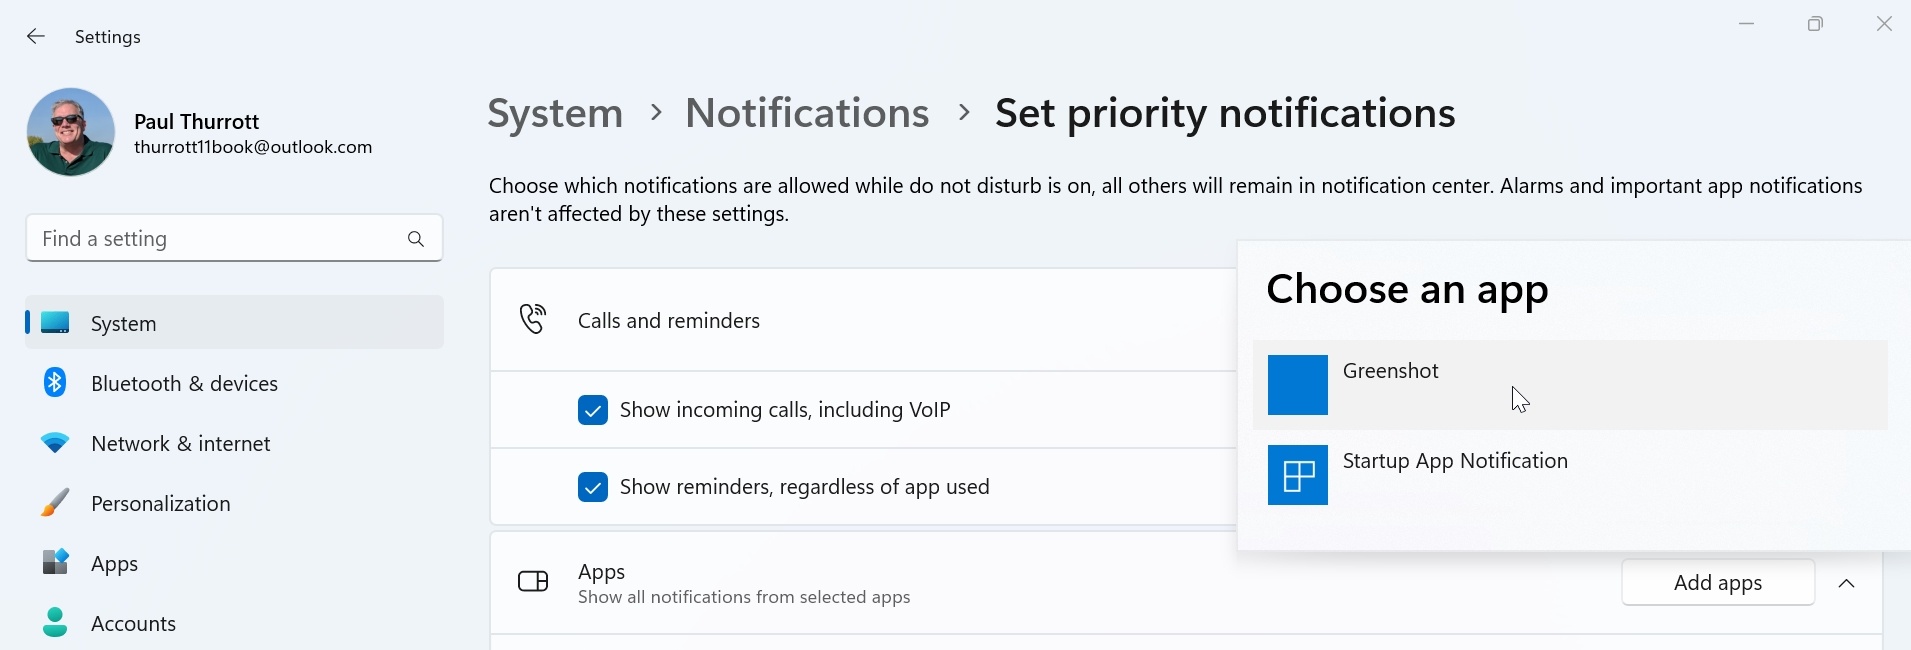
Do to so, click the “Add apps” button and then choose the apps you want from the list that appears.
Focus
Focus builds on the notification-silencing functionality of Do not disturb by eliminating even more distractions so that you can better concentrate on work. It does so by helping you create a so-called focus session in the Clock app in which Do not disturb is enabled and app icons in the Taskbar will not flash alerts or display badge notifications.
When in a focus session, the Clock app will mostly disappear and display only a focus timer onscreen that counts down the remaining time in the session. You can also optionally integrate Spotify playlists and Microsoft To Do tasks with your focus session.
Configure a focus session
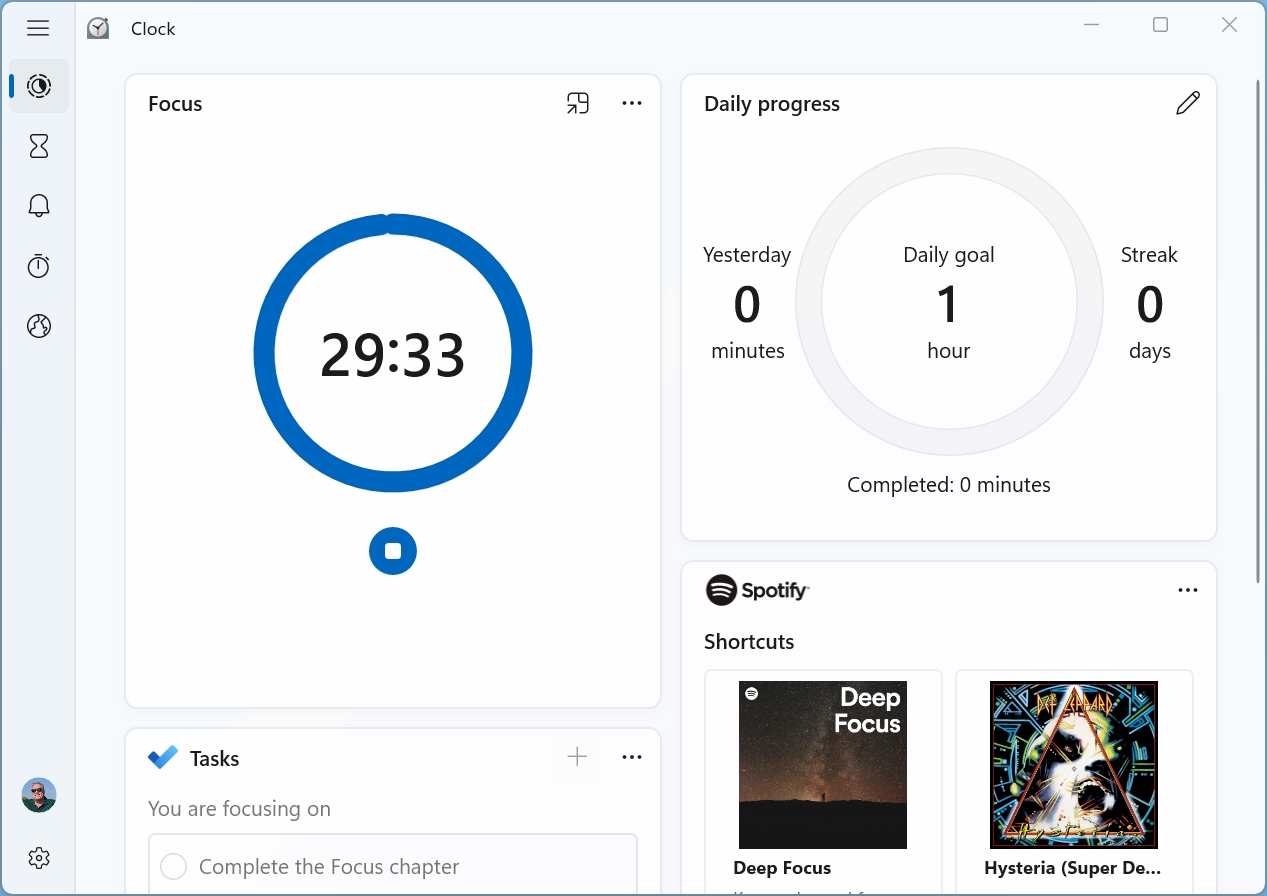
To get started, open the Clock app, which opens to the Focus session view by default.
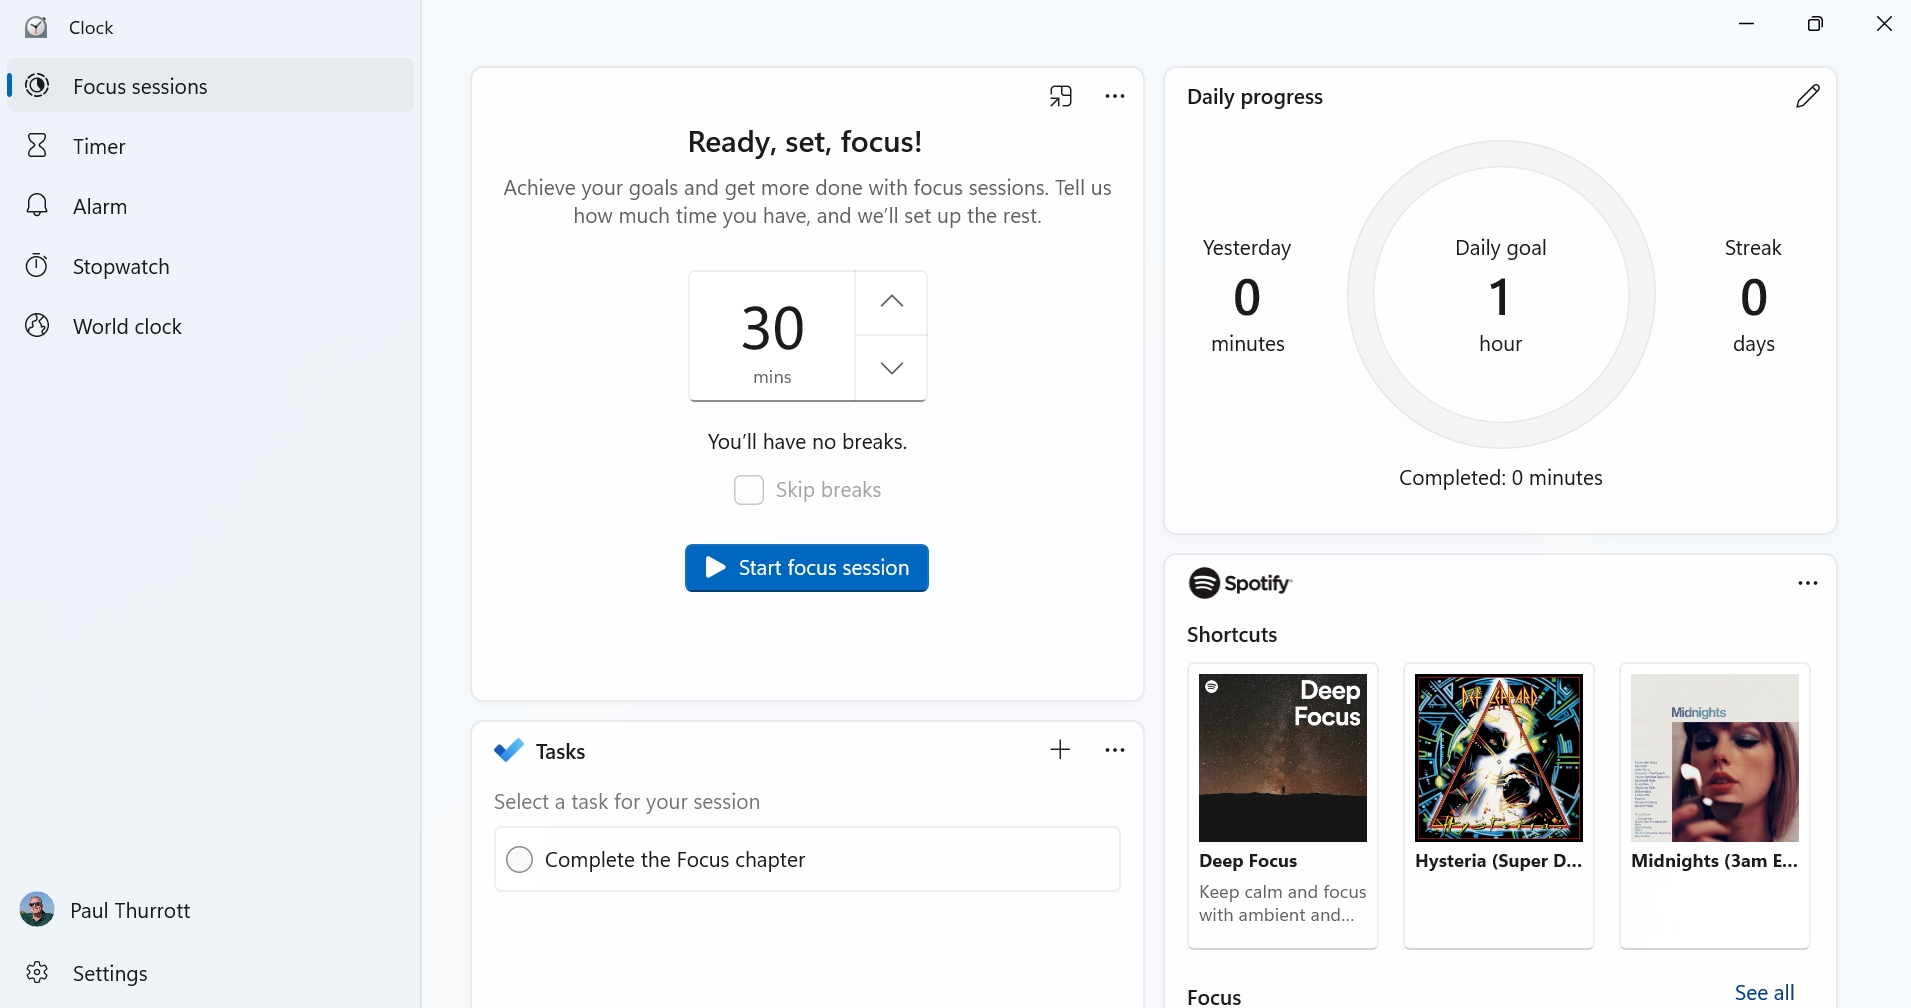
Here, you have several things to configure:
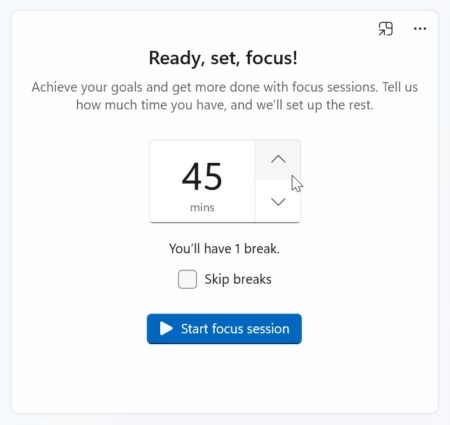
Focus period. The main tile in the Focus session view lets you configure the length of the focus session in 15-minute increments—the default is 30 minutes—and whether there will be breaks. By default, there are no breaks in a 30-minute focus session, but you can make the session longer to add at least one 5-minute break.
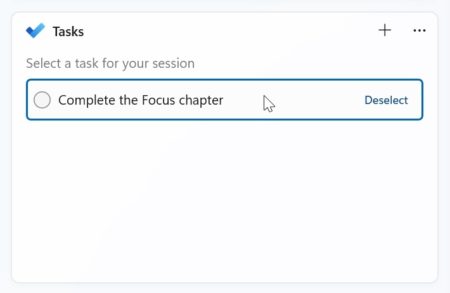
Microsoft To Do integration. If you manage tasks with Microsoft To do—which is also included with Windows 11—you can integrate the Clock app with To do so that you can work on a task during a focus session. To do so, you have to sign into your Microsoft account first, so click the Sign in button in the navigation bar in the Clock app band sign in. Any pending tasks will appear in the Tasks tile, and you can select one to associate it with the session.
Spotify integration. If you have a Spotify membership, you can integrate the Clock app with Spotify so that you can listen to your own music or a focus-oriented playlist while you work. Then, just select the playlist you wish to use during the session.
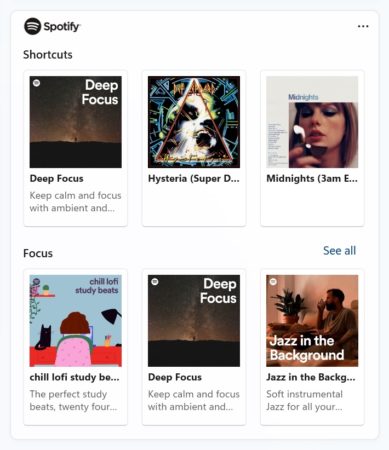
You must install the Spotify app from the Microsoft Store, sign into your account in the app, and then link that account with the Clock app before this functionality works.
Start a focus session with the Clock app
Once you’ve configured a focus session and you’re ready to get some work done without any (PC-based) distractions, open the Clock app (if necessary) and click “Start focus session.” The focus session will start and the timer will begin counting down.
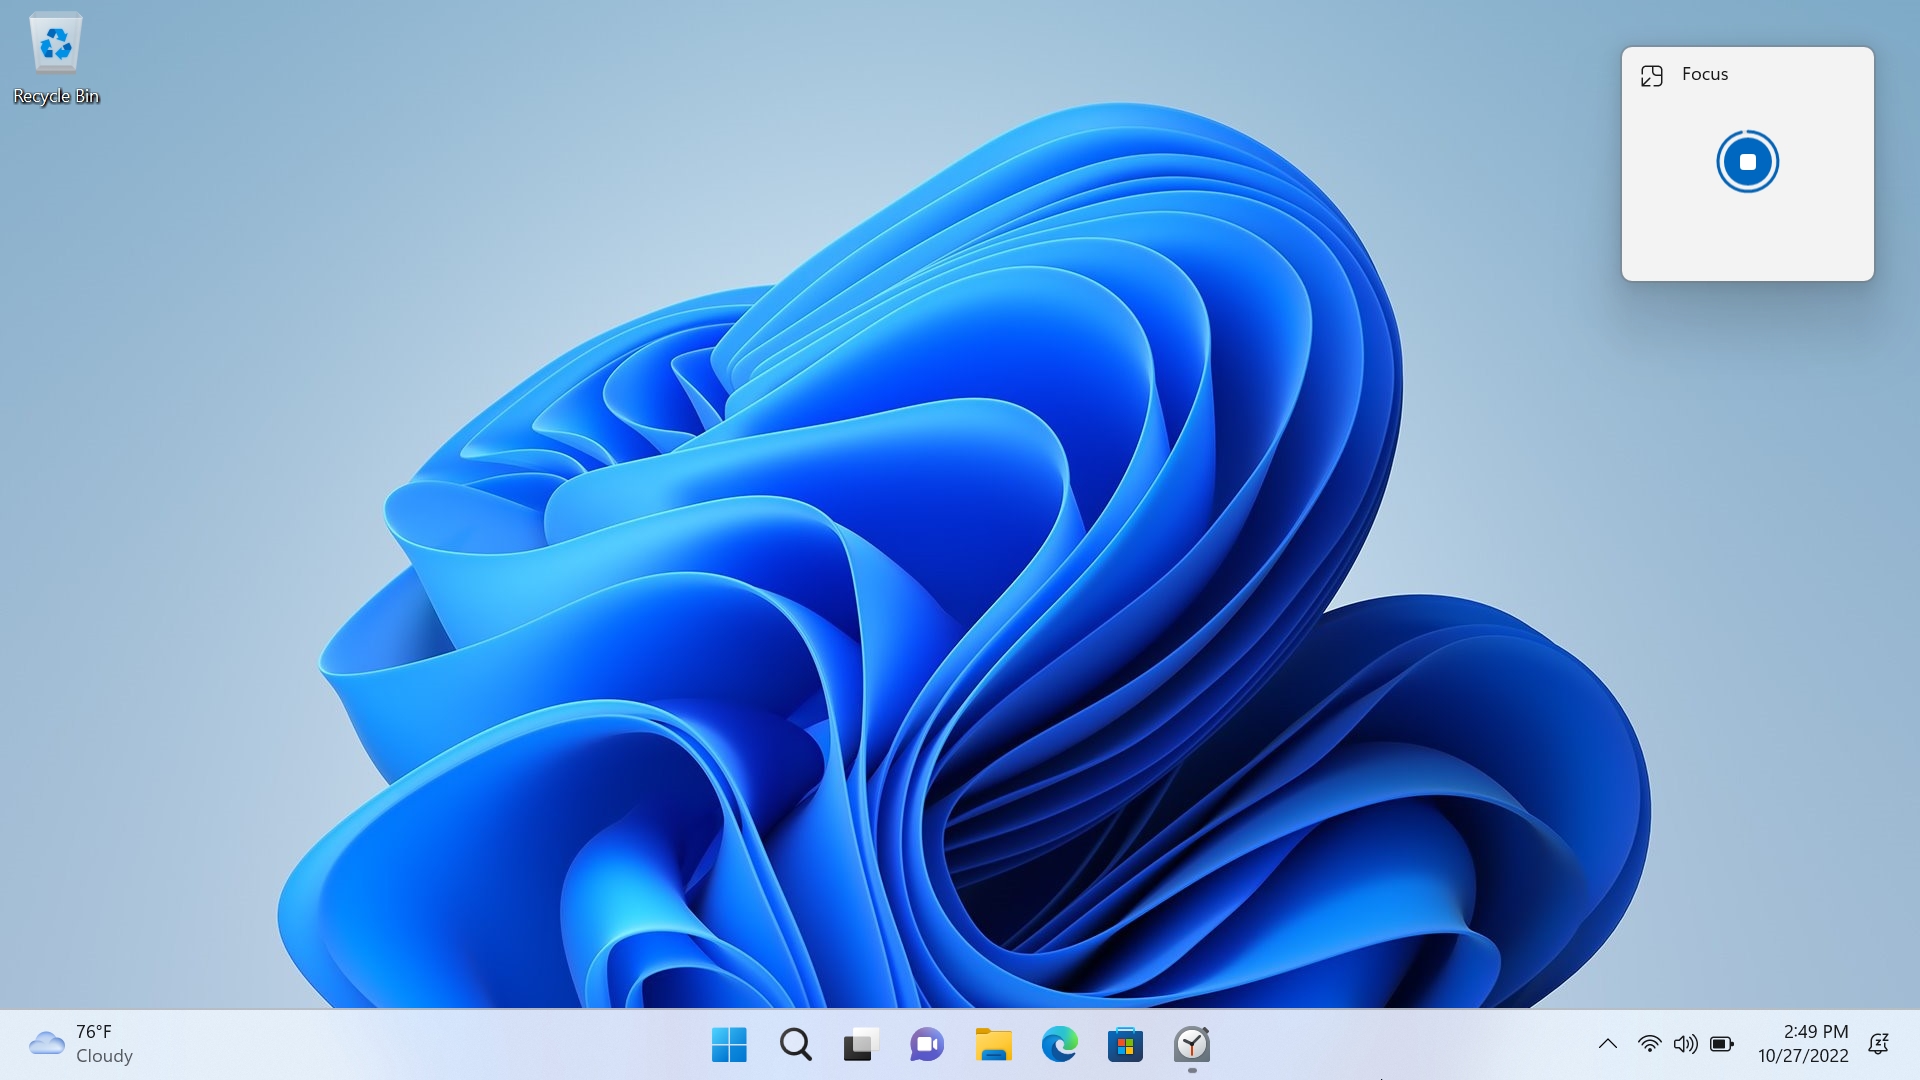
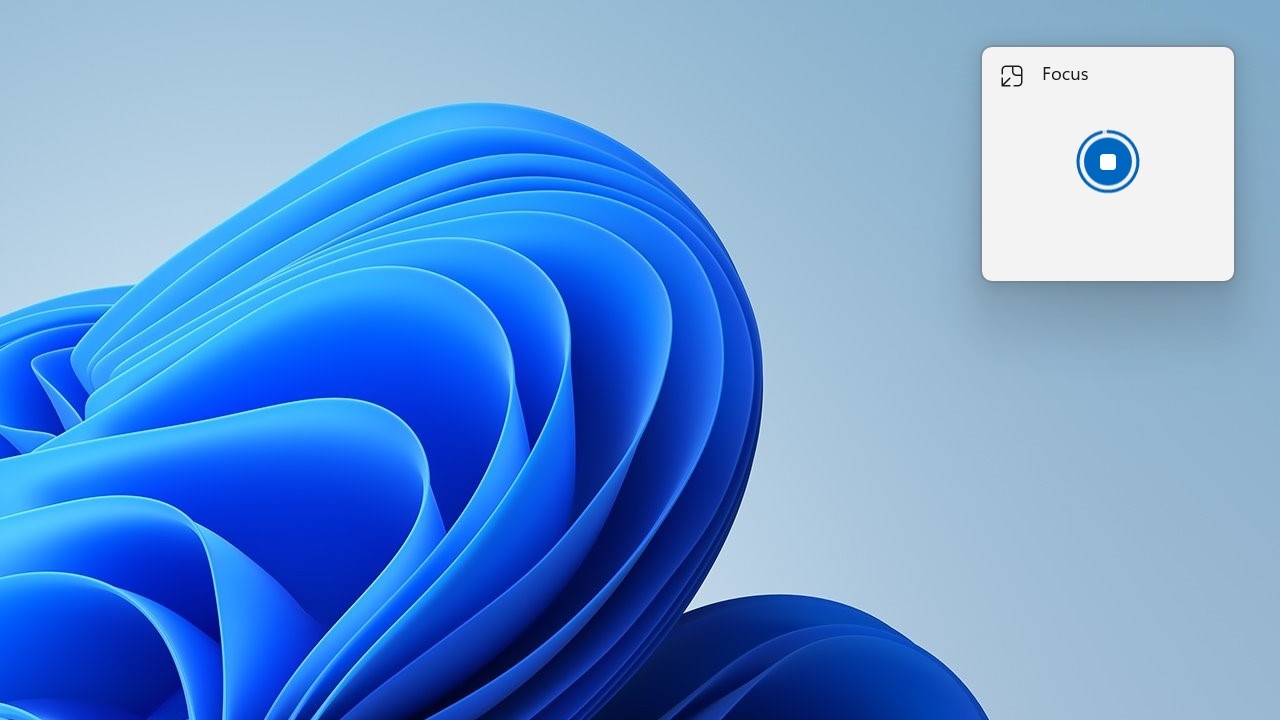
From here, you can optionally click the “Keep on top” button in the Focus period tile to hide most of the Clock app and display just the focus timer in a small window.
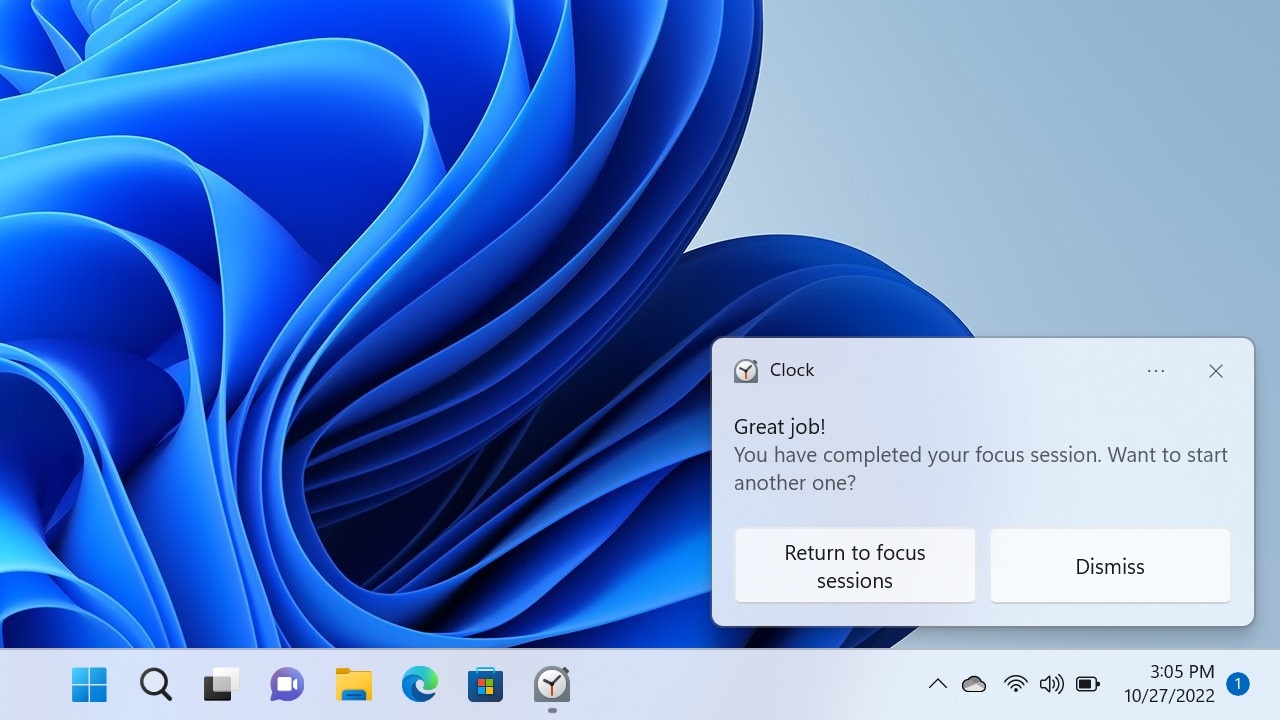
Or, just minimize the Clock app and work normally. Either way, the session will continue until the timer has reached its end. At that point, a notification will appear, indicating that you’re done.
You can, of course, stop (and restart) the session at any time by clicking the “Stop focus session” button. You can also stop (and restart) the music at any time if you enabled Spotify integration.
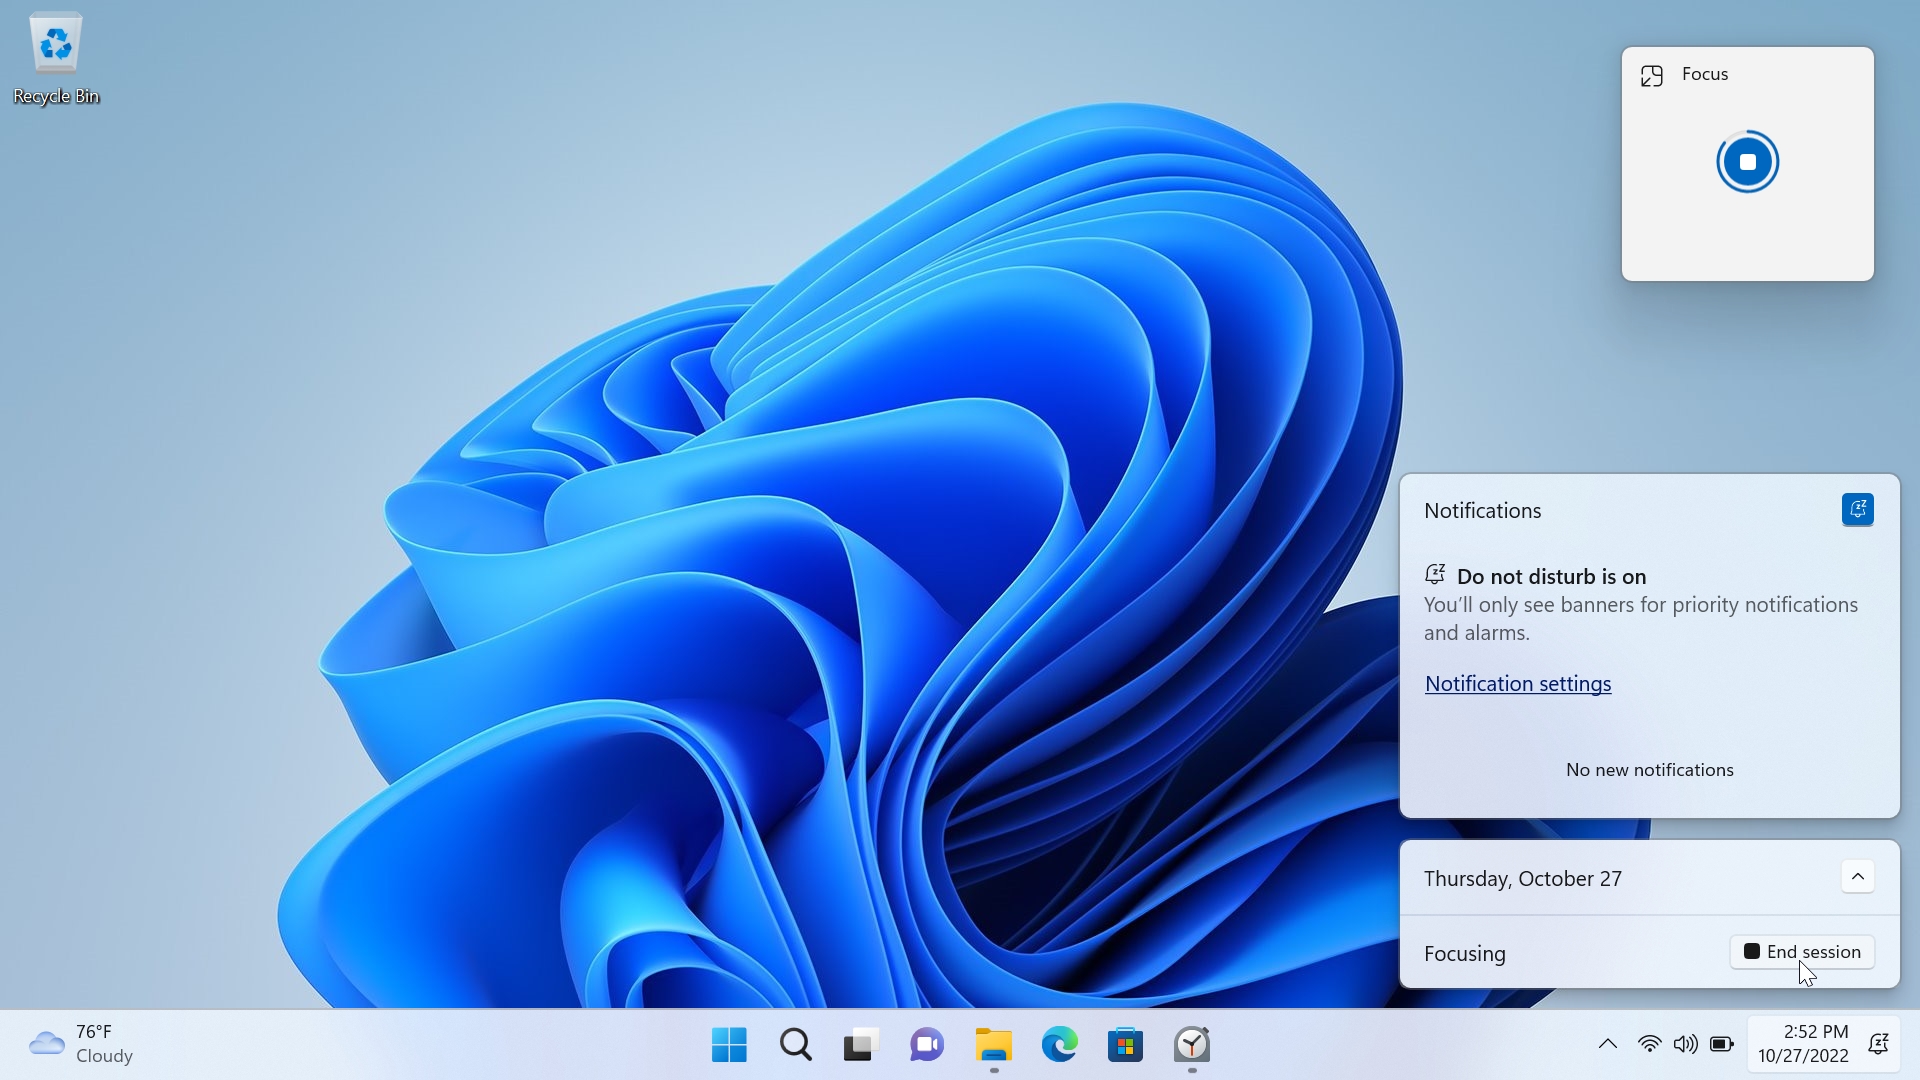
You can also stop the focus session from the Calendar pane. To do so, open Notifications and Calendar and click the “End session” button in the Calendar pane.
Start a focus session from the Calendar pane
If you don’t need To Do or Spotify integration, you can also start a silent 30-minute focus session from the Calendar pane that appears when you click the time and date display in the far right of the Taskbar.
You can quickly open the Calendar pane by typing WINKEY + N.
To do so, open the Calendar pane and click the “Focus” button in its bottom right. The Clock app appears on top of other windows in a minimal size with a focus timer.
From here, you can stop the session by clicking its “Stop focus session” button. Or, click the “Back to full view” button to display the normal Clock app window. This will let you integrate the session with a To Do task and/or Spotify music after the fact.

Gain unlimited access to Premium articles.
With technology shaping our everyday lives, how could we not dig deeper?
Thurrott Premium delivers an honest and thorough perspective about the technologies we use and rely on everyday. Discover deeper content as a Premium member.