Calendar
- Paul Thurrott
- Jan 14, 2023
-
3
The Calendar app can connect to multiple online accounts and help you manage your work and personal schedules from a single place. It can also connect to publicly-available, cloud-based calendars for holidays, sports, and television.
Calendar works only with online accounts and calendars. You cannot use this app to create calendars and events that are local to your PC only. If you do not sign-in to Windows with a Microsoft account, as we recommend, you will need to add at least one online account to Calendar when you first launch the app.
Please refer to Email and Other Accounts to learn how you can configure accounts for use with the Calendar app.
Get to know the Calendar app
Calendar offers all of the usual date-based views found in other calendaring solutions and works largely as you’d expect.
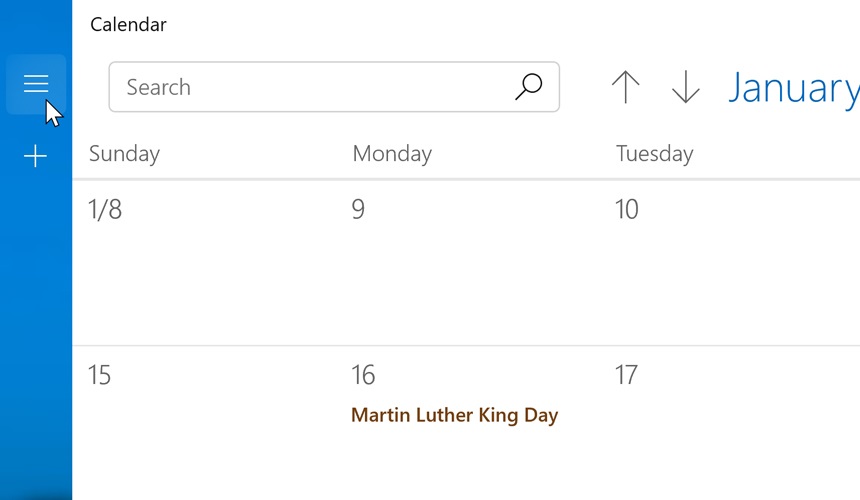
Like many of the other apps that are included with Windows, Calendar’s Navigation pane is collapsible. Just select the menu control, sometimes called a “hamburger,” in the top left. When you do, the pane shrinks and displays only icons.
And yes, you can select this control again to expand the Navigation pane. You will need this pane open to access the Month control, and to determine which of the calendars—from your connected accounts and from the cloud—can be accessed from within the app and in other places in Windows.
Work with Calendar views
Calendar provides several views from which to choose. You select the view using the toolbar in the upper right of the app window.

The following views are available.
Day. This view displays the events that are occurring today.
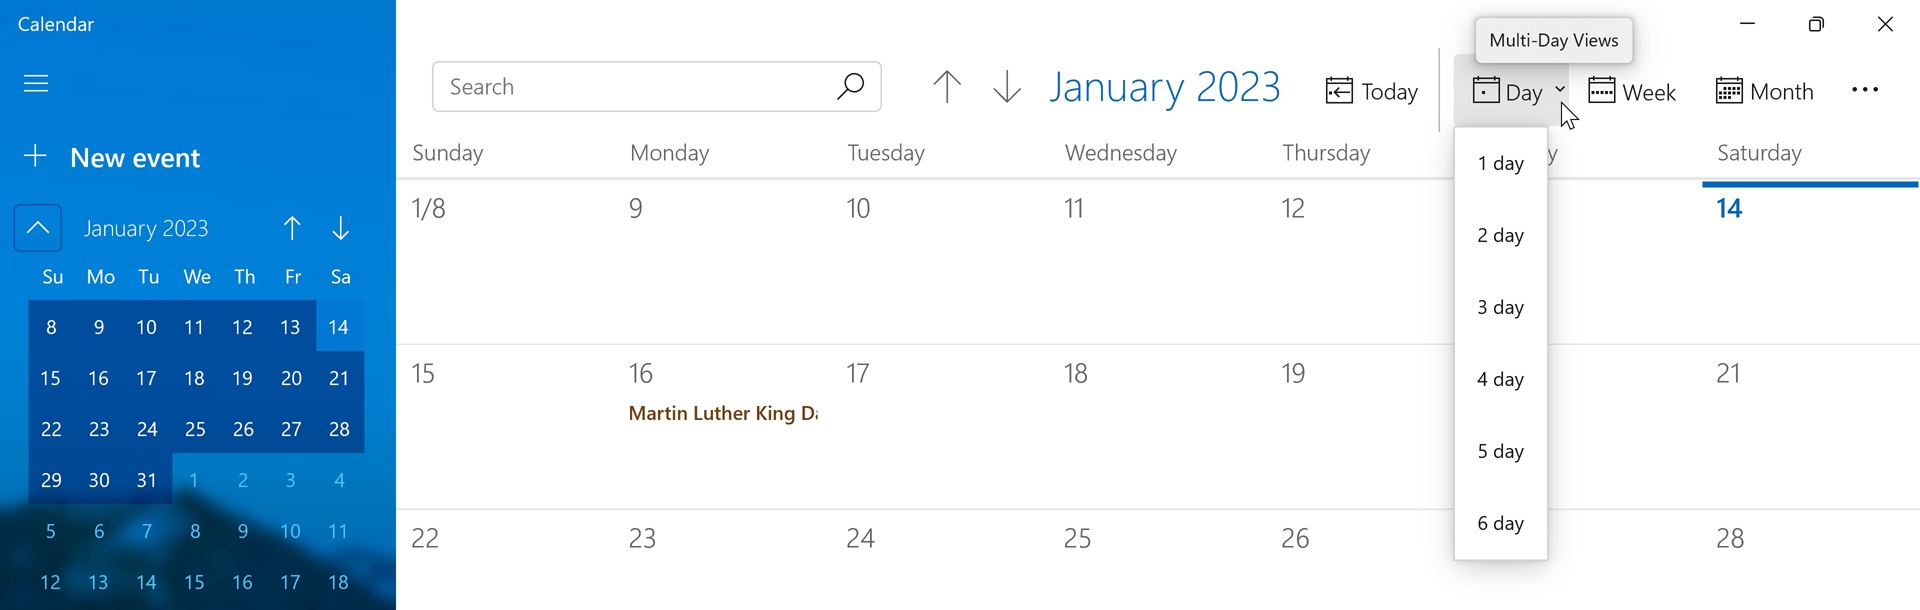
Multi-day. It’s a bit hidden, but Calendar also lets you pick from several multi-day choices—1, 2, 3, 4, 5, and 6-day views—by selecting a little drop-down control next to “Day” in the toolbar. and then choosing accordingly.
Week. This view displays an entire week of 7 days, from Sunday through Saturday by default. You can configure the first day of the week in Calendar settings as described in the section Customize Calendar.
Work week. As with the multi-day views, this choice is hidden in a drop-down menu, in this case next to the “Week” toolbar button. This view displays only the work week, which is Monday through Friday by default. You can change the days that constitute a work week in Calendar settings, as described in the section Customize Calendar.
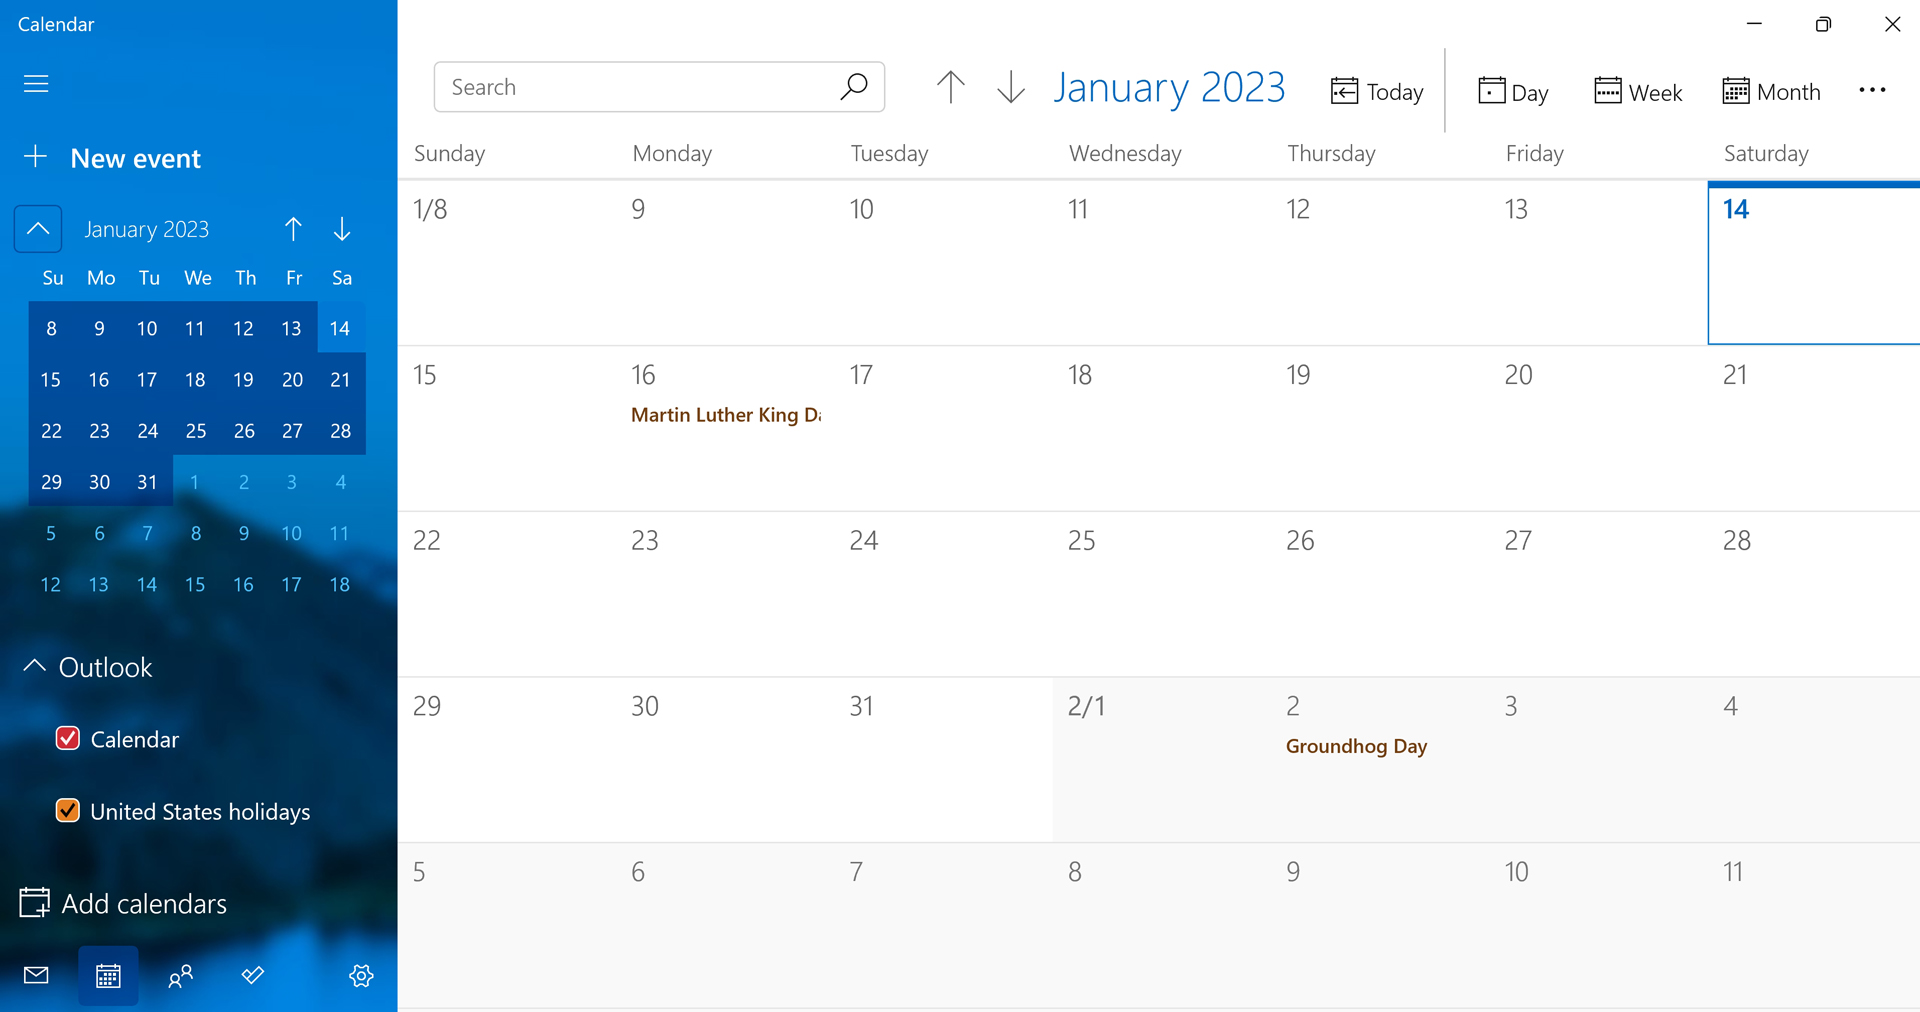
Month. In this default Calendar view, you see the familiar grid-based month view of your schedule.
Year. Here, you will see the entire year in a single view, organized by month. Note that there are no events displayed in this view. If you select a month, Calendar will display that month in Month view.
Return to the current day
When you launch Calendar, it will display the current date in whichever view you’ve configured. But as you navigate around your schedule, you will often find yourself viewing other days.
To return to the current day in whatever view is currently configured, select the “Today” button in the toolbar.
Navigate backward and forward in time
Calendar has “Go back” and “Go forward” buttons in the upper left of the window so that you can navigate backward and forward in time, respectively. The amount of time they move is based on the view. For example, in Week view, these buttons will navigate by one week, whereas in Month view, they navigate from month to month.

Find a specific event or meeting
The search box on the left side of the Calendar toolbar is used to find a specific event or meeting. Search results are shown in a pane that appears under the search box.
Manage accounts and calendars
Calendar lets you use multiple online accounts, each with one or more calendars, all from a single place. You can also add cloud-based calendars to the Calendar app.
Show, hide, and configure calendars for an account
Calendar lets you configure which calendars it displays from each of your connected accounts. You do so from the Navigation pane.
If the Navigation pane is collapsed, you will need to select the Menu button to expand it before you can see or configure these calendars.
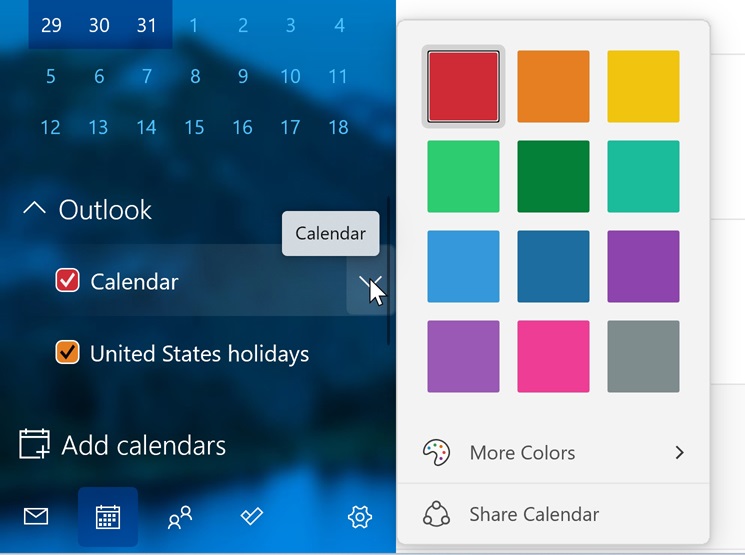
Below the Month widget in this pane, you will see a list of your connected accounts. Each displays one or more associated calendars, each of which is assigned its own unique color. (You can expand and collapse each account, too. When you collapse an account, its calendars list is hidden.)
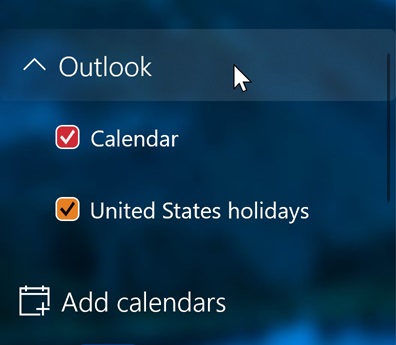
To hide an individual calendar, simply deselect it here.
To change the color used to display a calendar, right-click the calendar and then select the color you prefer from the pop-up that appears. The More Colors link provides many more options.
Add calendars from the cloud
In addition to using calendars associated with your online accounts, you can add public, cloud-based calendars—for such things as sports and TV show schedules—to Calendar. You do so using the “Add calendars” link in the Navigation pane.
When you select this link, the Add calendars window appears, providing you with a menu of choices. To find a calendar, simply navigate through the available options.
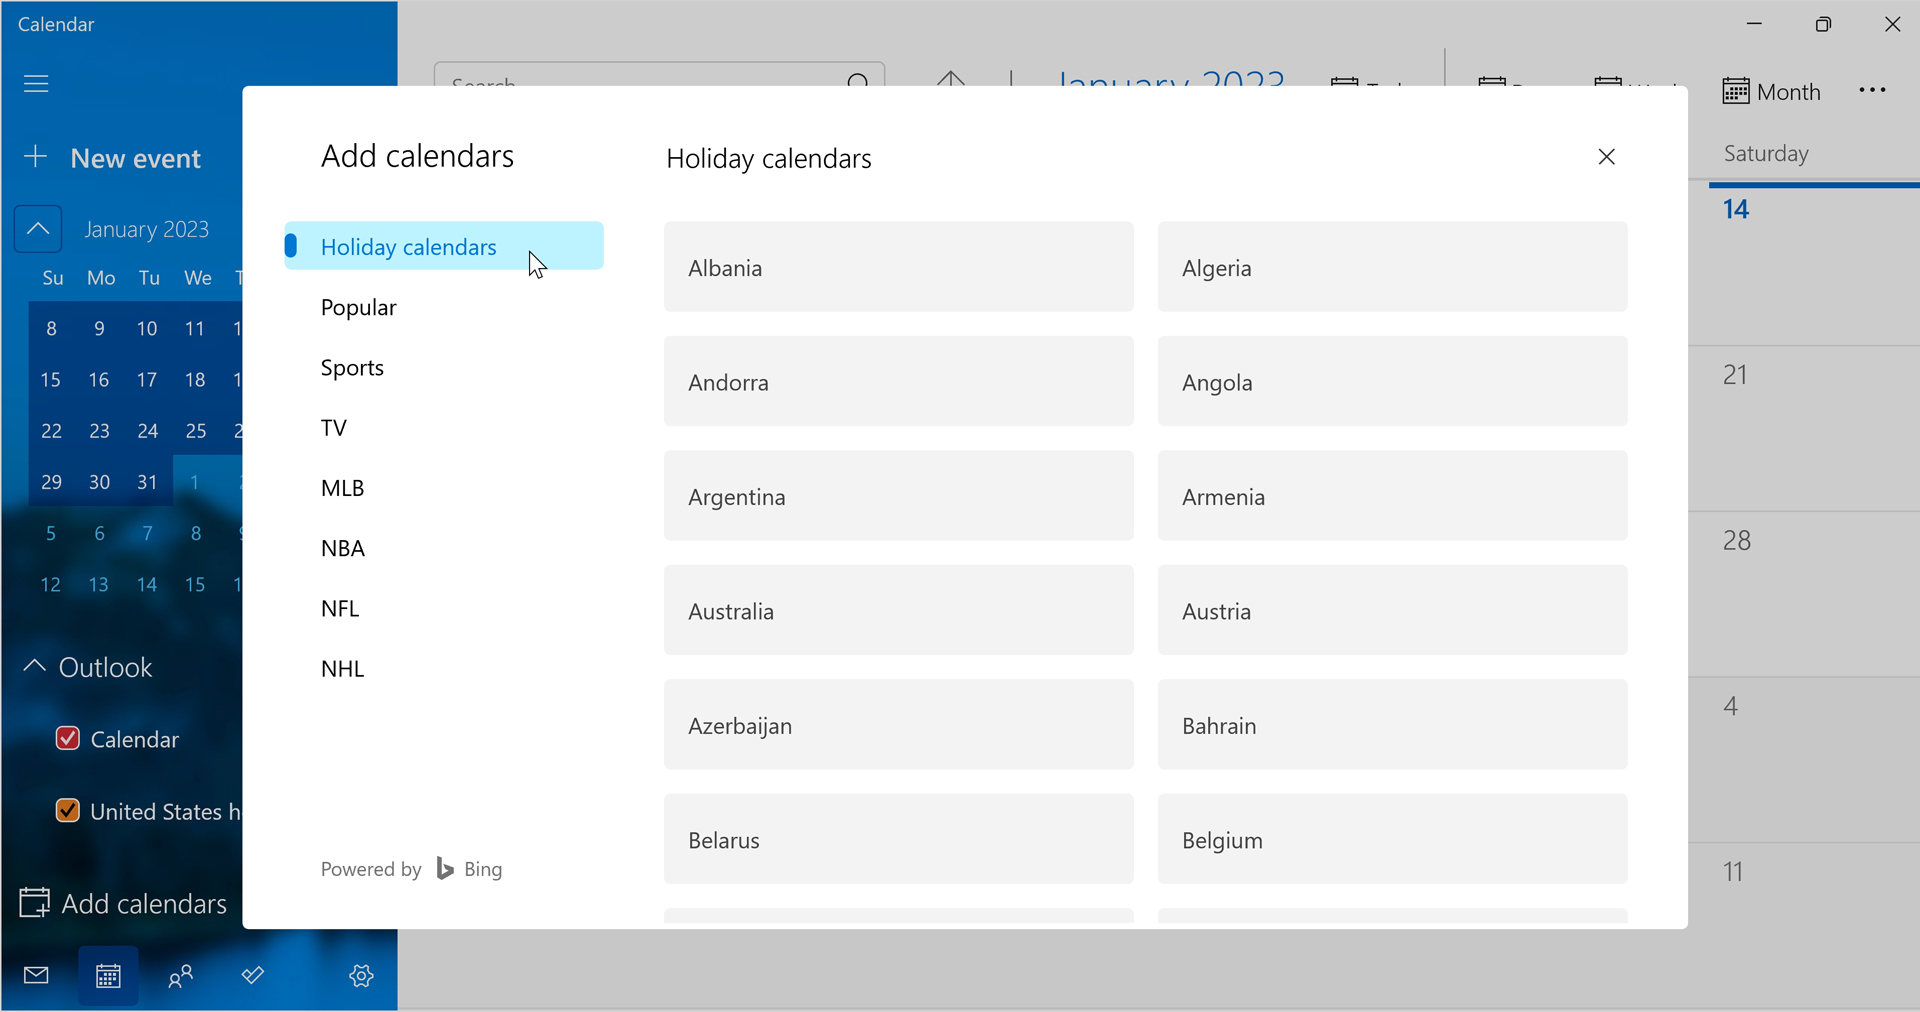
Cloud-based calendars are added to your Microsoft account and will sync with that account. This lets you manage these calendars easily: You can assign a custom color to each, hide them, or remove them here in the Calendar app like you do with other calendars.
These calendars will also trigger notifications like other calendars.
Create and manage events
Calendar lets you create and manage events. Each event is associated with one calendar in an online account. These events can be quite detailed and can include lots of associated information.
Calendar also supports a special kind of event called a meeting, which is an event in which there are other participants.
Understand how events are displayed in Calendar
Events appear as color rectangles in Calendar regardless of the view you’ve selected. The color of each corresponds to the color of the calendar in which they are located. For example, the events you can see below are all colored light purple, so all of them are in the same calendar.
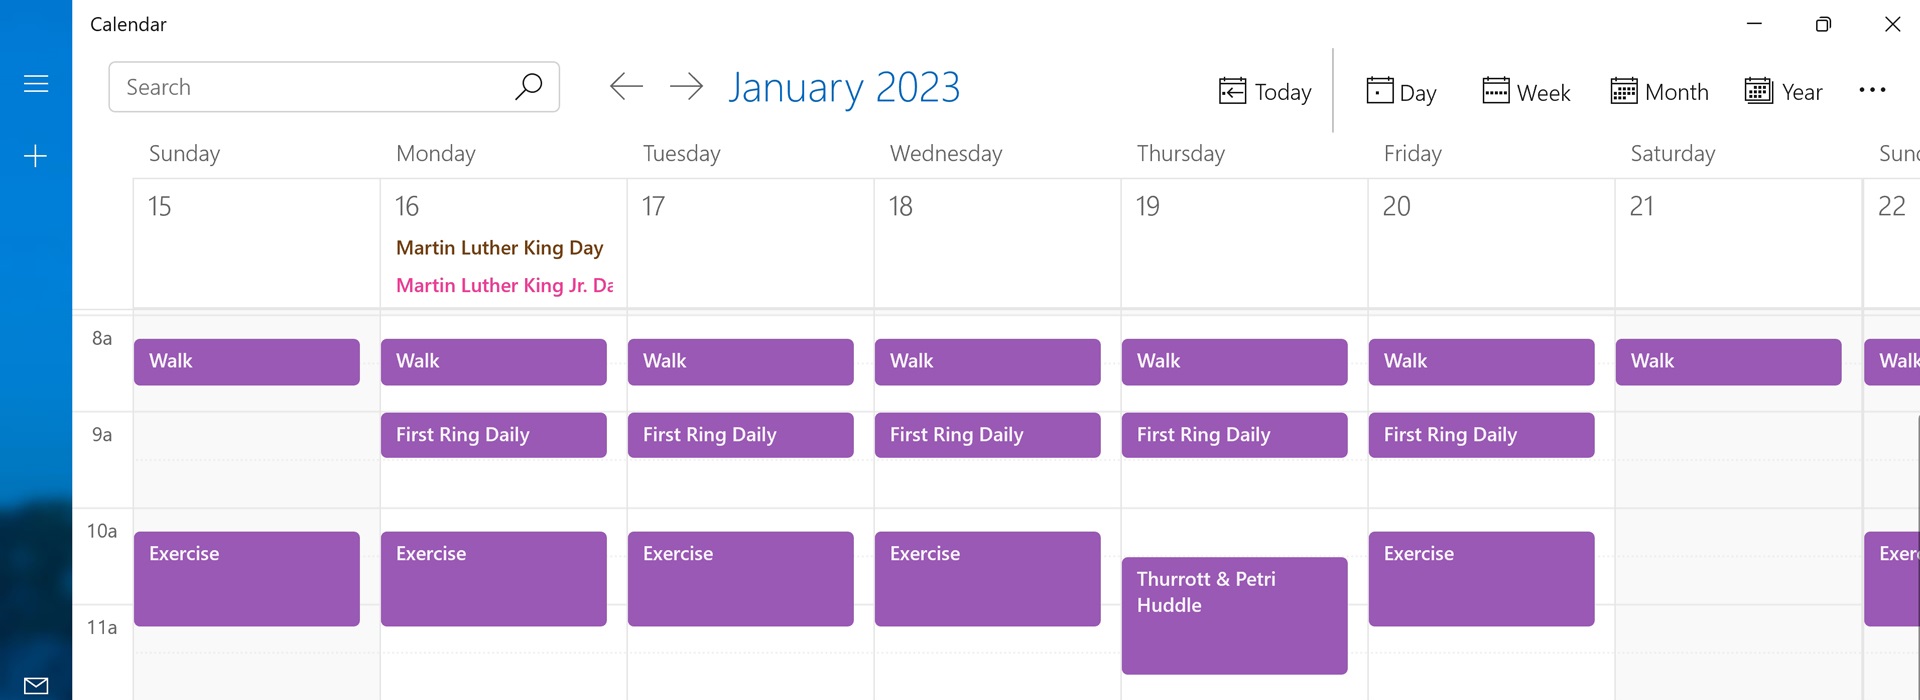
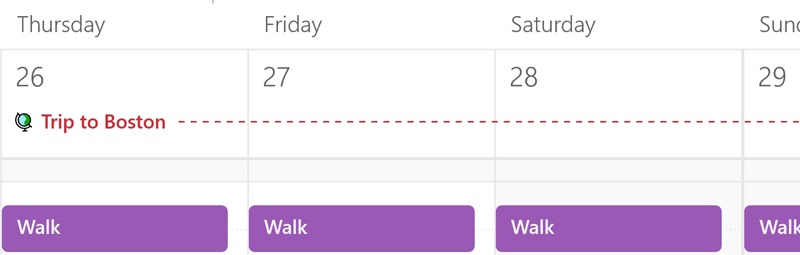
Multi-day events, all-day events, and events that were created on the web can be colored a bit differently. For example, a multi-day event uses a colored dash on those days instead of a solid rectangle.
View and edit an event
Calendar provides different ways to view an event:
Preview the event. If you mouse-over an event in Calendar, you will see a pop-up next to the event that displays a bit more information. A “View event” button will appear on individual events, but if the event is a recurring event, you will see an “Edit series” link and an “Edit event” button, as shown here, instead.

Open the event. To open an event, simply select it in any Calendar view. If the event is a recurring event, you are only viewing the event you selected. To open or edit the entire series, click the hard-to-see “Edit series” link found after the End date and time and above the Event description field.

Open the event in a new window. To open an event in a new window, select the “Open event in a new window” button in the upper right of the event.

In addition to all the normal things you might do with a floating window, this capability also lets you use the Snap feature in Windows to position this new window side-by-side with another window (including the main calendar window) in a full screen display.
Yes, you can open multiple events, each in its own window, as well.
The information you see in each case will obviously vary from event to event and according to how much information was provided when the event was first created. Once you’ve opened an event, you can of course edit it as needed. Just select the Save button when you’re done editing.
Create a new event
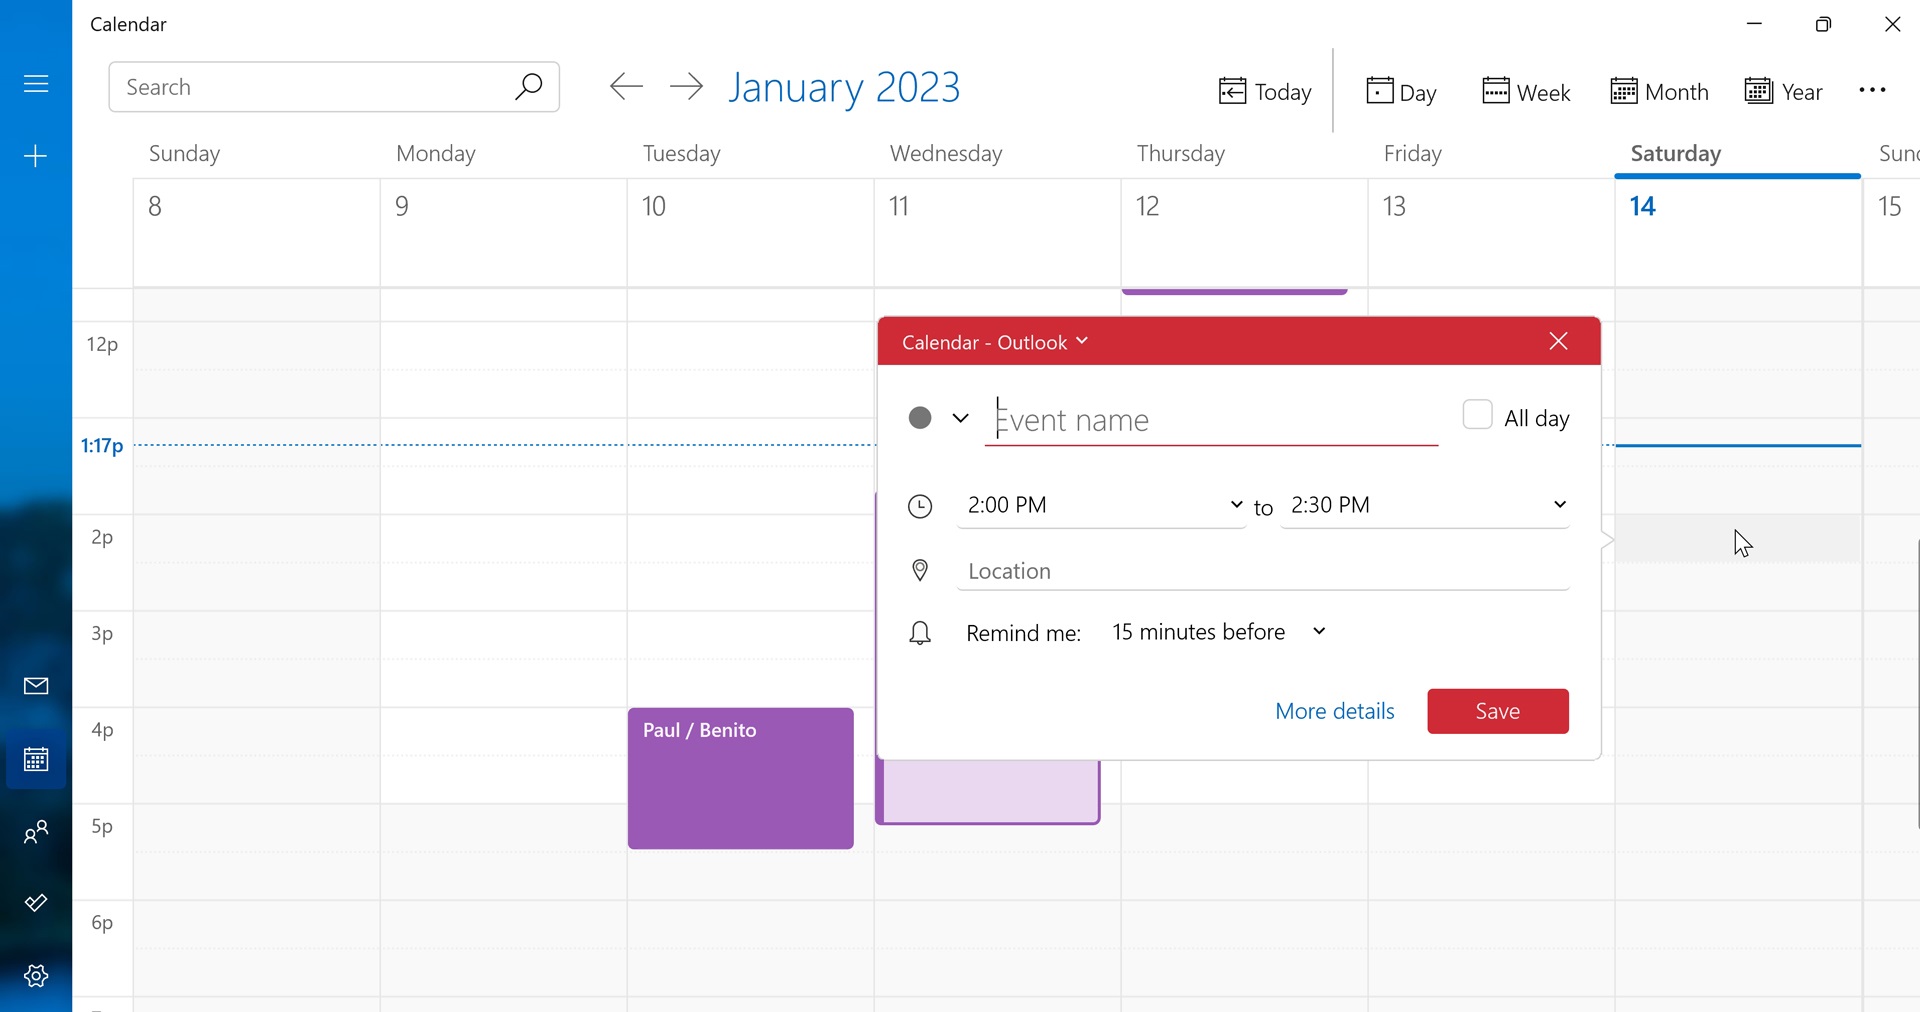
To create a new event, first navigate so that you can see the day (and, in many views, the start time) of the event you wish to create. Then, select that area in the calendar. When you do so, a pop-up appears so you can enter the name, time frame, and location of the event, select a reminder time, and choose the calendar with which to associate the event.
Calendar doesn’t let you select a specific day/time and then drag with the mouse to select multiple days or a specific time period. Instead, you can make an event a multi-day event later as you edit it.
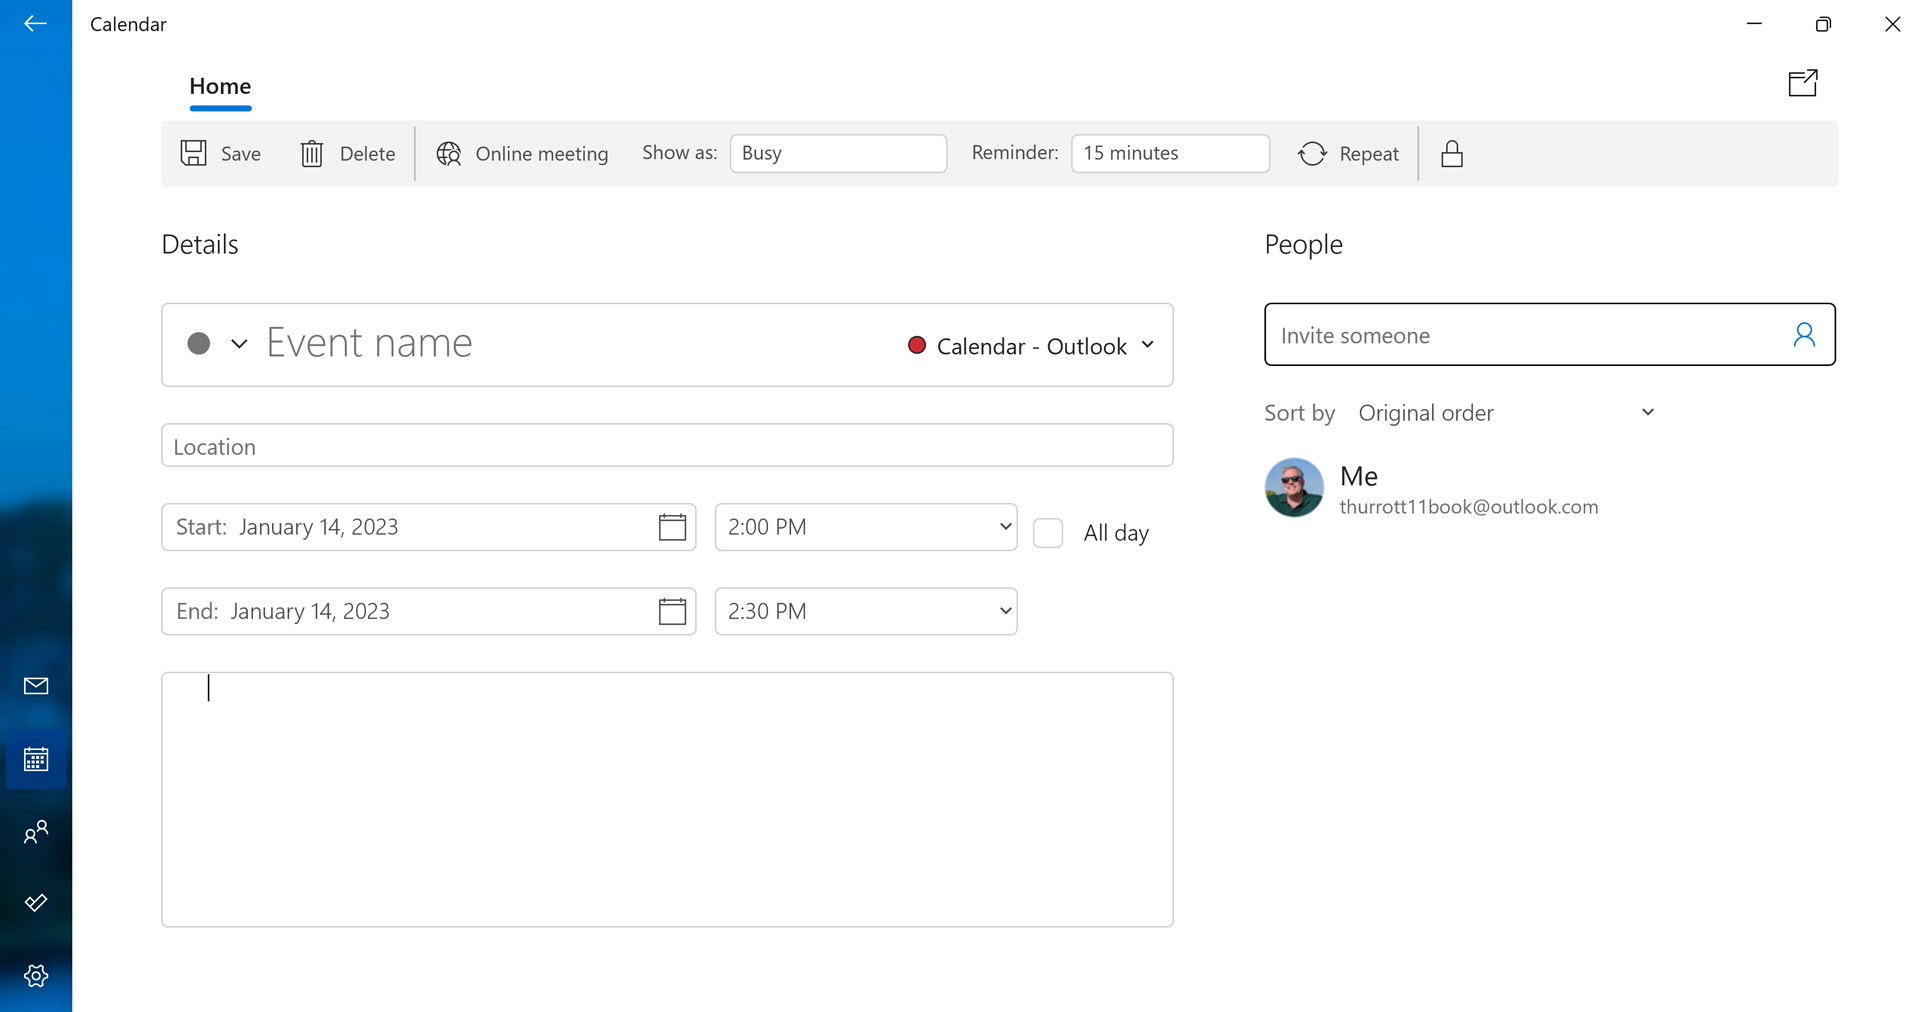
From here, just enter the information you wish and then select the Save button. Or, if you want to add more information, select “More details.” The new event now displays in the full app window and provides more fields for customizing the event.
This is mostly straightforward. But there are a few things you can do to events that may not be immediately obvious. These include:
Open the new event in its own window to view it side-by-side with other information in the Calendar app or elsewhere. As described previously, you can open the event in its own window so you can view it side-by-side with the main Calendar app window, with another event window, or with other apps or windows.
Change it to an online meeting. Using the “Online meeting” button, you can change this event into an online meeting. Attendees will receive an email message inviting them to the meeting, which, oddly enough, is handled by Skype and not the Microsoft Teams app that comes with Windows 11. (If you or the other attendees don’t have the Skype app, the Skype web app will be used.) Calendar will add a “Join online meeting” link to the meeting body text.
Change it to a recurring event. You can change an event into a recurring event by selecting the Repeat button in the toolbar and then configuring the start date, frequency, and end date.
Change it to a multi-day event. If this event is a multi-day event, select “All day” and then change the Start and End dates accordingly.
Make it private. If you’re using a shared calendar at work, you can mark an event as private so that your coworkers will see that you’re busy at the time of an event, but won’t see any of the details of that event. To do so, click the Private button—it looks like a lock— on the right side of the toolbar.
Invite other people. If you invite one or more other people to an event using the People picker on the right, it becomes a meeting. We look at meetings later in this chapter.
Add more information about the event. At the bottom of this window, you will find large Event description text box into which you can paste or write a description or any other information you’d like.
Where did it go?
In Windows 10, you could also create a new event from the Calendar pane that’s accessed by clicking the time/date display in the Taskbar. This capability is no longer available in Windows 11.
Delete an event
To delete an event, open it from any Calendar view and then select the “Delete” toolbar button. When you do, a pop-down menu appears. What you see here will vary, depending on whether the event is a standalone event or a recurring event:
Standalone event. Here, you will see two items, “Delete” and “Delete event,” but only the latter is a selectable option. Why the redundant and non-selectable “Delete” text in that menu? Your guess is as good as ours.
Recurring event. Here, you can choose between deleting just this one instance (“Delete one”) or deleting all instances of the event (“Delete all”). As with a standalone event, there is a non-selectable “Delete” option as well.
You can also delete an event by right-clicking it from any calendar view and choosing “Delete” from the context menu that appears.
Create and manage meetings
When you invite one or more other people to an event, it becomes a meeting. This change isn’t just semantics: Meetings provide a few additional features when compared to normal events. And there are now two types of meetings: online meetings and in-person meetings. As noted above, online meetings occur via Skype, and all attendees will get links to join the meeting.
Invite others to a meeting
To invite others to a meeting, open or create an event and then select Invite someone under People. Then, begin typing the name of a person you’d like to attend. As you type, names from your contacts list that match what you’re typing will appear in a drop-down list.
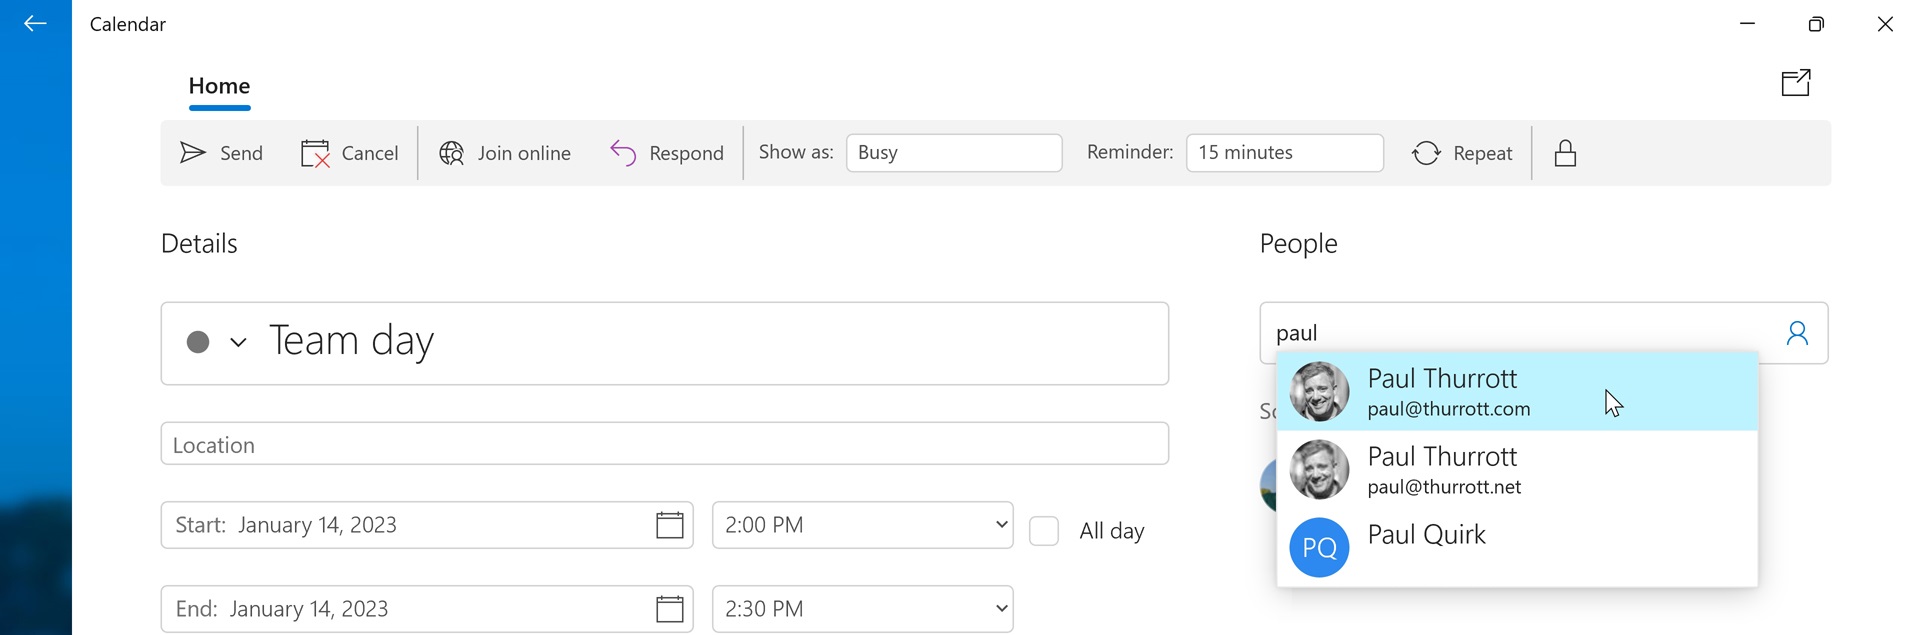
Select the correct entry to add them to the list, and repeat as necessary to add other attendees.
Respond to a meeting invitation
Meeting invitations are sent via email using the underlying account that is associated with the calendar you’re using. So, for example, if you send a meeting invitation from a Google account, the respondent(s) will receive a Google Calendar invitation.
How these invitations are presented in email will vary somewhat from service to service. But you should see Accept, Tentative, and Decline responses—as Outlook.com defines them—or the equivalent. (Gmail, for example, uses Yes, Maybe, and No instead.)
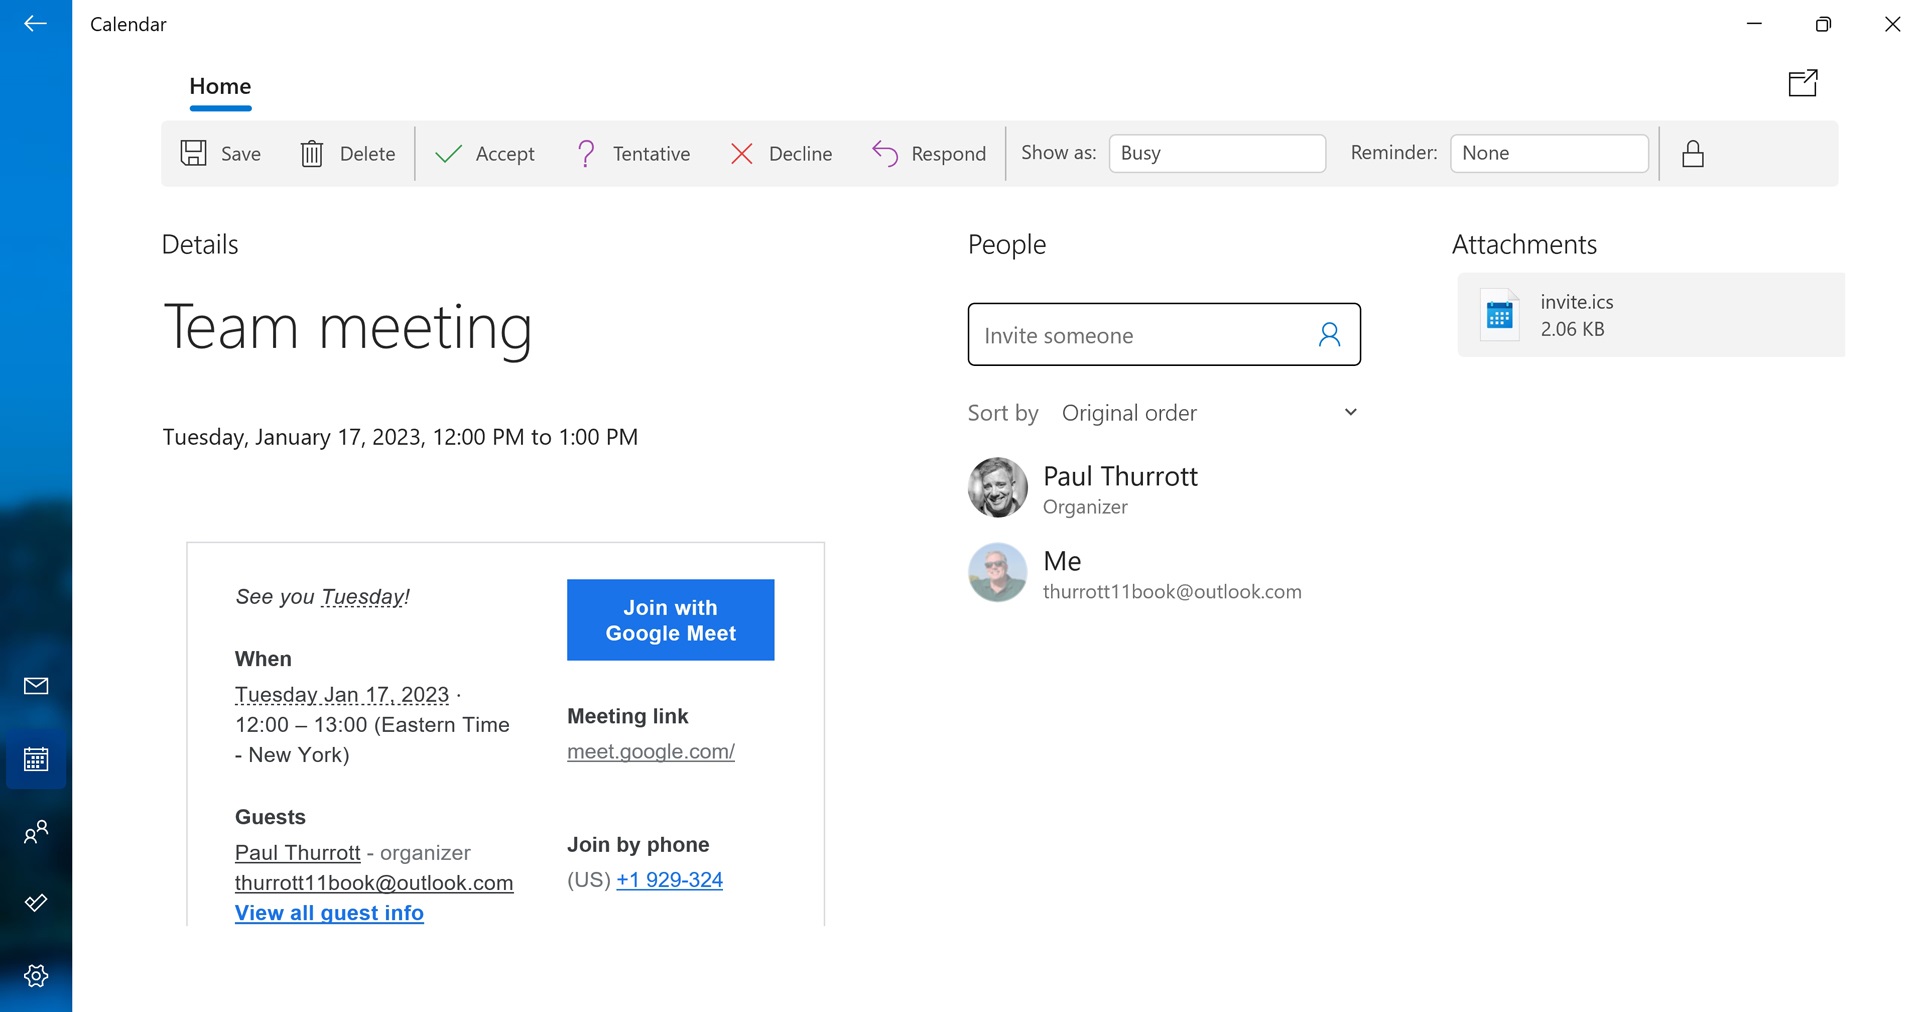
Here is a meeting invite displayed in the Windows Mail app.
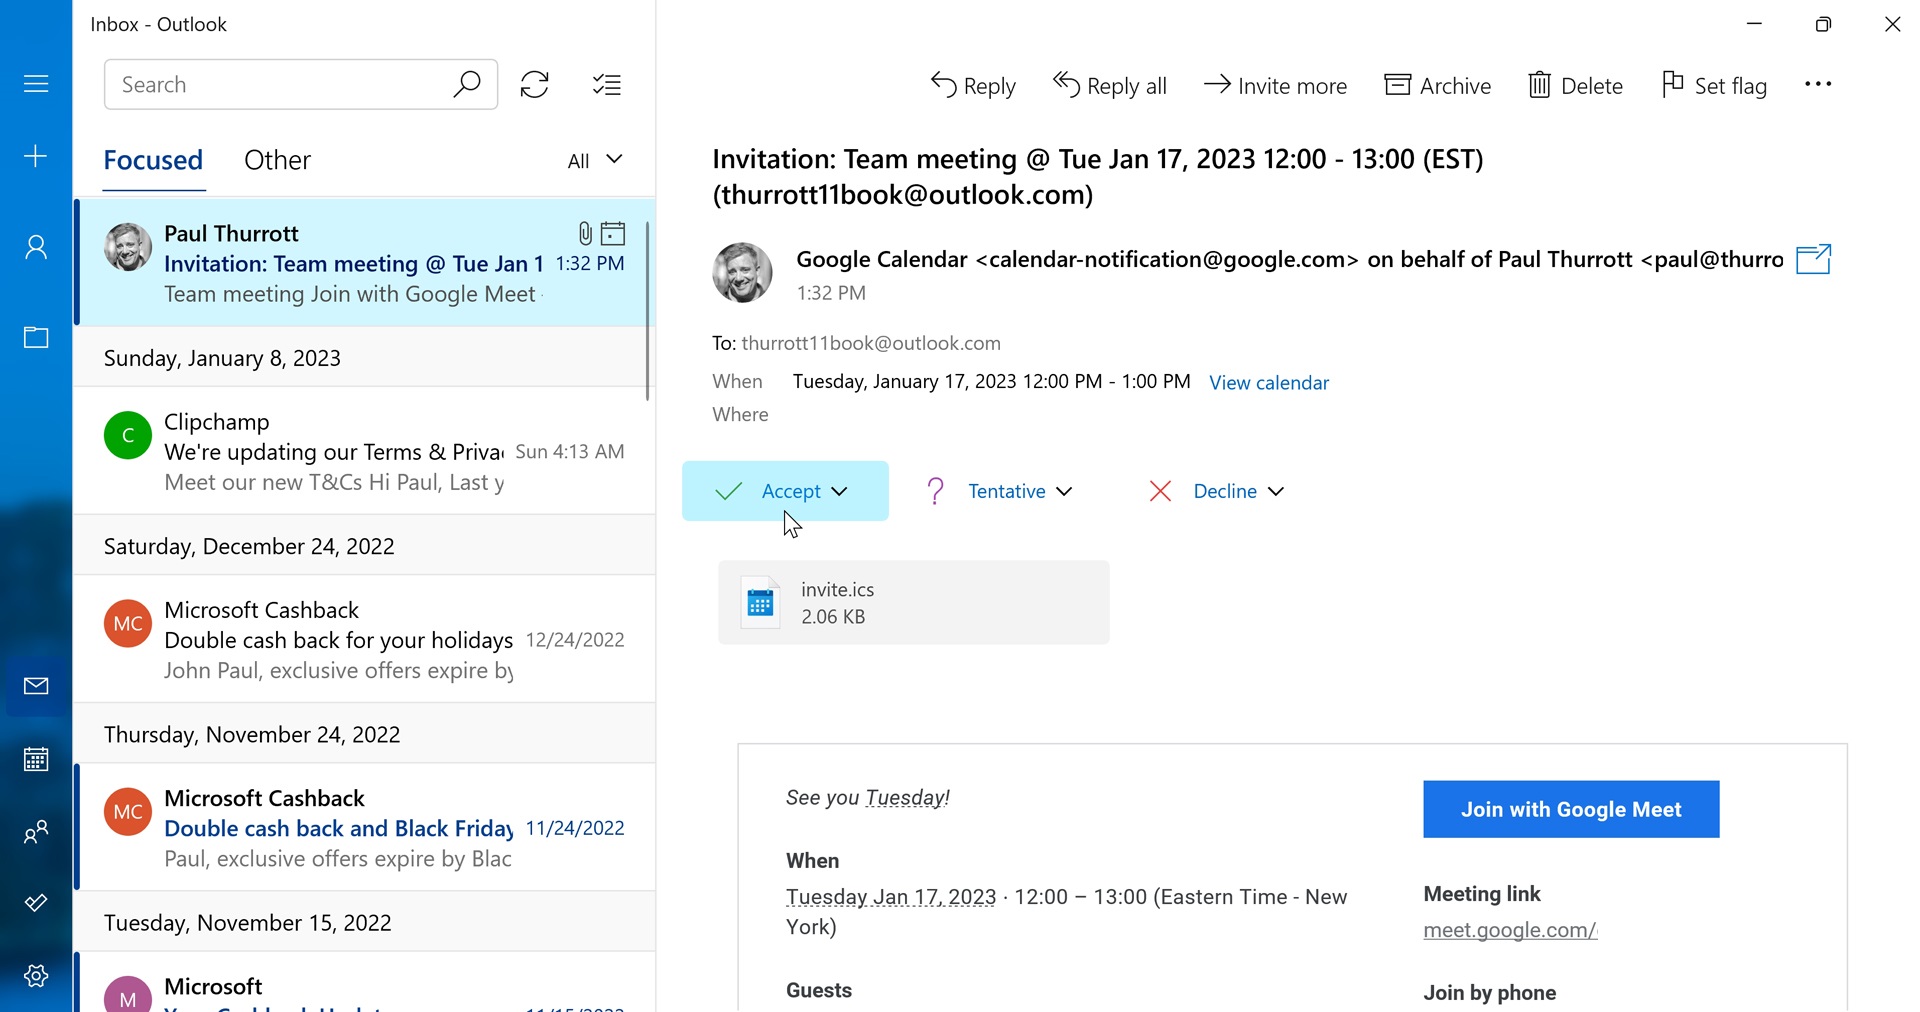
If you accept the invitation, the meeting will be added to your own calendar. And if you open the meeting as an attendee, you’ll see that it’s read-only—you can’t change any of the information about the meeting—and that the person who sent the email is listed as the organizer, while you are one of the attendees.
Cancel a meeting
To cancel a meeting you created, right-click it in the calendar and select “Cancel” from the context menu that appears. (Or, open the meeting and then select Cancel in the toolbar.) Calendar will prompt you to optionally provide an explanation to invitees about the cancellation.
Attendees of canceled meetings will receive an email notification about the cancellation and the meeting will automatically be removed from their calendar.
Customize Calendar
You can customize the behavior of Calendar using the app’s settings interface.
Personalize the look of the Calendar app
In the Personalization section of Calendar settings, you can configure three options that can together dramatically alter the look and feel of the Calendar app: The accent color, app mode, and app background.
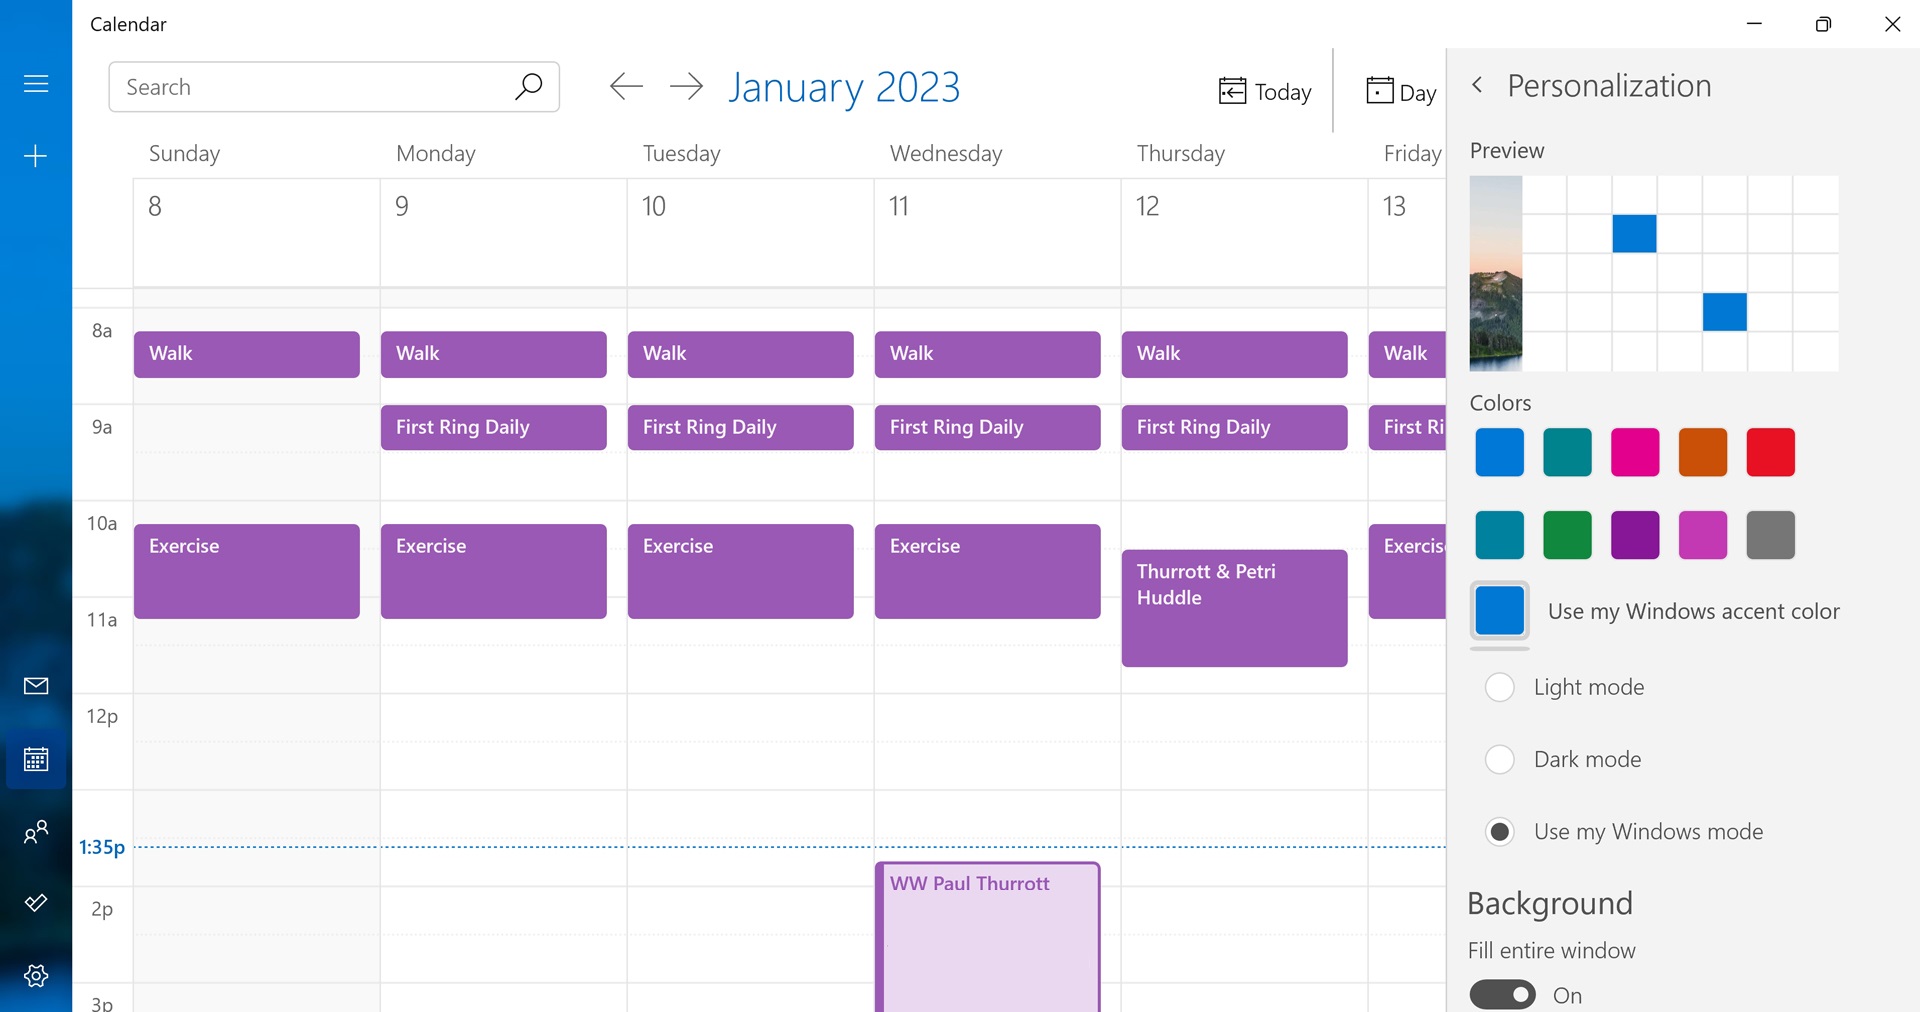
Calendar’s accent color option determines whether the app uses the system-wide accent color or a custom, app-specific color of your choice.
You configure the system-wide accent color by opening the Settings app and navigating to Personalization > Colors > accent color.
The app mode is what most people think of as a theme and it can be set to Light or Dark, or it can use the system-wide app mode.
You configure the system-wide app mode by opening the Settings app and navigating to Personalization > Colors > Choose your mode.
Somewhat unique among the apps that come with Windows, Calendar can also be configured to use a background picture, though you can’t typically see much of it. To configure this option, visit the Background section of Personalization, enable “Fill entire window,” and then select the image of your choice.
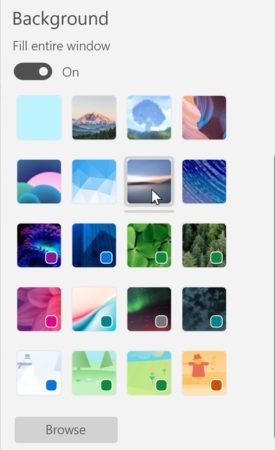
Whatever background you choose will also appear in the Mail app, where you will be able to see more of the image if there’s no message selected.
Customize the work day, work week, and week
Calendar lets you determine which day is the first day of the week, which days are included in a work week (which impacts the corresponding calendar view), and which hours of the day are considered part of the work day. These and other related options are configured by opening Calendar settings and navigating to Calendar Settings.

Gain unlimited access to Premium articles.
With technology shaping our everyday lives, how could we not dig deeper?
Thurrott Premium delivers an honest and thorough perspective about the technologies we use and rely on everyday. Discover deeper content as a Premium member.