Desktop (23H2)
- Paul Thurrott
- Dec 03, 2023
-
0
The Windows 11 Desktop works much as it did in Windows 10, but it has been updated with new iconography–as evidenced by the Recycle Bin–and a new Themes feature that lets you combine your favorite desktop backgrounds, colors, sounds, and mouse cursors to provide a more personalized experience.
We looked at the basics of the Windows 11 Desktop and its new visual design in What’s New and Familiar in Windows 11 Version 23H2. Here, we explore its new features and how you can work around some of its new limitations.
What’s changed with the Desktop context menus?
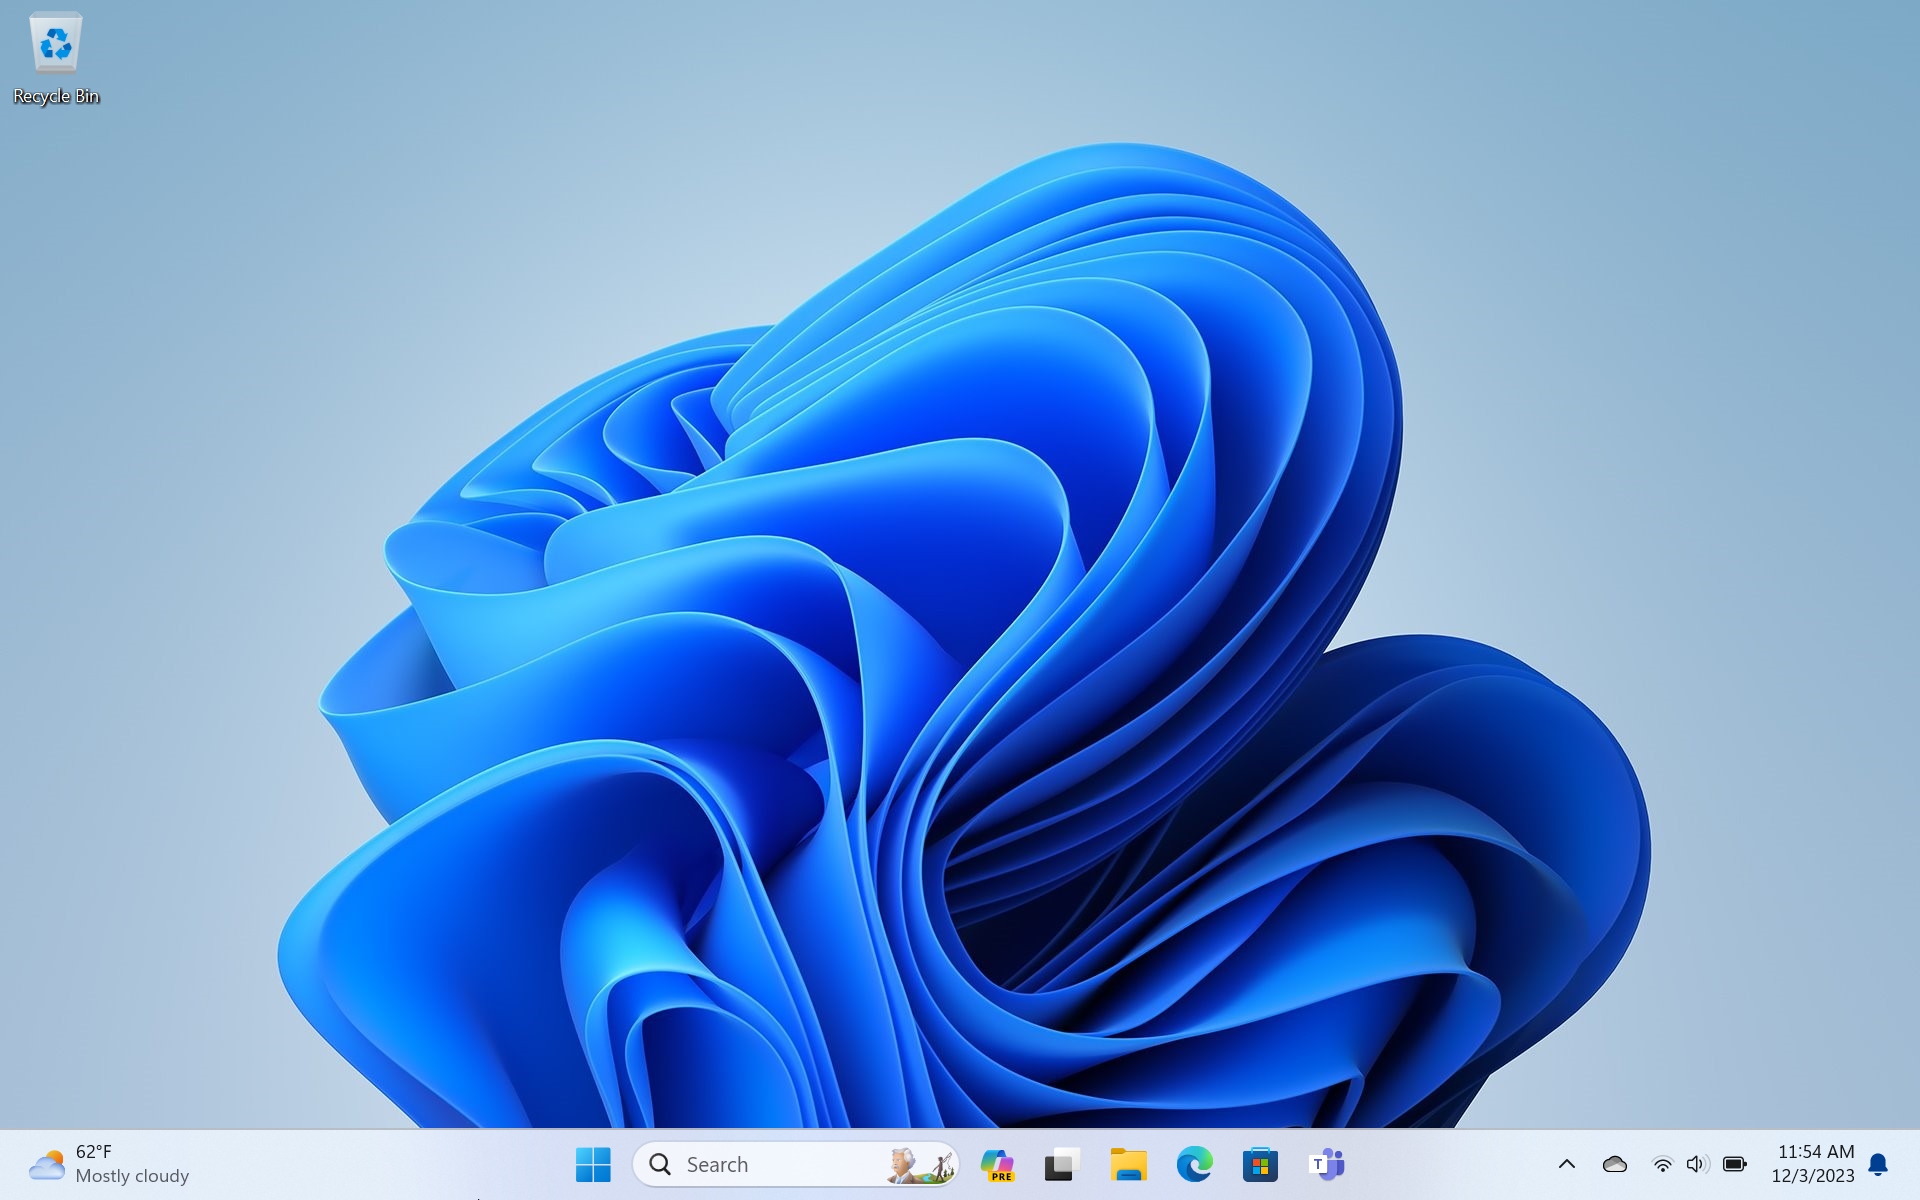
When you right-click the Desktop or any of the icons on the Desktop, Windows 11 displays a context menu that provides options related to that specific object. For example, when you right-click the Recycle Bin, you see a menu item, “Empty the Recycle Bin” that only applies to the selected object and others that are common to various user interface elements.

And when you right-click an icon for a folder, shortcut, app, or another file, you will see several items that apply to whatever type of object you’ve selected.
This behavior should be familiar to most Windows 10 users. But aside from the obvious new visual style,
there are other changes to these context menus in Windows 11 related to Microsoft’s simplification efforts in this release: These menus tend to be much shorter than the similar context menus you saw in Windows 10 because Microsoft has replaced some common text-based options with icons, and because there are now fewer options than before.
Let’s take a closer look.
Make sense of the icons in the new context menus
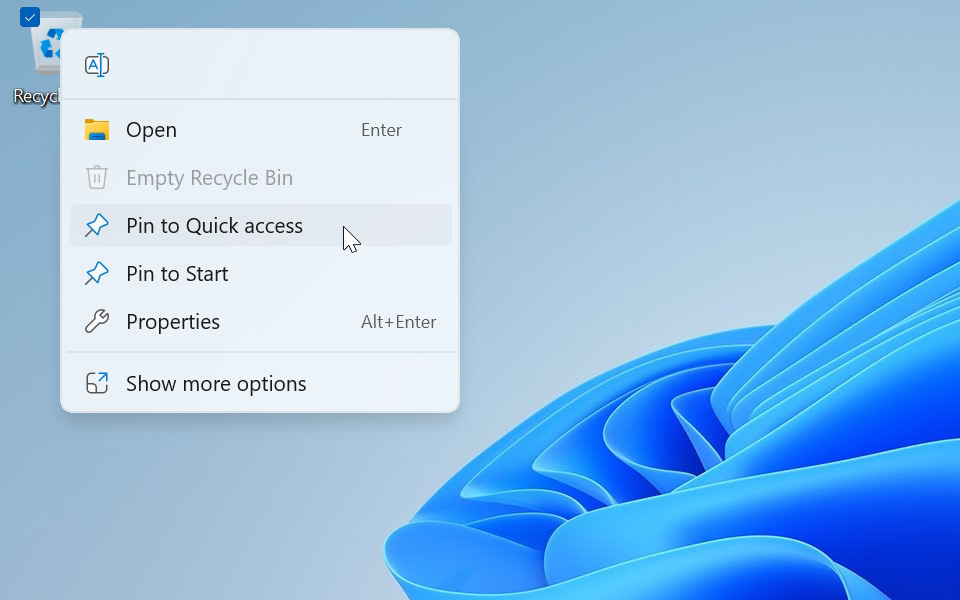
In Windows 10, the Desktop context menus displayed text-based options for commands like Cut, Copy, Paste, Rename, Share, and Delete appear alongside the other menu items. But in Windows 11, these commands have been changed to icons that all appear in a single row at the top (or bottom) of the context menu.
![]()
![]()
This can be confusing, and these icons will be as indecipherable as Egyptian hieroglyphics to many. Fortunately, you can mouse-over each icon to display a tooltip that explains what each does and provides its keyboard shortcut.
![]()
As confusing, the row of icons can appear at the bottom of the context menu instead of the top. But this is purposeful: Windows 11 will always display these icons as close as possible to the mouse cursor, and if the item you’re right-clicking is close to the bottom of the Desktop, the context menu that appears may have to display above the mouse cursor. And so the icons will be on the bottom.
![]()
Display the classic, Windows 10-style context menus
The Desktop context menu icons described above are confusing enough, but Microsoft has also removed some options that were available in the Windows 10 context menus. And that can be problematic if you are used to using any of those options.
You can’t configure Windows 11 to display the old Windows 10-style context menus by default. But you can at least access them on the fly.
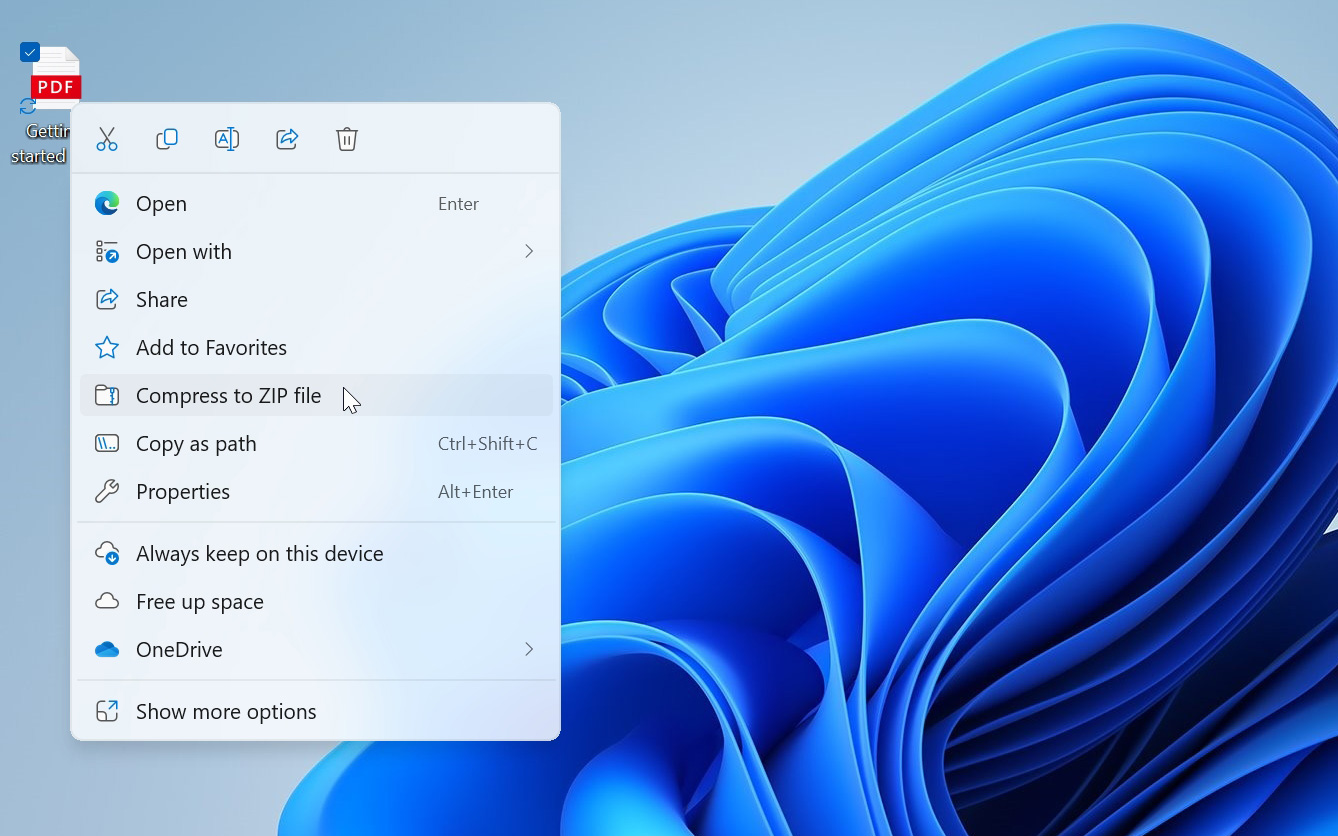
To do so, right-click the Desktop or an item on the Desktop and choose “Show more options.” The old context menu, with its text-based commands and missing commands, appears using the old Windows 10 visual style.
Alternatively, you can open this older context menu style directly by holding down the SHIFT key while you right-click.
Display the Desktop when it’s covered with windows
Many people use the Desktop to store files and folders temporarily while they’re working on various projects. (And sometimes permanently, which is not recommended.) There’s nothing wrong with that, but as you use Windows 11, the Desktop gets covered up with apps and other windows, hiding its contents. Fortunately, you can use a feature called Show desktop to minimize all open windows so you can see the Desktop and access any files there.
To do so, mouse into the lower right corner of the display. As you can see, there is a small hidden area to the right of the notification icon (which resembles a bell) in the Taskbar called Show desktop.
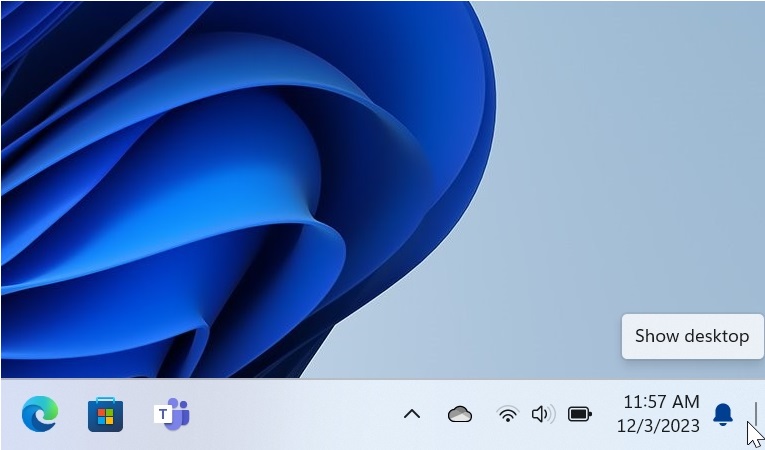
To hide all of the open windows, click Show desktop. When you’re done working with the Desktop, mouse back over to Show desktop and click it again to restore all of the previously open windows.
You can also toggle Show desktop by typing WINKEY + D.
Hide all windows except for the one you’re using
Windows 11 has a fun feature called Shake that lets you grab any window’s title bar with the mouse and then shake it in any direction to minimize all other open windows. But this feature is disabled by default, so you need to enable it first.
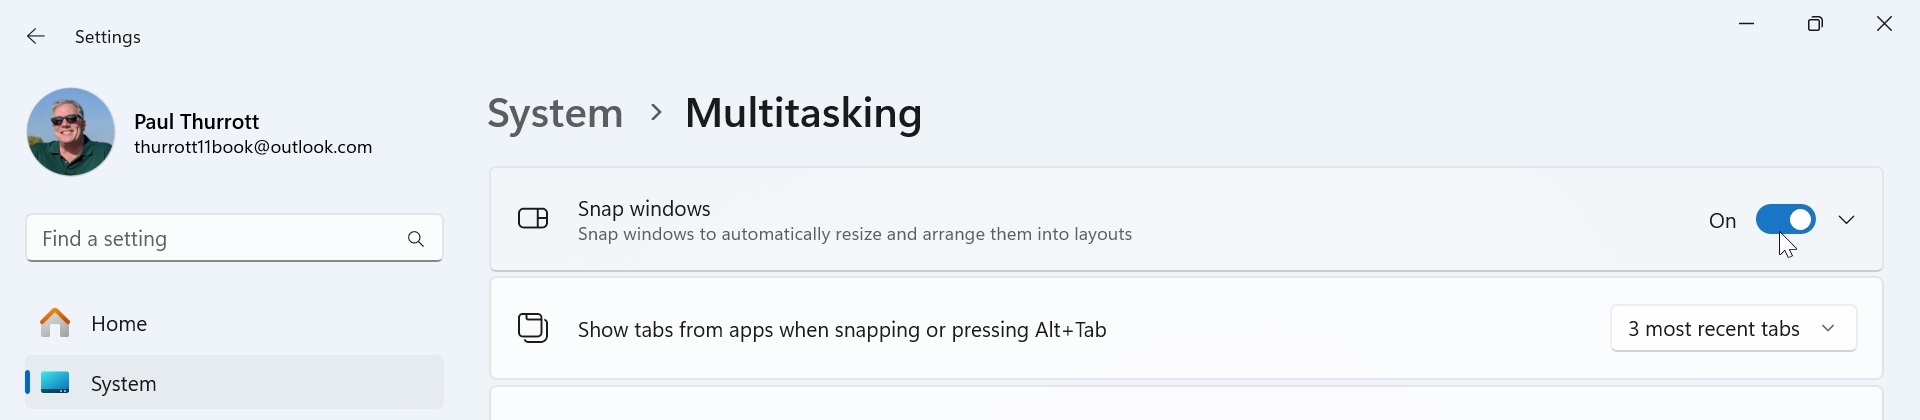
To do so, open the Settings app (WINKEY + I) and navigate to System > Multitasking. Then, find the setting titled “Title bar window shake” and set it to “On.”

Customize the Desktop
Like its predecessors, Windows 11 provides various ways to customize the Desktop with backgrounds, colors, and, new to Windows 11, Themes.
Here, we’ll focus on what’s new and non-obvious.
Get a beautiful new photo background every day
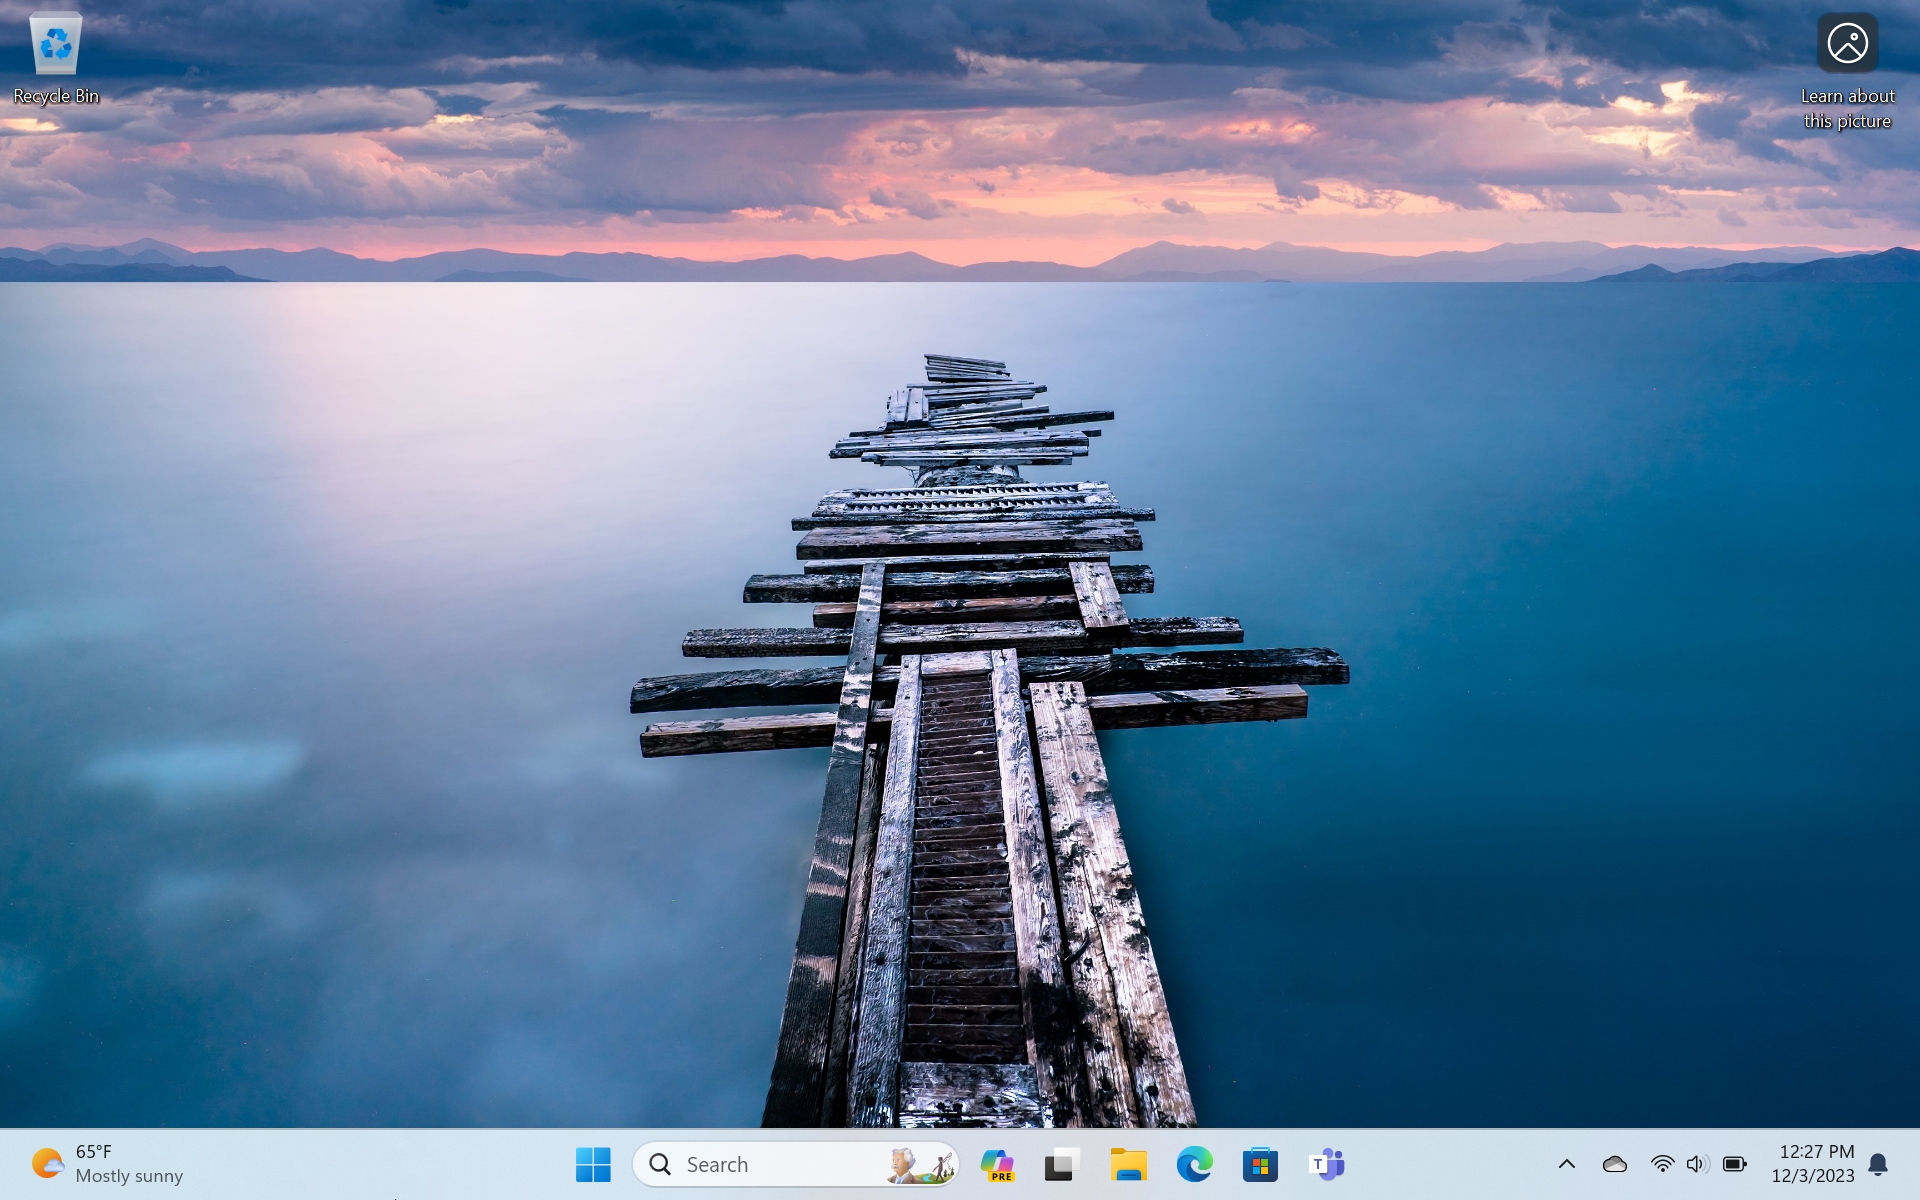
Windows 11 lets you set the Desktop background–what many think of as wallpaper–to a solid color, a picture, or a slideshow. But you can also use the Windows spotlight feature that was previously available only on the Lock screen to get a new, high-quality photo from Bing every day as your background.
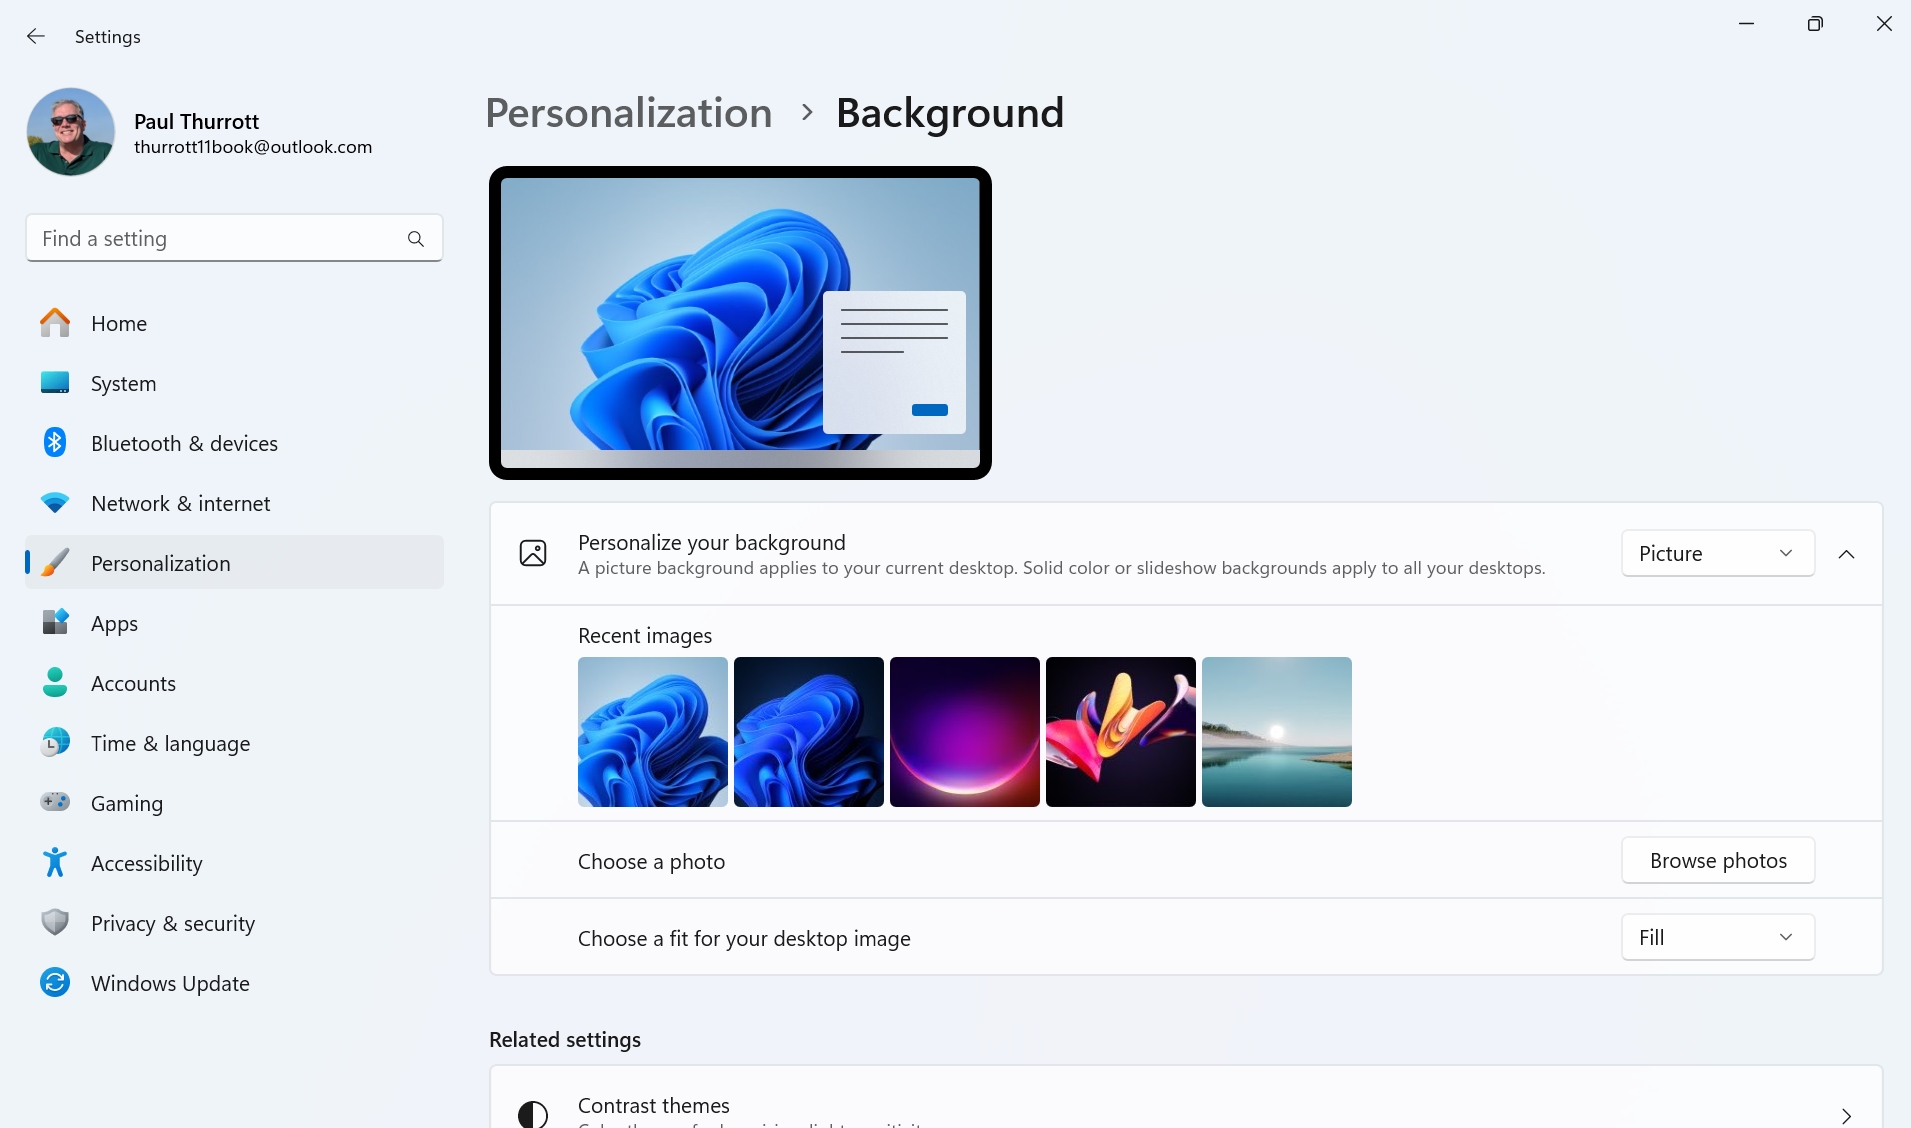
To do so, open the Settings app (WINKEY + I) and navigate to Personalization > Background.
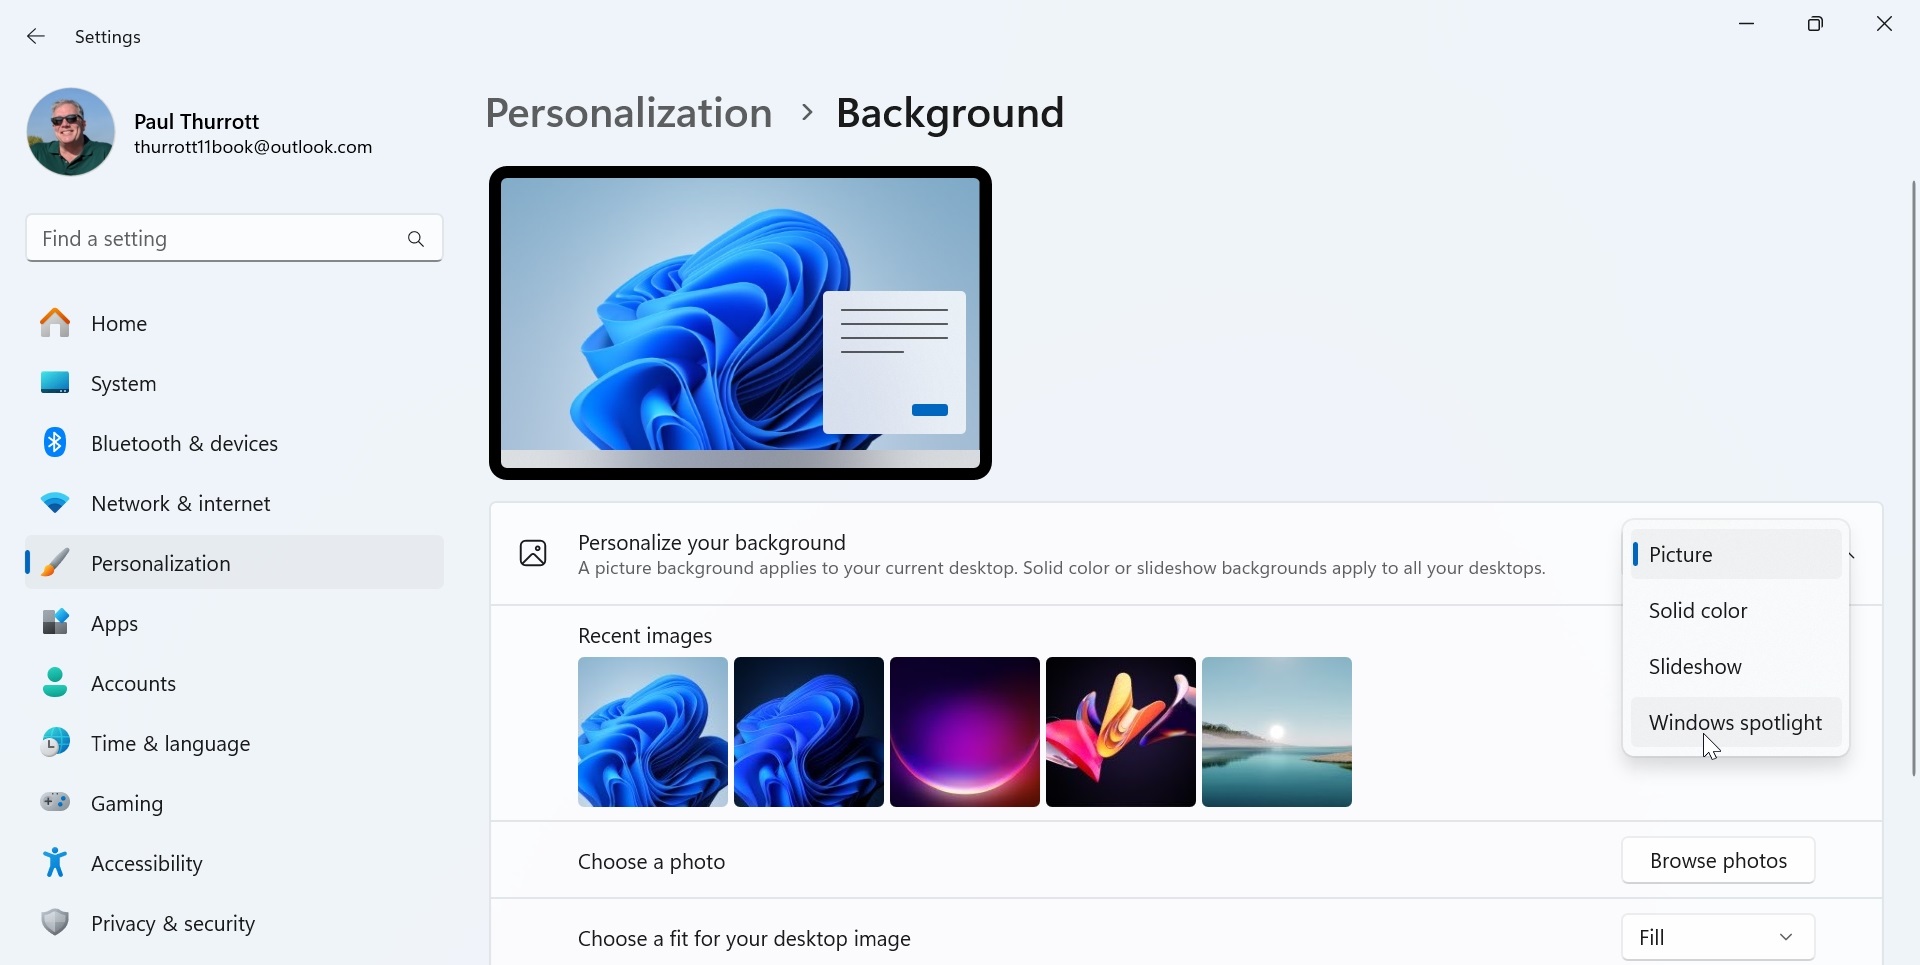
Select the drop-down next to “Personalize your background” and change it to “Windows spotlight.”

The background is replaced with a photo from Bing, and you will see a new “Learn about this picture” icon appear in the upper right of the Desktop.
If you have icons on your Desktop in that area, this icon will appear elsewhere.
This icon cannot be removed. But you can move it anywhere on the Desktop, double-click it to learn more about the image on Bing.com, or right-click it to access a flyout pane with various options that somewhat mirror what you can do with Windows spotlight on the lock screen.
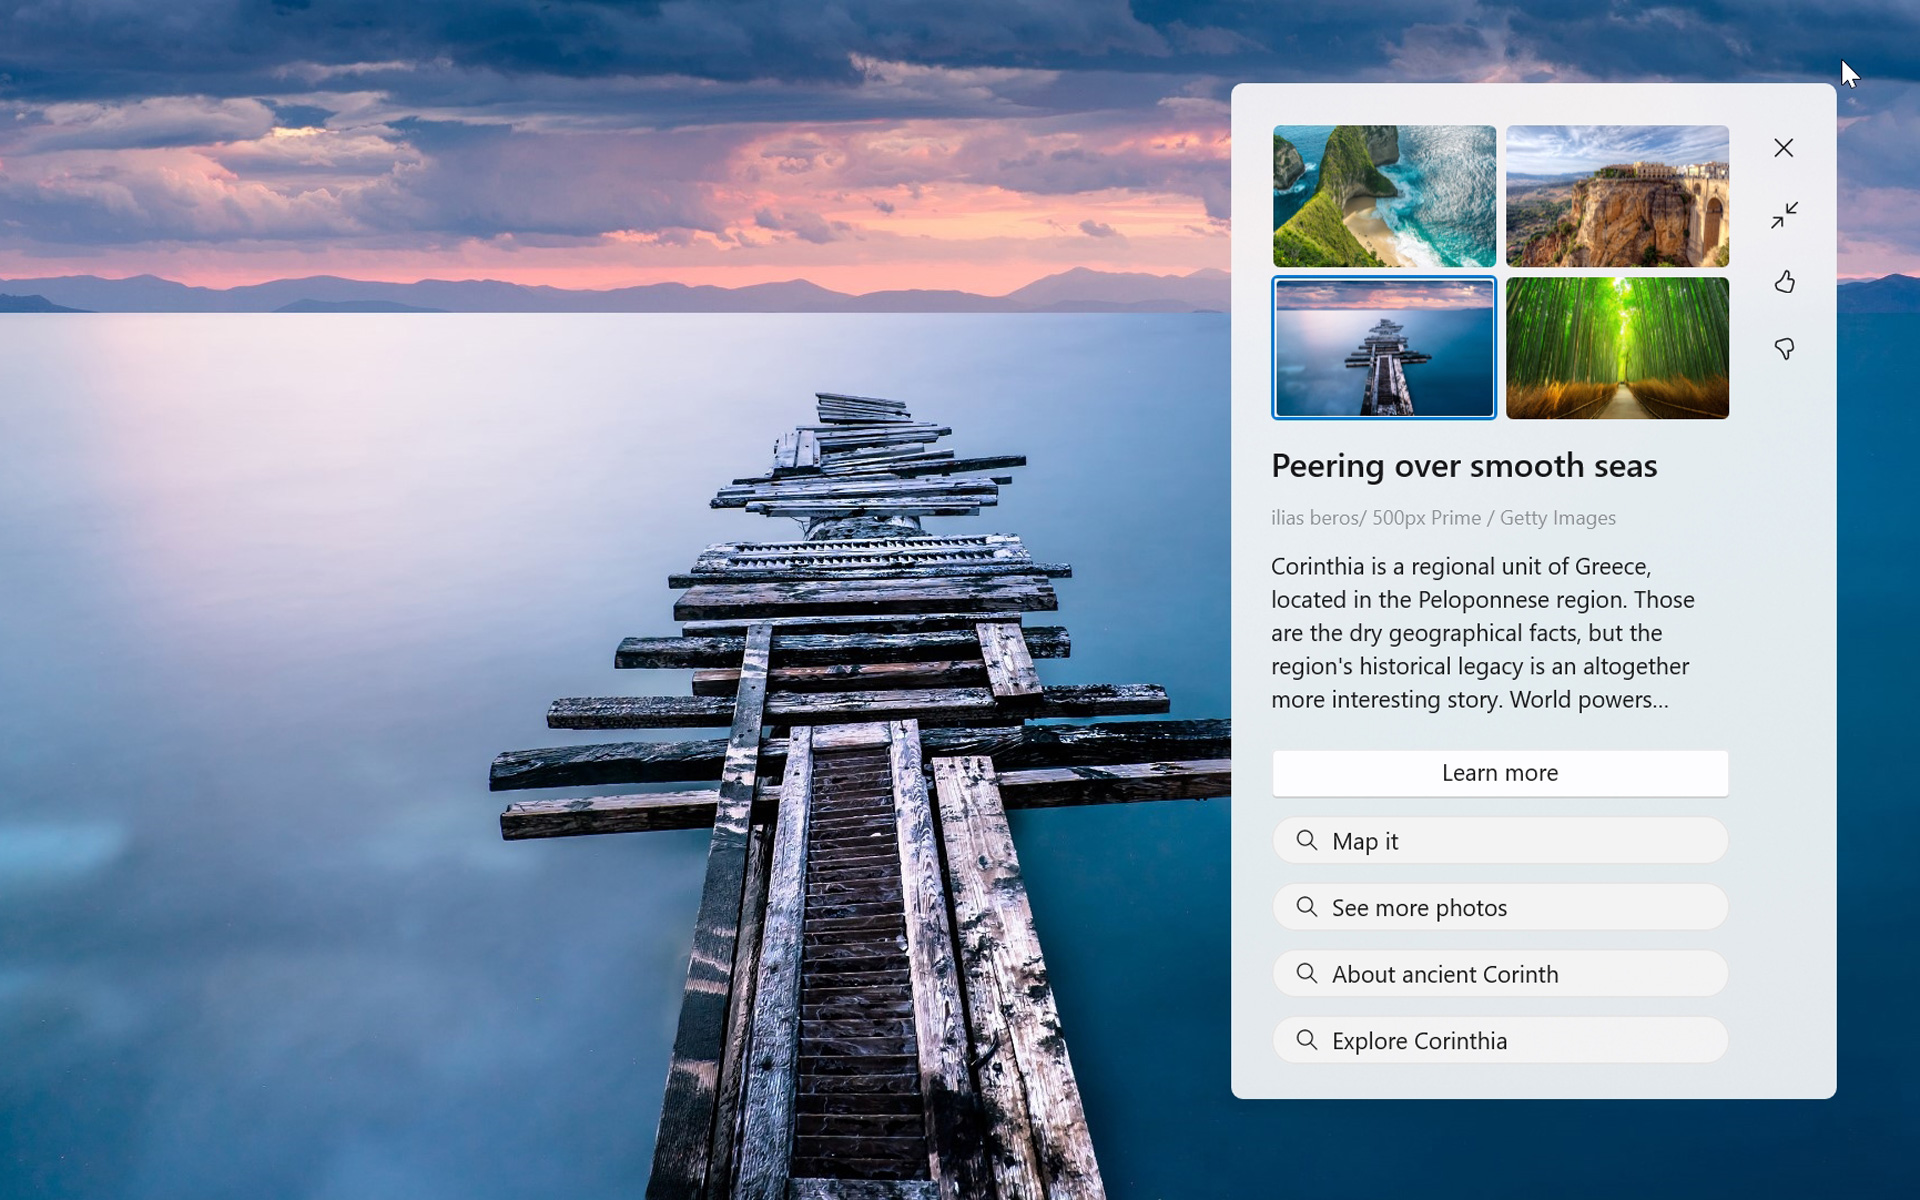

The good news? There are no ads or suggestions.
Use Themes to customize how Windows 11 looks
Windows 11 ships with several themes–Windows (dark), Windows (light), Windows spotlight, Glow, Captured Motion, Sunrise, and Flow–the latter four of which feature four backgrounds that appear, in turn, on a schedule. Windows (light) is the default and it has just one background.
When you open Settings (WINKEY + I) and navigate to Personalization, you will see the selected theme and five others highlighted at the top of the page. This makes it easy to switch between the most recently used themes.
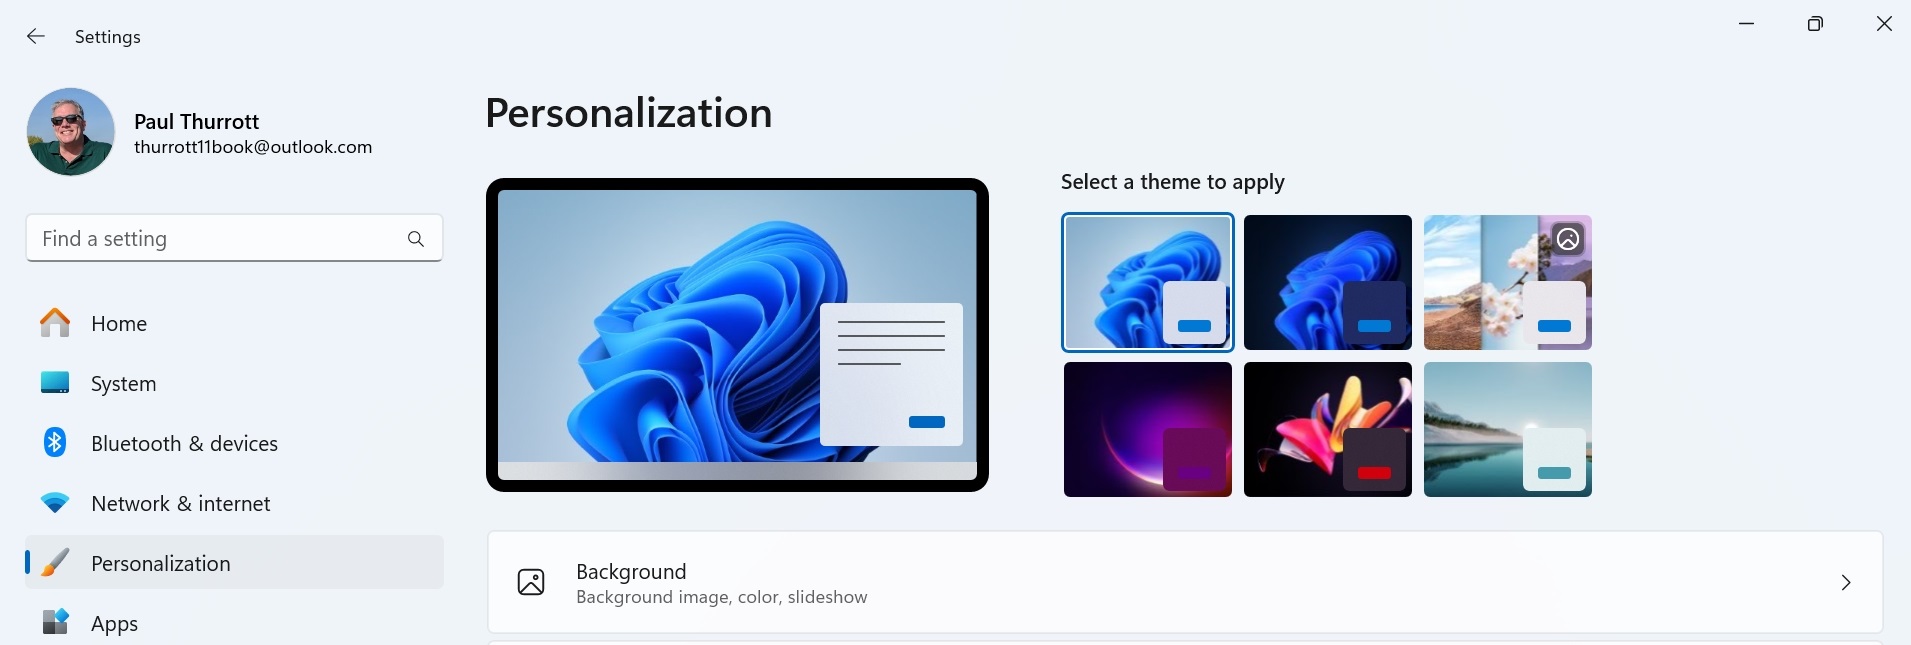
For a much wider range of options, select the “Themes” option (below “Colors”).
Here, you can perform the following actions.
Customize a theme
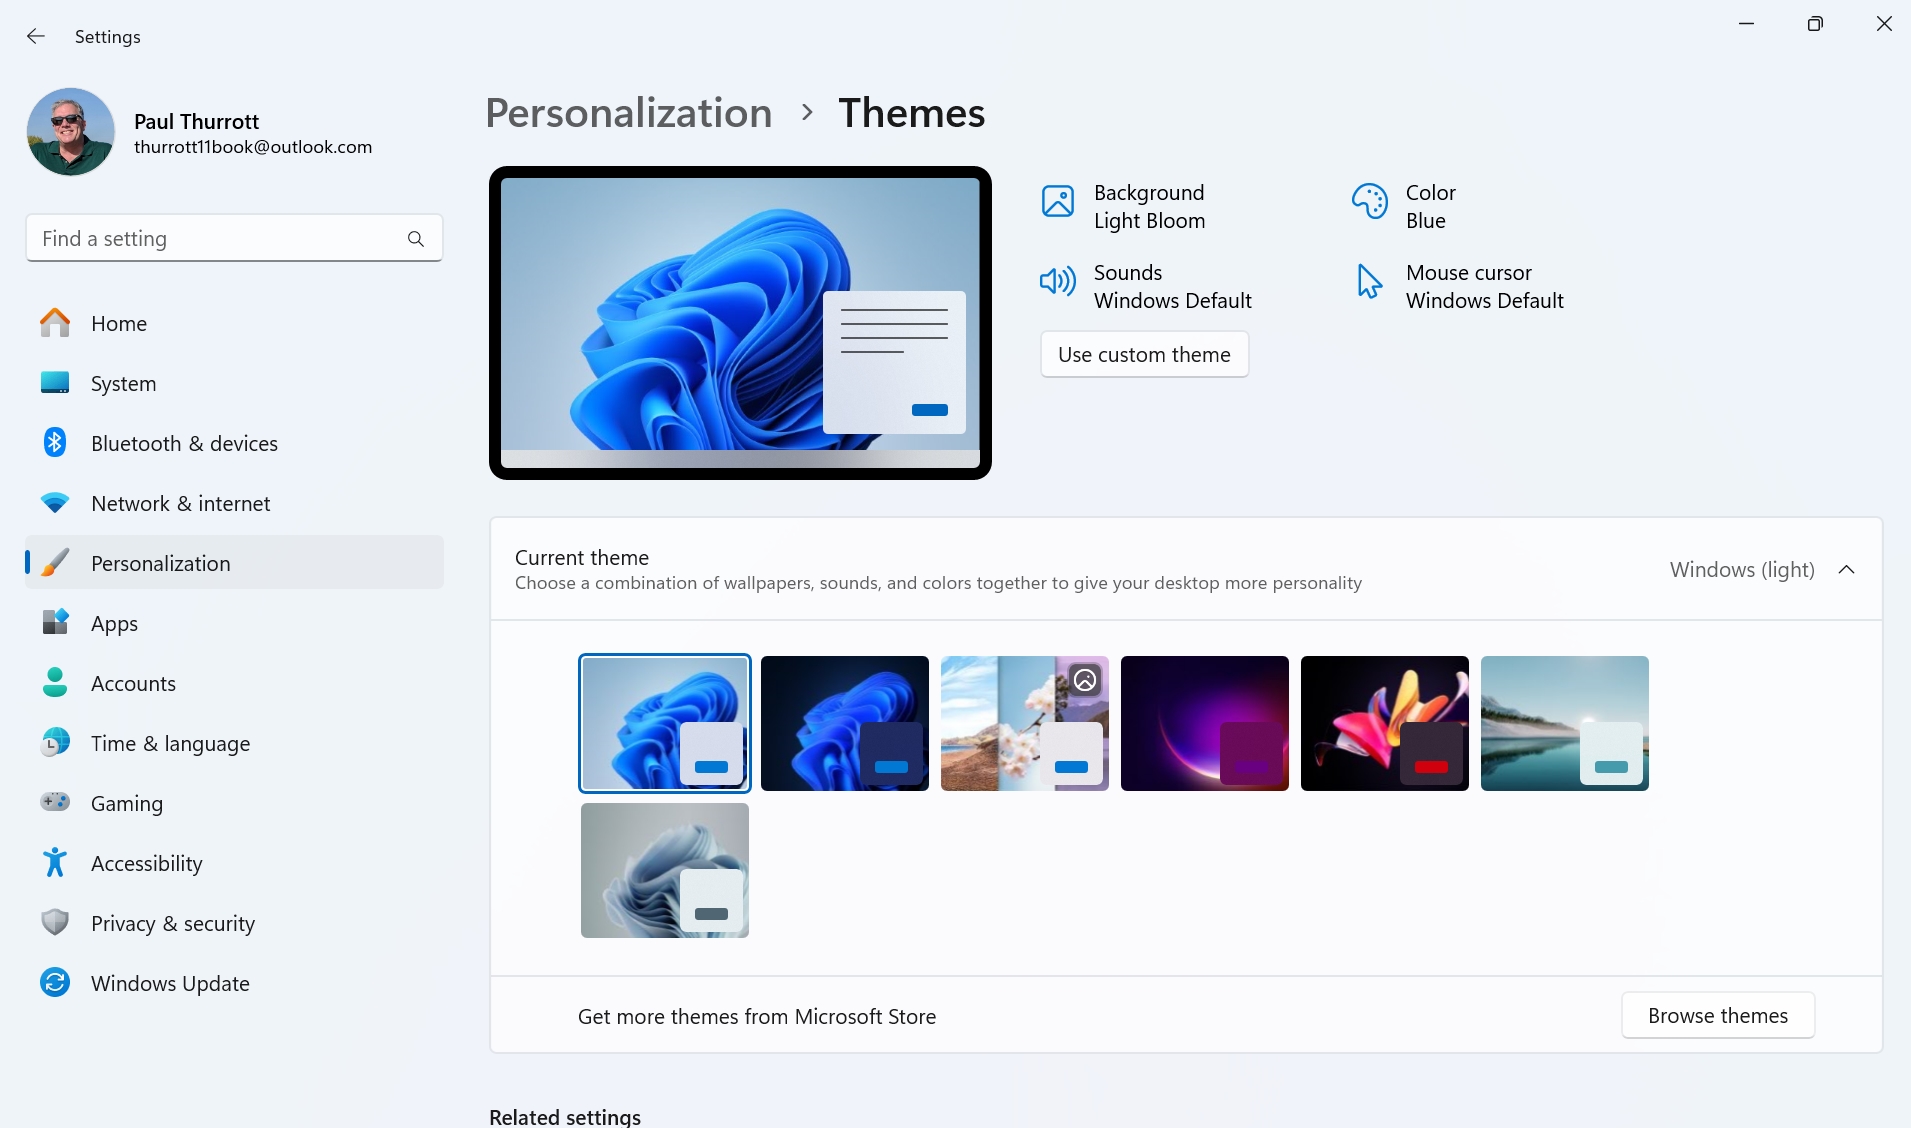
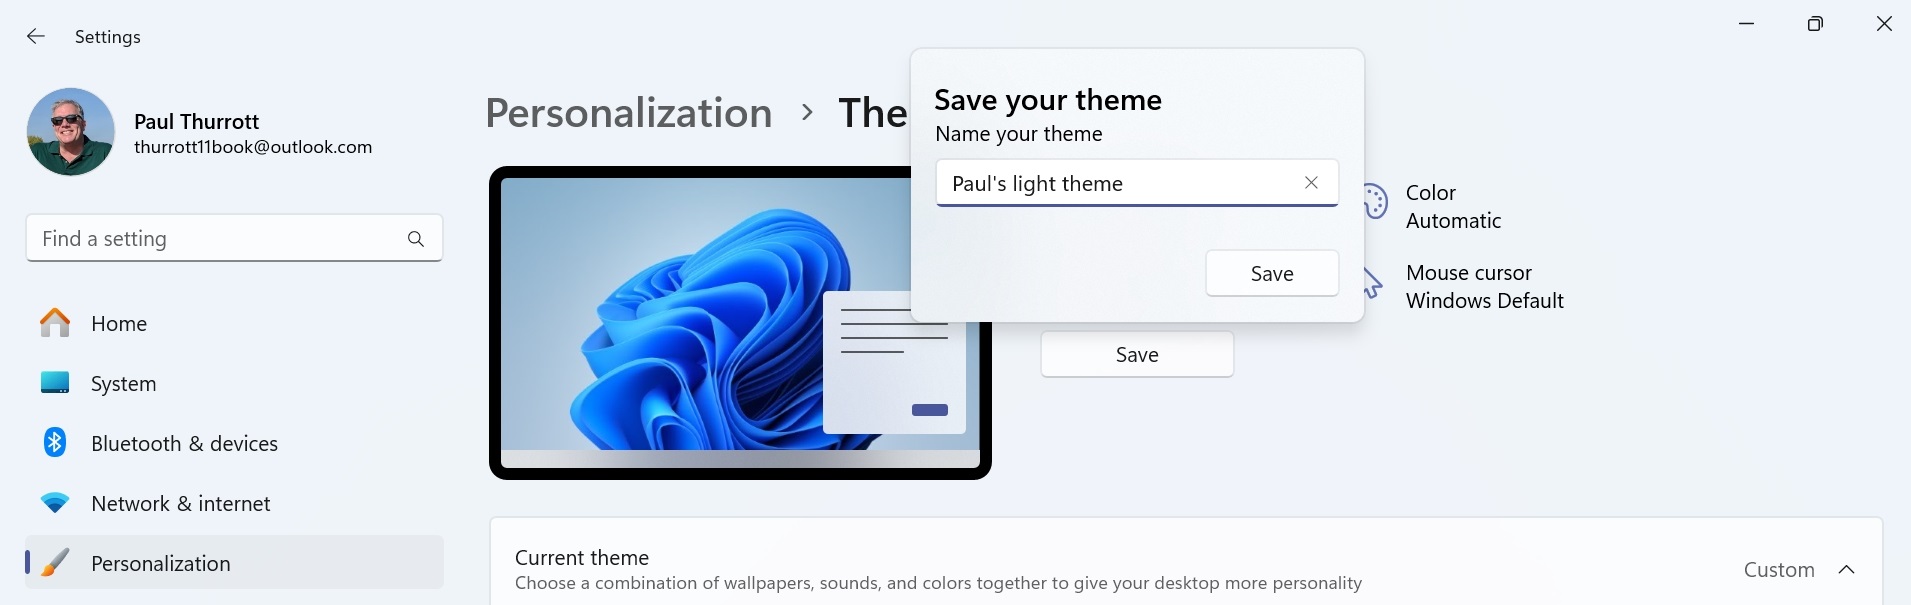
Each theme provides a background (which can be one or multiple images), an accent color, a sound scheme, and a mouse cursor scheme. But you don’t have to accept a theme’s defaults: You can customize any of these items and, if desired, save the result as a new custom theme.
To do so, select the theme you wish to customize so that it appears at the top of Themes settings. Then, select Background, Color, Sounds, or Mouse cursor to customize that item: Background and Color are both configured within the Settings app while Sounds and Mouse cursor both launch old-school control panels. When you’re done and return to Themes settings, the “Customize” button has changed to “Save.” Click that button to save the theme as a new theme.
Find new Themes
Microsoft makes many more additional themes available from the Microsoft Store. To find them, navigate to Themes settings and click the “Browse themes” button next to “Get more themes from the Microsoft Store.” The Microsoft Store app will appear and navigate to a page full of themes so you can see what’s available.
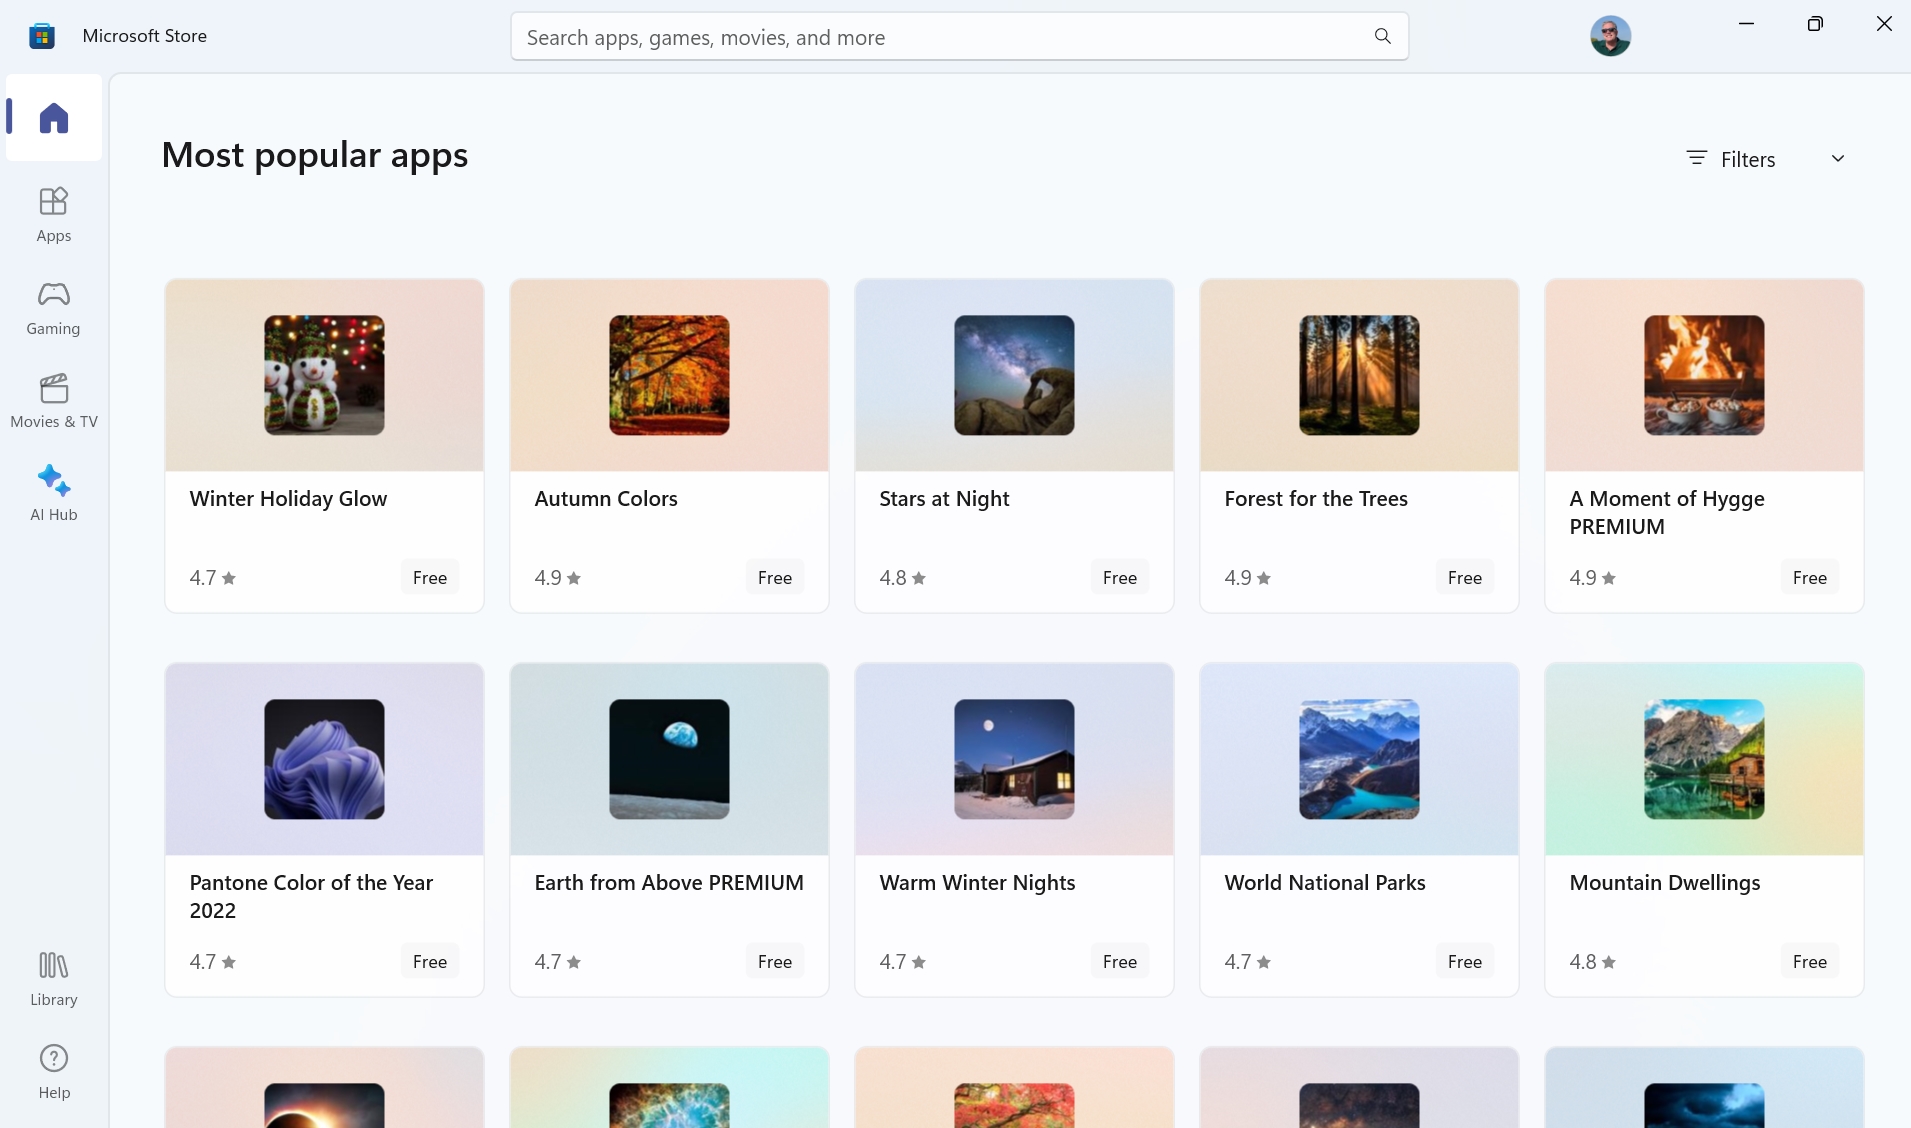
You don’t have to browse mindlessly through the huge collection of themes in this list: Use the “Filters” button to find exactly what you’re looking for.
If you find a theme you like, select it to display its details page. Then, select the “Get” or “Install” button to download and install it on your PC.
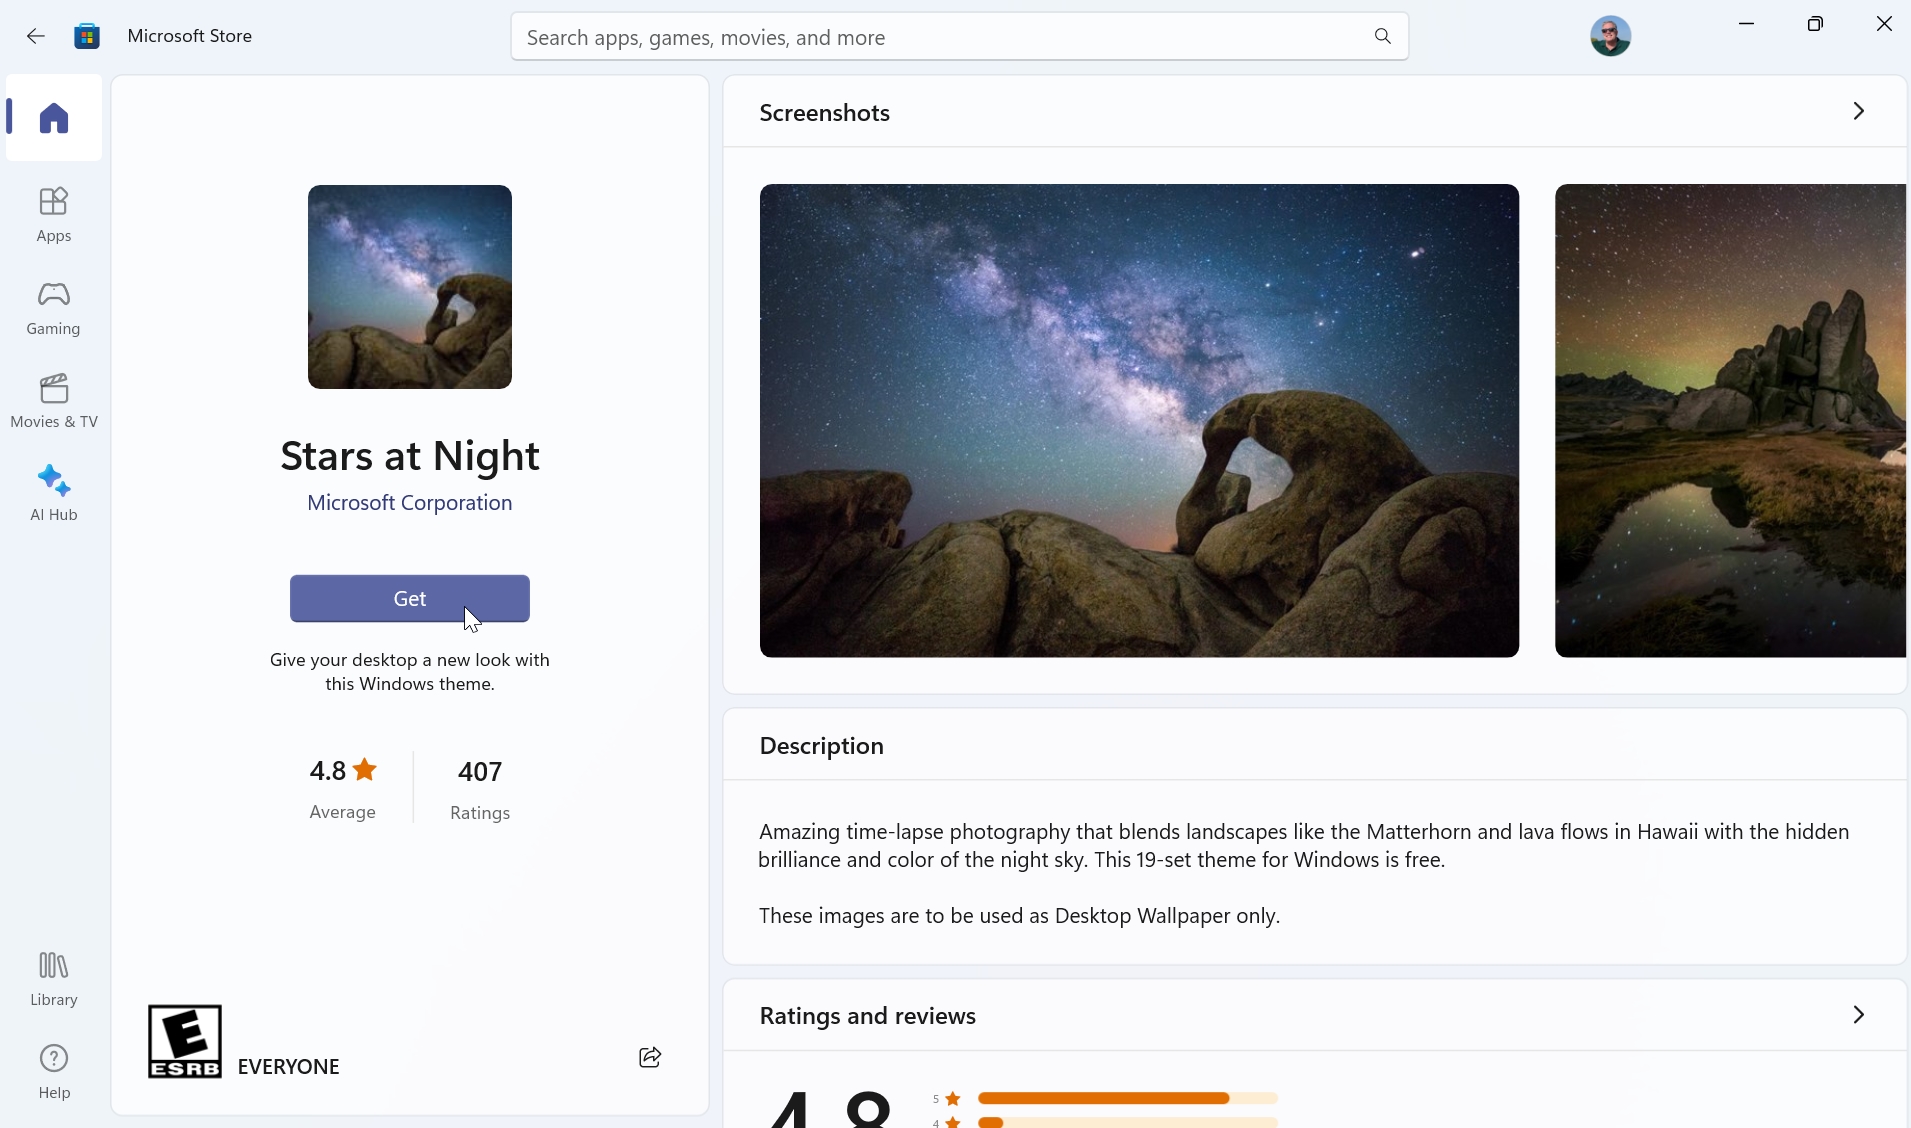
The “Get” button appears when you’ve never downloaded this particular theme before. You’ll see “Install” for themes you downloaded previously.
When the download is complete, you can click the “Open” button that appears (re)open Settings and navigate to Themes settings. The new theme has been added to the grid of available themes so you can apply it to your PC.
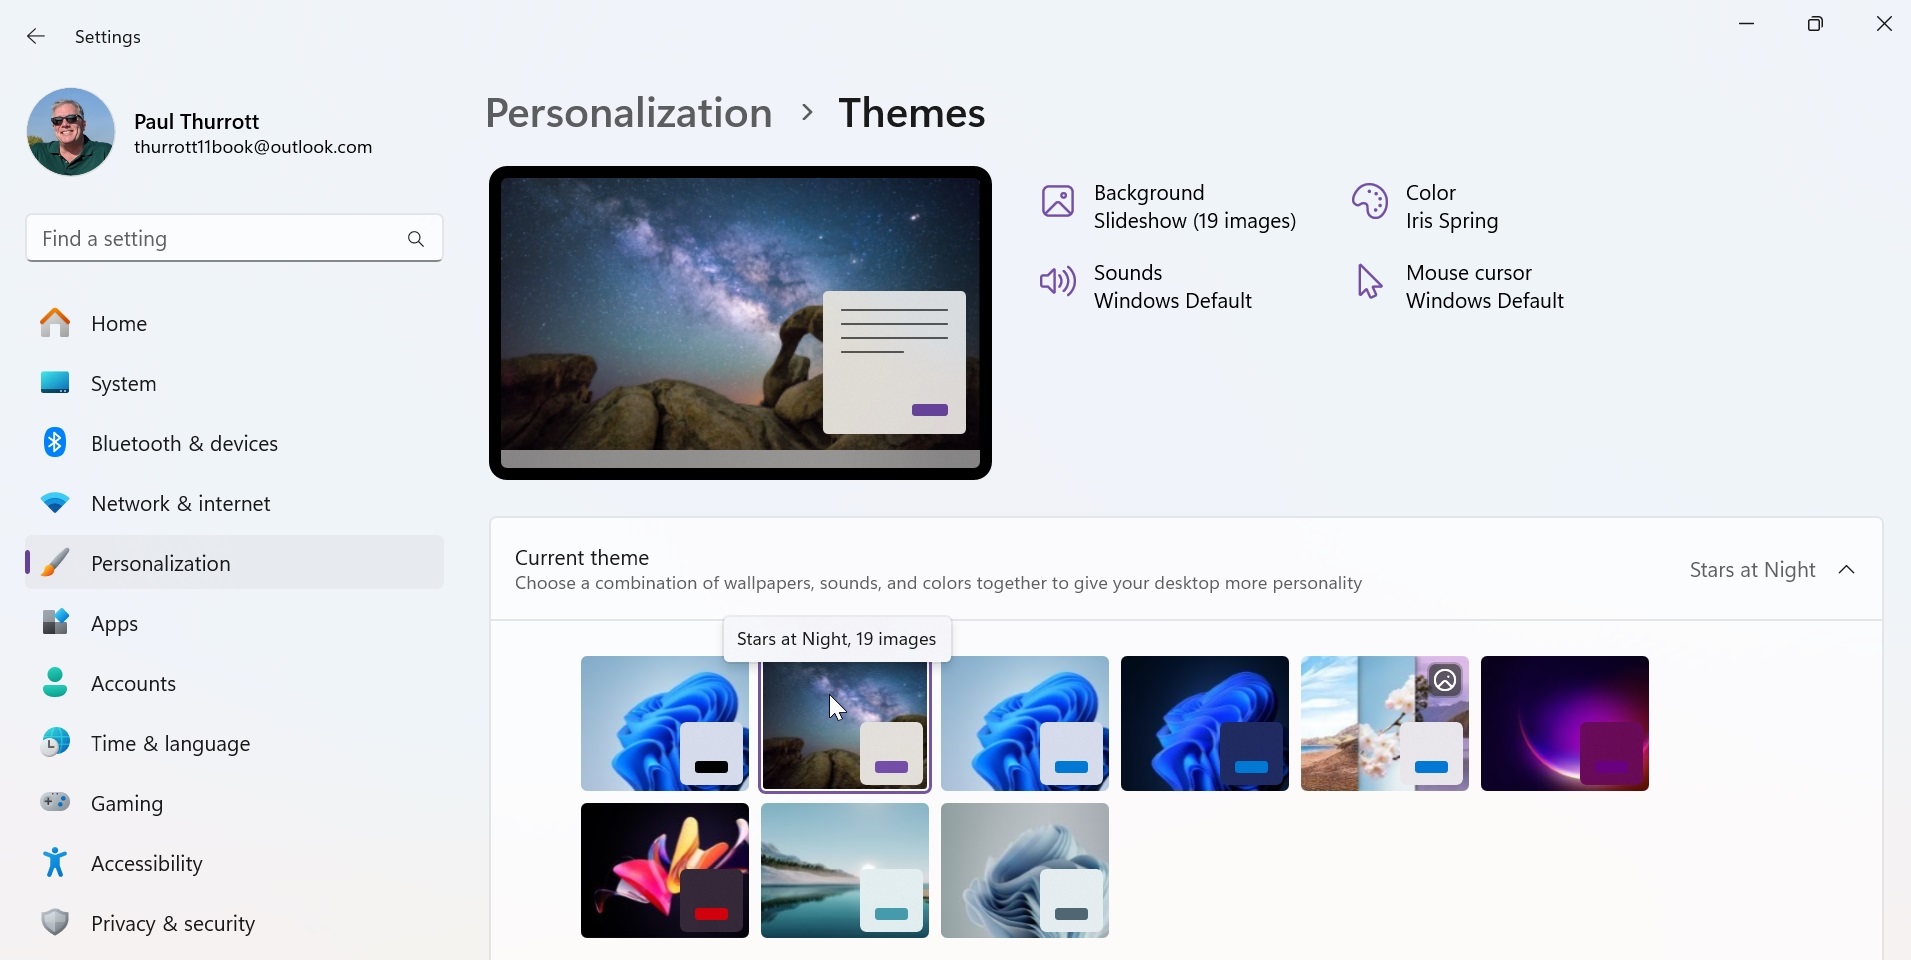
It will also appear at the top of Personalization settings because it is now one of your six most recently accessed themes.
Delete a theme
To delete a theme, open Themes settings, right-click the theme you wish to remove, and then select “Delete” from the context menu that appears.
You can also delete recent themes from the top view in Personalization settings.
You cannot delete any of the themes that come with Windows 11.
Determine which icons appear on the Desktop
Windows versions from two decades ago displayed various system icons right on the Desktop, but these days, the Recycle Bin is the only system icon you’ll find by default. If you’re feeling nostalgic or simply prefer to access file system locations like Computer, Network, your home folder, or the legacy Control panel in this fashion, you can still display them on your Desktop.
To do so, open Settings (WINKEY + I) and navigate to Personalize > Themes. Then, select the “Desktop icon settings” item to display the Desktop Icon Settings control panel.
![]()
Select the Desktop icons you wish to use and then select OK or Apply to see them on the Desktop. It’s 1995 all over again!

Gain unlimited access to Premium articles.
With technology shaping our everyday lives, how could we not dig deeper?
Thurrott Premium delivers an honest and thorough perspective about the technologies we use and rely on everyday. Discover deeper content as a Premium member.