Microsoft Edge Basics
- Paul Thurrott
- Nov 05, 2022
-
3
Note: There is a newer version of this article/chapter available.
Microsoft Edge is the successor to Internet Explorer, the web browser that most people probably still associate with Microsoft and Windows. It is a feature-rich application that’s based on the same Chromium underpinnings that Google uses for Chrome and so it should seem familiar to most users.
Microsoft Edge is also available on Android smartphones and tablets, iPhone, iPad, Mac, Linux, and Xbox, so you can use it on all of your devices and sync your browsing data between them if you’d like.
For the most part, Microsoft Edge looks and works much like other modern web browsers. It offers all of the features you expect, like tabbed browsing, an address bar with integrated search, support for themes and extensions, and more.
We know you’re familiar with web browsers and how they work. So, this chapter quickly examines common browser features and explains how they differ in Microsoft Edge. Subsequent chapters in this section focus on features that are unique to Edge.
Toolbar and Address bar
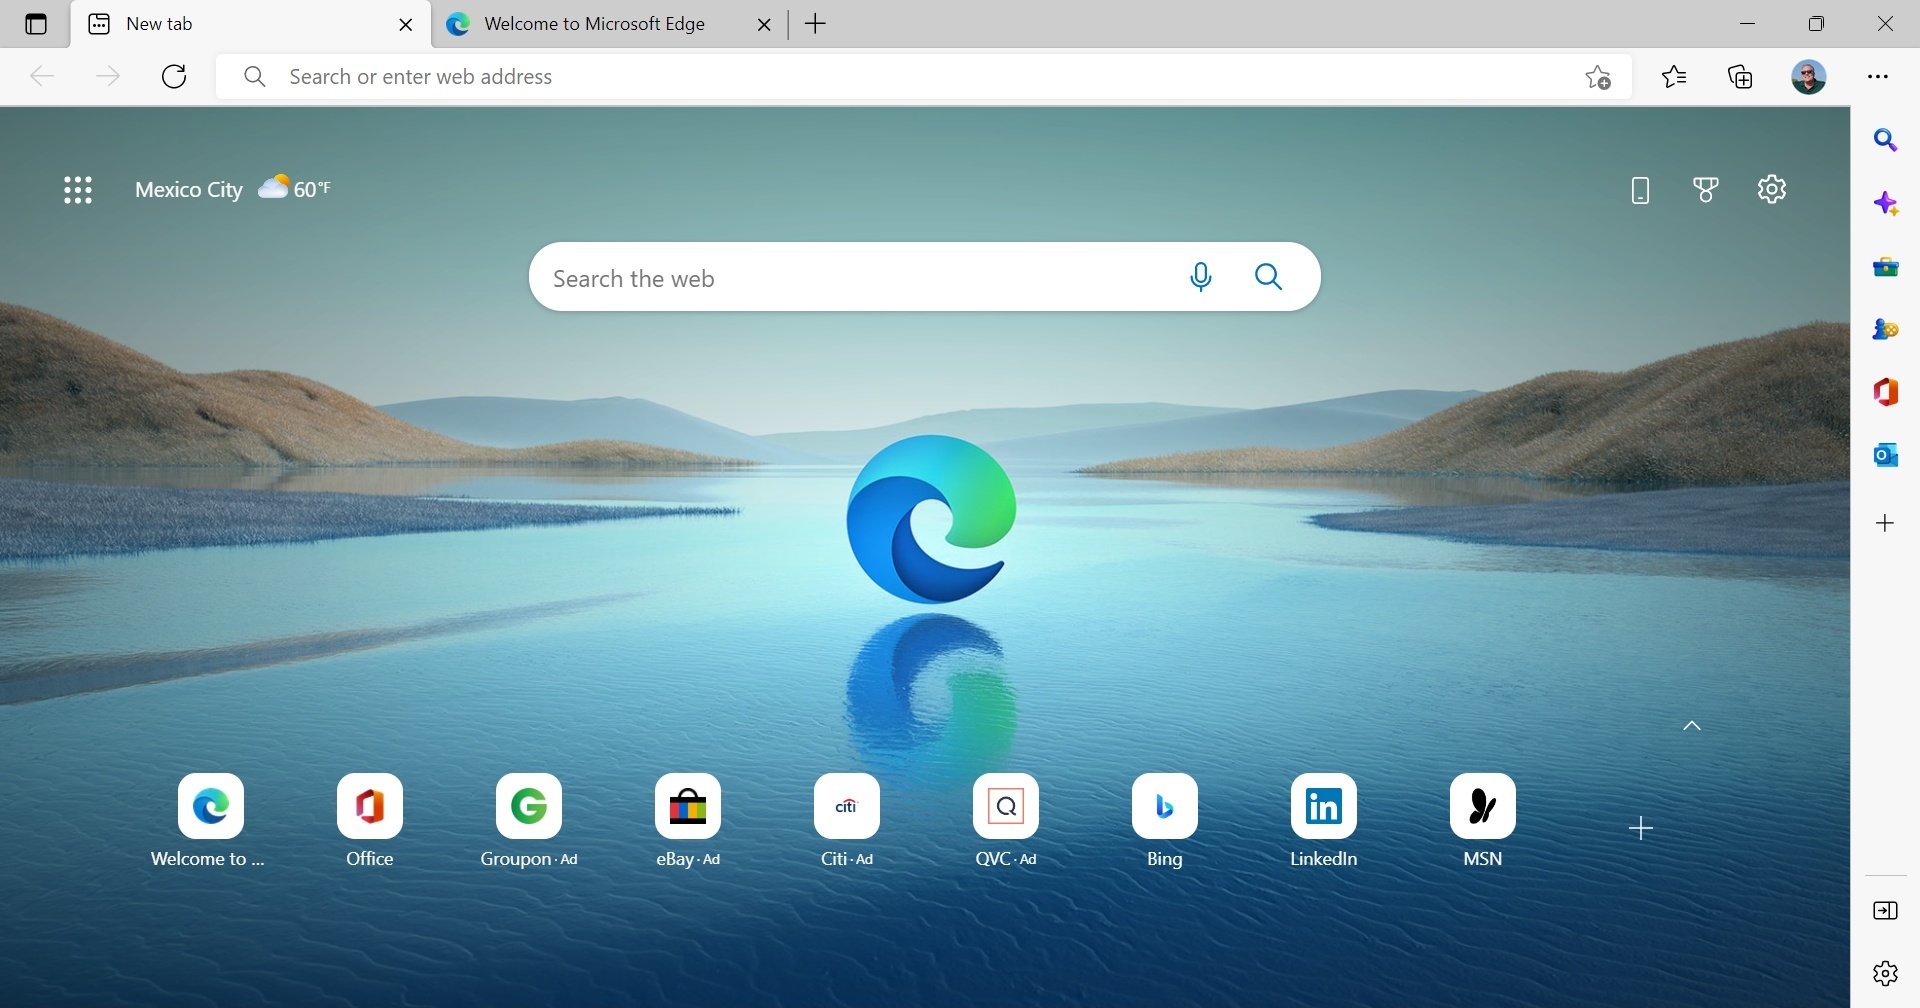
Microsoft Edge provides a somewhat minimal toolbar by default, with a large Address bar in the middle (with an “Add this page to favorites” button at its far right), “Back” and “Refresh” buttons to its left, and “Favorites,” “Collections,” and “Profile” icons and a Settings and more (“…”) link to its right.

Additional items can appear contextually. A “Forward” button will appear if you visit a web page and then go back (by clicking “Back”) to the original page. A “Downloads” button will appear when you’re downloading a file. And “Read aloud this page” and “Enter Immersive Reader” buttons will appear inside of the address bar when you view an article or post on the web. (There are many other examples.)

You can customize the Edge toolbar to your liking. Some buttons, like “Favorites” and “Collections,” can be removed directly by right-clicking them and choosing “Hide from toolbar.”

Other items, alas, cannot be removed, like the “Back” button and address bar.
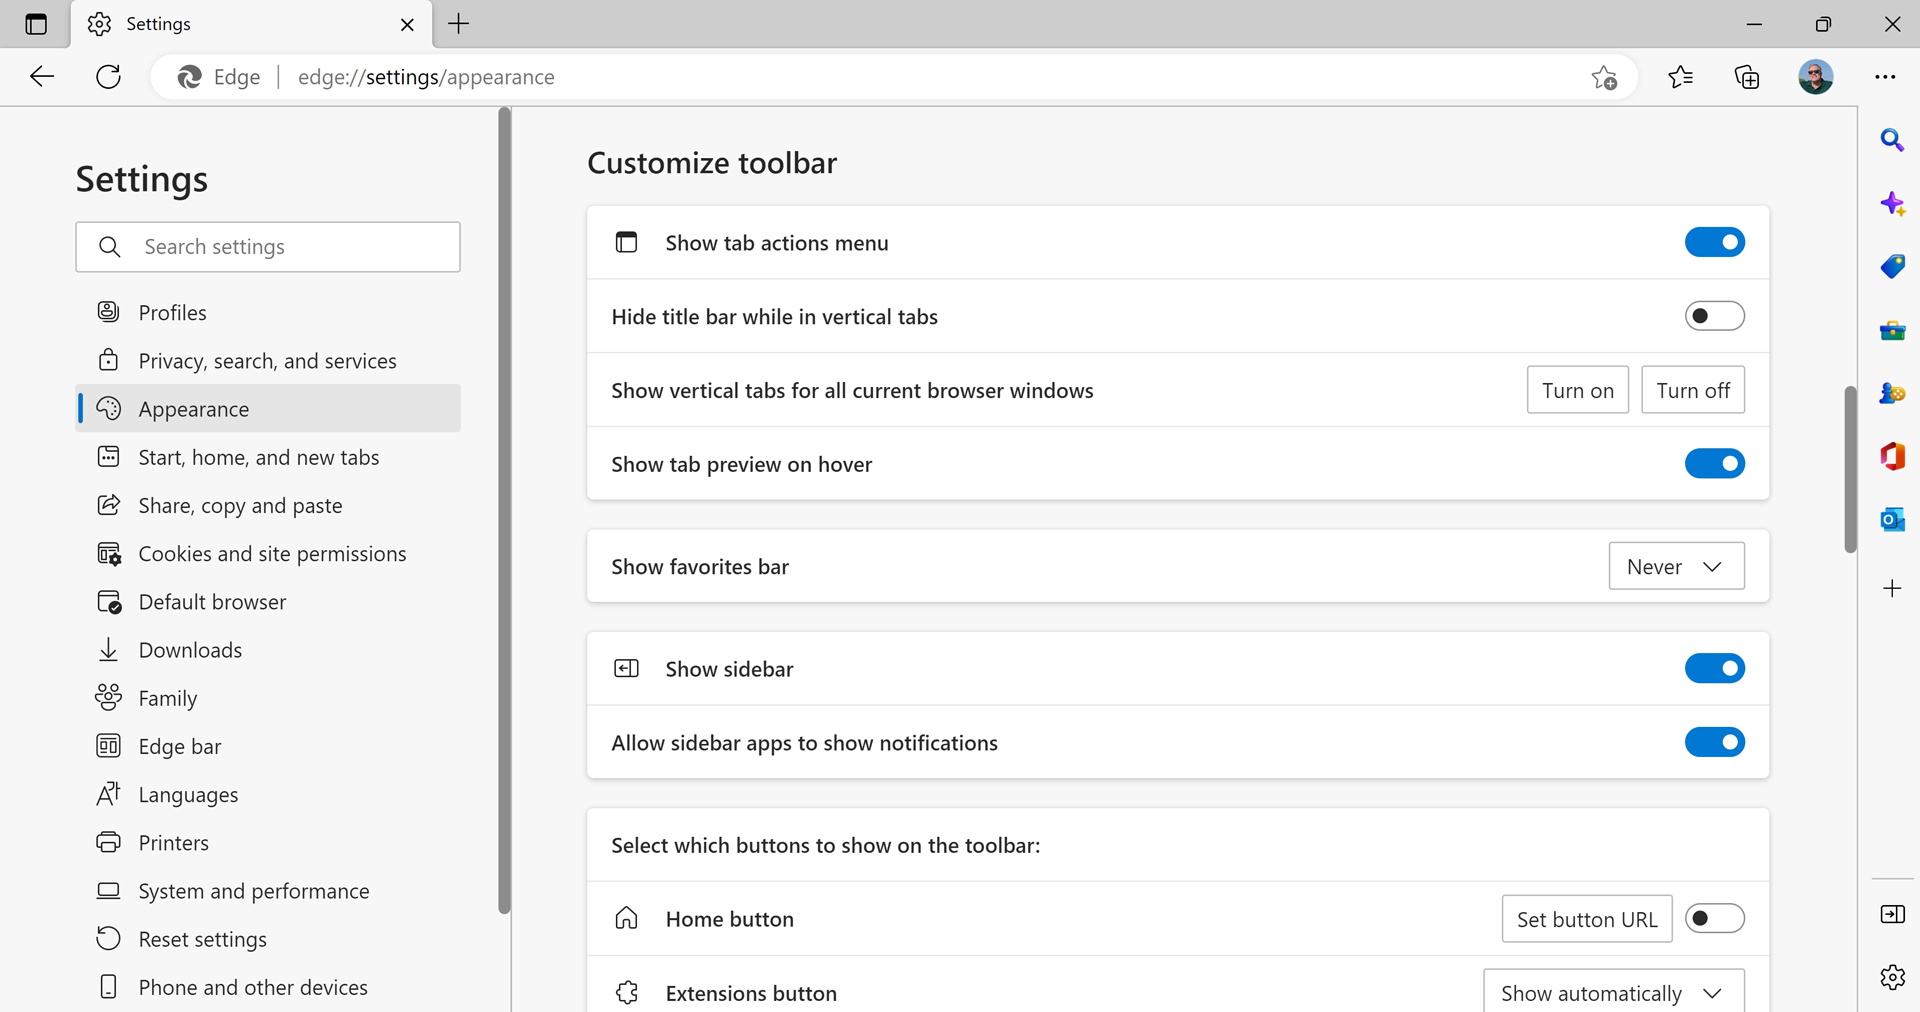
But there are far more customization options in Edge settings. To find them, open Microsoft Edge settings by navigating to Settings and more (“…”) > Settings > Appearance and then finding the “Customize toolbar” section.
You can also open Settings and more by typing ALT + F.
Tabs
As you should expect, Microsoft Edge offers a rich set of features related to tabs, the feature that lets you have multiple web pages open in a single browser window at the same time.
Multitask with tabs
As with other web browsers, Microsoft Edge lets you switch to a different tab by selecting it in the tab bar.
You can also use the CTRL + TAB keyboard shortcut to switch to any each available tab, in turn. Use CTRL + T to open a new tab and CTRL + W to close the current tab.
You can also reopen a closed tab by typing CTRL + SHIFT + T.
But Windows 11 also provides a unique integration with Edge that makes individual Edge tabs appear as standalone windows while using the Alt-Tab multitasking feature. By default, the three most recently-accessed Edge tabs will appear in Alt-Tab.

But you can configure Alt-Tab to display the five most recent tabs, all Microsoft Edge tabs, or no Edge tabs (meaning that only the Microsoft Edge window will appear in Alt-Tab).
You can learn more about this feature in the Alt-Tab chapter.
Search tabs
If you have a lot of open tabs, it can be hard to find exactly the tab you want. One solution is an Edge feature called Search tabs that lets you search for text across all the open tabs.
You can also open Search tabs by typing CTRL + SHIFT + A.
To open Search tabs, select the Tabs action menu in the upper left corner of the Edge windows and then select “Search tabs” from the menu that appears.

The Search tabs interface is simple enough. But be careful with the “Close tab” button (“x”) next to each tab in the search results: clicking that will close the relevant tab with no warning.
Vertical tabs
If you’re like many web browser users and often have dozens of tabs open at once, you will have found that the horizontal design of tabs doesn’t scale very well: As you add more and more tabs, each becomes so small that they are hard if not impossible to differentiate from each other.
Vertical tabs is a solution to this problem. When enabled, your tabs are displayed in a vertical pane on the left side of the Edge window. This layout makes it easy to see what each tab contains, and it provides more room in the vertical for you to read the content in the current tab.

But you can also collapse the Vertical tabs pane to provide even more space for content.

In this view, you can mouse over the pane to cause it temporarily expand and show more information about each tab.
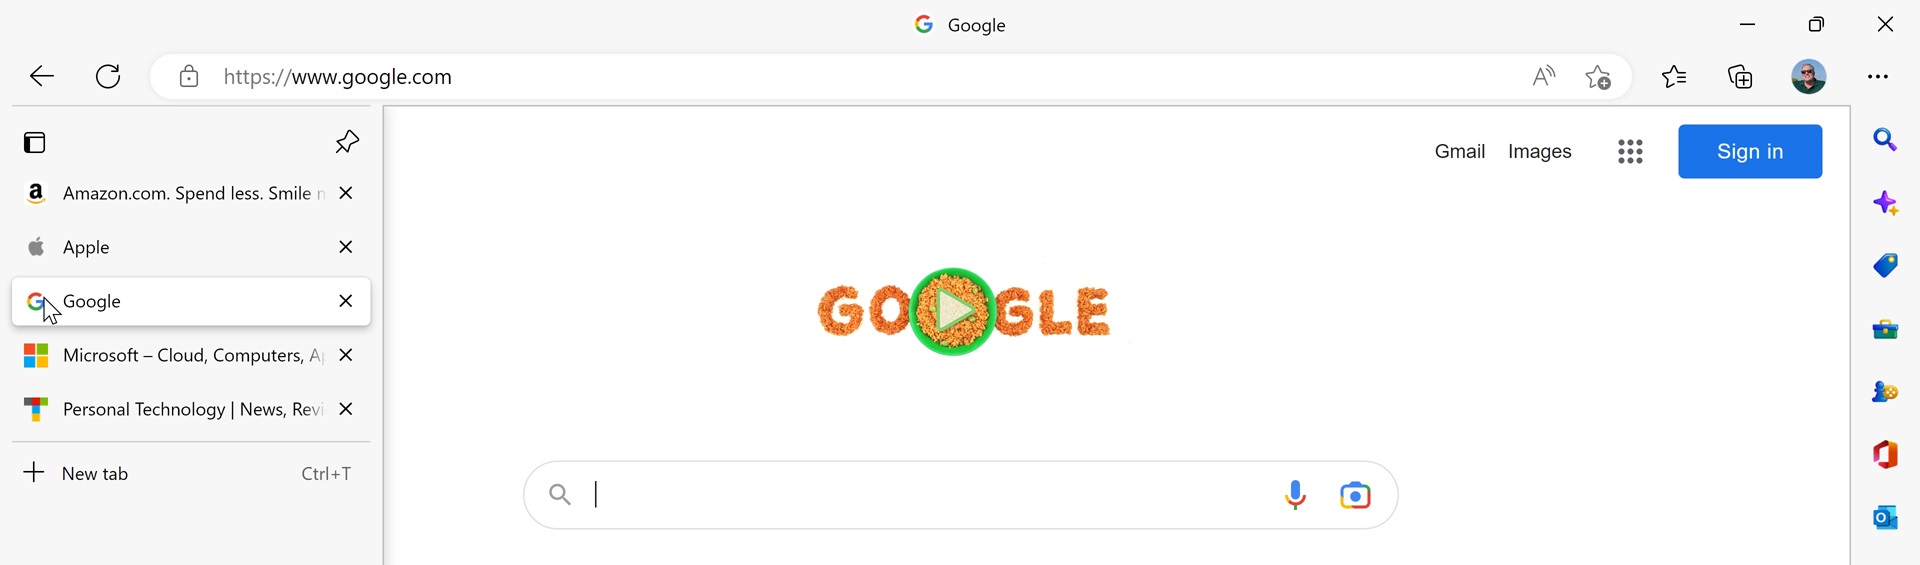
You can also resize the Vertical tabs pane when it is expanded.
To enable Vertical tabs, select the Tab actions menu in the upper left of the Edge window and then select “Turn on vertical tabs” from the menu that appears.
You can also type CTRL + SHIFT + , to toggle Vertical tabs.
If you want even more space, you can hide the Edge title bar while using Vertical tabs too. To do so, open Edge settings and navigate to Appearance. Then, scroll down to the Customize toolbar section and turn the option “Hide title bar when in vertical tabs” to On.
Pinned tabs
Like other web browsers, Microsoft Edge lets you pin commonly-used websites or web pages so that they are always available in the browser. Pinned tabs take up less space than non-pinned tabs because they only display the site’s icon and not its title, and they appear at the left of the tab row.

If you enable Vertical tabs, pinned tabs appear in a row above the other tabs.
To pin a tab, right-click it and choose “Pin tab.” You can likewise right-click a pinned tab and choose “Unpin tab” to unpin it.
So, yes, pinned tabs are simple enough. But there are two problems: if you have multiple Edge windows open, the pinned tabs will not appear on subsequent windows. And if you close the window with the pinned tabs before closing any other Edge windows, you’ll lose the pinned tabs.
Fortunately, you can get them back. To do so, open Edge History and then choose the Recently closed view. Then, select the entry related to the previous window with the pinned tabs to open it a new window.
Tab groups
Tab groups is another useful organizational feature. It is used to separate two or more tabs into a color-coordinated group that can be contracted and expanded as necessary, saving on-screen real estate in a unique way.

To get started, right-click a tab and select Add tab to a group > New group. A tab group management pane will appear.

Here, the following options are available:
Group name. By default, Edge will name the group based on the name of the first tab you add to the group. But you can change that name to whatever you prefer.
Group color. Tab groups are differentiated from each other—and from standalone tabs—with a color accent. You can choose from one of 8 colors.
Pin tab group. By default, each tab group is “pinned” so that it will appear again if you close the Edge window and then reopen it. If you don’t need your tab group to withstand restarts for some reason, you can disable that functionality here.
Pinned tab groups work similarly to Pinned tabs, but when expanded, the tabs in a tab group are normally sized.
Ungroup. Choose this option to close the Tab group and return whatever tabs it contains to the main tab bar.
Close group. Choose this option to close the Tab group and all of the tabs it contains.
Move group to a new window. This one is self-explanatory.
Add tab group to a new collection. Collections is a unique Microsoft Edge feature that is discussed in Microsoft Edge Collections.
You can also drag one tab onto another to start a new tab group.
To expand—and contract—a tab group, click its colored name. To view the tab group management pane again, right-click its colored name.
Additional tab configuration
There are numerous other tab configuration changes you can make. Some of the key options to consider include:
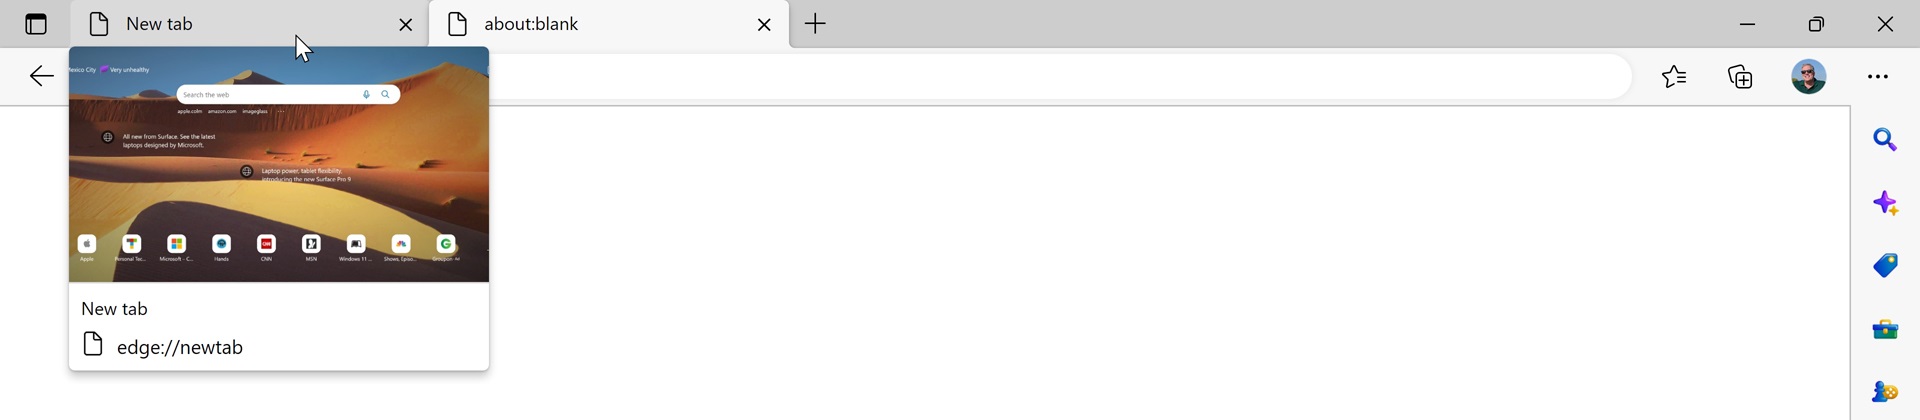
Tab thumbnail previews. By default, Microsoft Edge displays a thumbnail preview of any tab you mouse over. This can make it easy to identify the correct tab, but if you find this display distracting, you can disable it in Edge settings: navigate to Appearance > Customize toolbar and uncheck the option “Show tab preview on hover.”
Ask before closing multiple tabs. By default, Microsoft Edge will not prompt you when you close a browser window with multiple open tabs. To avoid a potential mistake, however, you can enable a prompt. To do so, open Edge settings, navigate to Appearance > Customize browser, and enable the option “Ask before closing multiple tabs.”

Sleeping tabs. Microsoft Edge uses a feature called Sleeping tabs to minimize how many microprocessor cycles and how much RAM it uses. We discuss how to configure this and related features in Set Up Microsoft Edge Correctly.
Favorites
All web browsers offer a feature that lets you save websites and web pages you like to a list or database so that you can refer to them later. And all browsers call this feature Bookmarks. Except for Microsoft Edge, which calls it Favorites.
Other than that difference, Favorites in Edge work the same as Bookmarks in Chrome and other browsers. You can add any page you’re currently viewing to Favorites by clicking the “Add this page to favorites” button in the far right of the Address bar.

You can also add the current web page to Favorites by typing CTRL + D.
And, you can optionally display a Favorites bar below the Edge toolbar and Address bar. The Favorites bar is part of Favorites, but it also acts as a sort of alternative to Favorites since the favorites it contains can be seen at all times while using Edge.

To configure the Favorites bar, open Edge settings, navigate to Appearance > Customize toolbar, and locate the option “Show favorites bar.” It can be set to “Always,” “Never,” or “Only on new tabs,” which is the default.
History
Like other web browsers, Microsoft Edge keeps track of which web pages you visit each day so that you can easily find an article or other web page in the future. But Edge displays this history differently than most browsers, using a floating pane, and it optionally lets you sync your history between PCs and devices so that you can view your history from anywhere.
To view your history, navigate to Settings and more (“…”) > History.

Or, type CTRL + H.
Here, your browsing history from this PC is displayed in reverse chronological order and broken up into sections like Recent, Today, and so on. You can also access recently closed tabs and, if enabled, tabs from other devices.
When you select an item in History, it opens in the current tab by default. That may not be ideal. But you can open it in a new tab by CTRL-clicking it, or by right-clicking it and selecting “Open in new tab” from the context menu that appears.
Notifications
As web technologies advance, websites are starting to adopt capabilities that were previously only available to native applications. Among these features is the ability to send you notifications when something happens. For example, a web-based email service can send a notification when a new message arrives. Or a news site can send you a notification when there is breaking news.
What makes these website notifications particularly compelling in Windows is that they integrate with the Notifications pane and appear alongside—and look and behave like—native app notifications.
The first time you visit a website that can deliver notifications, you will be prompted at the top of the Microsoft Edge window. If you select “Allow,” that website will now display notifications that look and work just like any other notifications in Windows 11. A pop-up notification banner will appear in the lower right of your display.

If you select this notification, Microsoft Edge will appear with the proper tab open so you can respond to whatever triggered the notification.
The notification will also appear in the Notification pane (WINKEY + N) so you can deal with it anytime in the future.
Microsoft Edge maintains a list of the websites for which you have accepted notifications. If you don’t find this behavior useful, you can disable notifications on a site-by-side basis. To do so, open Edge settings and navigate to Cookies and site permissions > Notifications (edge://settings/content/notifications).

Among other things, you can configure notifications on a site-by-site basis. If you now wish to disable notifications from a particular site, select the More actions (“…”) button next to that site and choose “Block” (or “Remove”).
Downloads
Microsoft Edge handles web downloads a little differently than do other browsers. Instead of just downloading directly to your Downloads folder, Edge will display a prompt with “Open” and “Save as” choices. (There’s also a third choice, “Save,” hidden behind the caret next to “Save as.”)

This configuration may be ideal for you if you don’t care about saving downloaded files in your Downloads folder: you can just choose “Open” and open the files as soon as they’re downloaded.
But if you would prefer for Edge to download files from the web as other browsers do, you can do so: open Microsoft Edge settings by navigating to Settings and more (“…”) > Settings > Downloads. Then, disable the option titled “Ask me what to do with each download.”
Edge also displays links to downloaded files differently than other browsers. Instead of opening a downloads pane at the bottom of the browser window like Chrome, Edge temporarily adds a Downloads button to the Edge toolbar and displays all downloads, including the current download, in a pane under the button.

When the download is done, you can open it by clicking the “Open file” link. Or, you can open the Downloads folder or delete the download.

This pane also contains other related download options via the icons and “More options” (“…”) link at its top.
Page zoom
Like other web browsers, Microsoft Edge supports useful page zoom capabilities.
You can arbitrarily zoom any page on the fly by typing CTRL + + or CTRL + – to zoom up and down through the supported zoom increments. Or, type CTRL + 0 to return to the default zoom level.

If your mouse has a scroll wheel, you can also use the CTRL key with the scroll wheel to zoom up and down.
But if you find that web page text is generally too small or too large, you can also configure a new default zoom level that will impact all of the web pages you visit. To do so, open Microsoft Edge settings by navigating to Settings and more (“…”) > Settings > Appearance and then find the “Zoom” section. The drop-down box next to Page zoom will let you change the default zoom to one of several values between 25 and 500 percent.
Find on page
Like other web browsers, Microsoft Edge helps you find text on the page you’re currently viewing. To do so, select Settings and more (“…”) and then Find on page. A Find box appears just below the Edge toolbar.
Or, just type CTRL + F.

To find a specific term, start typing. As you do, the Find box will indicate how many items on the page match, and each matching item will be highlighted on the page.

You can use the “Previous Result” and “Next Result” buttons in the Find box to navigate between each matching item on the page. Click “Close” (“X”)—or type ESC—to close the Find box.
Sidebar
Like other web browsers, Microsoft Edge includes a Sidebar that lets you access a set of built-in tools alongside the websites and web pages you are visiting. Unlike the similar features you may have seen on other web browsers, however, the Edge Sidebar is visible by default and is quite comprehensive, with access to useful online Microsoft services like Outlook.com and Office on the web.

The Microsoft Edge Sidebar appears on the right side of the browser window and is collapsed by default. If you don’t see the Sidebar, you can display it by open the Settings and more menu (“…”) and choosing “Show sidebar.”
You can also toggle the Sidebar by typing CTRL + SHIFT + /.
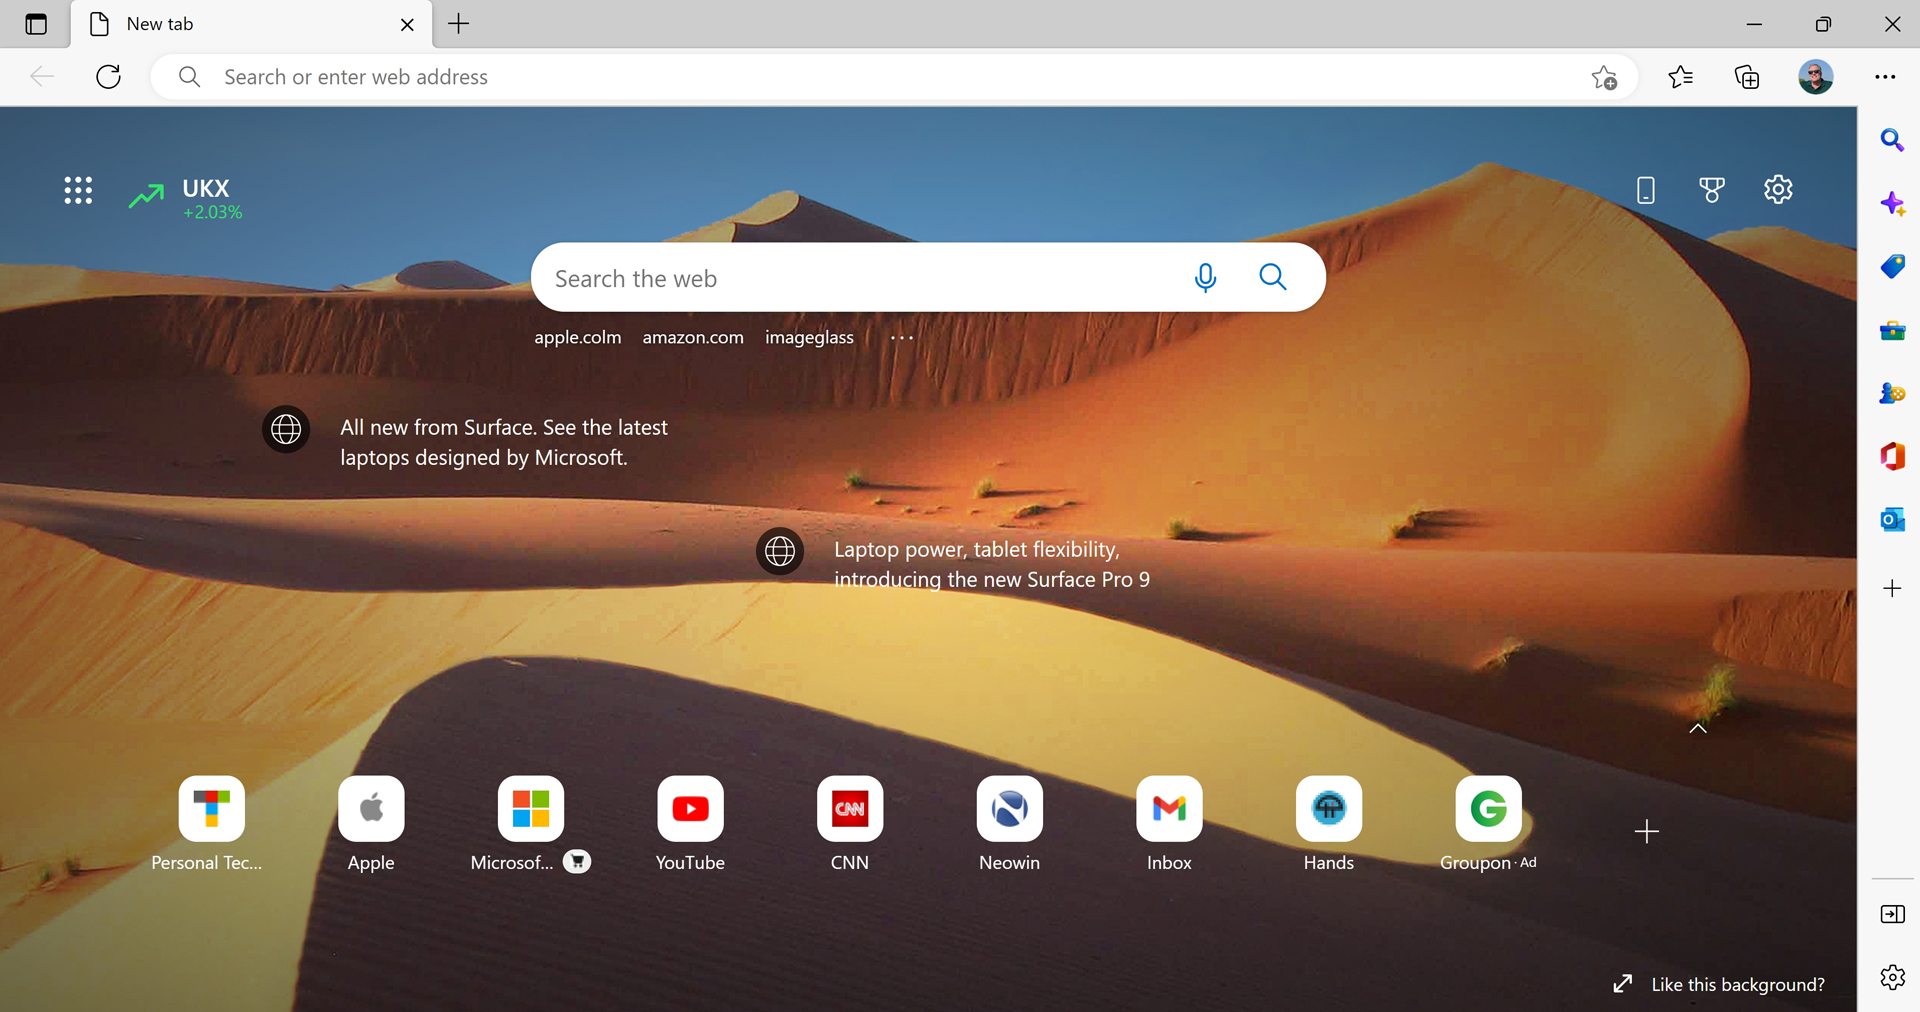
By default, the Sidebar is configured to display icons for six pages:
Search. This page lets you search the web using Microsoft Bing without leaving the web page you are reading.

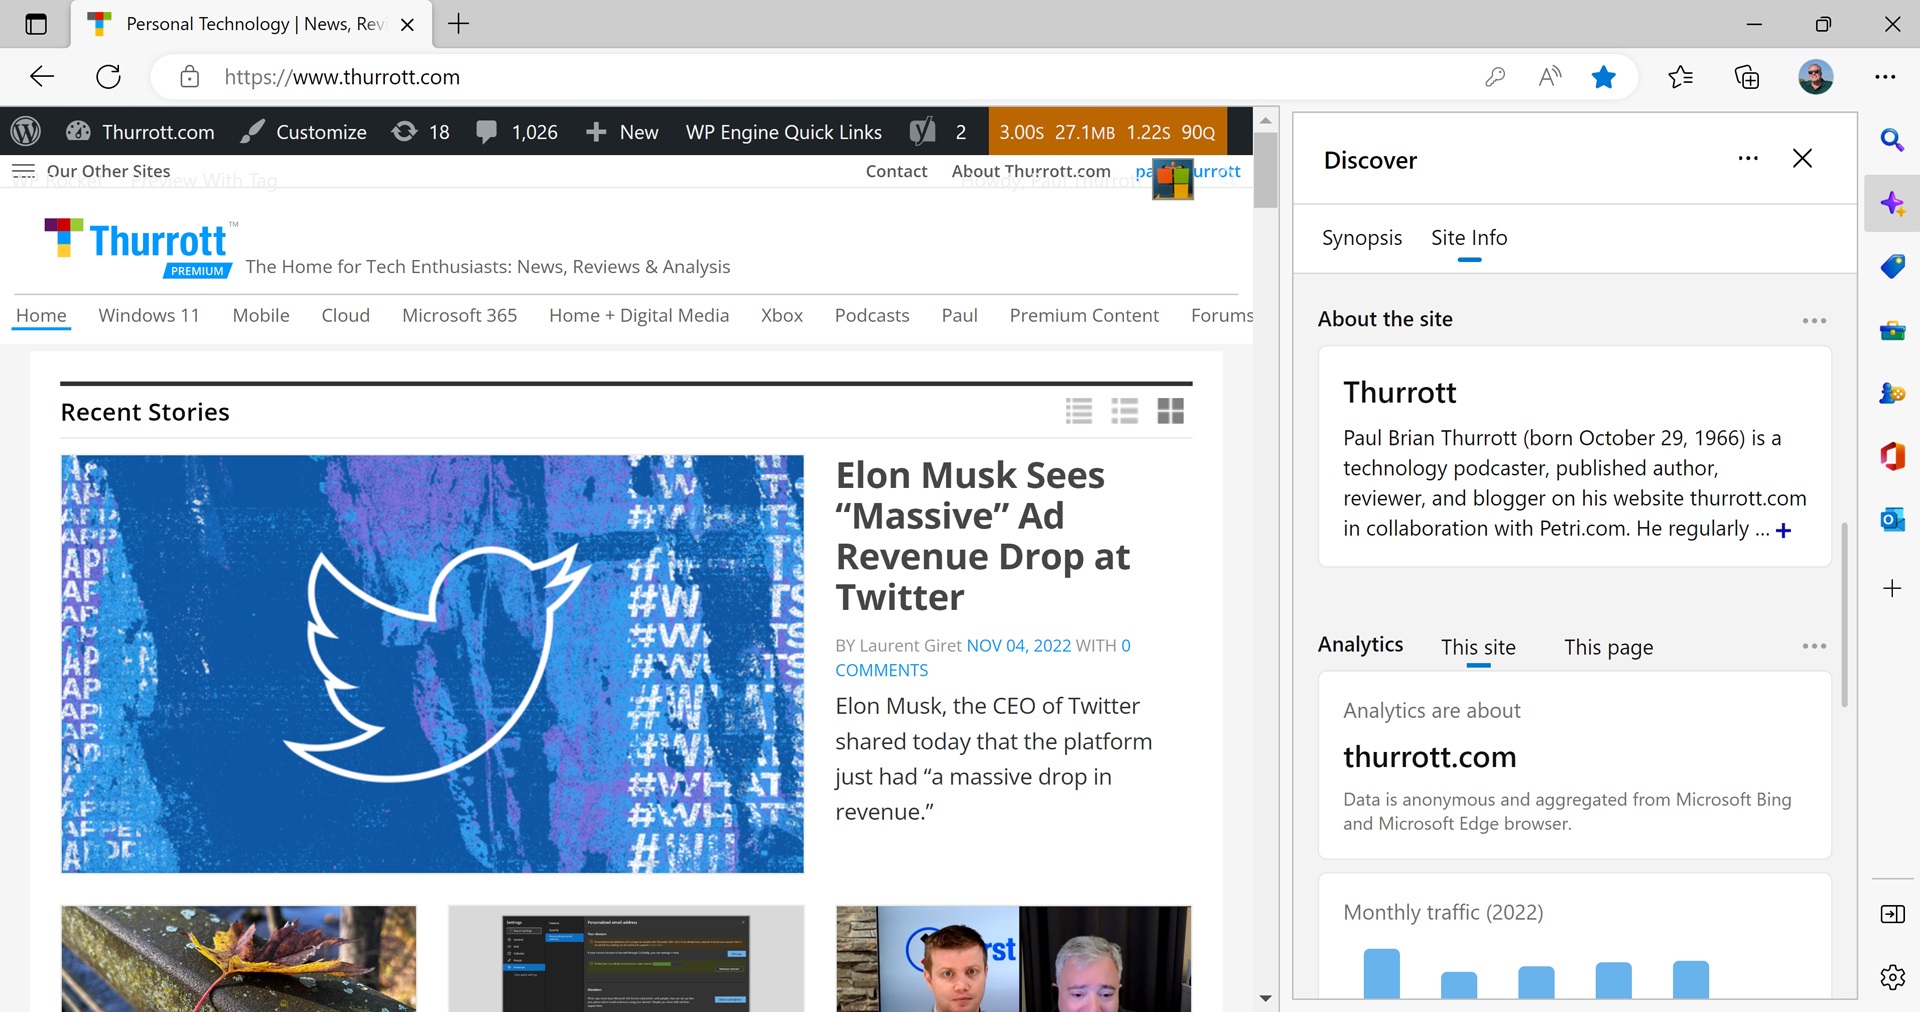
Discover. This interesting page will provide more information about the site you’re reading and point you to related sites and information.
Shopping. This page helps you save money while you shop online.
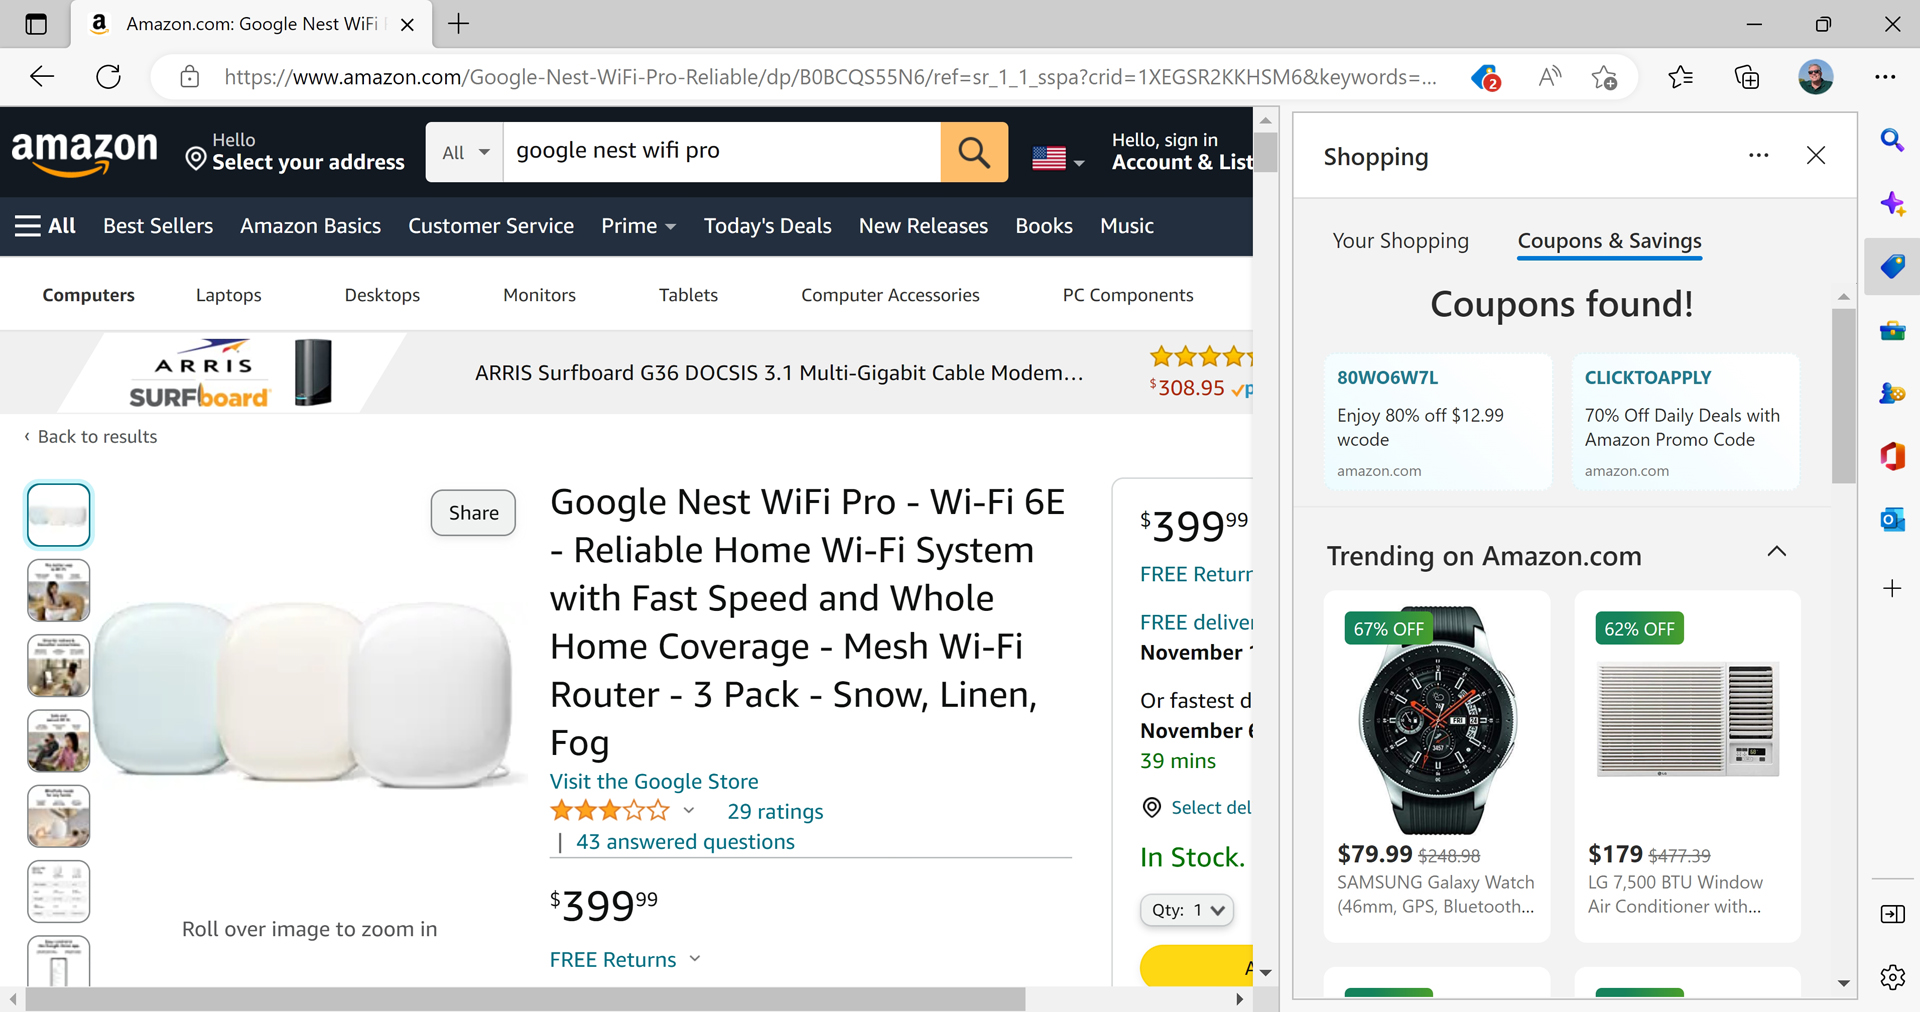
You can learn more about the shopping features in this browser in Shopping with Microsoft Edge.
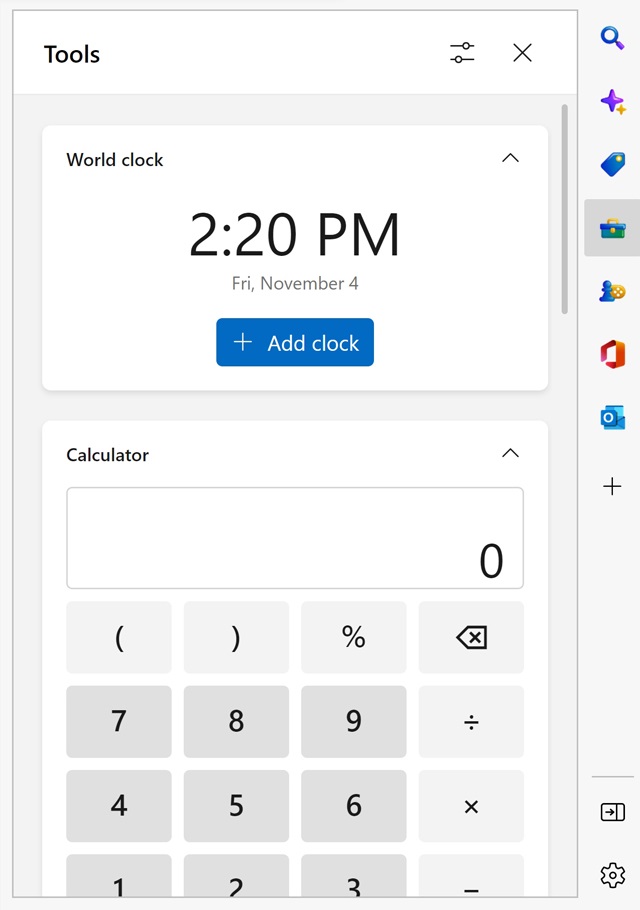
Tools. This page provides a suite of tools including World clock, Calculator, Dictionary, Translator, and Unit converter.
Games. This page provides a wide range of free online games like Microsoft Mahjong, Microsoft Solitaire Collection, Microsoft Sudoku, Microsoft Minesweeper, and many others. However, when you select a game, it appears in the main browser window and not in the Sidebar.

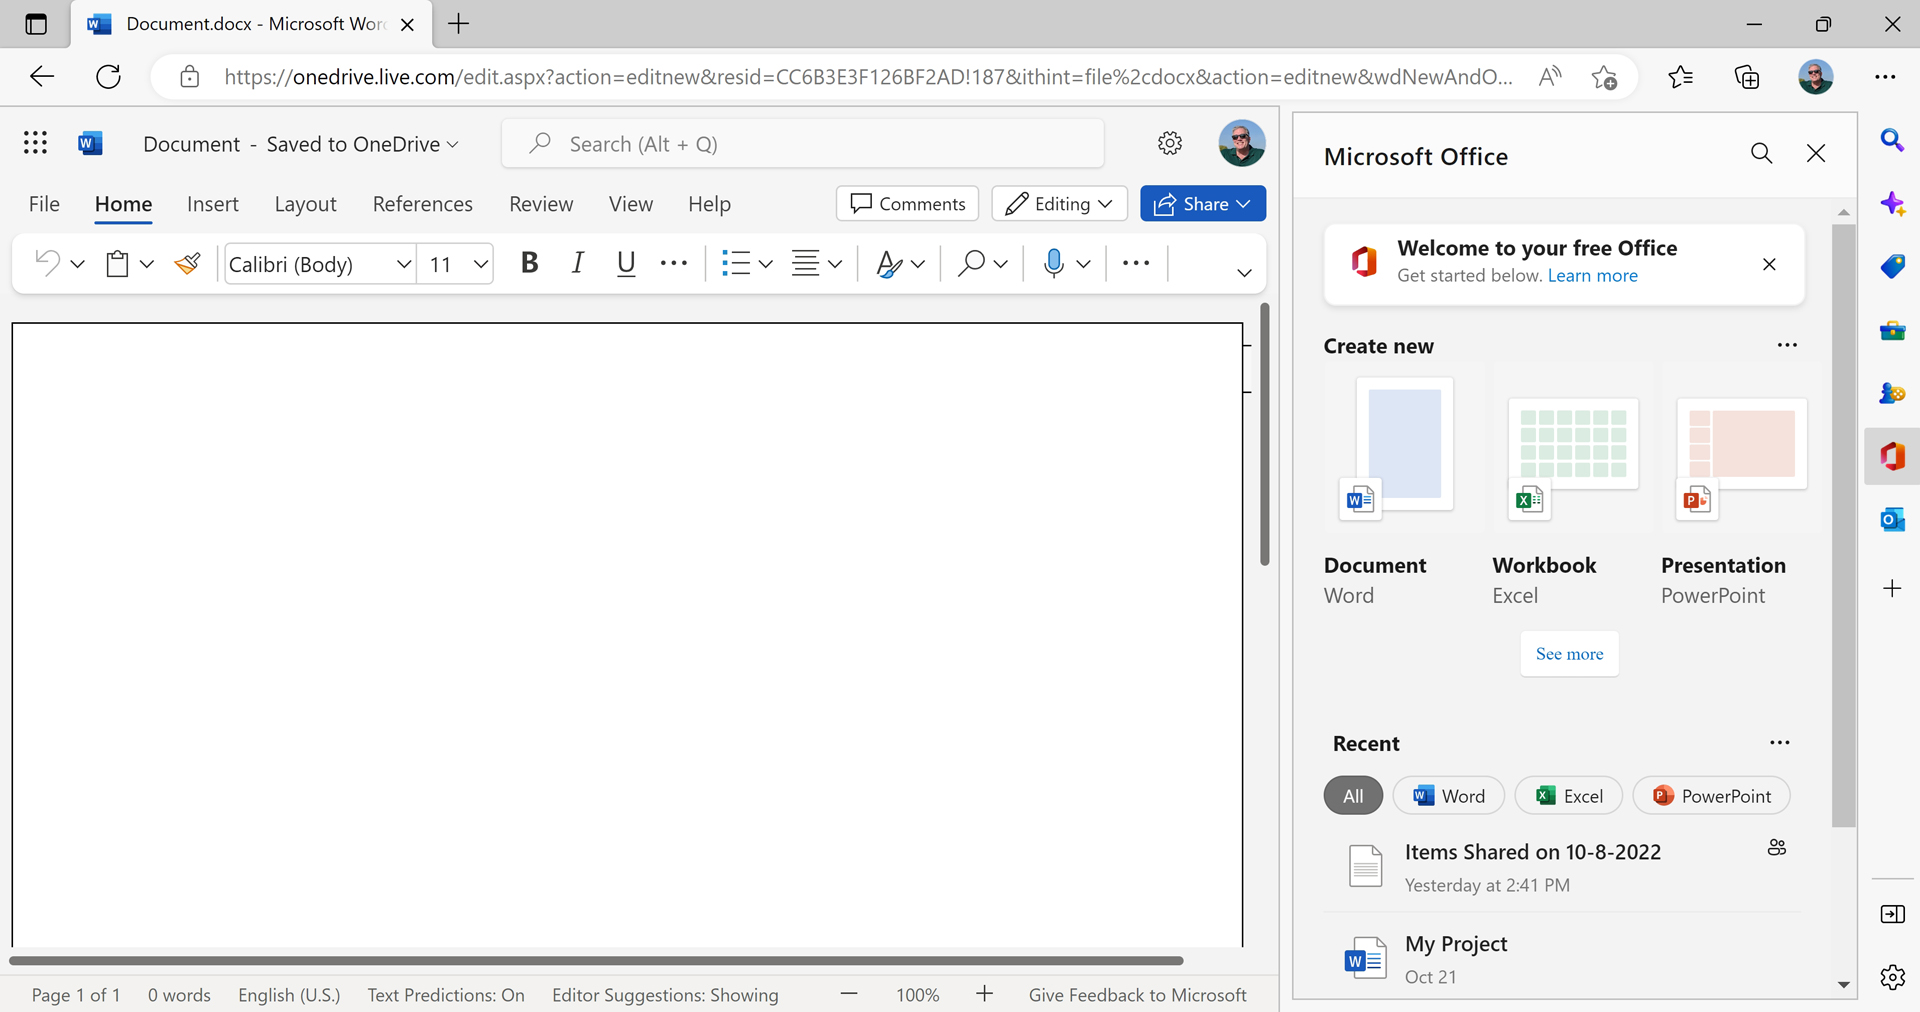
Microsoft Office. This page provides a light front end to the Office.com website and the web versions of Word, Excel, and PowerPoint. You can create new OneDrive-based documents here and access your most recent documents
Outlook. This page provides a smartphone-like view of your Outlook.com email, calendar, People (contacts), and To Do (tasks), so you can keep up on this important information while you’re browsing the web.

You can remove any of these pages if you don’t need them, and you can select from a wide range of additional pages that include such things as Apple Music, Spotify, Facebook Messenger, Instagram, Gmail, YouTube, and many others. To configure the Sidebar, click the “Customize sidebar” (“+”) button in the Sidebar.

There are only two global options for the Sidebar, both of which are found in Edge settings > Appearance > Customize toolbar: Show sidebar (On by default) and Allow sidebar apps to show notifications (also On by default).
Search engine
Unless you are a Microsoft fanboy, you will be amused to discover that Microsoft Edge comes configured with Microsoft Bing as its default search engine. No worries: you can change it to Google or whatever web search engine you prefer.
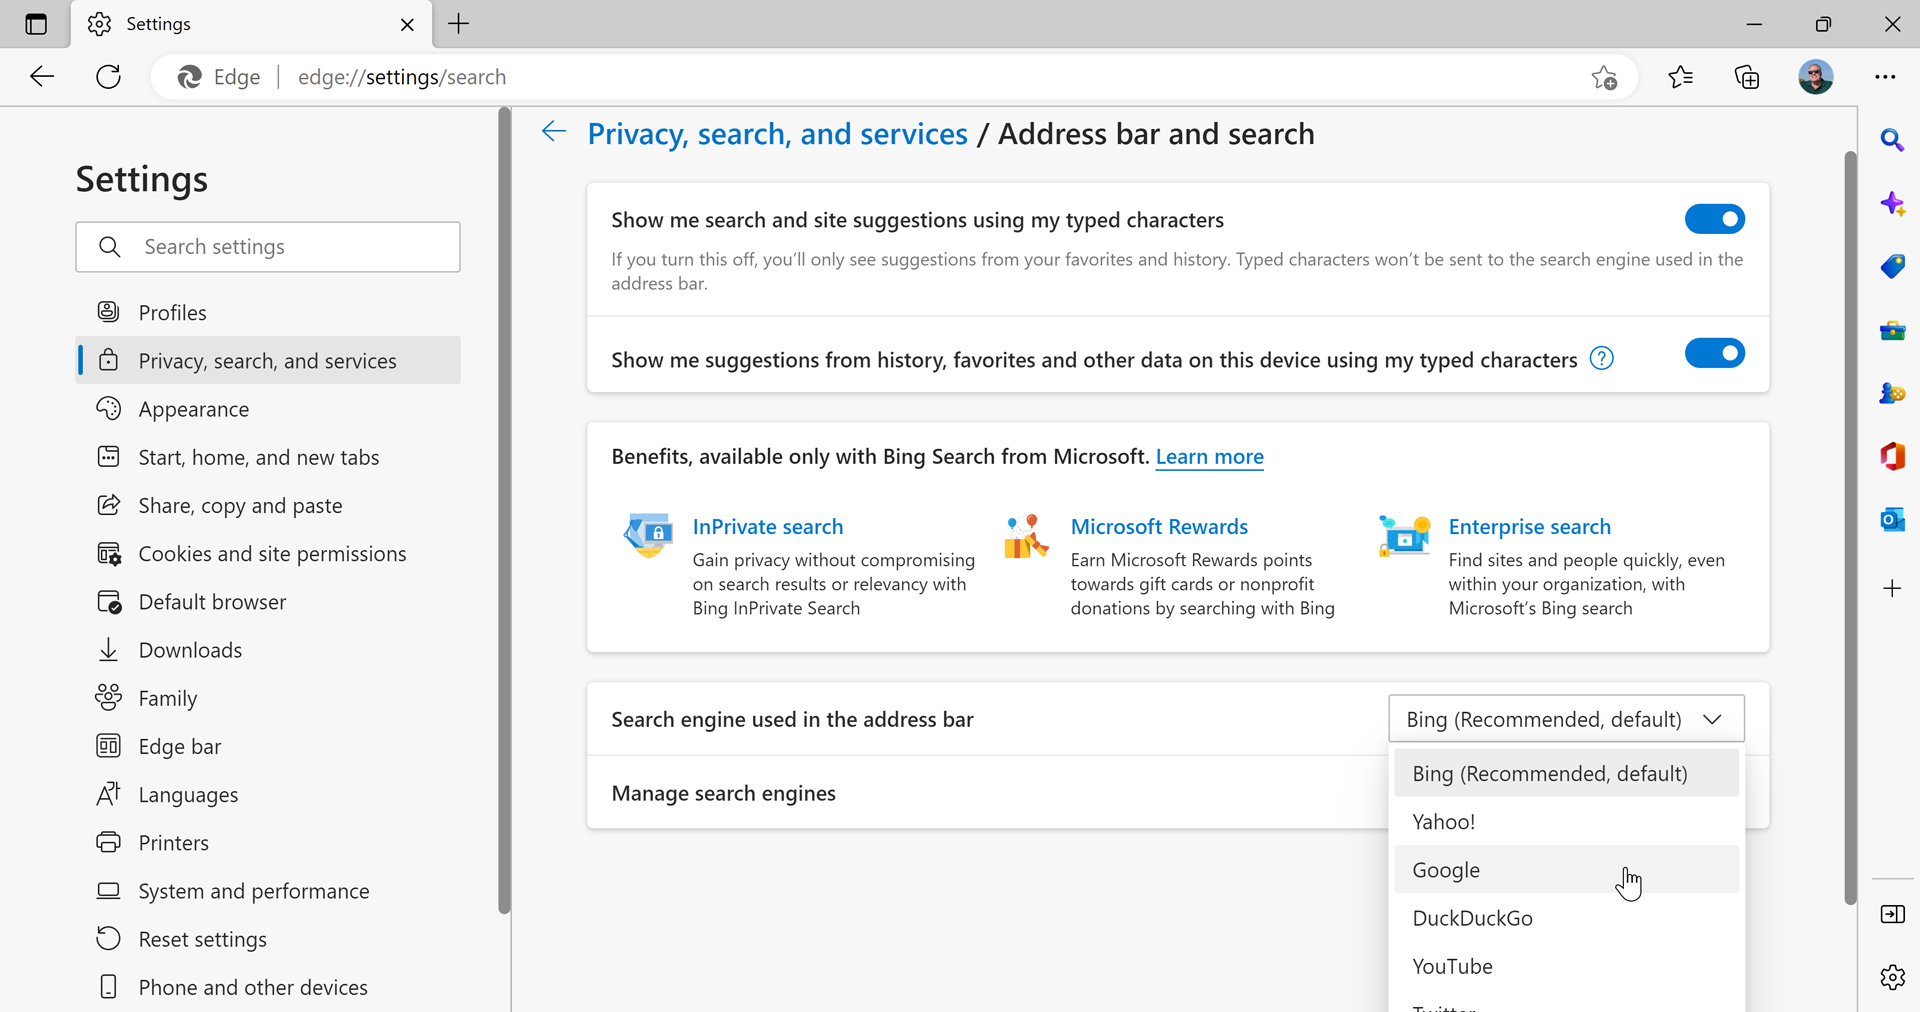
To do so, open Microsoft Edge settings by navigating to Settings and more (“…”) > Settings > Privacy, search, and services. Then, in the settings page that appears, scroll all the way down to the very bottom to the last section, “Services,” and click the very last option, called “Address bar and search.” Address bar and search settings appears. Click the drop down next to “Search engine used in the address bar” and change the search engine to Google.
Themes
You were prompted to configure a theme for Microsoft Edge when you first set up the browser. But you can change the theme—and the related “overall appearance” for Light and Dark mode choices—at any time.
To do so, open Microsoft Edge settings by navigating to Settings and more (“…”) > Settings > Appearance.

You can also download additional themes from the Chrome Web Store. That’s right: Microsoft Edge and Google Chrome themes are interchangeable. There’s a link to the store in Appearance settings below the theme choices.
Media
Microsoft Edge works normally with popular media-playing websites like Spotify and YouTube. But there are a few media-related features you should be aware of.
Mute tab
When a web page is playing media, its tab displays a speaker icon so you can quickly find it. But you can also quickly mute any media coming from a tab: just right-click it and choose “Mute tab” from the context menu that appears.
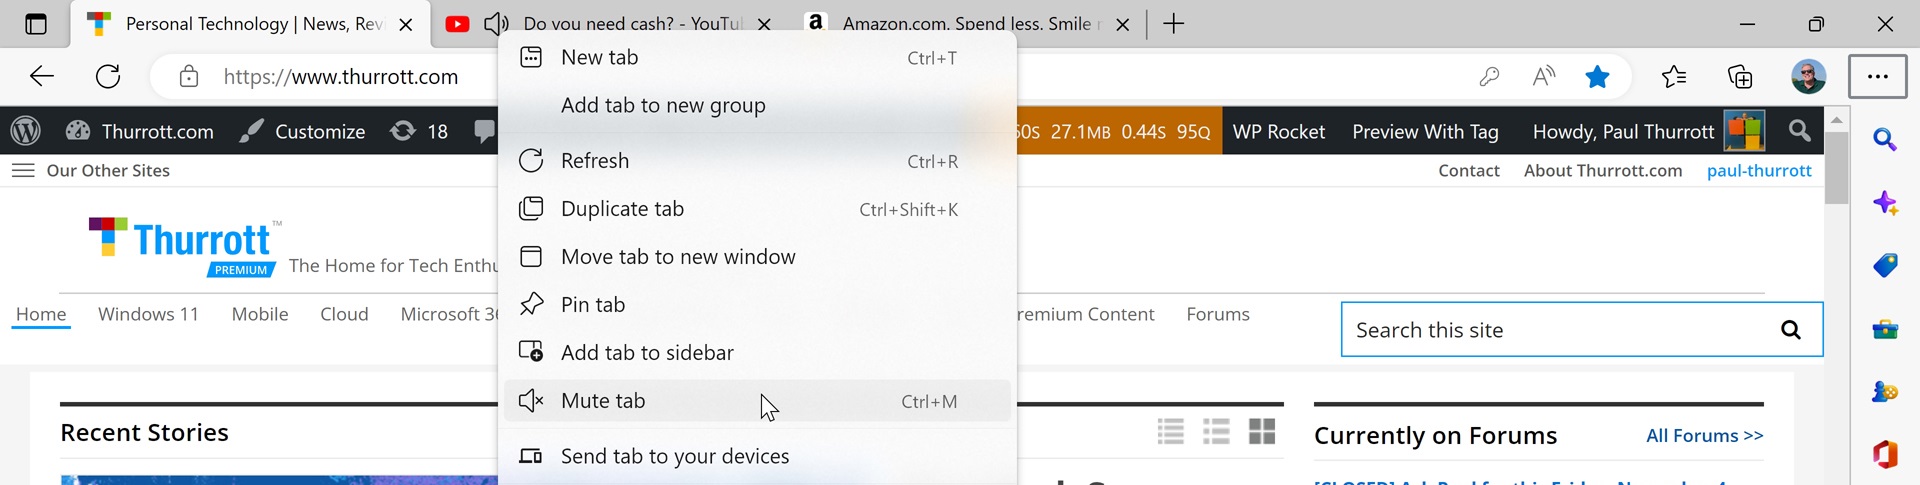
When you do so, the audio mutes and the speaker icon on the tab turns into a muted speaker icon. You can now right-click the tab and choose “Unmute tab” to disable mute.
You can also toggle mute on the current tab by typing CTRL + M.
Limit auto-play media
Many websites annoyingly will auto-play media content, especially video, as you browse. Microsoft Edge tries to limit this behavior by default by monitoring how you interact with auto-playing content on a site-by-site basis. That is, if you stop playback, Edge should remember that and prevent auto-play on future visits.
For the most part, you won’t need to configure this feature. But if you want to make sure it’s configured correctly, you can do so by navigating to Edge settings > Cookies and site permissions > Media autoplay (under Site permissions).
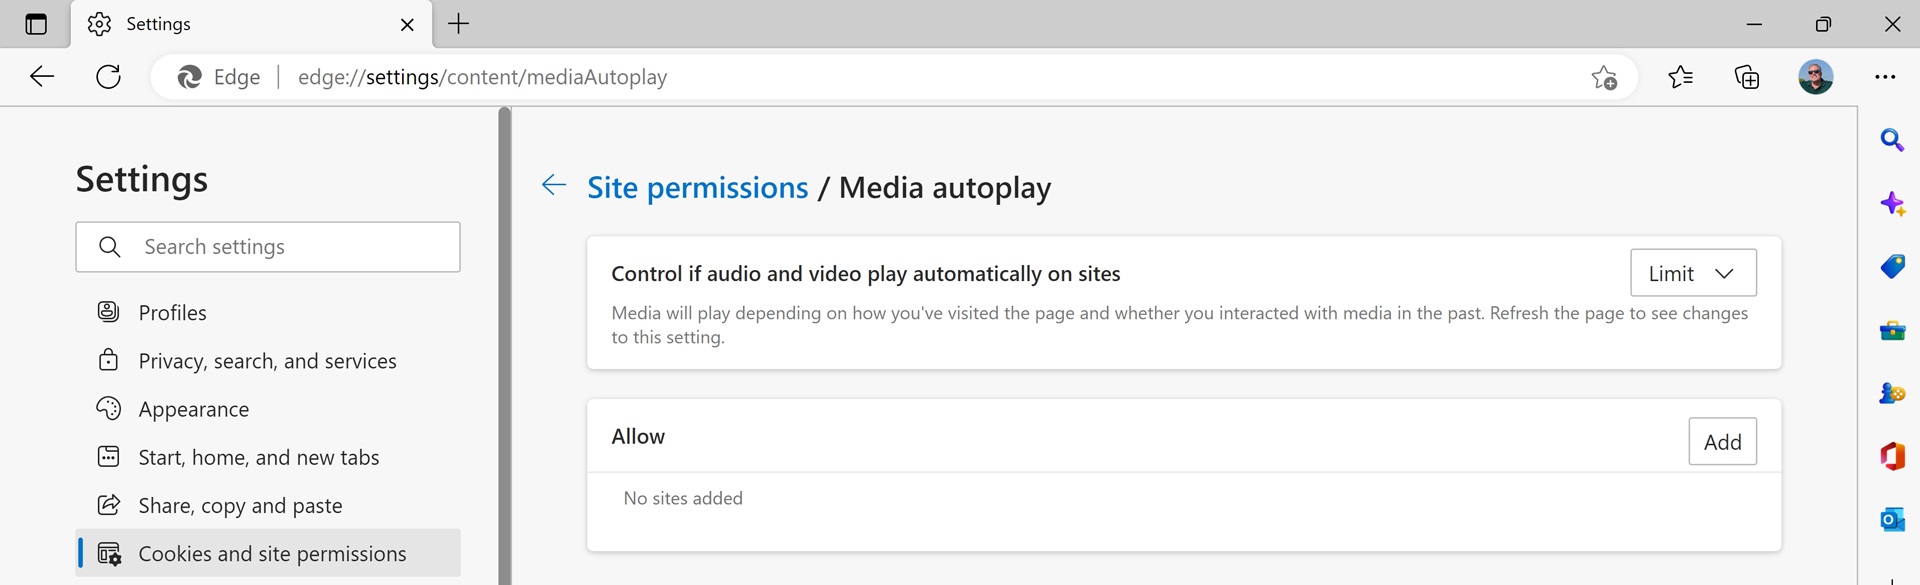
The option “Control if audio and video play automatically on sites” should be set to “Limit,” not “Allow.” You can also add any website to a list of sites that are explicitly allowed to auto-play media if needed.
Edge’s defenses against auto-play media aren’t particularly well-designed. If you’re still bothered by auto-play media regularly, we recommend using a browser extension like Disable HTML5 Autoplay (Reloaded).
Follow Creator
Fans of YouTube, TikTok, and similar services can use a Microsoft Edge feature called Follow Creator to follow popular creators without creating or signing into a YouTube account. You’ll receive notifications whenever a followed creator posts new content, and you can view a feed of the most recent videos from all of your followed creators, with the most recent content on the top.
These services already offer ways for you to follow favorite creators, of course. But you may find the Edge functionality interesting because it collects favorite creators from multiple services into a single location.
To get started, open YouTube in Edge and navigate to a video or channel page for a favorite content creator. If the creator is popular enough, a “Follow this creator” button will appear on the right side of the Address bar.
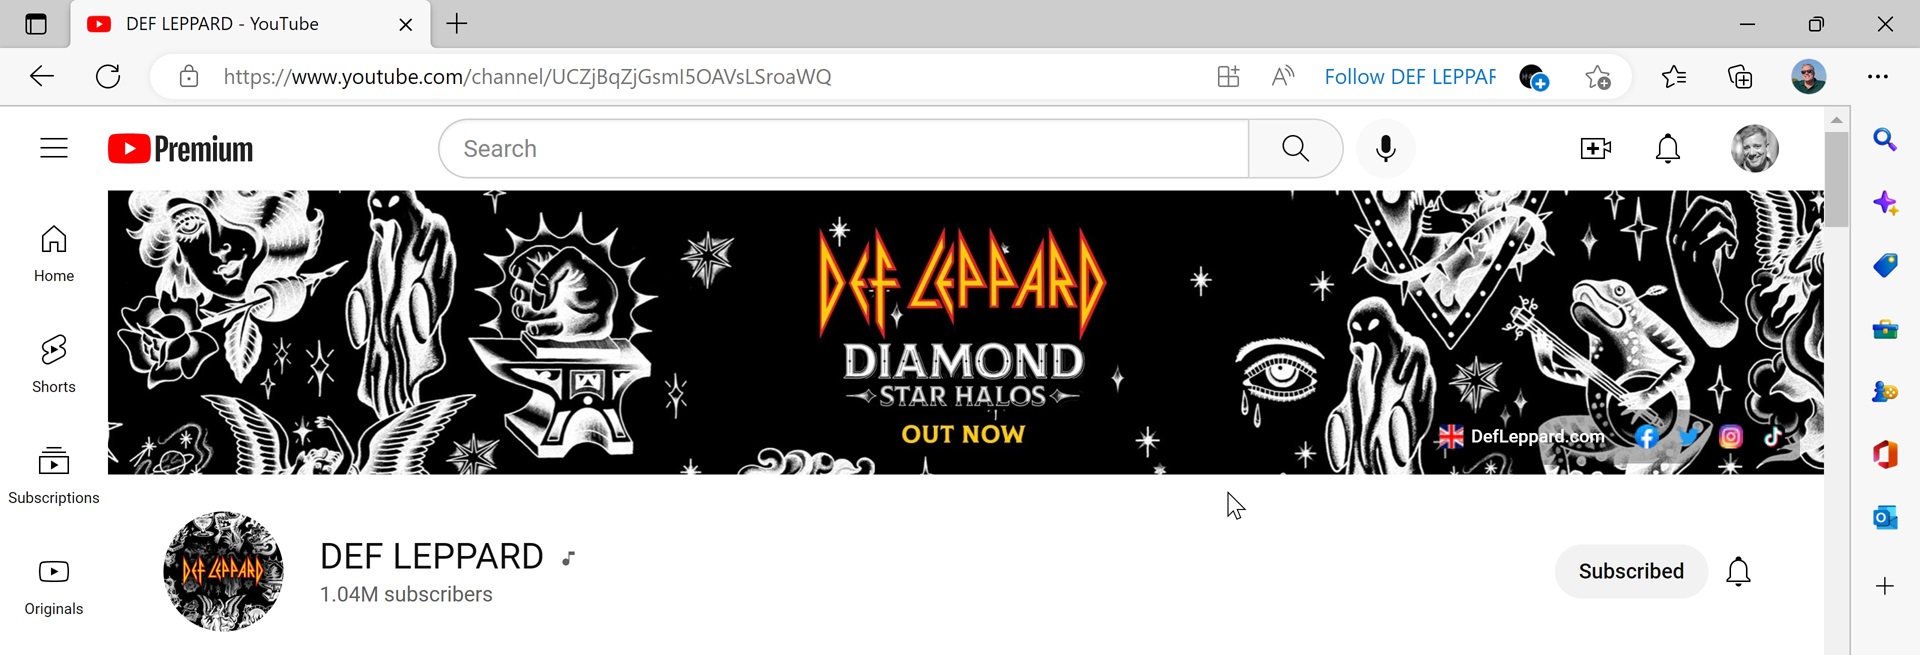
Click “Follow this creator” to, yes, follow this creator. The button will change to indicate that you are now following them, and the Creators you follow pane appears and displays a list of this creator’s recent videos.
To view a list of all of the creators you follow, click the Back (“<“) button next to the creator’s name. The Creators you follow pane now displays all of the creators you are following.
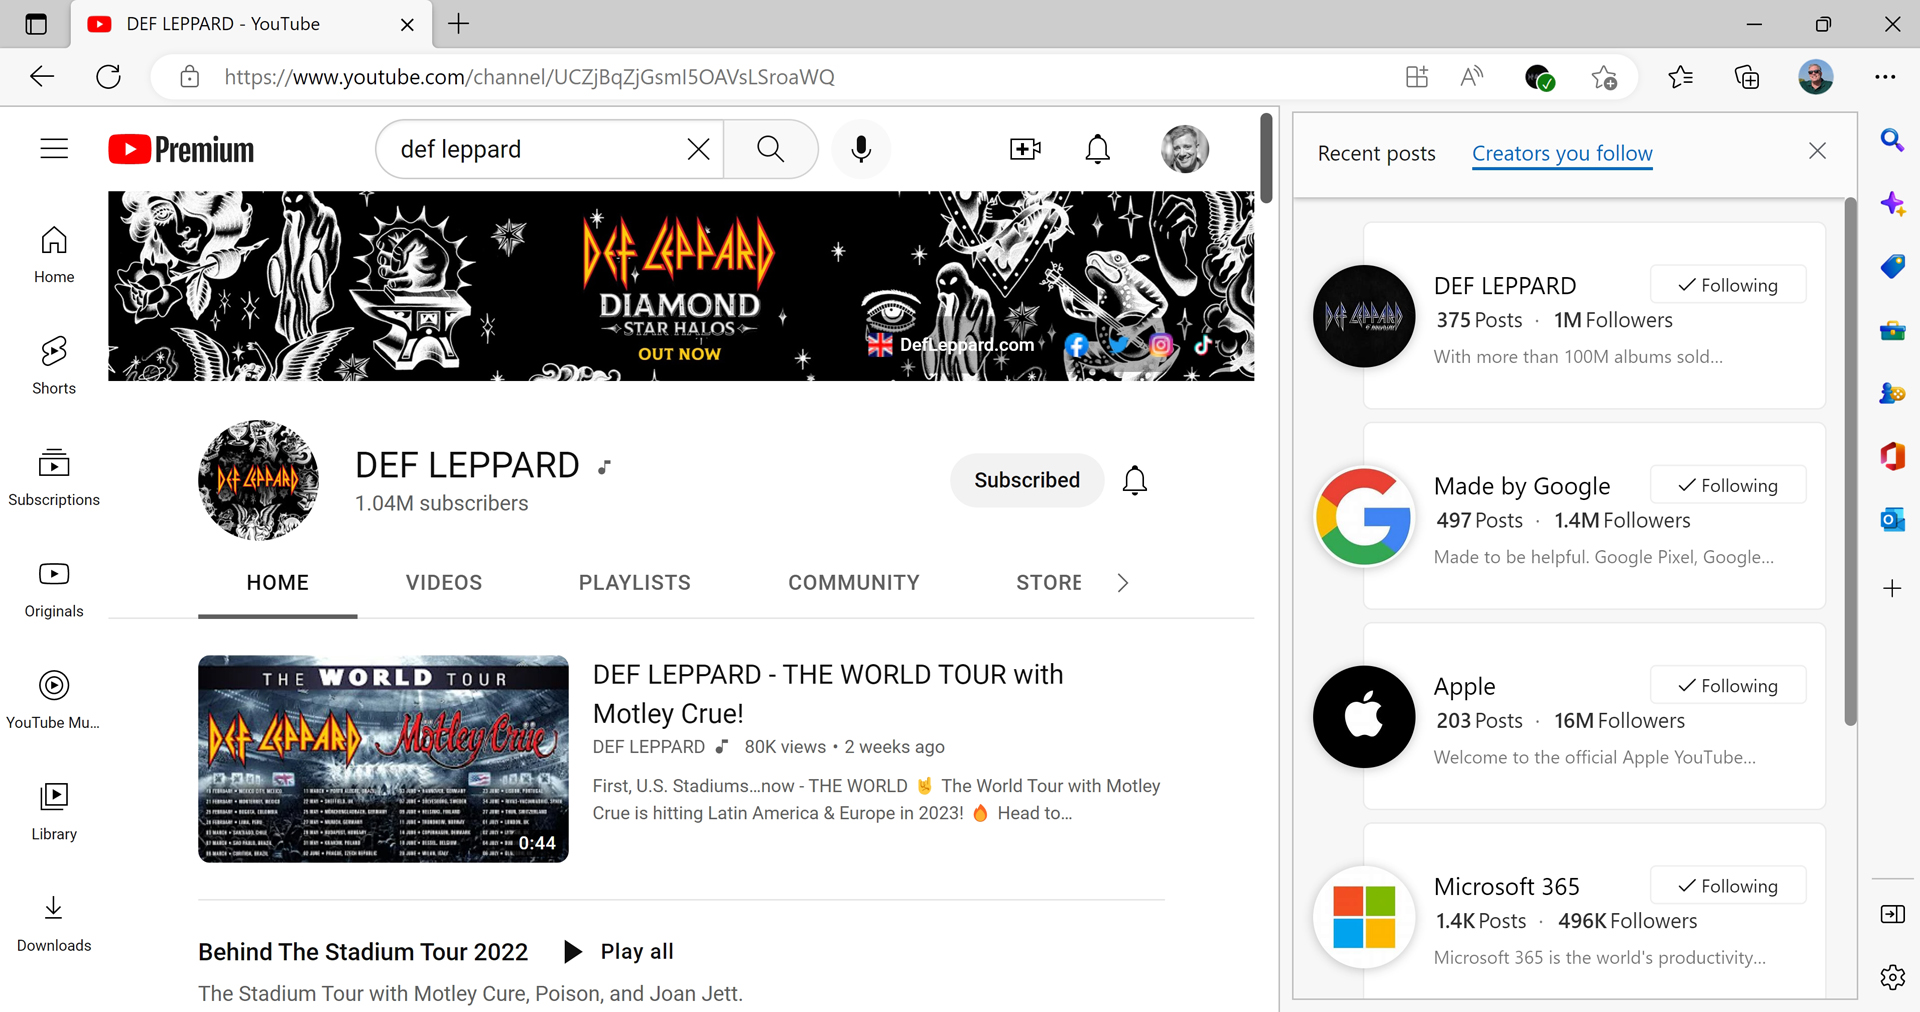
You can click on individual entries to see the recent posts from each creator. Or, click the “Recent posts” header to view the most recent posts from all the creators you are following.

This feature has a few issues. The most obvious is that there’s no Follow Creator toolbar button or menu item that you can use to toggle on the Followed Creators pane. Instead, you must manually visit a page related to a creator you’re already following and then click the “Follow this creator” button in the address bar.
Extensions
Most web browsers deliver a basic set of functionality but allow users to add optional features via so-called extensions. Though Microsoft Edge includes a lot more built-in functionality than other mainstream web browsers, it also supports extensions. Indeed, it uses the same extension platform as Google Chrome, so you can find and download new extensions from both the Edge Add-ons website and the Google Chrome Store.

Once you install one or more extensions, Edge displays an Extensions toolbar button (that resembles a puzzle piece) so that you can easily interact with and manage them via the Extensions pane.

Here, you can do the following:
Interact with an extension. Click an extension to view and interact with its user interface.

Show in toolbar. If you find yourself interacting with an extension a lot, you can avoid an extra step by selecting its “Show in toolbar” button, which places the extension’s button directly on the Edge toolbar.

Once an extension button is on the toolbar, you can drag and drop to move it to a new position among the other extension buttons.
More actions.* Select this button (“…”) next to any extension to access the extension’s options, to remove it from Edge, or to open Extensions settings in Edge settings.
You can further manage your extensions by opening Extensions settings: open Settings and more (“…”) and choose Extensions.

Here, you can easily toggle individual extensions on and off, view the options for each extension, and remove any extensions you don’t find useful.
Finally, there are a few other Edge settings related to extensions:
Extensions toolbar button. By default, the Edge Extensions toolbar button will not appear unless you install an extension. But you can configure this behavior in Edge settings > Appearance > Customize toolbar. The “Extensions button” option can be set to “Show automatically” (the default), “Never show,” or “Always show.”
Continue running background extensions and apps when Microsoft Edge is closed. This option, in Edge settings > System and performance > System, allows background extensions and web apps you’ve installed with Edge to continue running in the background when there is no main Edge application window open. It’s disabled by default, but can be enabled if you install Edge extensions or web apps that need to always run in the background.
Sharing
Microsoft Edge offers a variety of ways for you to capture and share content you find on the web.
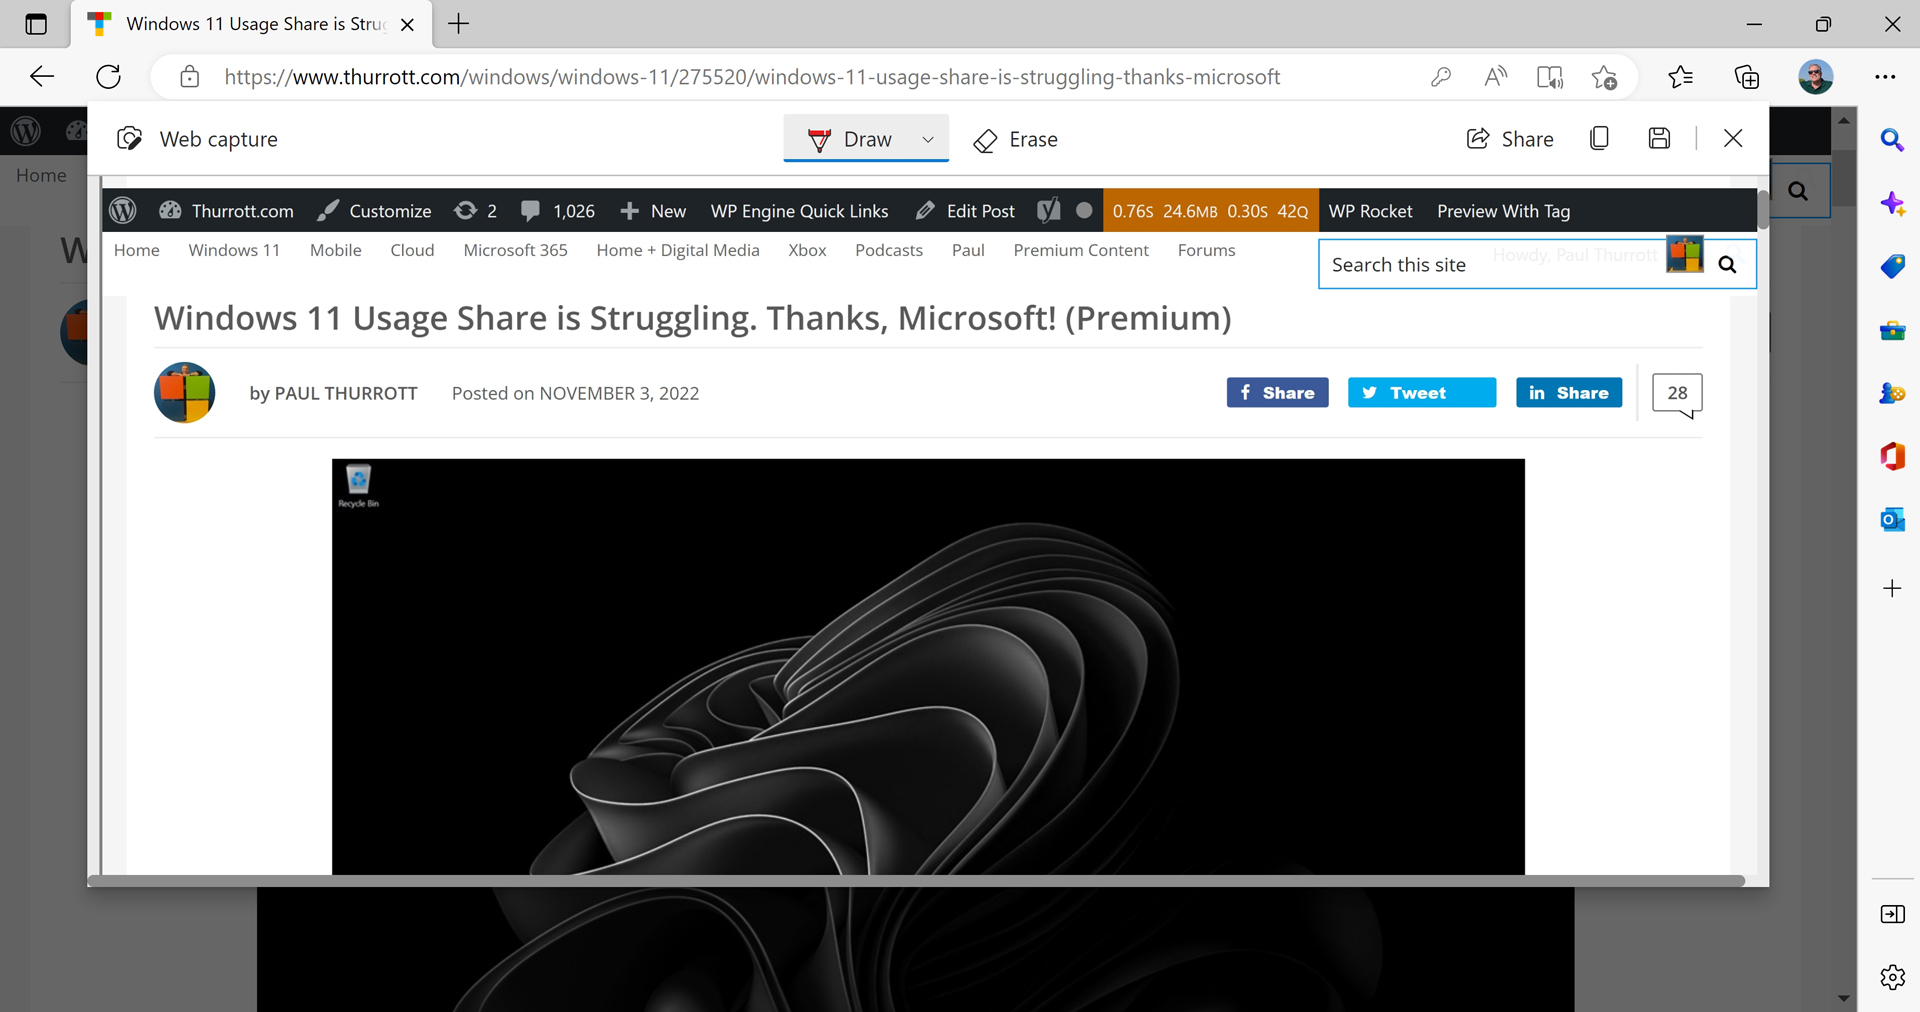
Web capture
This screenshot tool prompts you to capture the entire web page or a selection, provides basic drawing and erasing tools for annotations, and lets you share, save, or copy the result to the Clipboard.
You can also open Web capture by typing CTRL + SHIFT + S.
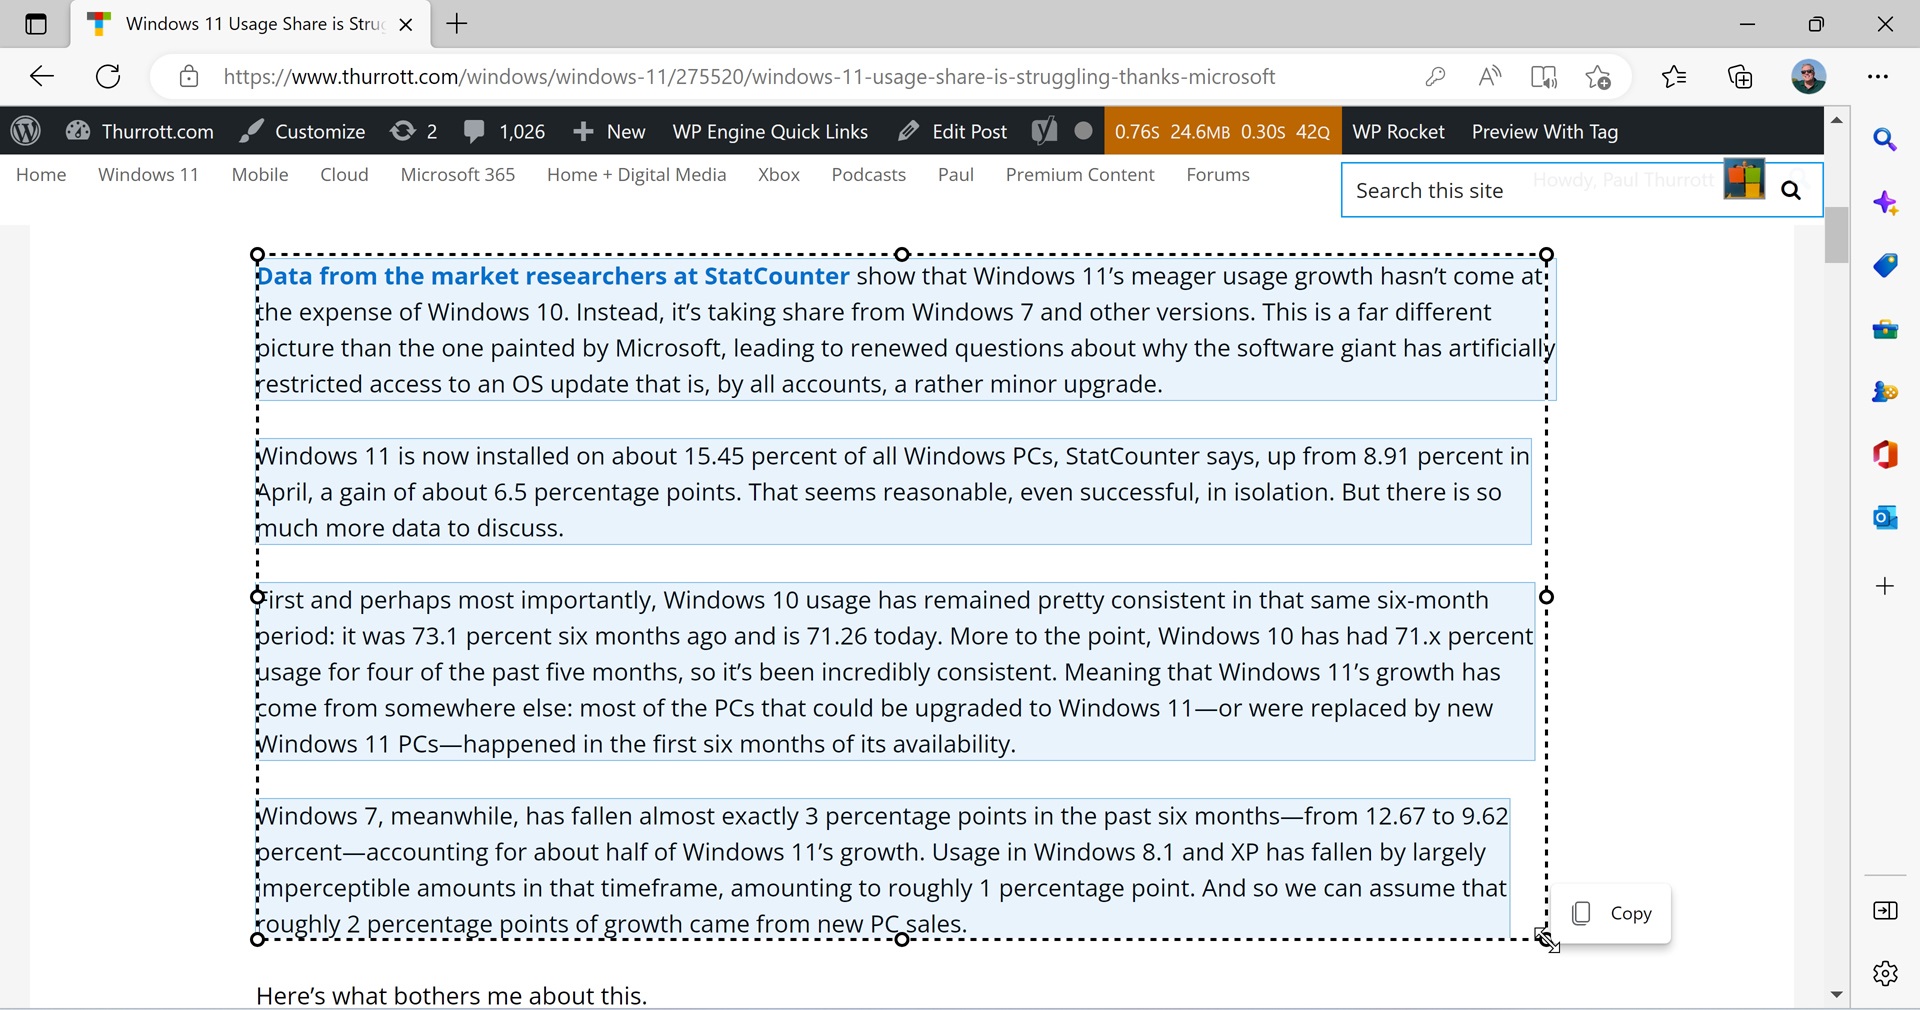
Web select
This text capture tool prompts you to capture an arbitrary selection of text on the current page and then copy it to the Clipboard.
You can also open Web select by typing CTRL + SHIFT + X.
Printing
Like other web browsers, Microsoft Edge supports sophisticated printing capabilities. By default, printouts are configured to include headers and footers and, most crucially, to omit background graphics. And because this is Windows 11, you can always choose to create a PDF version of the current page by selecting “Microsoft Print to PDF” as the printer.

You can quickly print the current web page by typing CTRL + P.
Profiles
If you sign into Windows 11 with a Microsoft account, you will automatically sign into Microsoft Edge with that same account, and the browser will be configured to use that as its only profile. But Edge supports multiple profiles, each with its own personalized browser settings, extensions, and Favorites. And you can switch between these profiles at any time.
There are two key scenarios where using multiple Edge profiles might make sense.
The first is a family with small children where the parents don’t wish to give children their own Windows login but would still like to keep their web browsing separate from that of the parents.
The second is when you have separate personal (Microsoft account) and work/school (Azure Active Directory) accounts but wish to sign into Windows with just one of those accounts. Using Edge’s profiles feature, you can switch between your home and work accounts in the browser on the fly.
You access Edge profiles using the Profiles button in the browser’s toolbar. This will usually display the user picture you configured as part of your Microsoft account.

When you select this button, a pane appears displaying any configured profiles.
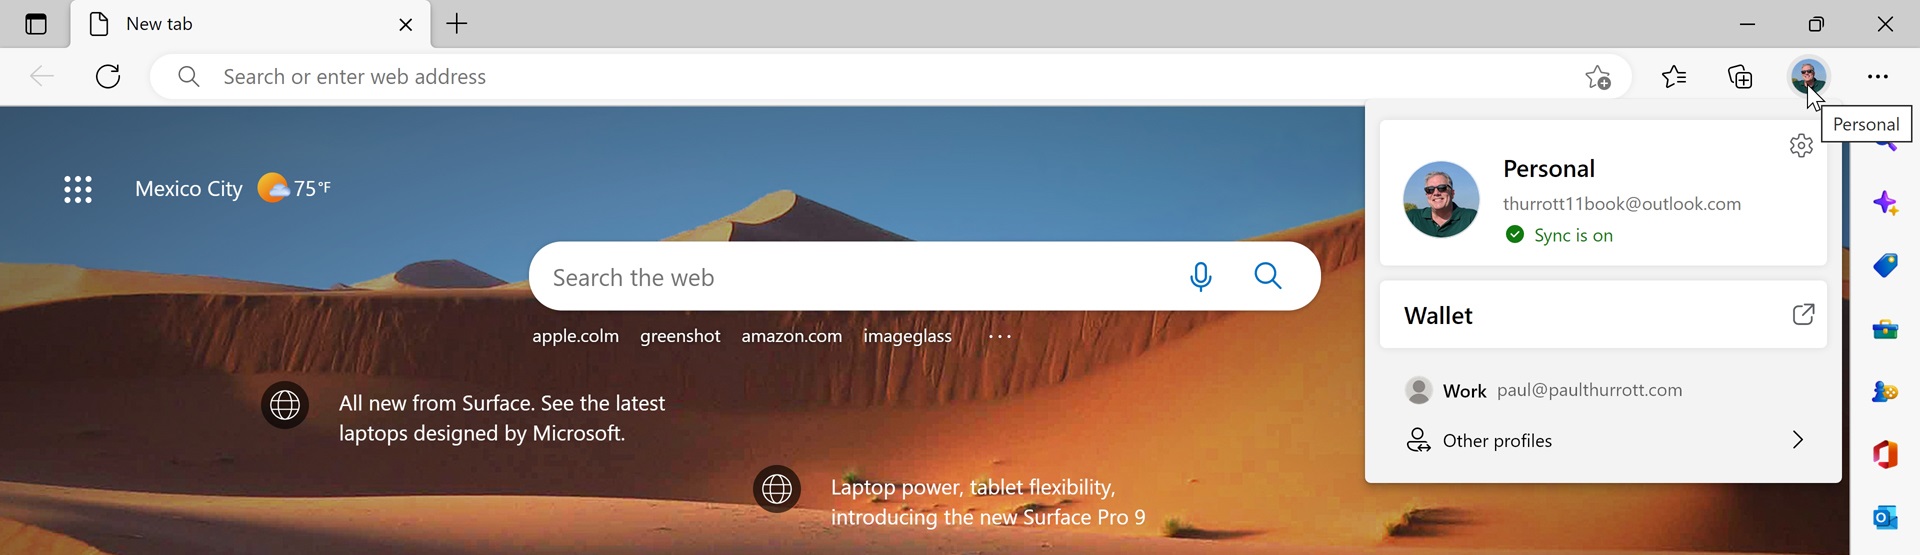
If there are two or more configured profiles, you can switch between them here. Or, you can select “Other profiles” to browse using a guest account, browse in Kids Mode, or add a new profile.

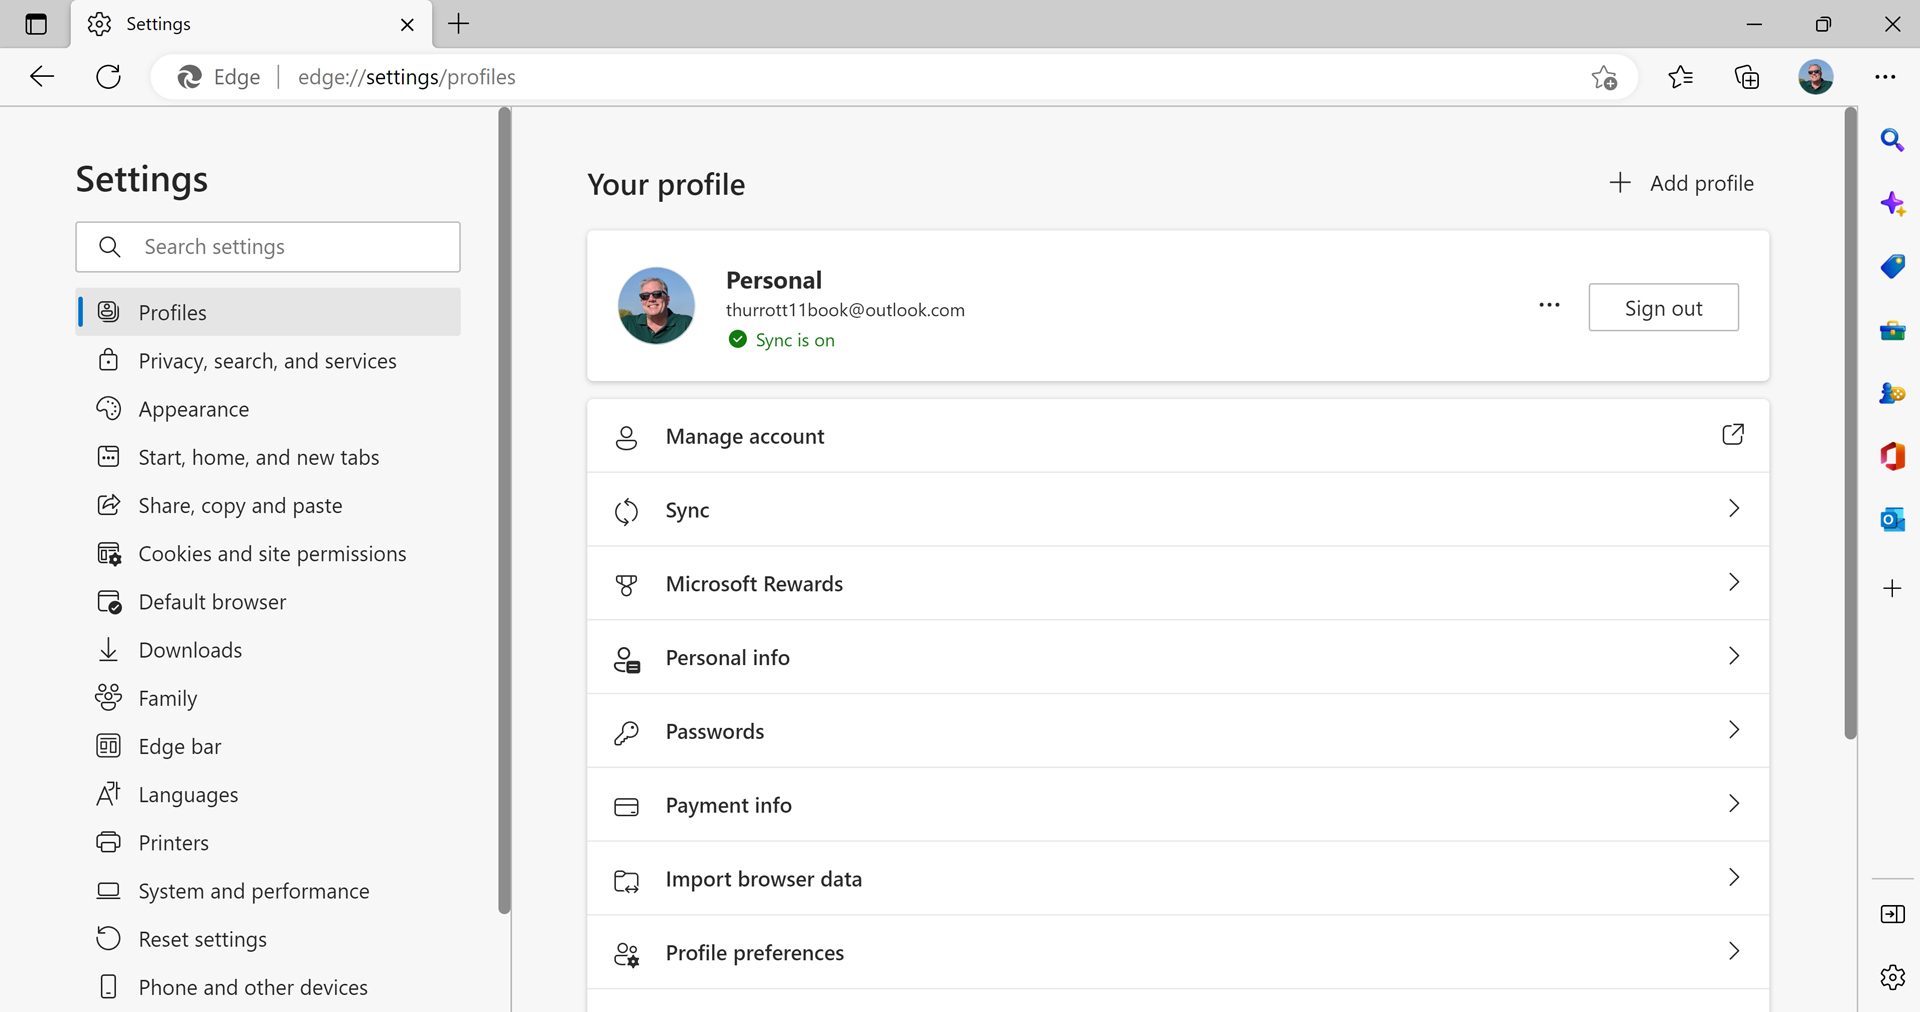
You can also manage profiles in Edge settings: navigate to Profiles to view or edit the current profile, or add a new profile.
When you add a new profile, you are prompted to sign into your personal or work/school account. Then, when you use this profile, it appears as a separate entry on the Windows 11 Taskbar.


Gain unlimited access to Premium articles.
With technology shaping our everyday lives, how could we not dig deeper?
Thurrott Premium delivers an honest and thorough perspective about the technologies we use and rely on everyday. Discover deeper content as a Premium member.