Start
- Paul Thurrott
- Oct 02, 2022
-
2
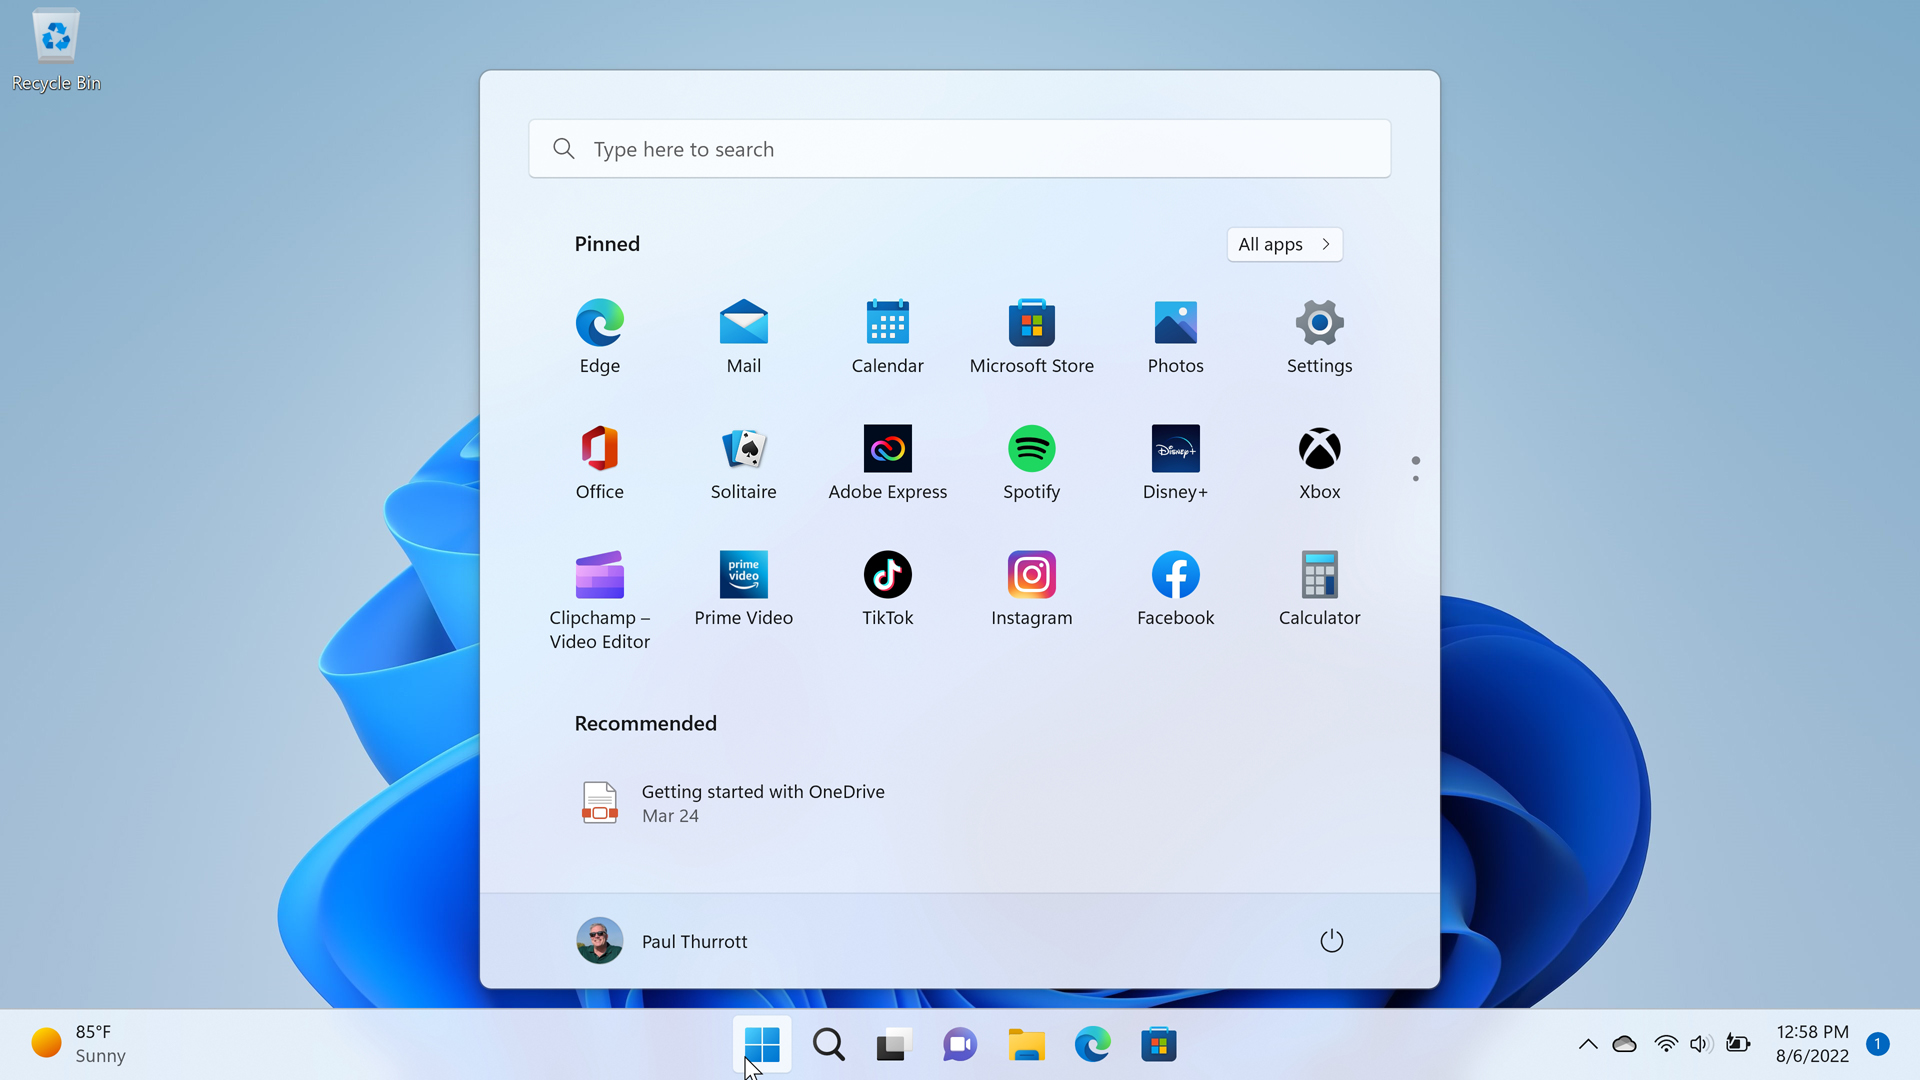
The Windows 11 Start menu is significantly different than that in Windows 10 and previous Windows versions. As with the Taskbar, Start is now centered onscreen by default, and for the first time, it is a floating window, and not a menu or a full-screen experience.
As with previous Windows versions, you can open Start by selecting the Start button on the Taskbar or by typing WINKEY or CTRL + ESC.
Get to know Start
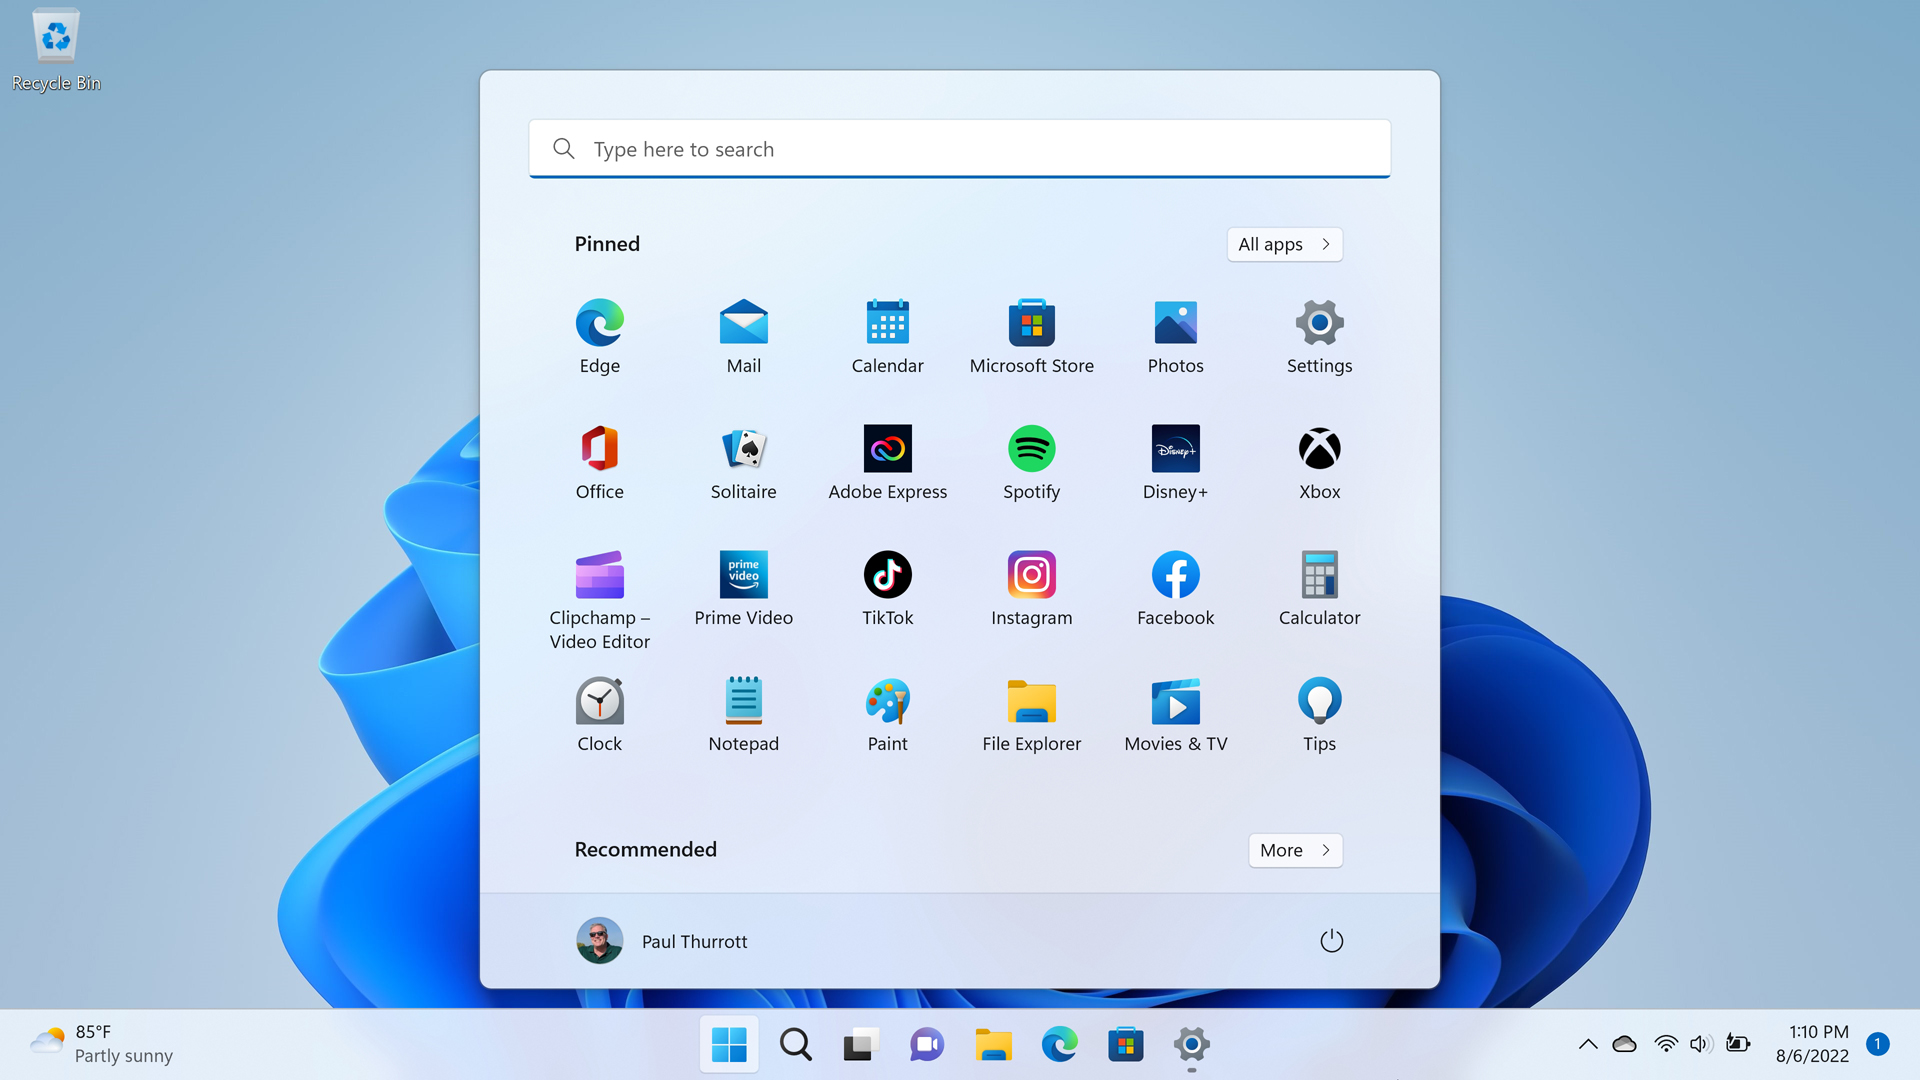
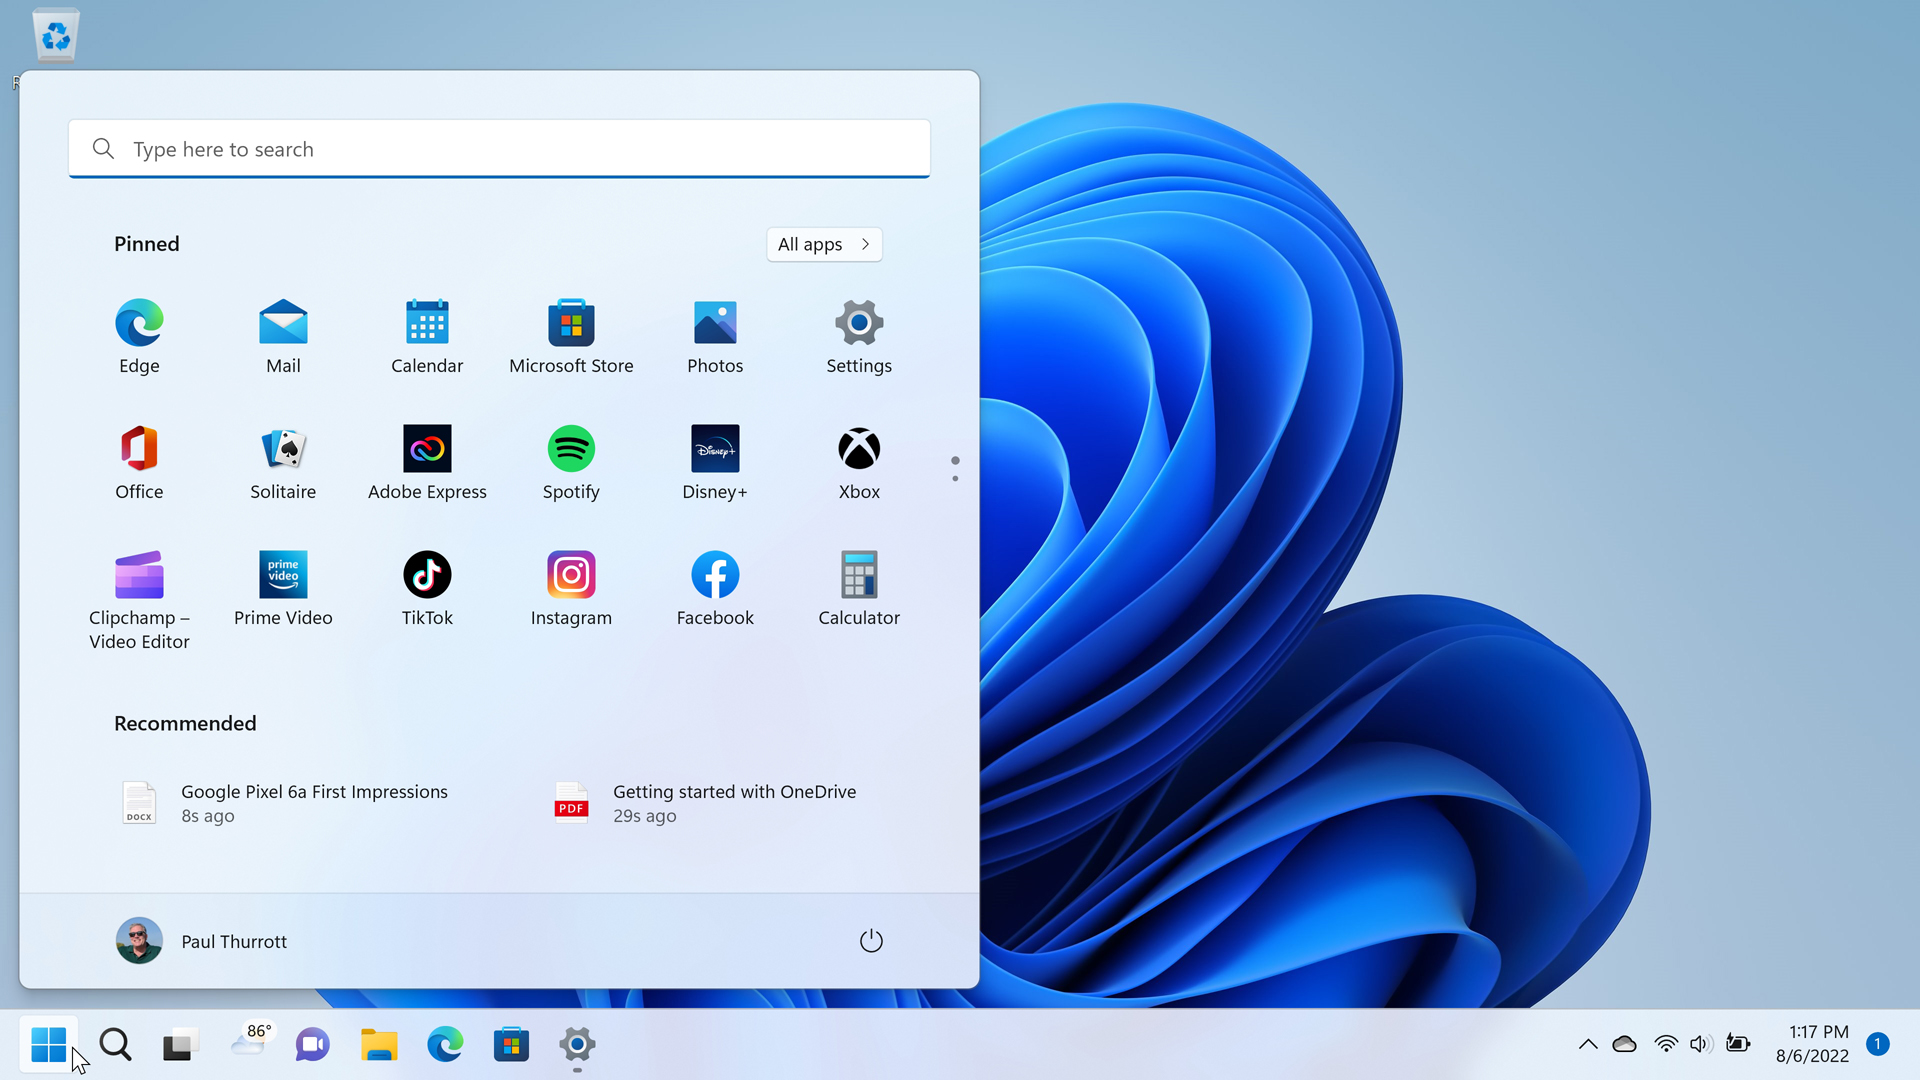
Start now offers a simplified user experience with two main sections—Pinned and Recommended—plus a Search box at the top and User account and Power menus at the bottom. As a result, it looks and works differently than before. And some features you knew from the past are hidden or no longer available in Windows 11.
Where did it go?
The Windows 10 Start menu was quite different, with a navigation pane, an All apps list, and a live tiles area. But only some of these elements are available in Windows 11.
Navigation pane. Two of the items from Windows 10 Start’s navigation pane—the User account and Power menus—are available at the bottom of the new Start menu. The other links you previously used to access Settings, File Explorer, and various folders can be added to the Windows 11 Start menu by customizing it as described below.
All apps. The All apps list is available by selecting the All apps button at the top right of the Pinned section.
Live tiles. Microsoft no longer supports live tiles in Windows 11. It’s the end of an era.
By default, the Pinned and Recommended areas each take up the same amount of space, though this can be configured as described in the section Customize Start, below.
Pinned
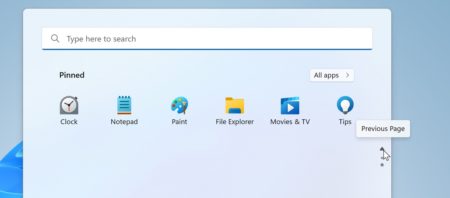
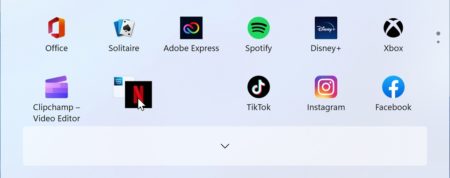
Microsoft and your PC maker populate the Pinned area with a collection of useful and promotional app icon shortcuts. And this area can scroll in place if the number of icons it contains is too large to display all at once in the available space. You can scroll between its various pages by using the little controls on the right, or by using your touchpad, mouse, or keyboard.
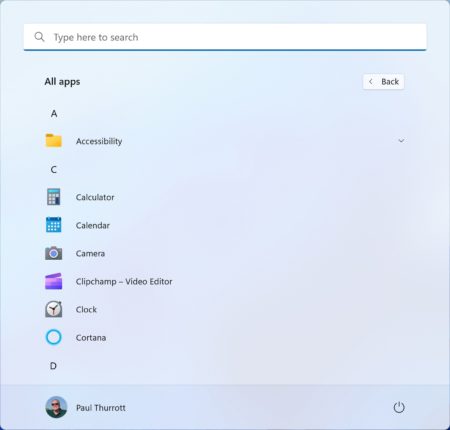
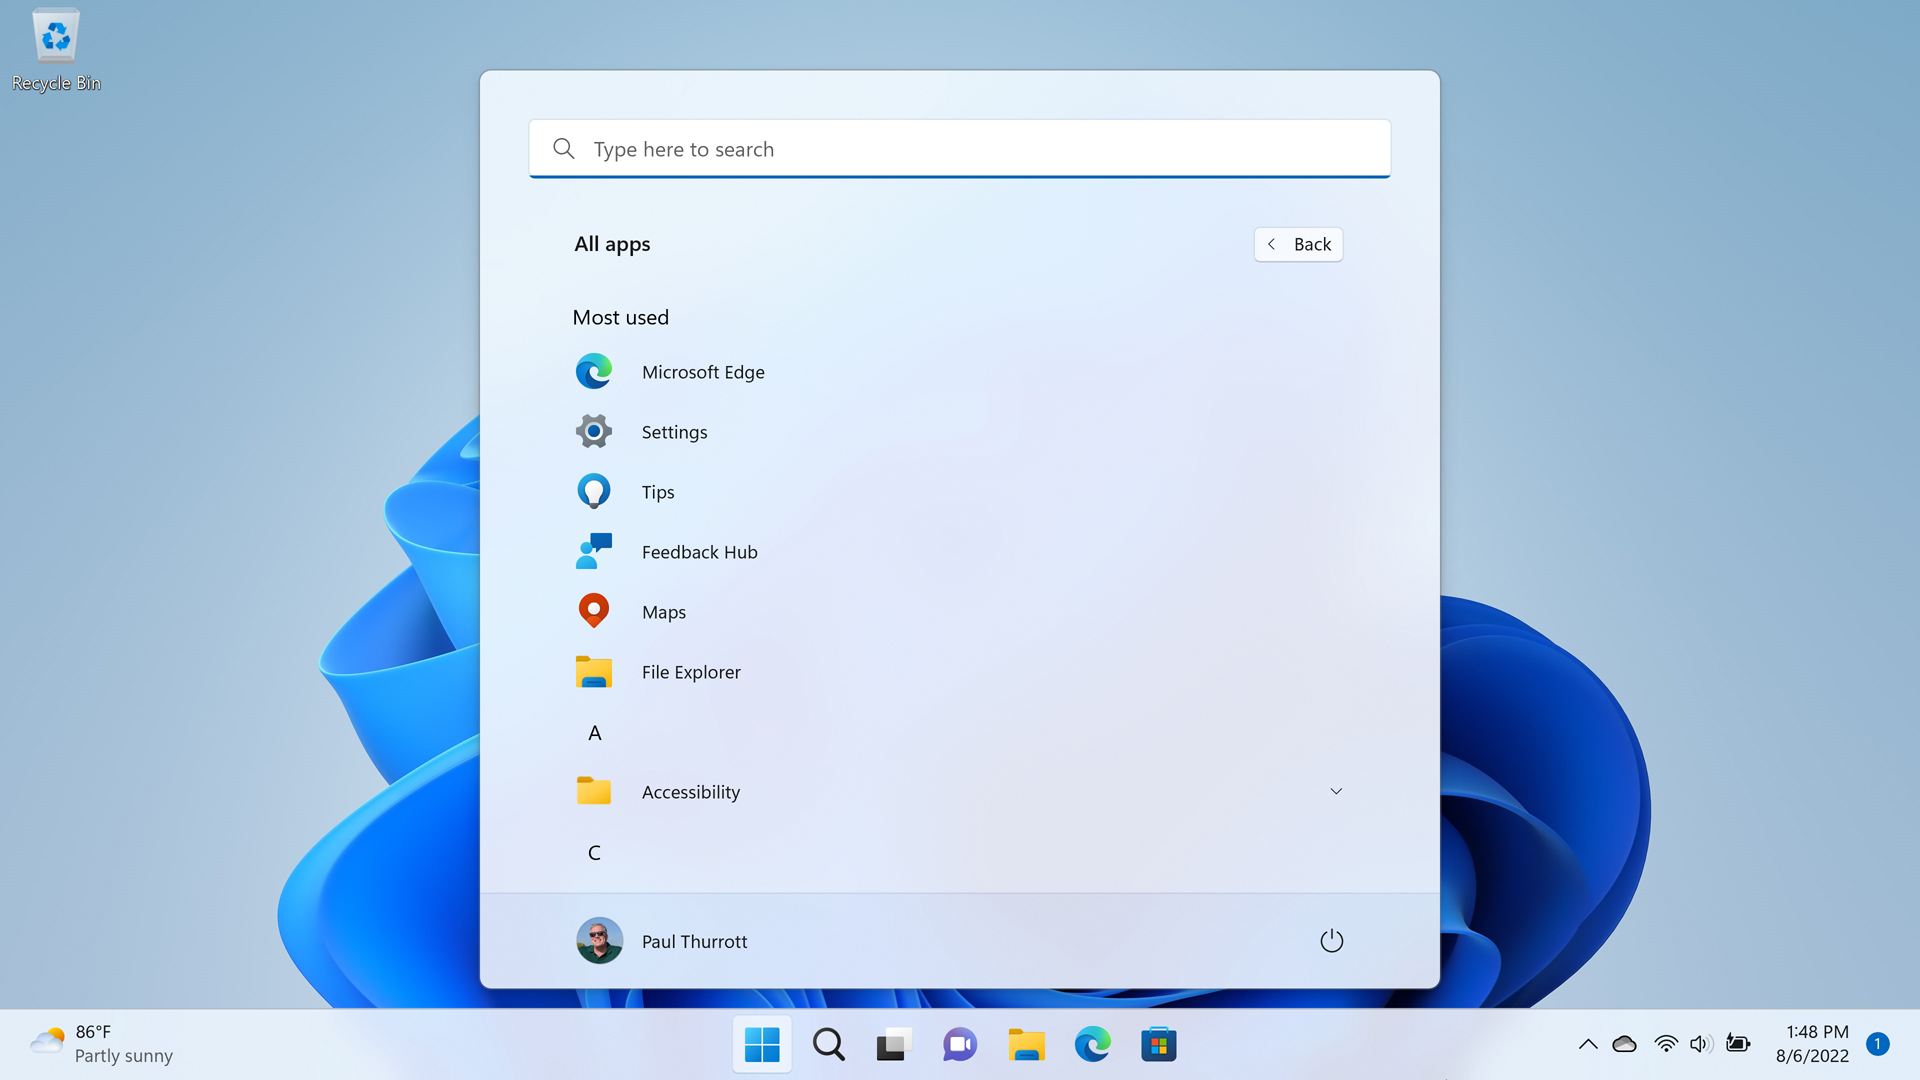
All apps
To access your complete list of installed apps, select the All apps button. All apps takes over the Start menu display and looks and works much like the All apps list in the Windows 10 Start menu.
Recommended
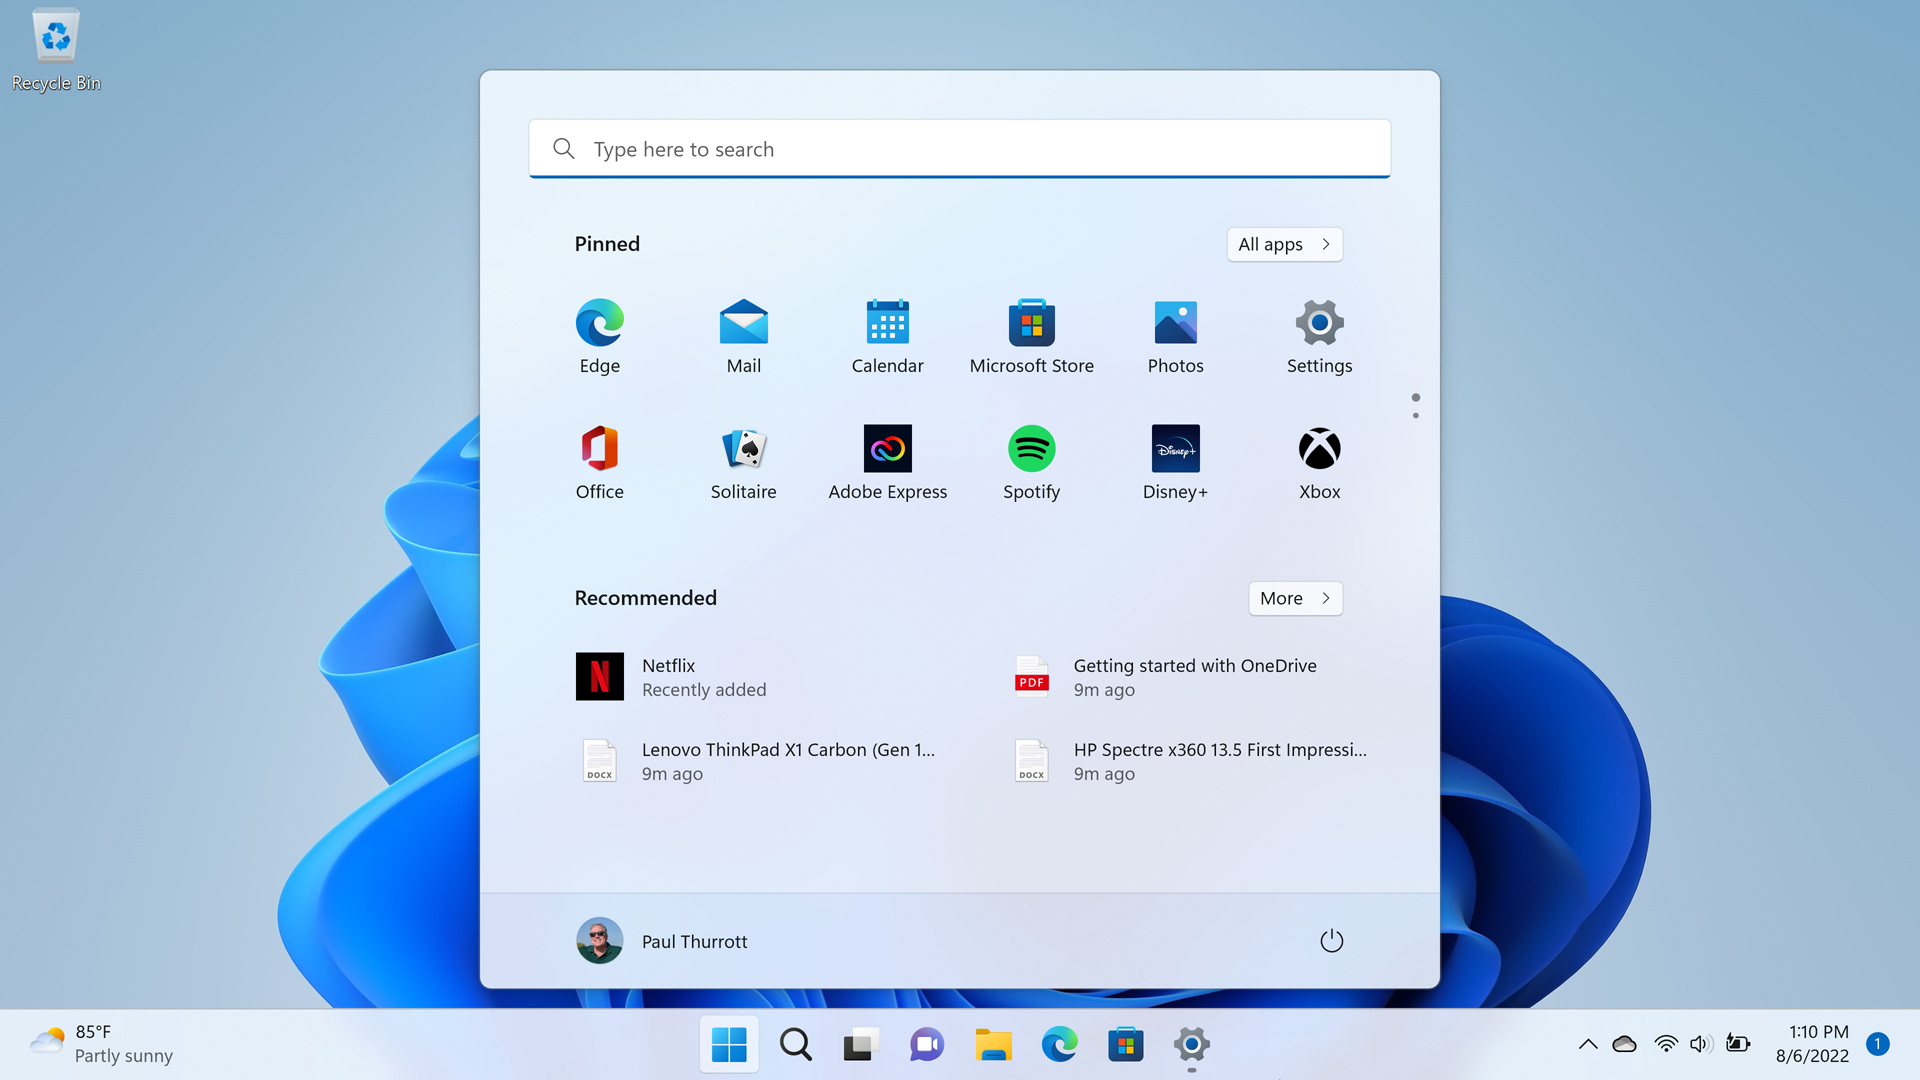
By default, the Recommended area displays two different types of items: Recently-installed apps and recently accessed documents, images, and other files.
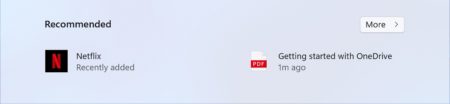
More recommended
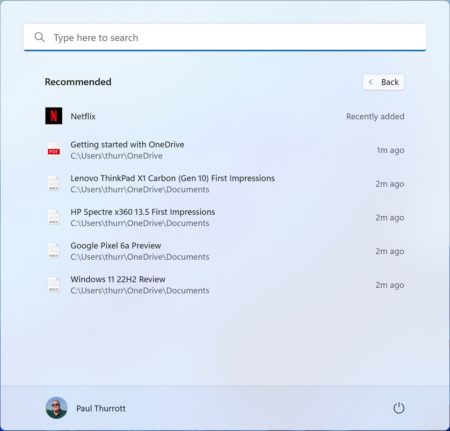
To access a longer list of recent documents and files and recently installed applications, select the More button next to Recommended. Recommended takes over the Start menu display and provides a much longer list of that content.
Search
A browser-like Search box appears at the top of Start so that search results appear below your search, much as they do in web-based search engines. As with the Start-based search functionality in Windows 10, search in Windows 11 helps you find and launch installed applications, documents and other files, settings, and other content, and it is personalized for your sign-in account (a personal Microsoft account or an Azure Active Directory-based work or school account) to provide results from your OneDrive, SharePoint, and Outlook data stores, and from Bing on the web.

Start switches to the Search experience select the Search box or you start typing.
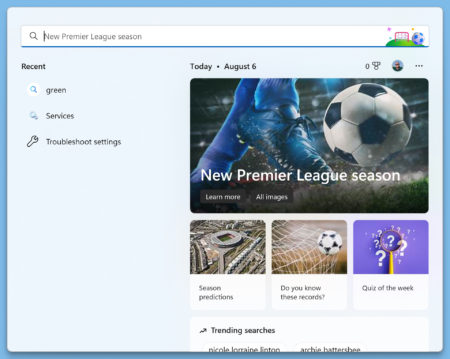
To be clear, you don’t need to select the Search box to start a search. Just start typing while Start is open.
User account options
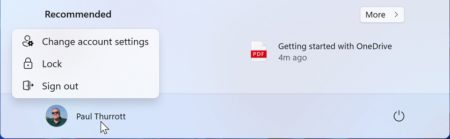
In the lower-left corner of Start, you will find a button representing your user account. When you select this image, a small pop-up menu appears with choices for changing account settings, locking the PC, signing out of this account, or, if available, switching to any other accounts that are configured for use on this PC.
You can change or edit the user image displayed on this button by opening Settings (WINKEY + I) and navigating to Accounts > Your info.
Power options
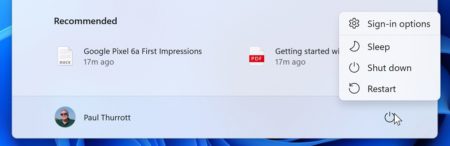
In the lower-right corner of Start, you will find a Power button that, when selected, displays options like Sleep, Shut down, and Restart.
Customize Start
Start offers a few customization options, some of which are available directly in Start and others that can be found in Settings.
Customize the layout
By default, the Pinned and Recommended areas take up identical amounts of space, though the number of rows of icons you will see in each will vary according to your display’s size, resolution, and scaling settings. But you can optionally choose a layout that provides “More pins” or “More recommendations” instead.
To do so, open Settings (WINKEY + I) and navigate to Personalization > Start. You will see three layout options at the top: More pins, Default, and More recommendations.
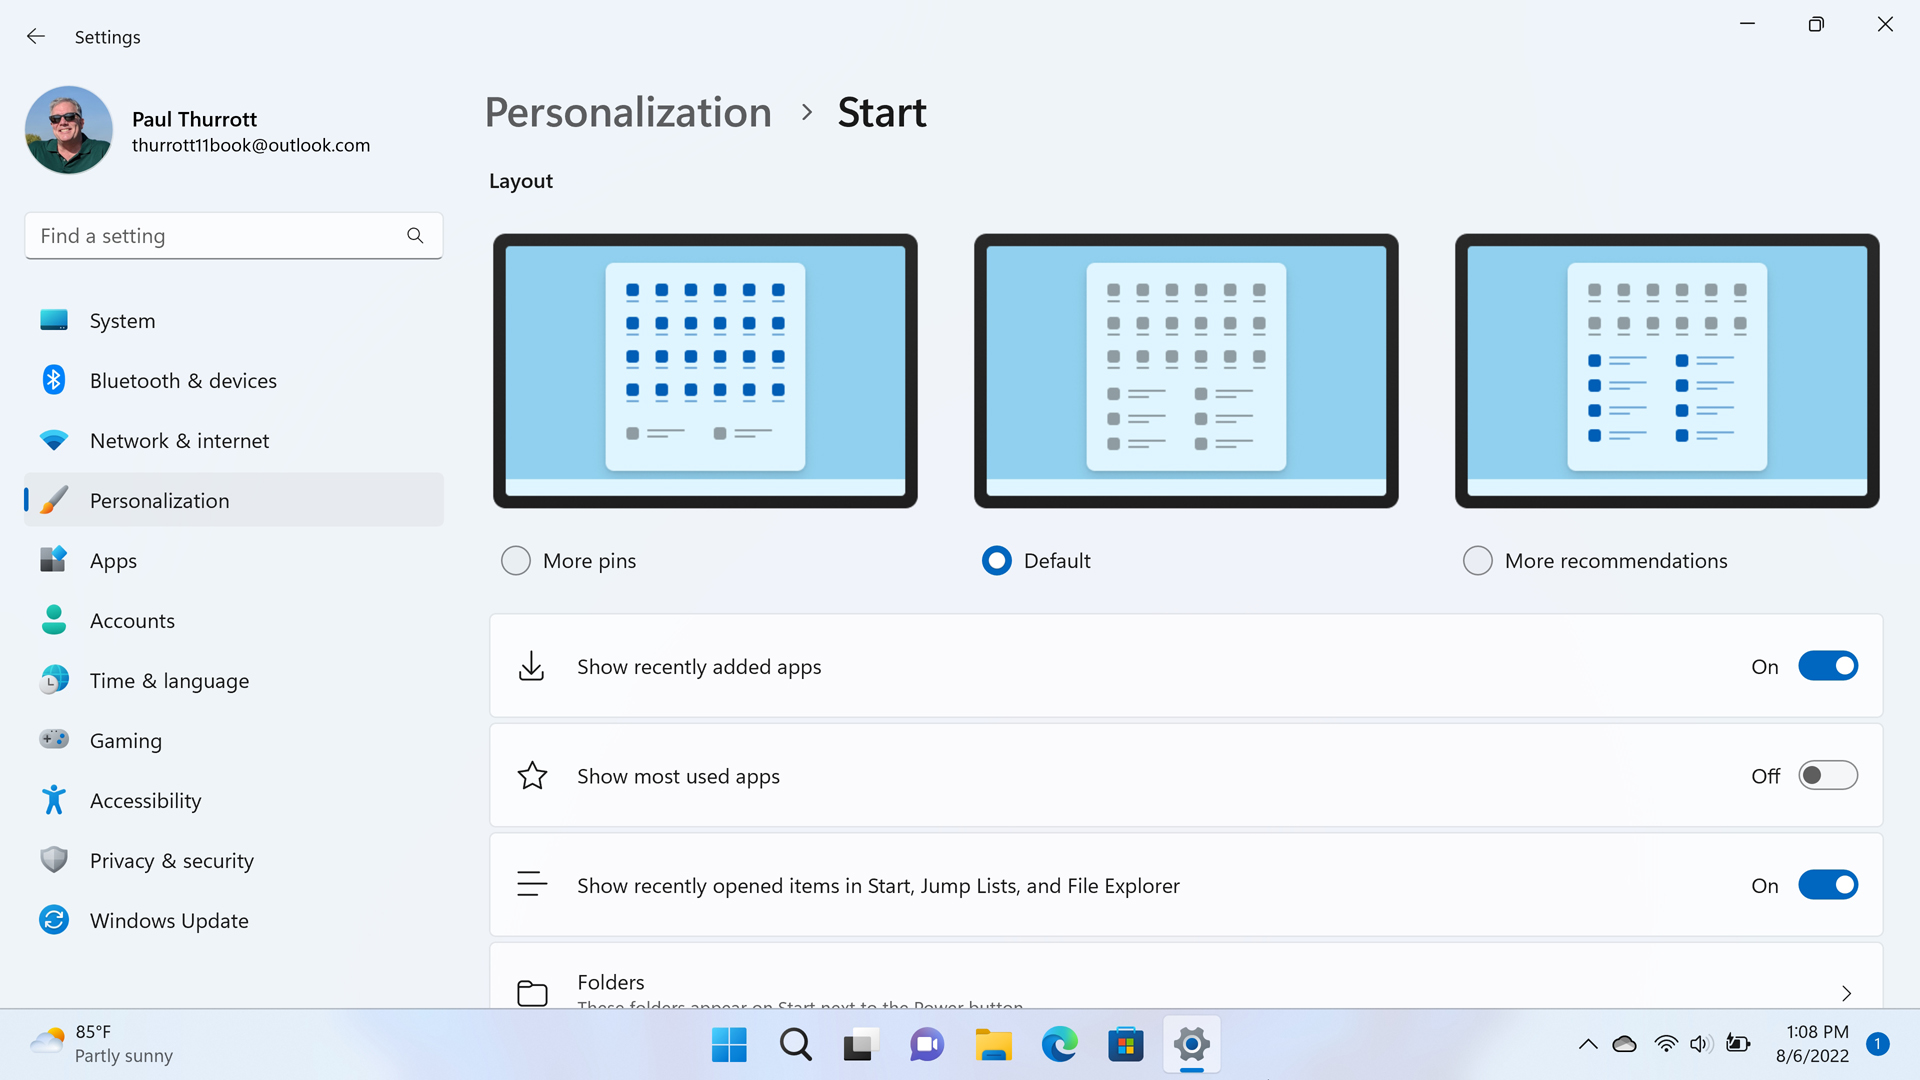
These choices work predictably. If you select “More pins,” for example, Start will provide more space to the Pinned area.
And if you select “More recommendations,” it will provide more space to Recommendations.
Customize Pinned
The Start menu’s Pinned area works a lot like the Live tiles area from the Windows 10 Start menu, though now you can only display app shortcut icons and not live tiles. But you can still add (“pin”), move, or remove app shortcuts as needed, and you can organize them into folders.
Add a shortcut to Pinned
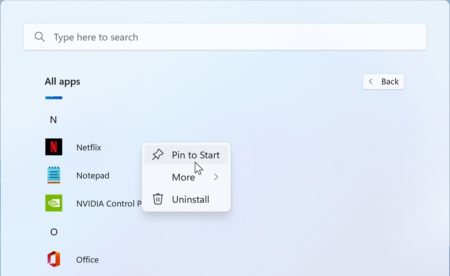
To add an app shortcut to Start, select it anywhere in the system—including the All apps view in Start—and choose “Pin to Start.”
Shortcuts pinned to Start appear at the bottom of the Pinned area. So you may need to scroll down to find a newly-created shortcut.
Move a shortcut
You can change the location of any pinned item in Start’s Pinned area by dragging it to a new location.
To move an icon to the top of Pinned, right-click it and choose “Move to front.”
Remove a shortcut from Pinned
To remove a shortcut from Start, right-click it and choose “Unpin from Start.”
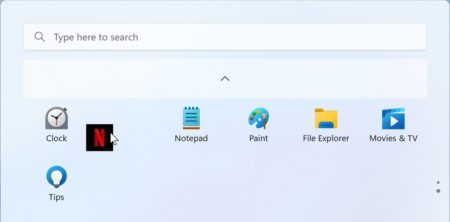
If you remove too many shortcuts from Pinned, it’s possible to introduce an empty space between Pinned and Recommended. That’s right: the new Start menu is so unsophisticated that it cannot auto-fill that empty space.
![]()
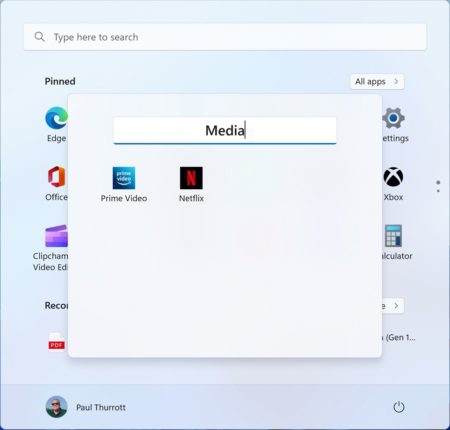
Create a folder
The Windows 11 Start menu lets you create folders full of app shortcuts. To do so, drag one app shortcut onto another. Then, you can drag other app shortcuts into the newly created folder as needed.
You can move app shortcuts to new locations in a folder just as you do with the Pinned section in Start. You can also drag shortcuts out of a folder to remove them from the folder.
Rename a folder
To rename a folder, select it to open it and then click the “Edit name” field of folder name.
Remove a folder
To remove a folder, you have to manually delete each app shortcut it contains or drag/move them out of the folder and back to Pinned, one by one.
Customize All apps
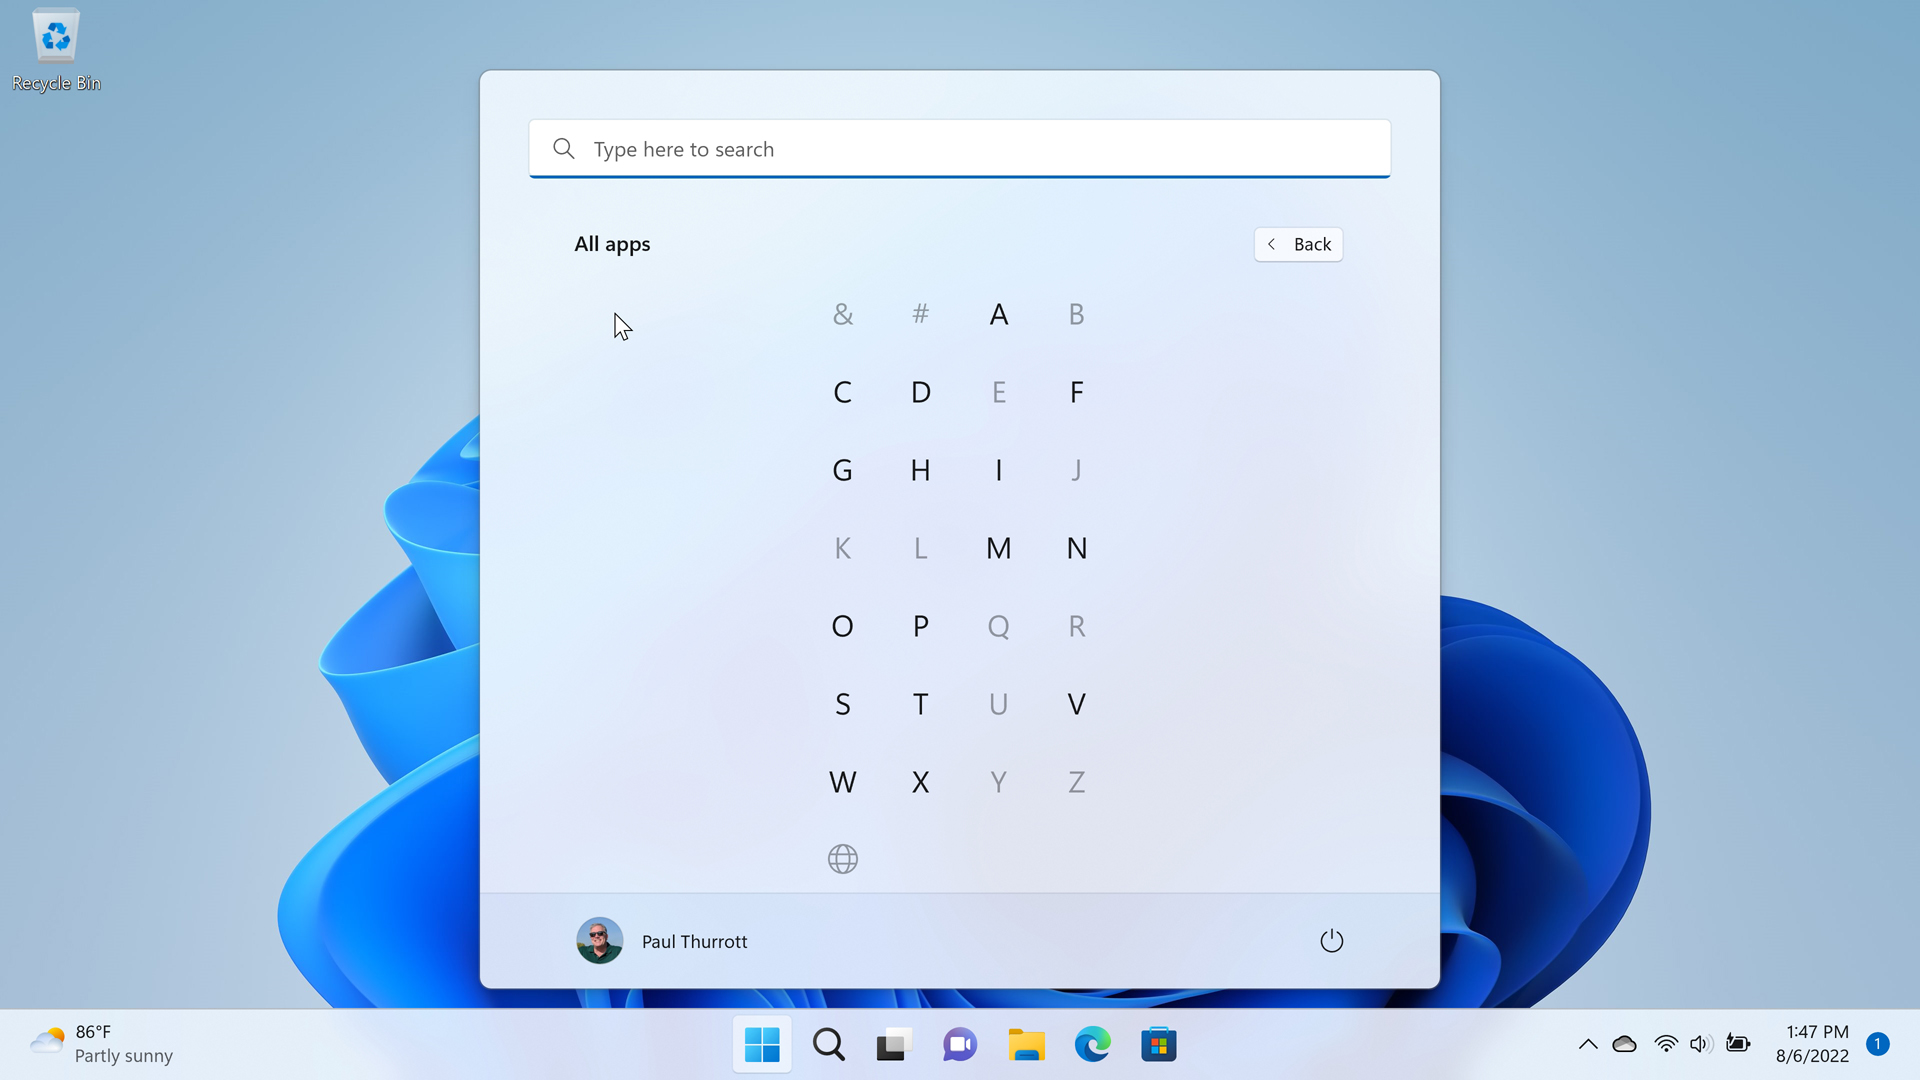
The All apps view works as it did in Windows 10 in that it provides an alphabetical list of all of the apps installed on your PC.
It even uses the same semantic zoom feature that lets you click a letter header in the list (like “A”) to view a grid of letters so you can quickly navigate further down the list.
But there is one option in Start settings that impacts the All apps view: Show most used apps. It’s disabled by default and determines whether a Most used section appears at the top of All apps, above the “A” section.
Customize Recommended
By default, the Recommended area displays your most recently added apps and most recently opened items together. But you can show only one or the other—or neither—using the following two options in Start settings:
Show recently added apps. Enabled by default, this option determines whether recently installed apps appear in Recommended.
Show recently opened items in Start, Jump Lists, and File Explore. Enabled by default, this option determines whether recently opened documents and other files appear in Start (and in Jump Lists and in File Explorer’s Home view).
In case it’s not obvious, if you turn off both of the options noted above, the Recommended area will be empty.
![]()
That’s right: the new Start menu is so unsophisticated that it will not remove the Recommended area if you disable everything it can display. Instead, it will waste the available space with an empty Recommended area.
You can’t change the location of items in Recommended. Instead, this view acts as a Most Recently Used (MRU) list, where the most recently accessed items are at the top. But you can remove individual items you don’t want to see there: Just right-click one and choose “Remove from list.”
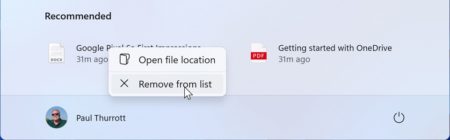
You can remove items from More recommended the same way as well.
Move Start (and the Taskbar) to the left side of the display
By default, Windows 11 centers Start and the shortcut icons in the Taskbar onscreen. But if you would prefer to left-align these items to more closely resemble the Windows 10 look-and-feel, you can.
To do so, open Settings (WINKEY + I), navigate to Personalize > Taskbar, and expand the Taskbar behaviors section. Then, change the Taskbar alignment option from “Center” to “Left.”
Display system folders in Start
Unlike with Windows 10, the Windows 11 Start menu doesn’t display any system locations by default. But you can choose to display buttons for several system locations—including Settings, File Explorer, Documents, Downloads, Music, Pictures, Videos, Network, and/or Personal Folder (C:\accounts*your-user-name* by default)—to the left of the Power button in the lower-right of Start.
To do so, open Settings, navigate to Personalize > Start, and then select the Folders option.
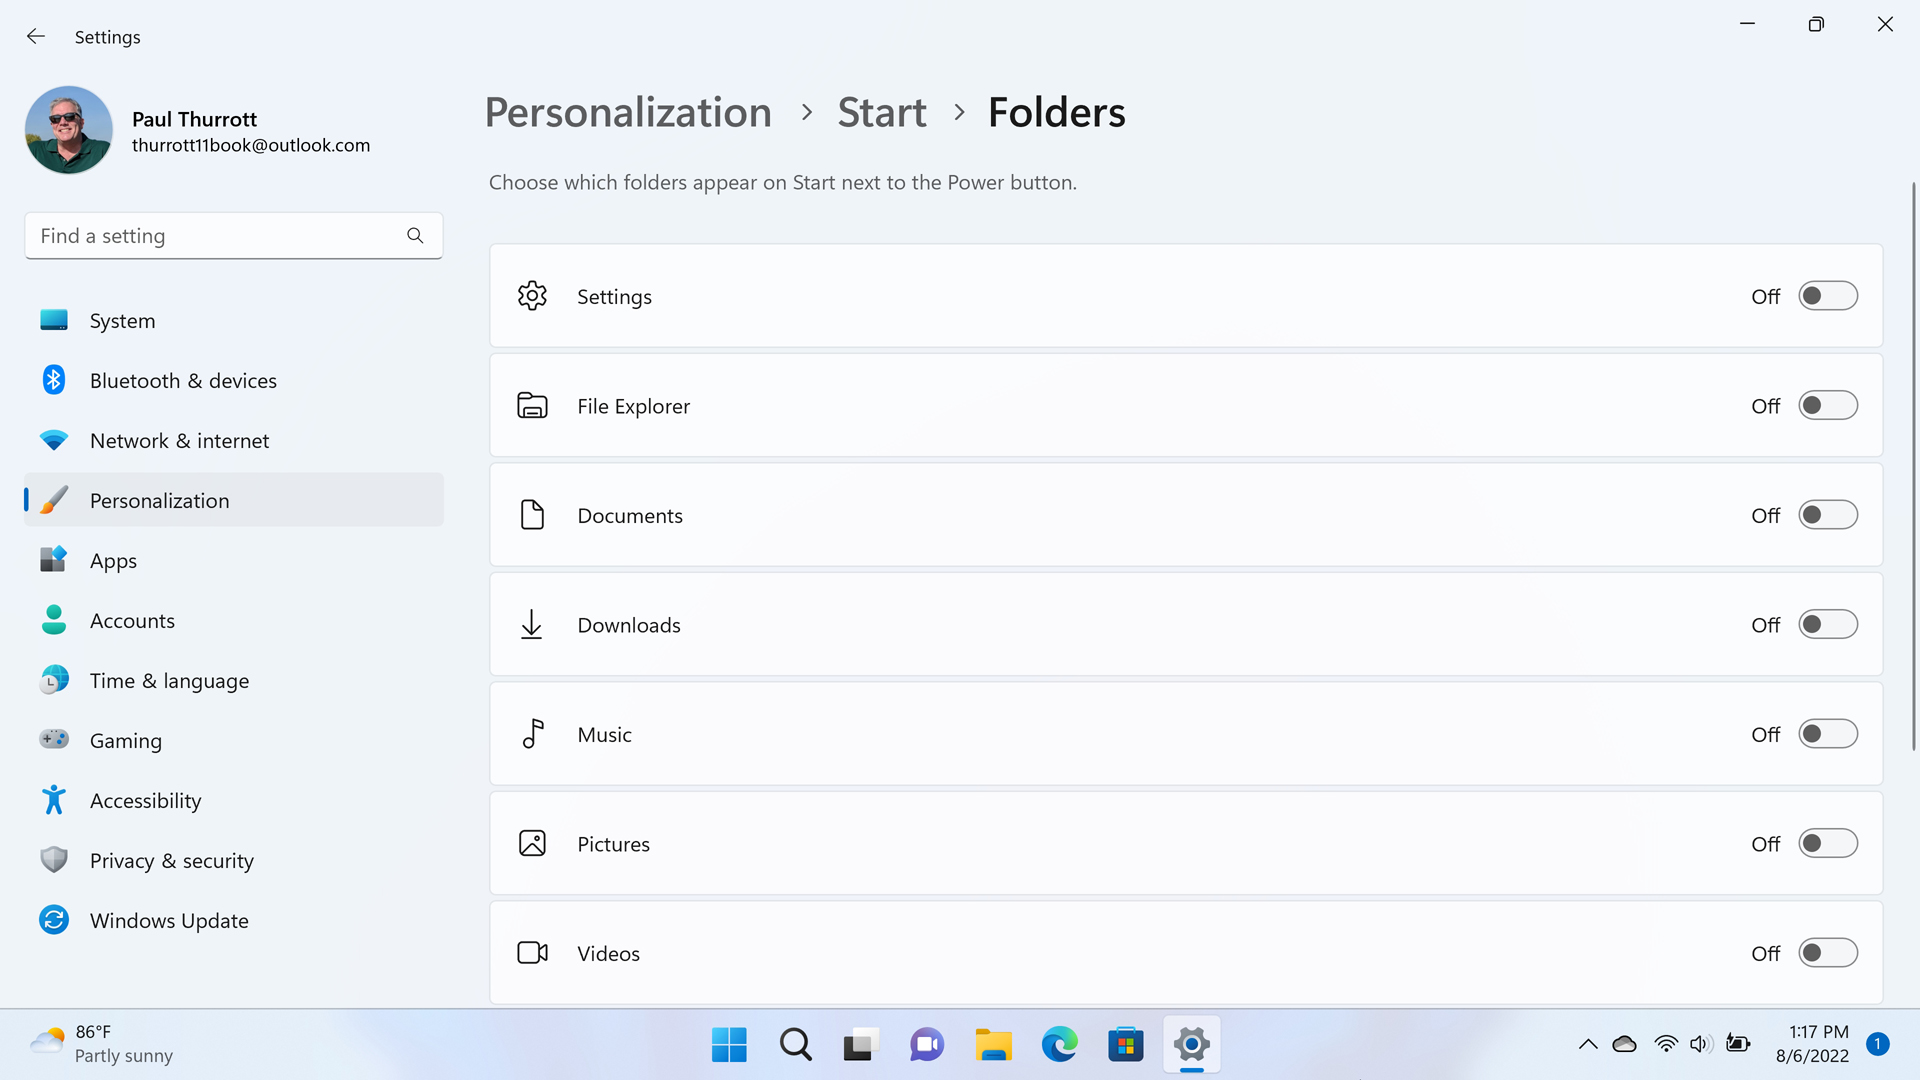
On this page, select the system location(s) you want to display in Start. Then, open Start to view the change.

Use the Quick access menu
If you right-click the Start button on the Taskbar, the Quick access menu—which some mistakenly call the “power user menu”—appears, as was the case with Windows 10.
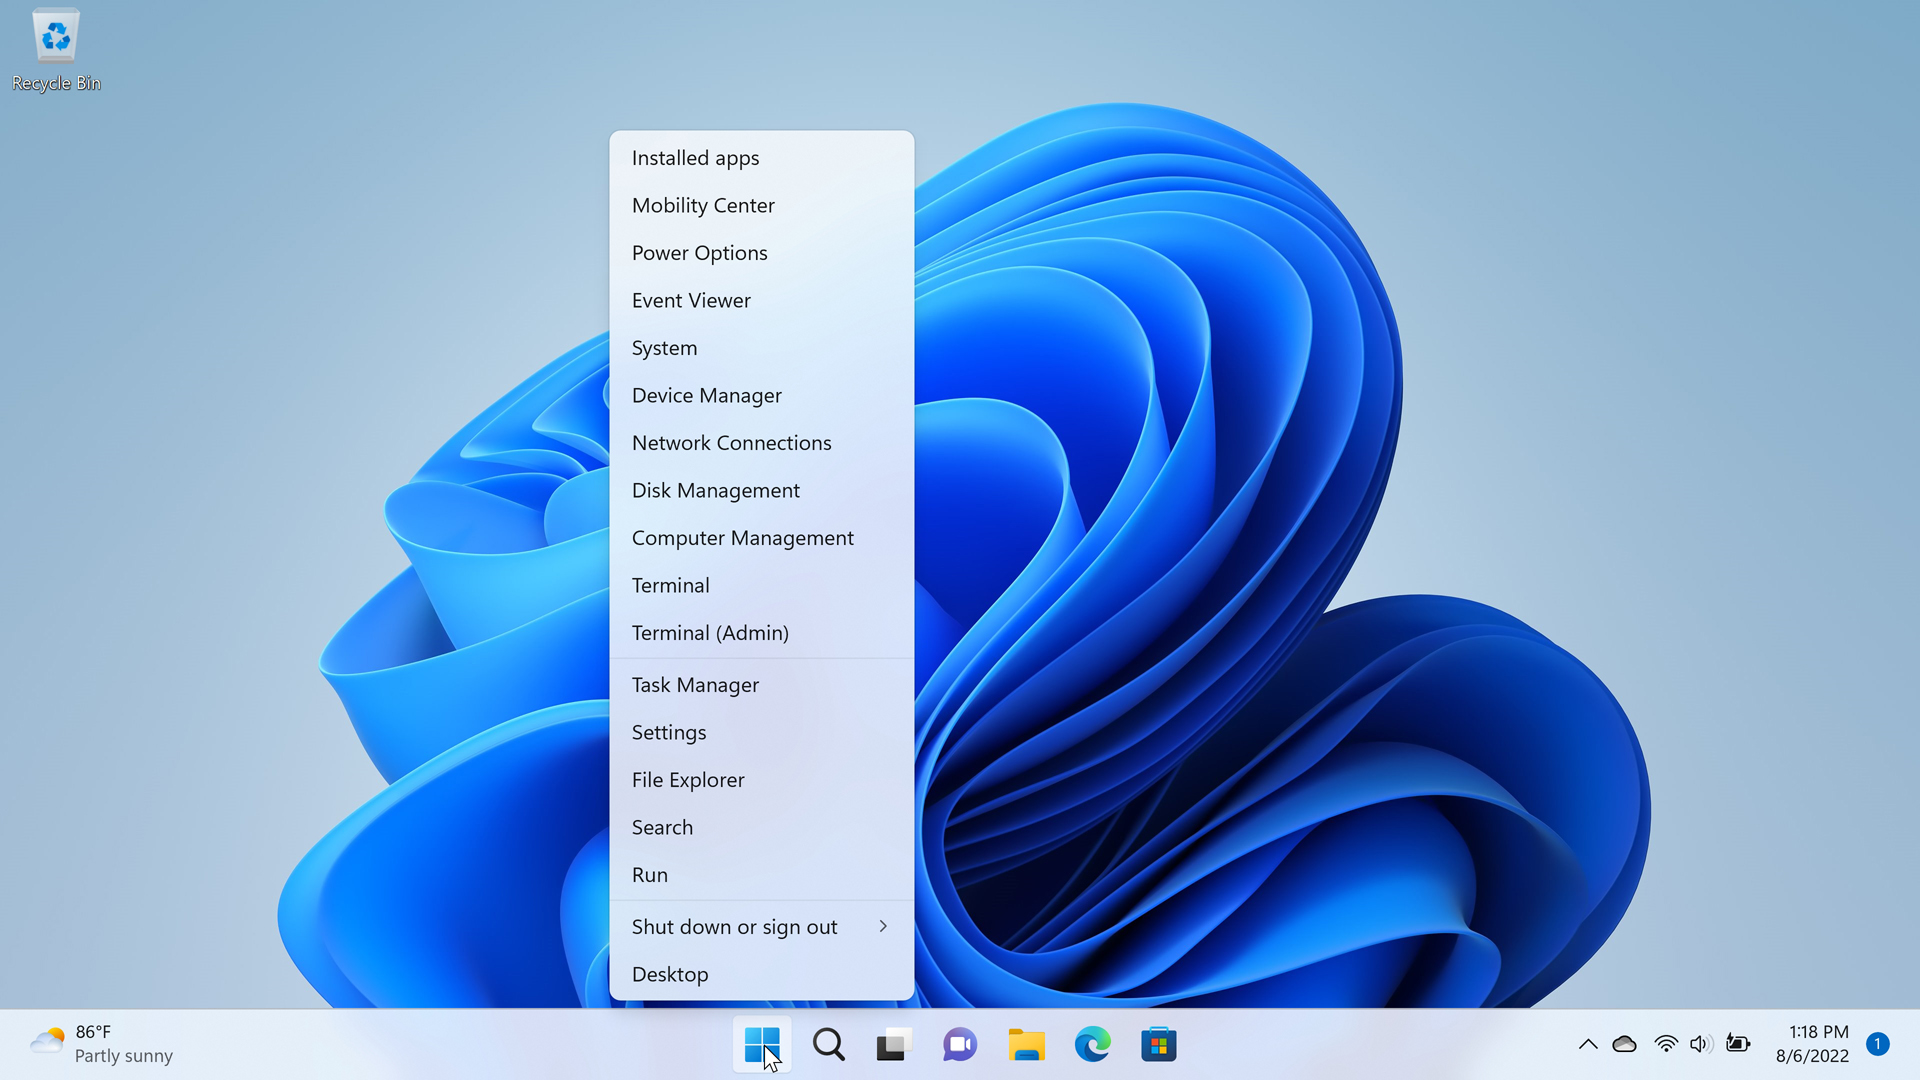
This menu, like Start, is somewhat streamlined compared to its predecessor, but it still provides access to legacy management interfaces like Device Manager and Computer Management as well as tools like Task Manager, Settings, File Explorer, Search, Run, and so on.
You can also open the Quick Access menu by typing WINKEY + X.

Gain unlimited access to Premium articles.
With technology shaping our everyday lives, how could we not dig deeper?
Thurrott Premium delivers an honest and thorough perspective about the technologies we use and rely on everyday. Discover deeper content as a Premium member.