Nearby Sharing (24H2)
- Paul Thurrott
- Nov 02, 2024
-
0
File sharing between two PCs has been an issue for as long as there have been files and PCs, and Windows has handled this need in different ways in the past. But Windows 11 introduce a new way to share files–and photos and website links, go figure–called Nearby sharing. And it’s likely that you’ve never even heard of this feature, let alone used it before.
A quick survey of legacy sharing features
Before getting to Nearby sharing, let’s take a quick look at the other ways in which you might share documents, pictures, and other files with others using Windows 11. Each of these methods debuted in previous Windows versions–some long, long ago–and most are still available in Windows 11.
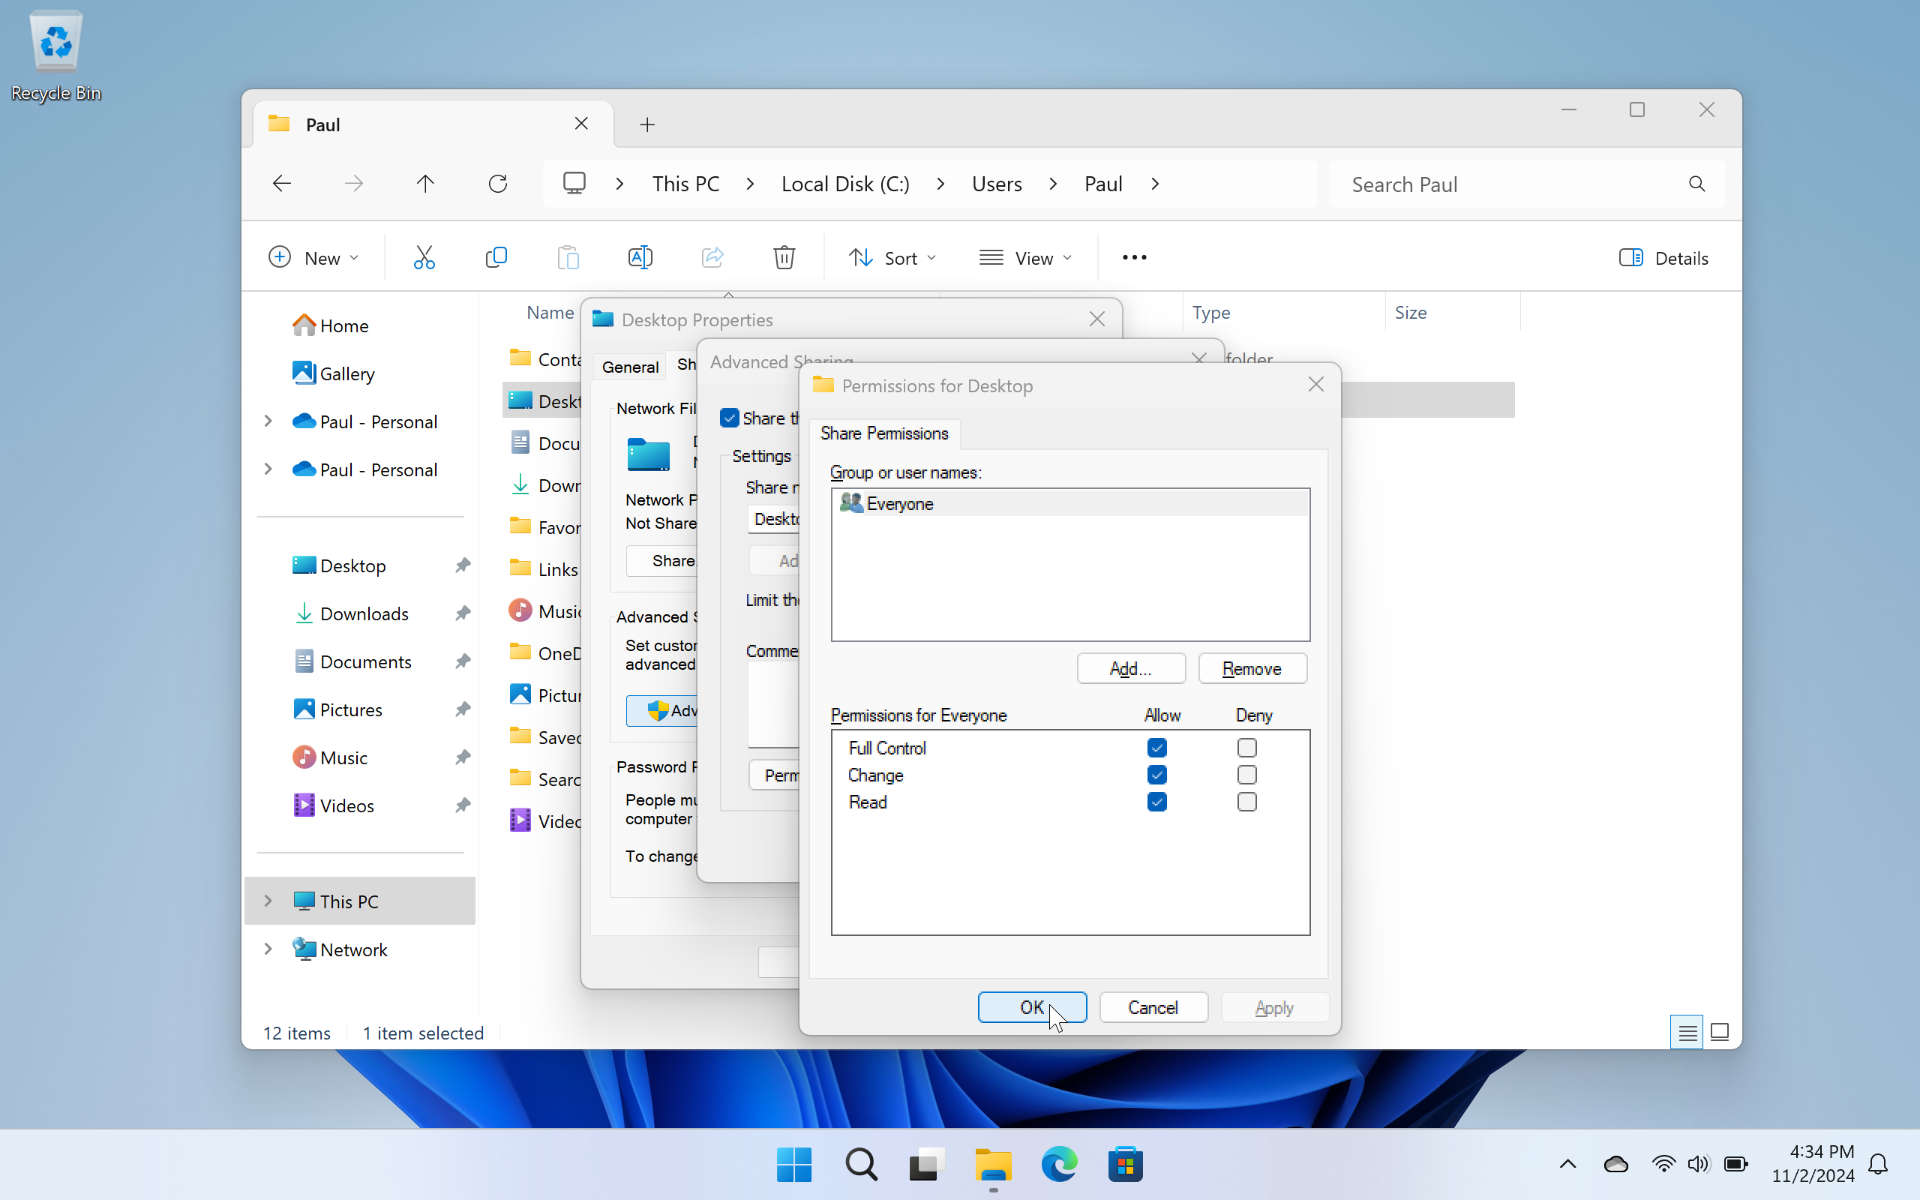
Advanced sharing. The original file sharing feature from Windows NT was renamed to “advanced sharing” over 20 years ago. It allows you to share the contents of a folder with a specific set of users or user types, each of which is assigned specific permissions (Full control, Change, and/or Read).
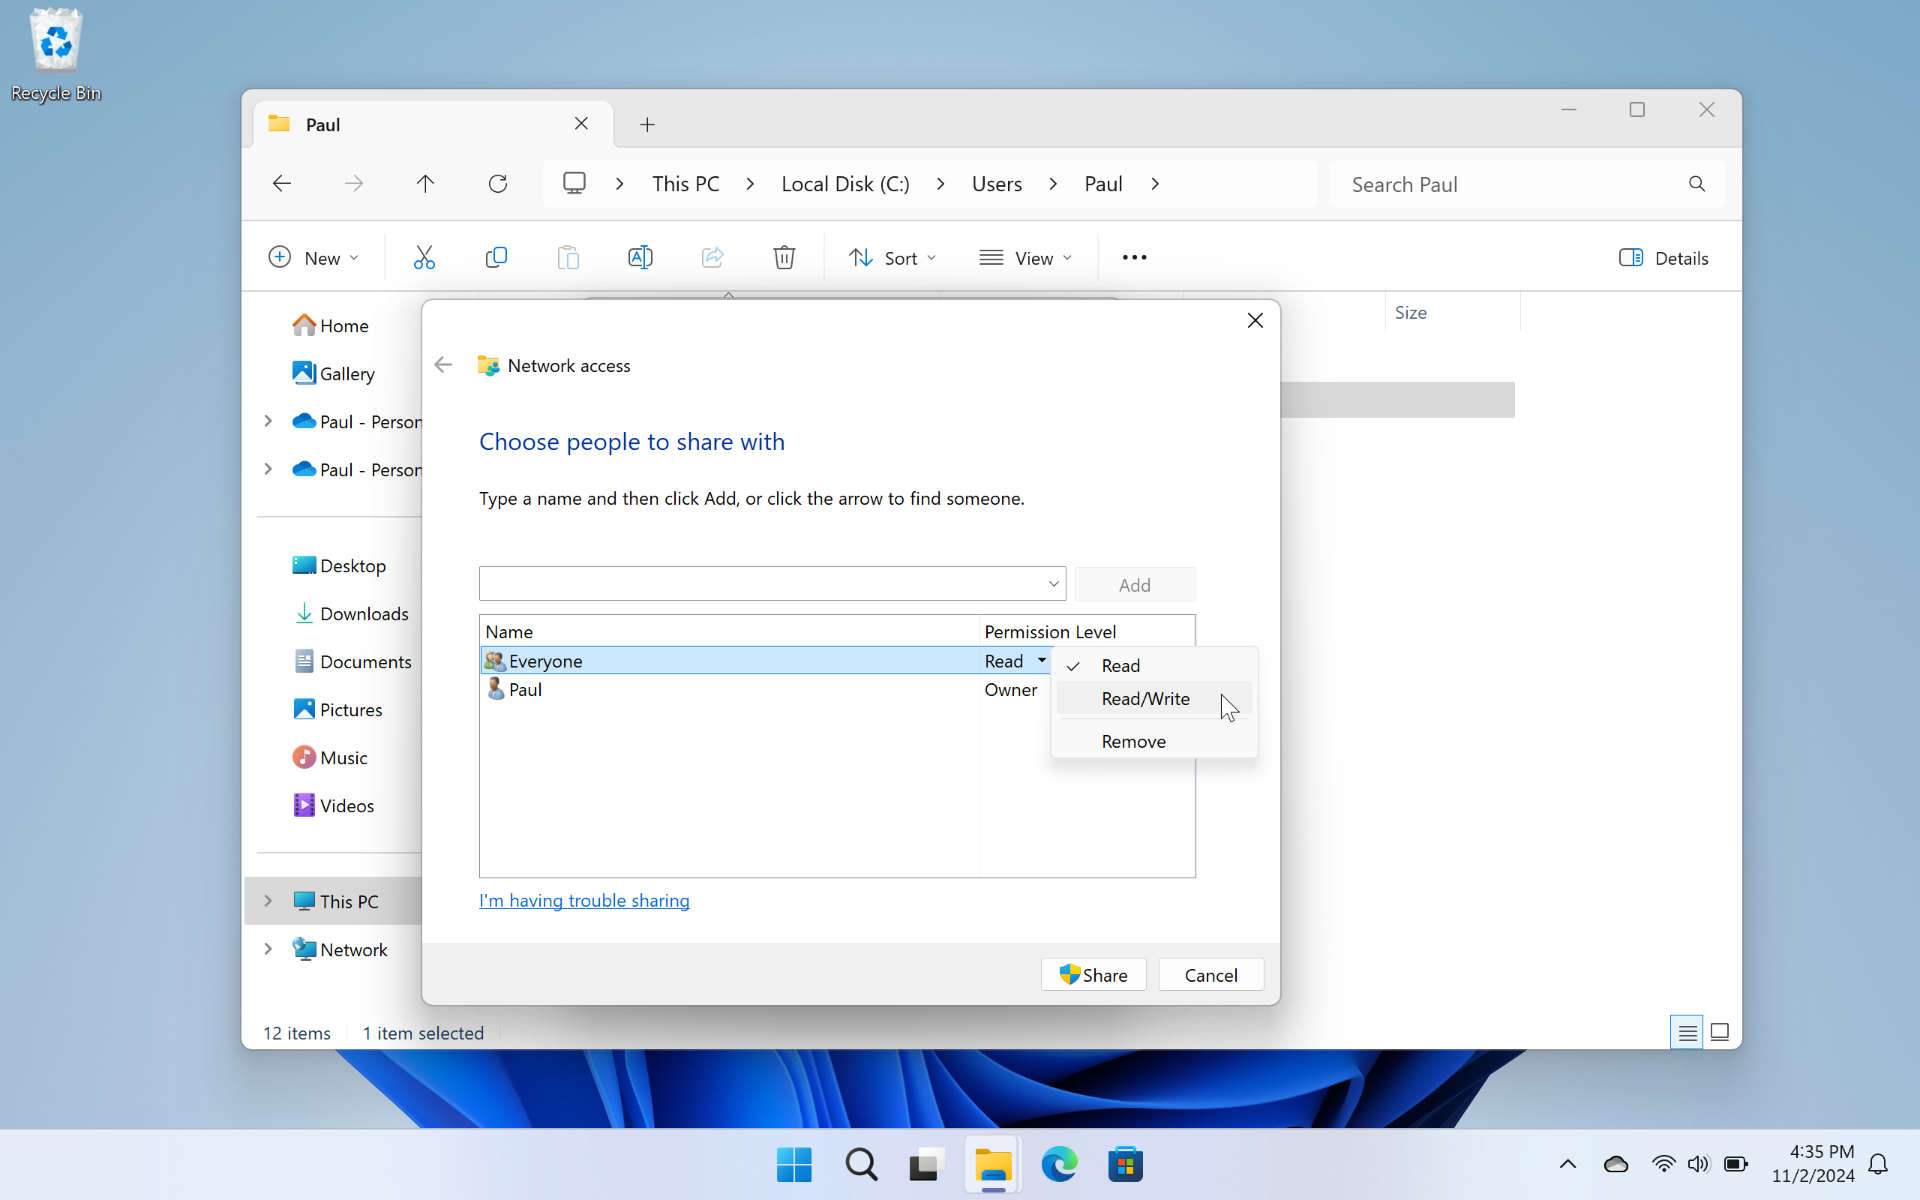
Simple sharing. This somewhat simpler file sharing feature debuted in Windows XP in 2001. It, too, allows you to share the contents of a folder, but only with specific users or everyone, and using simpler permission levels (Read and Read/Write).
HomeGroup. This even simpler method for sharing files (and media and printers) debuted in Windows 7 in 2009 and was designed for individuals sharing over a home network using a central password. But HomeGroup is no longer available in Windows 11.
Share. Windows 8 introduced a new system contract called Share that let you share information between Store apps. This functionality was extended to the Desktop in Windows 10 so that you could share files.
Share with OneDrive. OneDrive in Windows 10 and 11 offers its own way to share files with others.

You can learn more about this feature in the OneDrive chapter.
Get to know Nearby sharing
Nearby sharing is the simplest method for sharing files in Windows yet. Unlike previous sharing methods, it doesn’t require you to configure permissions or passwords or figure out which Store apps might work. Likewise, it doesn’t leave file shares sitting open all the time, a potential security issue.
Instead, Nearby sharing uses a combination of Bluetooth and Wi-Fi to discover other PCs with which it can share and then, when directed, initiate and accept share requests on your behalf. When you’re done sharing, the two PCs are no longer connected.
Nearby sharing will use Wi-Fi for file transfers when both PCs are connected to the same Wi-Fi network. But it can actually work using just Bluetooth if the two PCs are very close together. Bluetooth-based file transfers are much slower than those using Wi-Fi.
The only complexity to Nearby sharing is that it needs to be enabled first on both the originating PC–the PC from which you are sharing–and on the destination PC. So let’s start there.
Enable Nearby sharing
To enable Nearby sharing, open Settings (WINKEY + I) and navigate to System > Nearby sharing. As you can see, it is disabled by default.
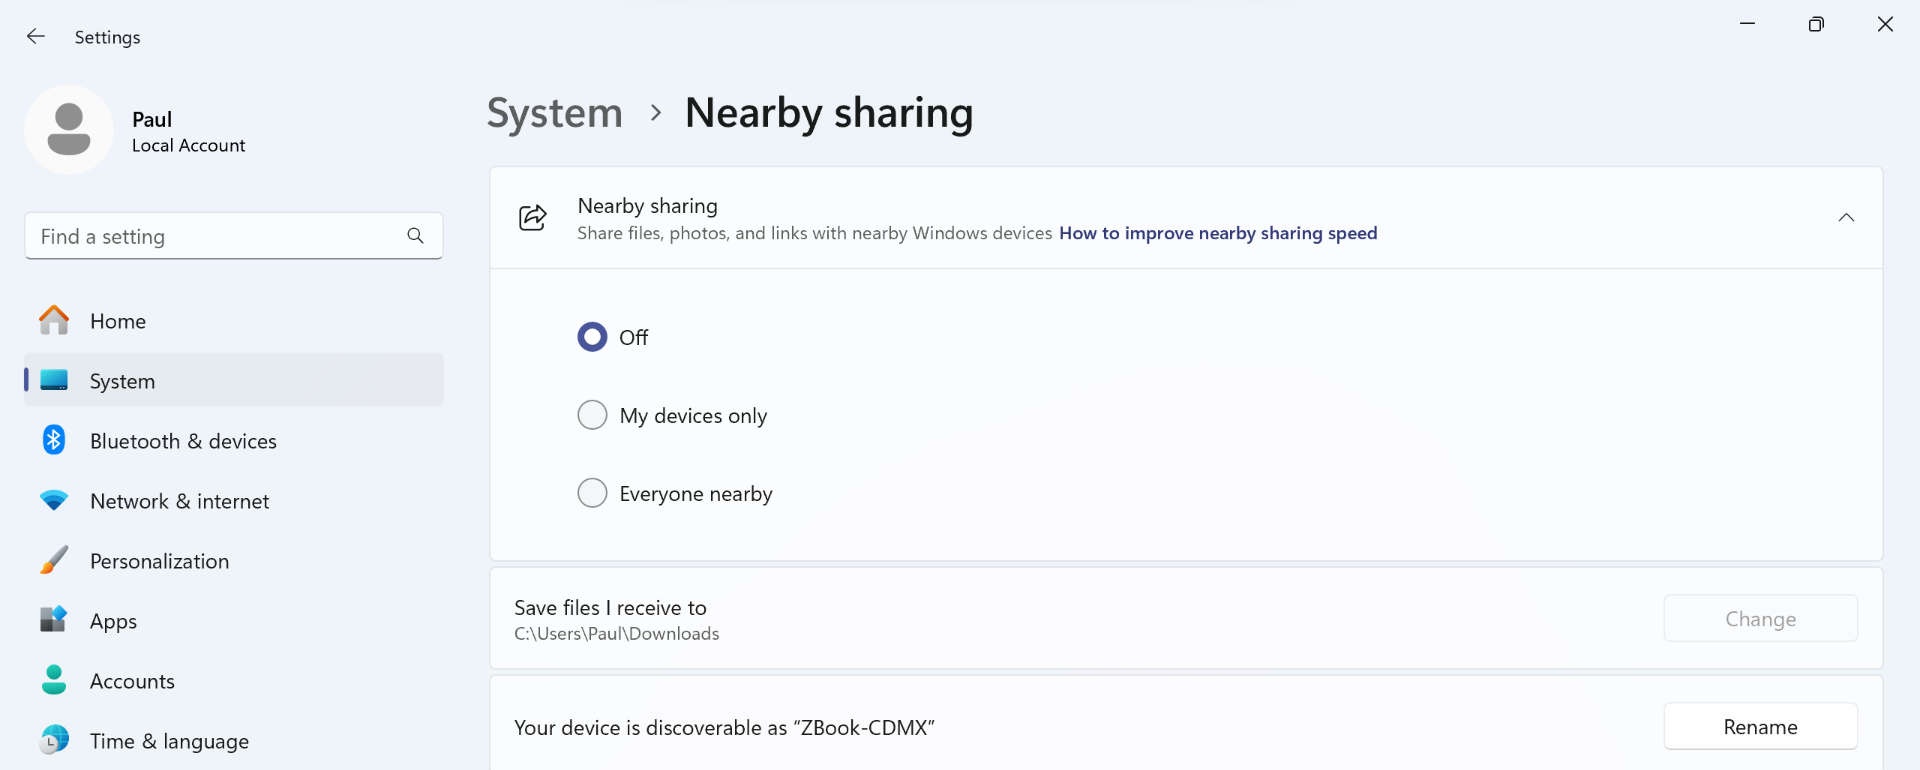
You have two options when enabling Nearby sharing:
My devices only. Nearby sharing will only find other PCs that are configured with the same Microsoft account you’re currently using. This is the better choice if you are just sharing with yourself.
Everyone nearby. Nearby sharing will find other PCs via Bluetooth or on the same Wi-Fi network that also have Nearby sharing enabled. This is the better choice if you wish to share with someone else nearby.
Use Nearby sharing to share a file
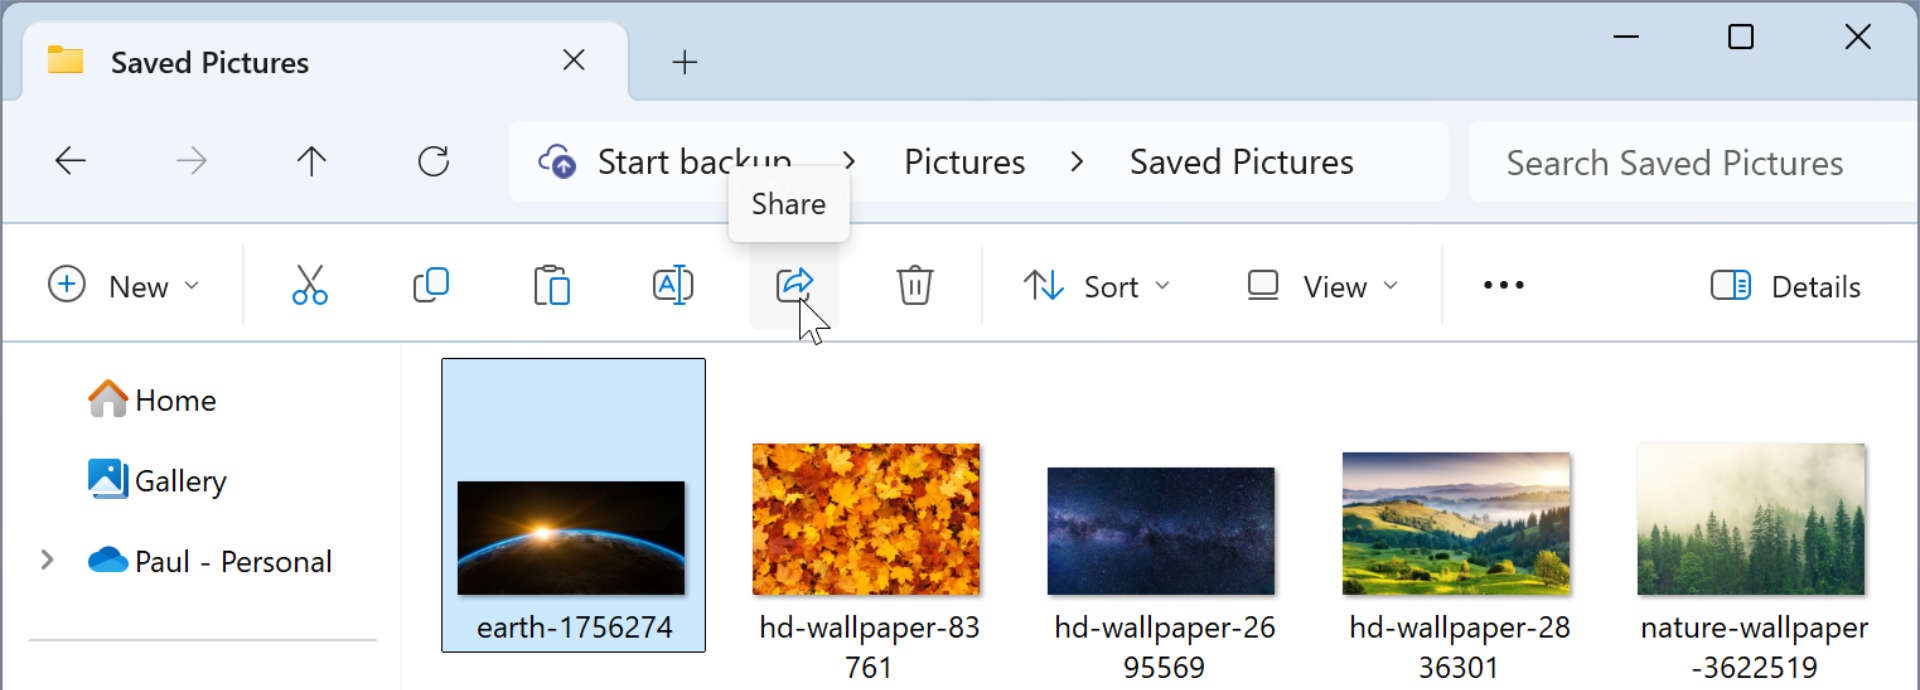
To share one or more files with Nearby sharing, locate the item(s) you wish to share in File Explorer, select them, and then click the “Share” button in the File Explorer command bar.
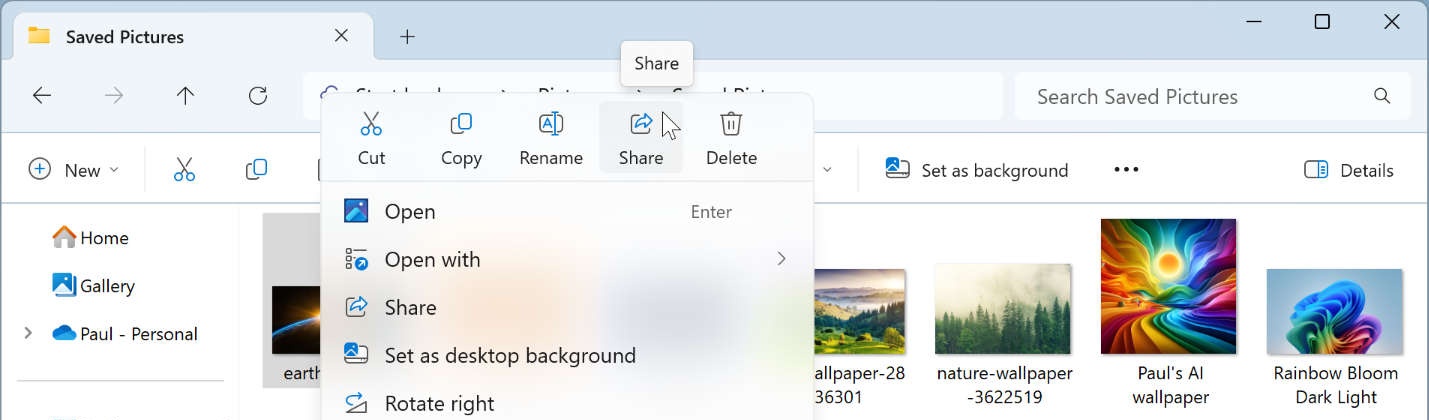
Alternatively, right-click the selected file(s) and then click the “Share” items in the context menu that appears.
If the items you selected are in OneDrive, you will see a different experience because OneDrive has its own way of sharing files. Please refer to Share OneDrive files with others in the OneDrive chapter to learn more.
The Share window appears.
If you didn’t enable Nearby sharing, this window will prompt you to do so now.
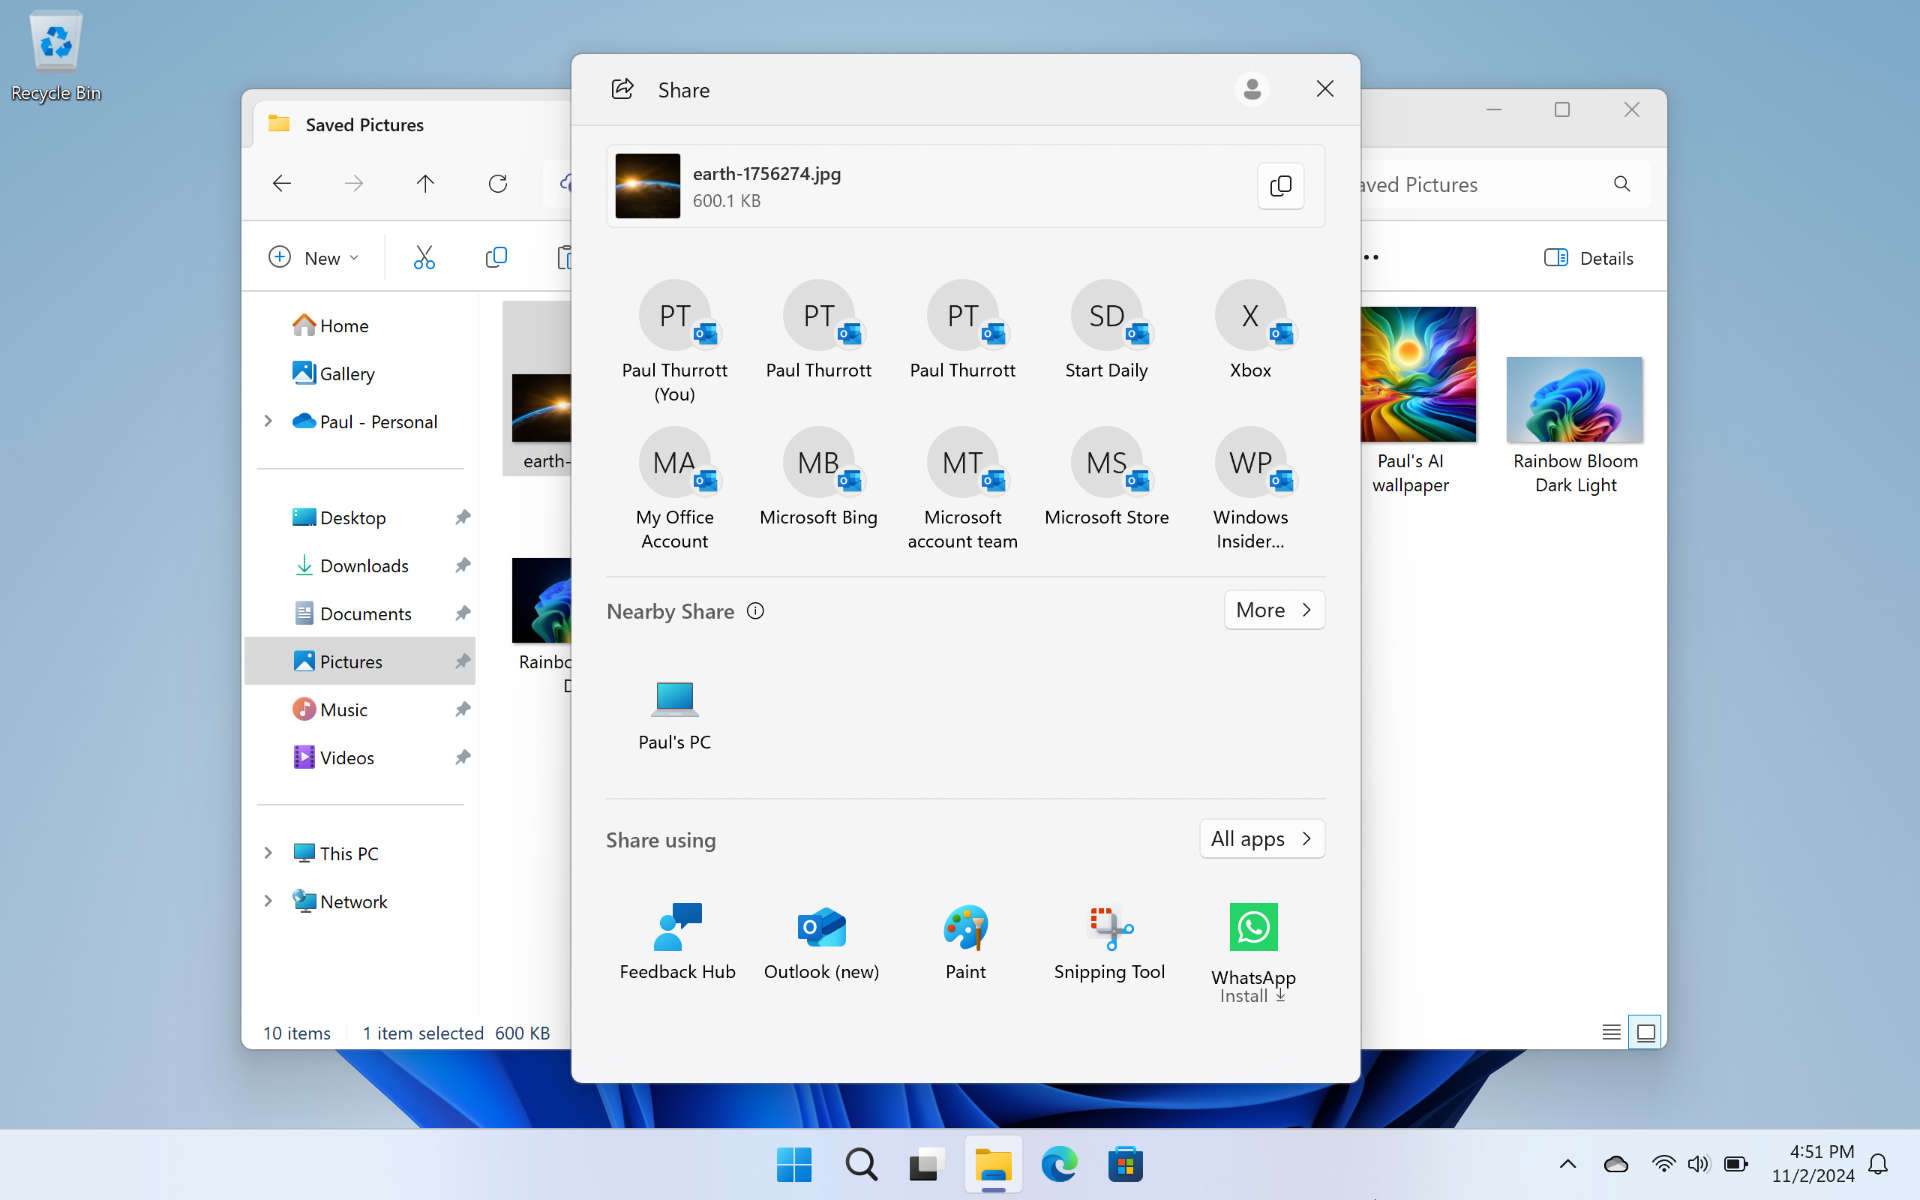
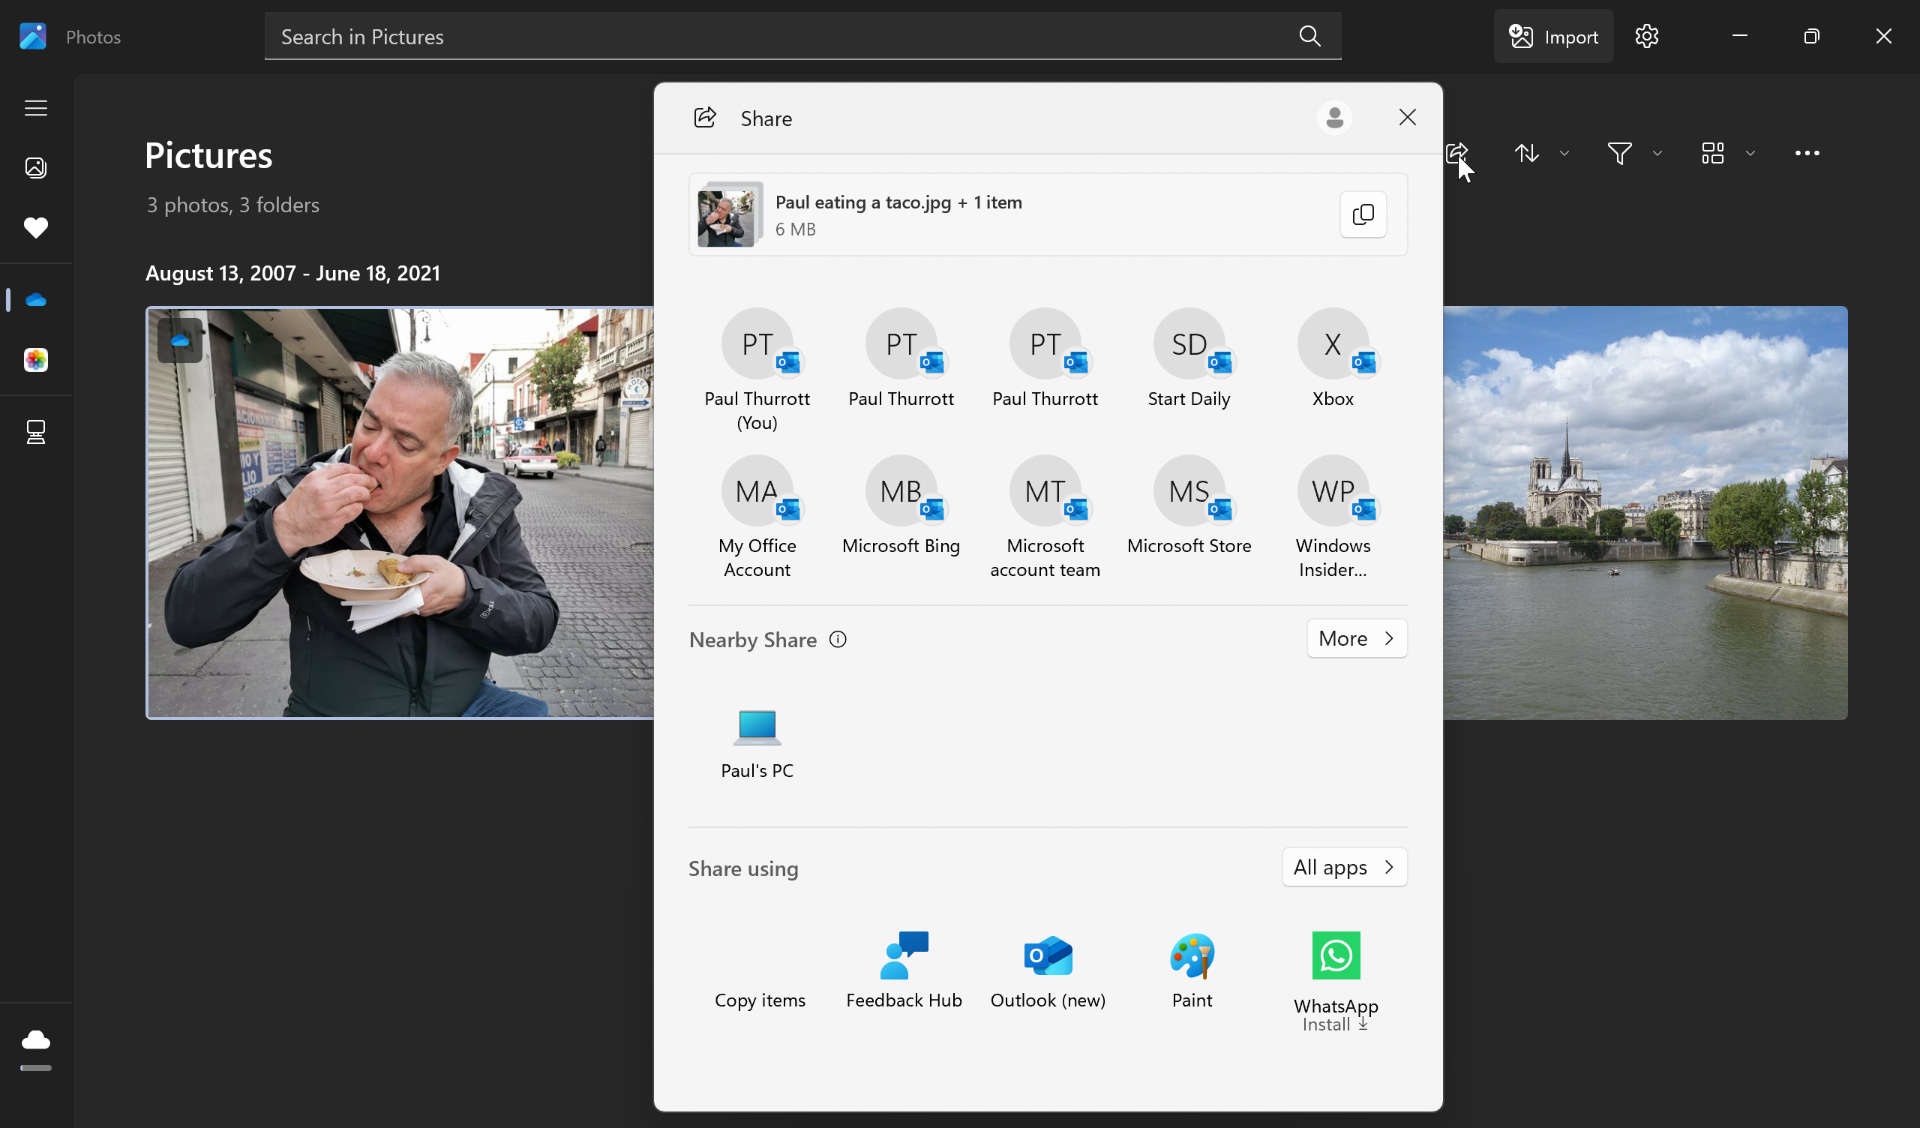
Share provides several different ways in which you can share the selected item(s). You can copy them to the Windows Clipboard using the “Copy” button at the top. You can share via your default email app–Microsoft Outlook, unless you changed it–using the contacts icons in the second section of this window. You can share using compatible apps, including one or more that isn’t even installed yet. You can share to your Android phone, if it’s connected via the Phone Link app. And then there’s the reason we’re here today: You can also share the items to another PC via Nearby sharing.
In the Nearby sharing section in the top-bottom half of this window, you will see one or more other PCs with which you can share the selected items.
If you see two or more with the same name (like “Paul’s PC” or “Paul’s Laptop”), hover the mouse cursor over each to find the right one: Windows will display a little tooltip with a more detailed name.
Select the appropriate PC to initiate the share.
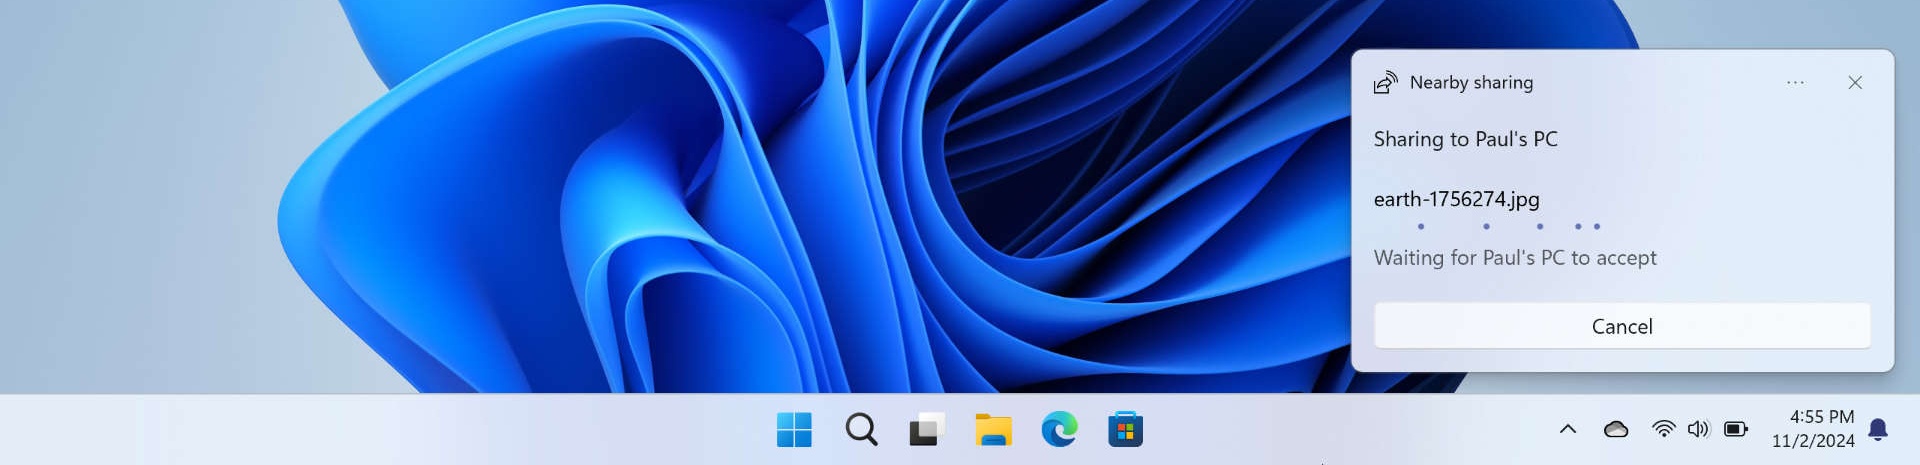
On the other PC, a similar prompt will appear, giving the receiver Save & open, Save, and Decline options.
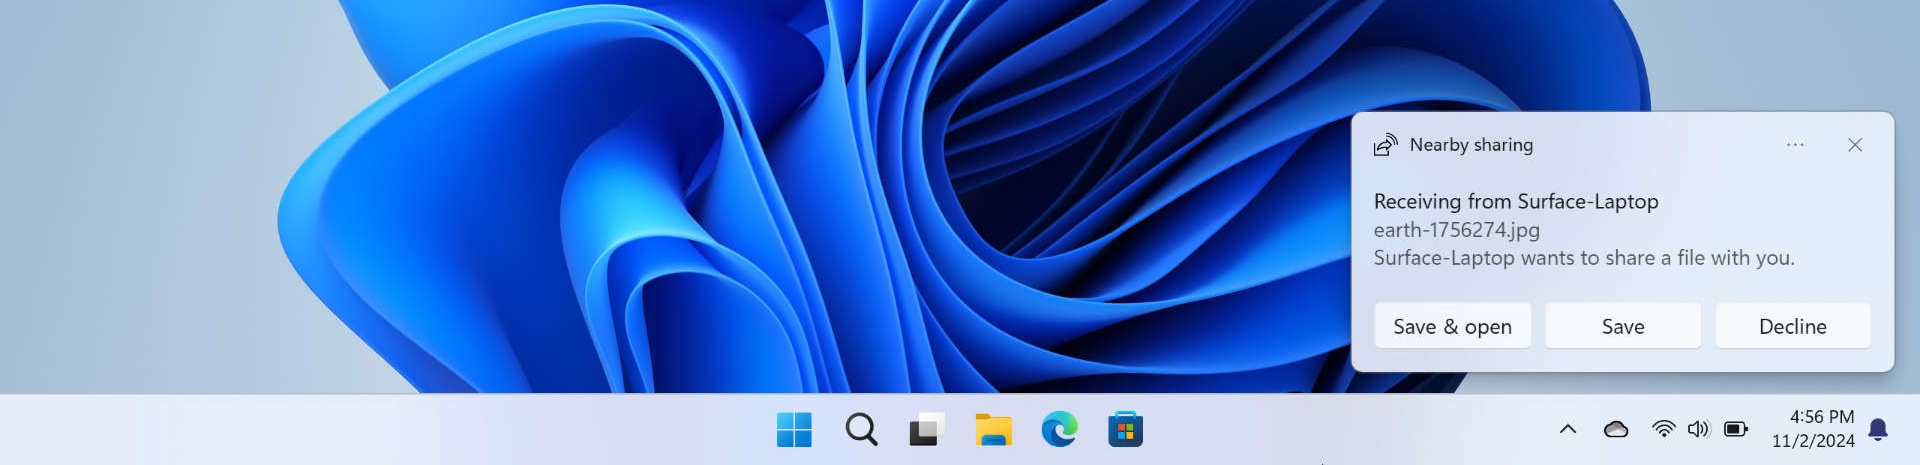
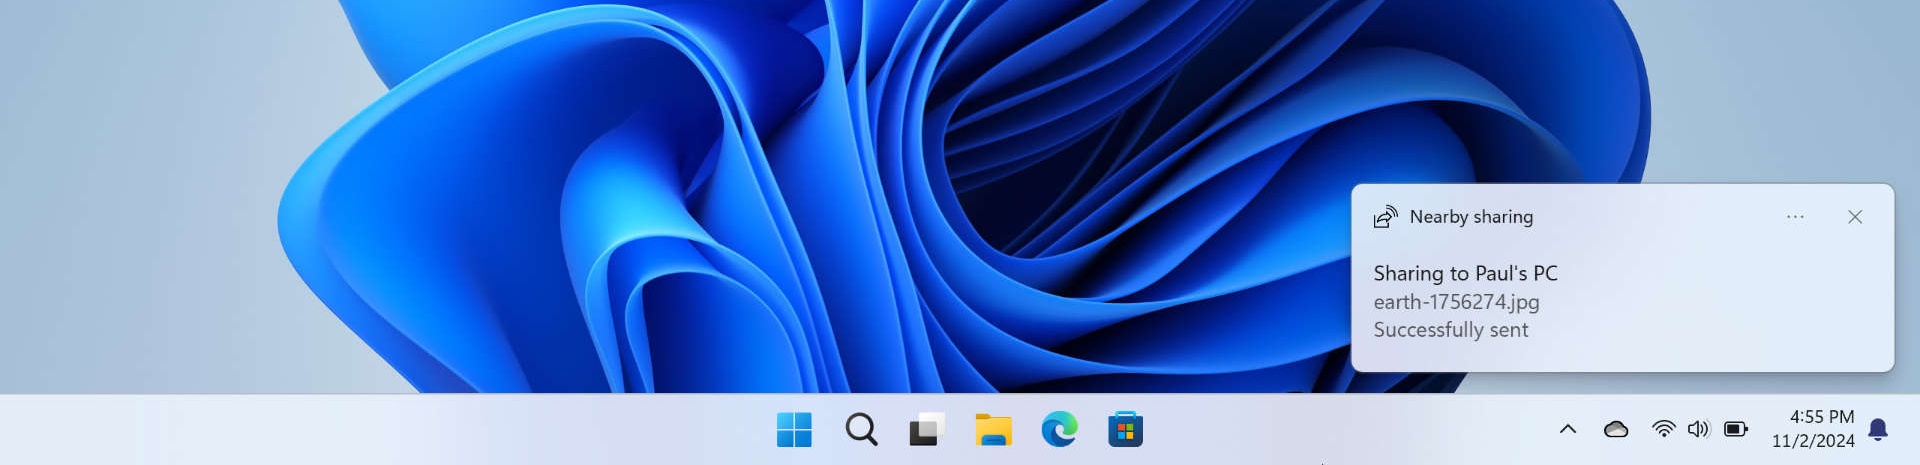
If the receiver accepts the request, the items will be transferred over Wi-Fi or Bluetooth. And it will report its success doing so on both PCs.
Use Nearby sharing to share a website URL
You can also use Nearby sharing to share a website URL. Naturally, you can only do so via Microsoft Edge, the web browser that comes with Windows 11, though the URL you share will open in the recipient’s default web browser.
To do so, navigate to a website you would like to share. Then, select “Settings and more” (“…”) and then Share to display the Microsoft Edge Share pane.
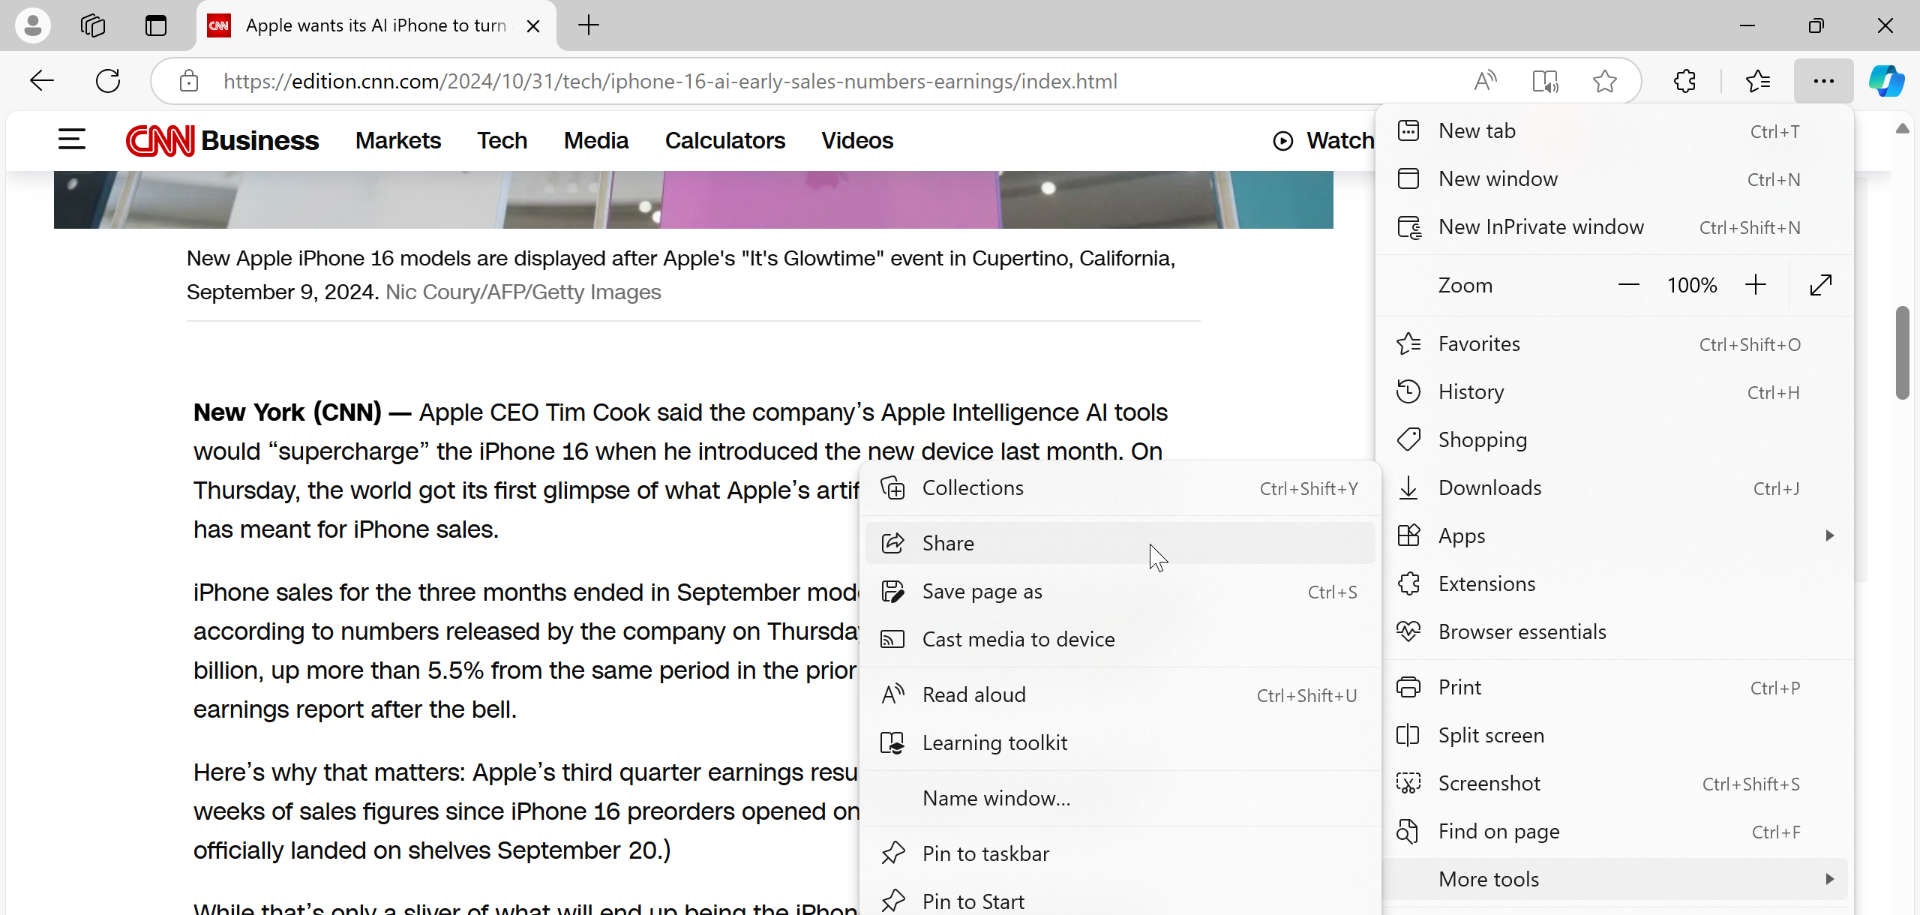
Depending on your PC’s display resolution and scaling settings, the “Share” item might be found under the “More tools” sub-menu, as above.
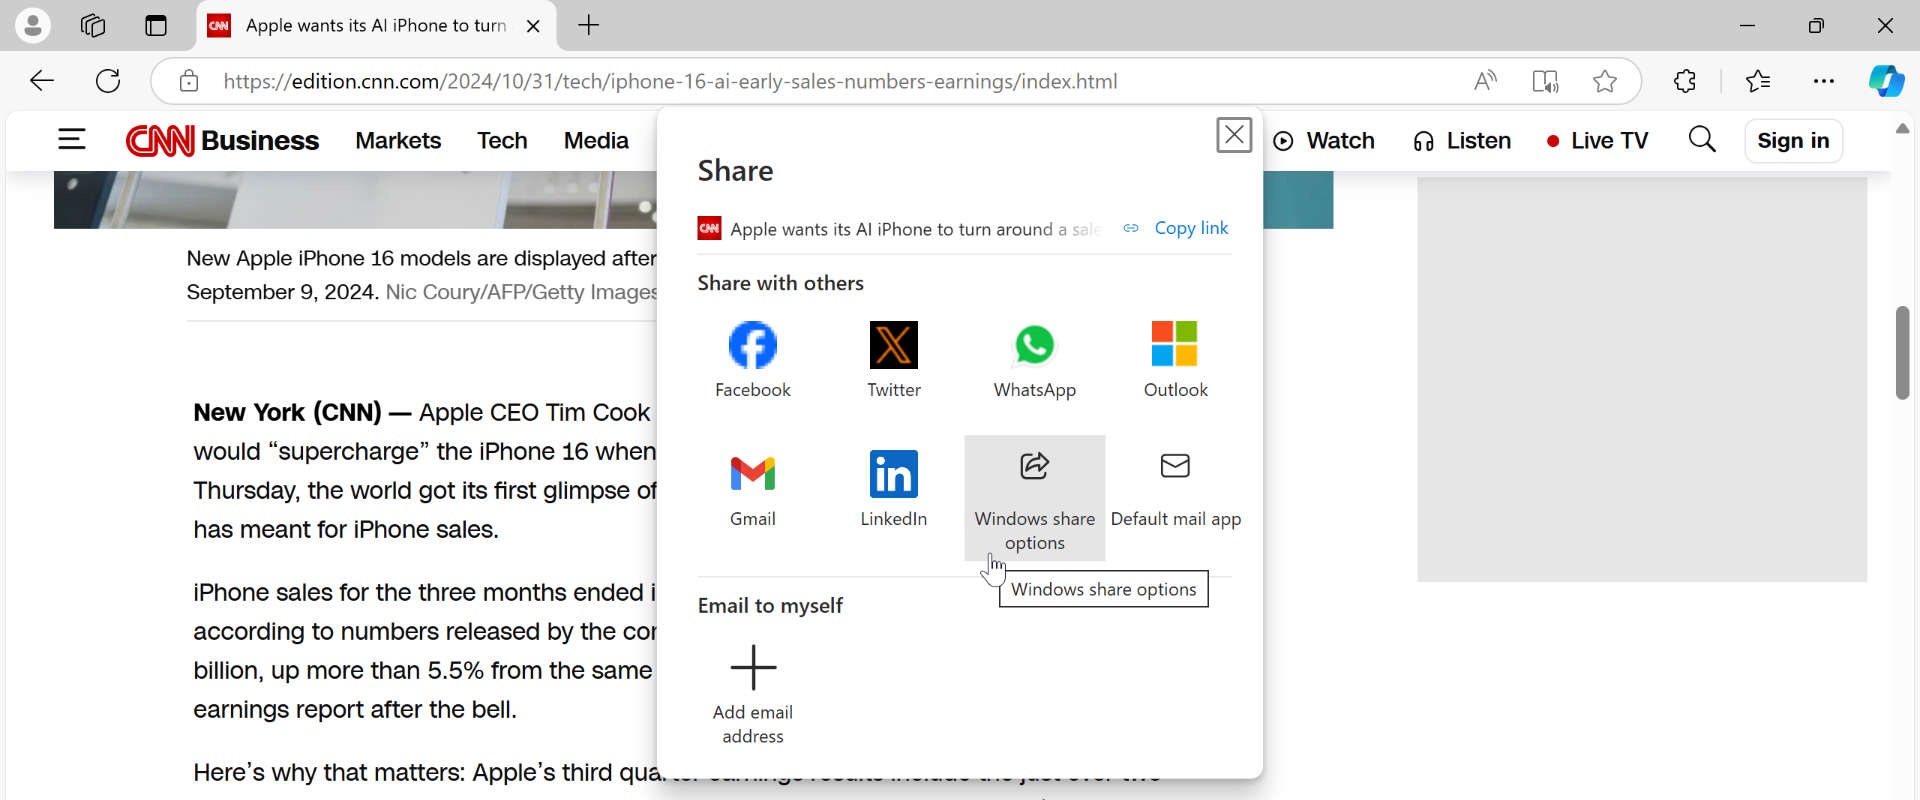
Select “Windows share options” to display the system Share window. Then, select the PC with which you’d like to share this website’s URL. A sharing request will be sent to the other PC.
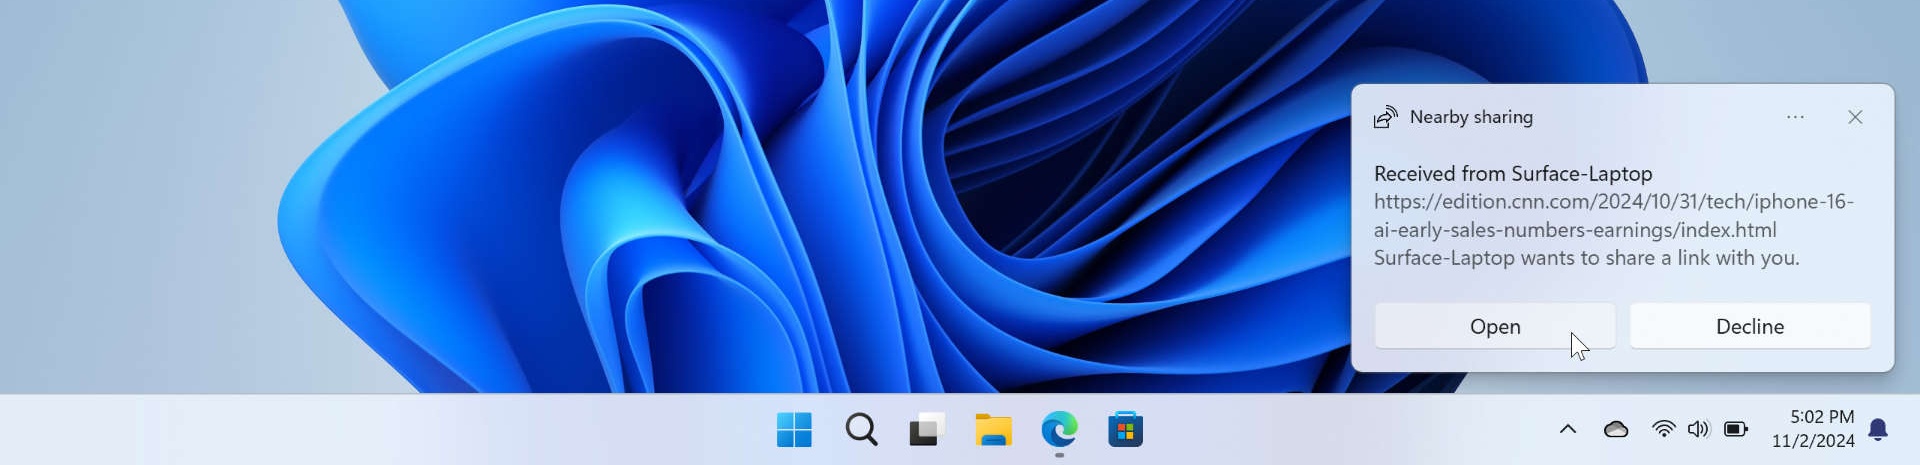
On that other (receiving) PC, a notification will appear, and you can choose to open the link or decline it.
Use Nearby sharing to share a photo
You can also use Nearby sharing to share one or more photos using the Photos app. What’s interesting about this feature is that it doesn’t matter if the photo(s) you wish to share are on your PC or stored up in OneDrive: If you can see them with Photos, you can share them with Nearby sharing.
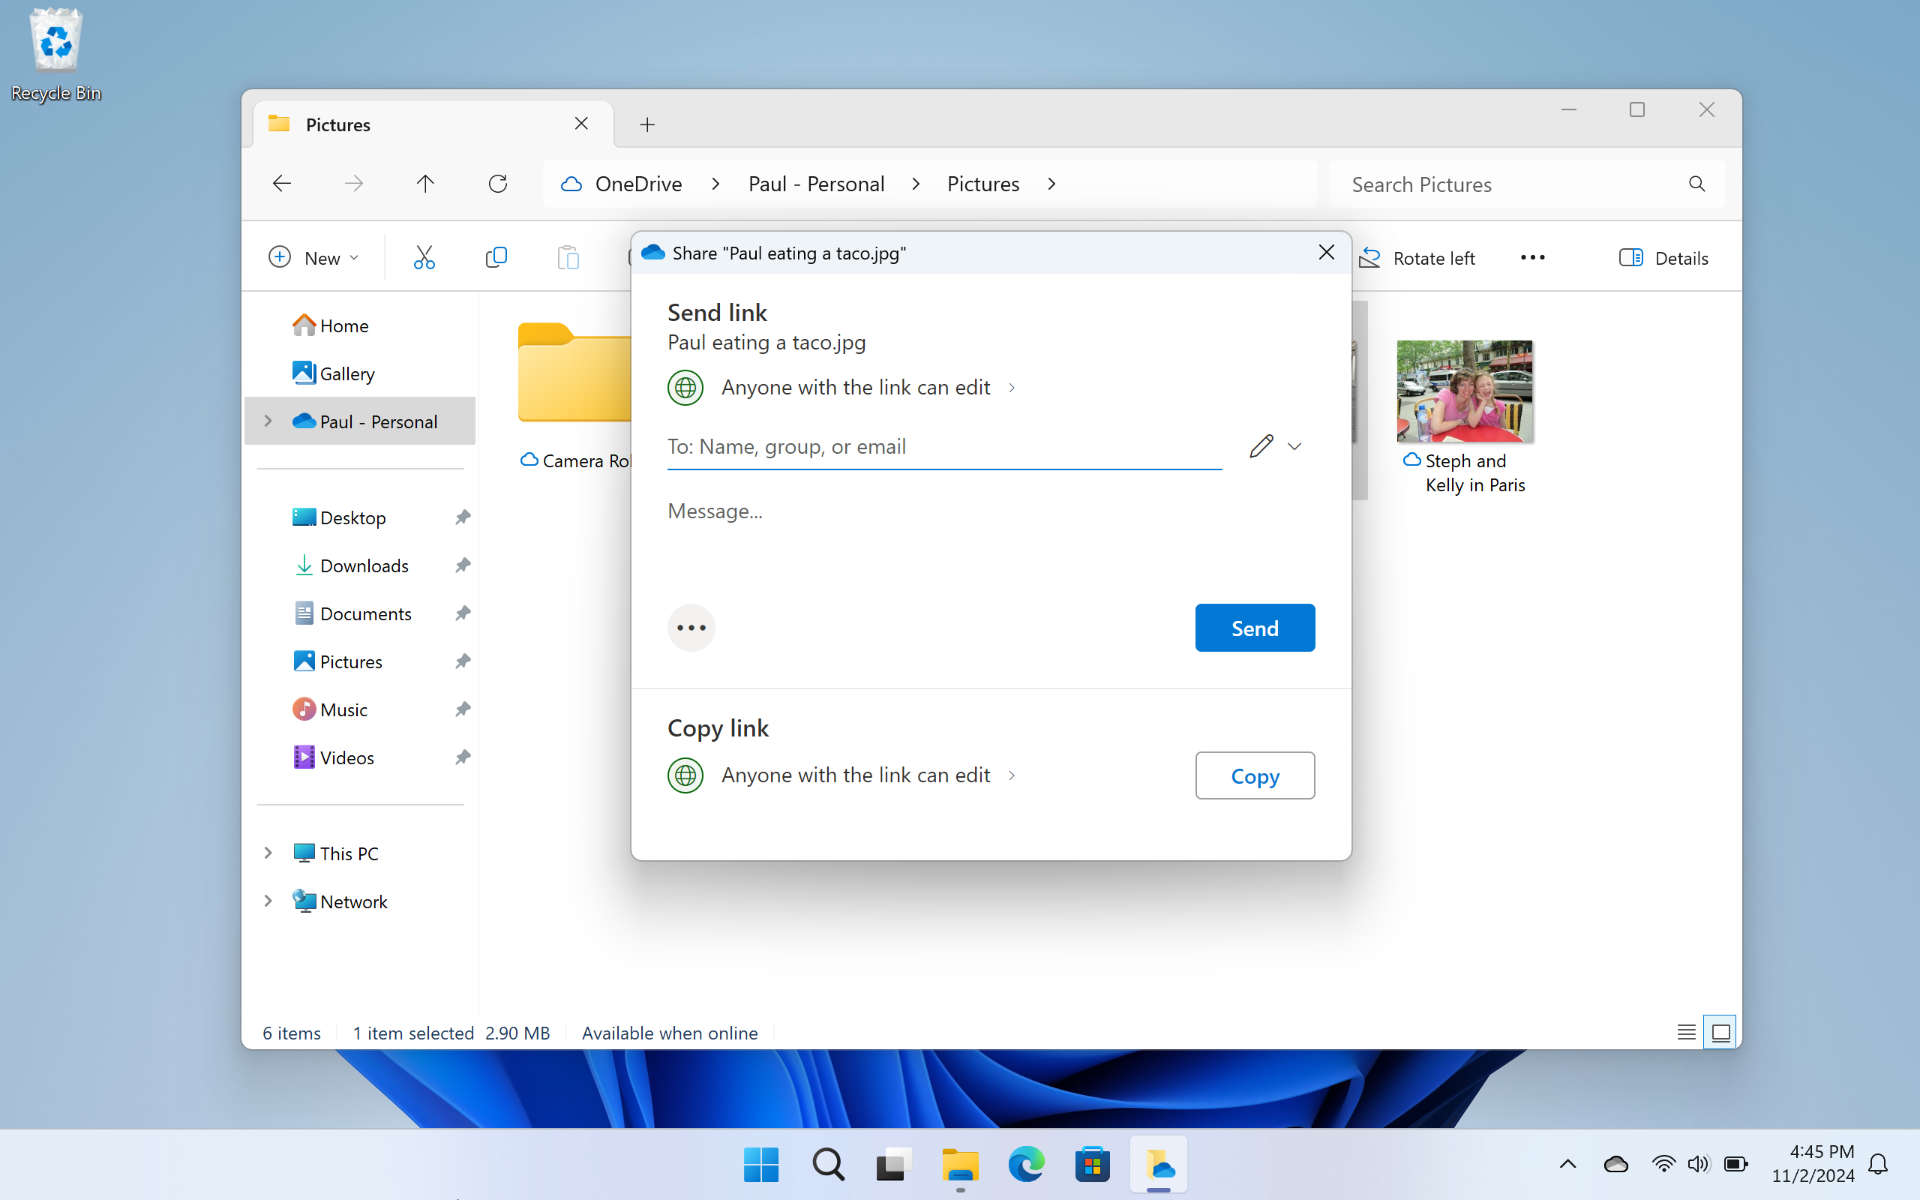
To do so, open the Photos app and select one or more pictures. Then, click the Share button in the Photo app’s toolbar. The Share window appears.
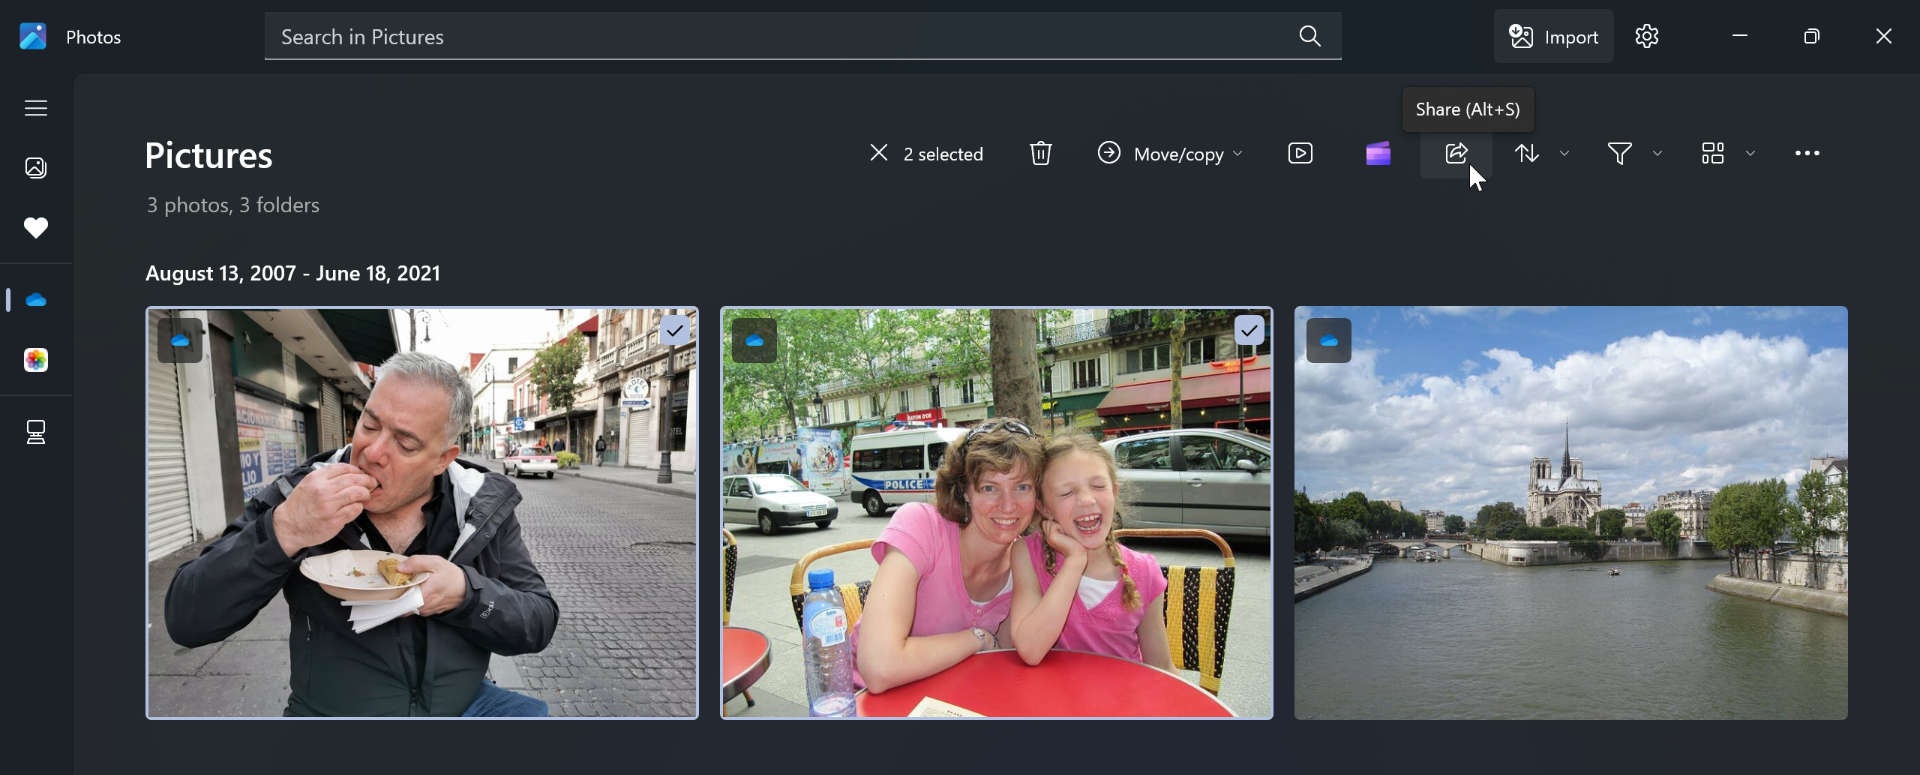
As with the previous examples, select the PC you wish to share and click the “Share” toolbar button.
Or, just type Alt + S.
The system Share window appears normally and works as previously described.
After you select the destination PC, the selected pictures will be copied to the other PC if the invitation to share is accepted.
If any of the pictures you selected are in OneDrive but not synced to your PC, the sharing process will take longer because Windows will need to download those pictures first.
Toggle Nearby sharing with Quick settings
You may wish to disable Nearby sharing when you’re not using it, but doing so via the Settings app is tedious. Fortunately, there’s a faster way: You can toggle this feature on and off using Quick settings.
To do so, open Quick settings (WINKEY + A), and scroll the grid of quick settings down until you see a “Nearby sharing” button.
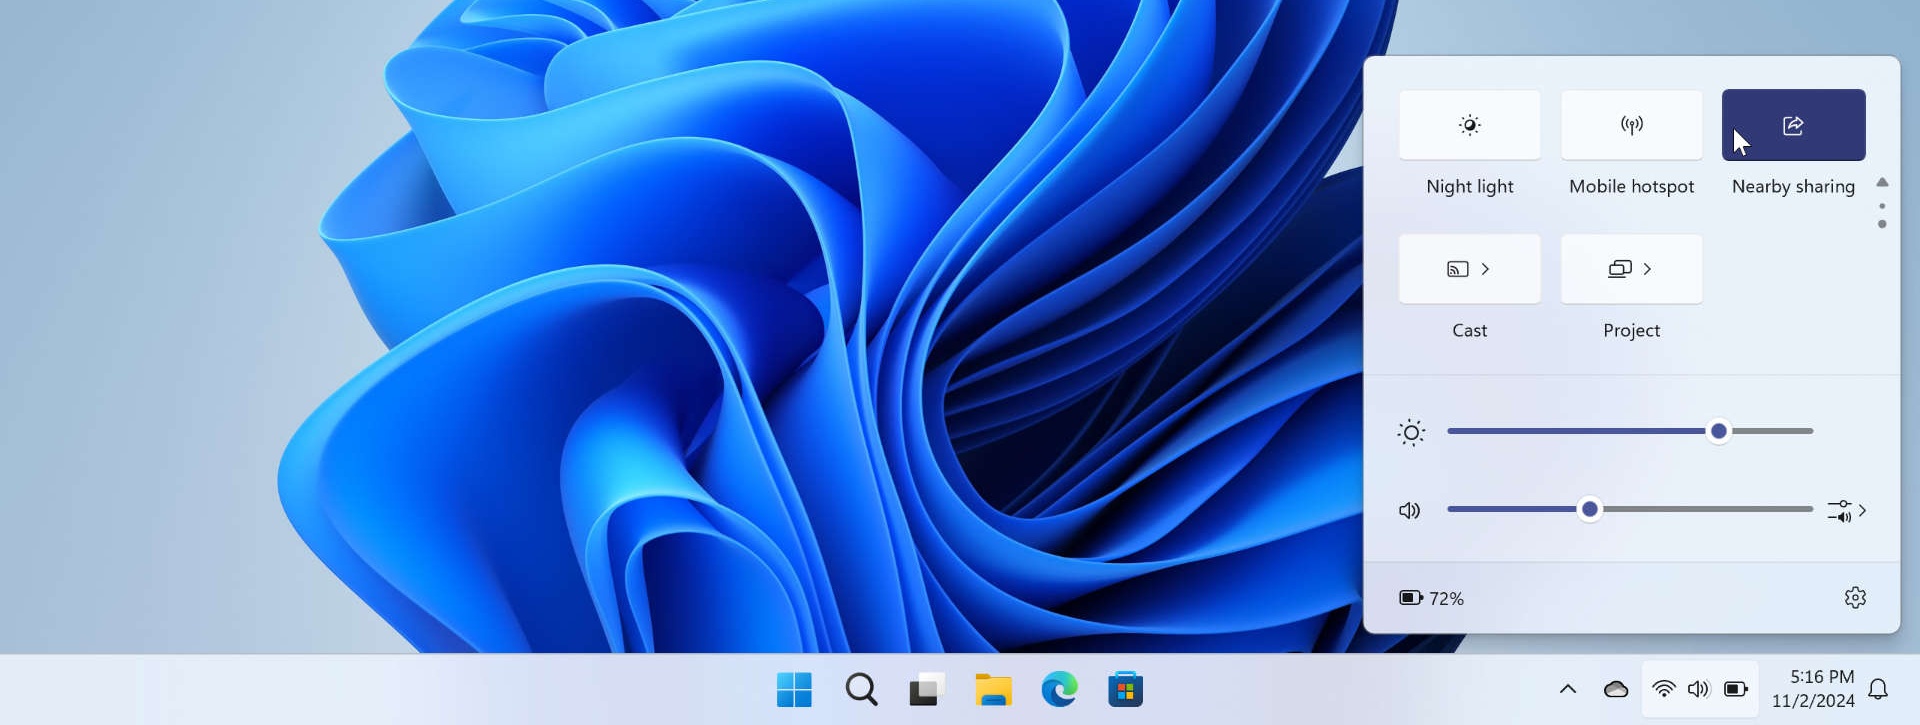

The Nearby sharing button in Quick settings acts as a toggle. Just click this button to disable (or enable) Nearby sharing using your previous share configuration. (If you didn’t configure Nearby sharing previously, it is configured to share with “Everyone nearby.”)
If you really use this feature a lot, you can optionally move its quick setting button to a new location in the quick settings grid, too.
You can learn more about Quick settings in the Quick Settings chapter.
Configure Nearby sharing
In addition to enabling Nearby sharing and choosing the audience with which you can share, Nearby sharing settings (Settings > System > Nearby sharing) provides a few other settings of note.
Save files I receive to. By default, shared items you accept are saved to your Downloads folder, but you can use this setting to configure another location in the file system.
Your device is discoverable as “[PC name]“. By default, your PC will present itself to share requests using the same PC name you configure in About (Settings > System > About). But you can configure a different name for Nearby share without needing to rename your PC. Just click “Rename” and then enter the name you want in the “Rename your PC for nearby sharing” window that appears.
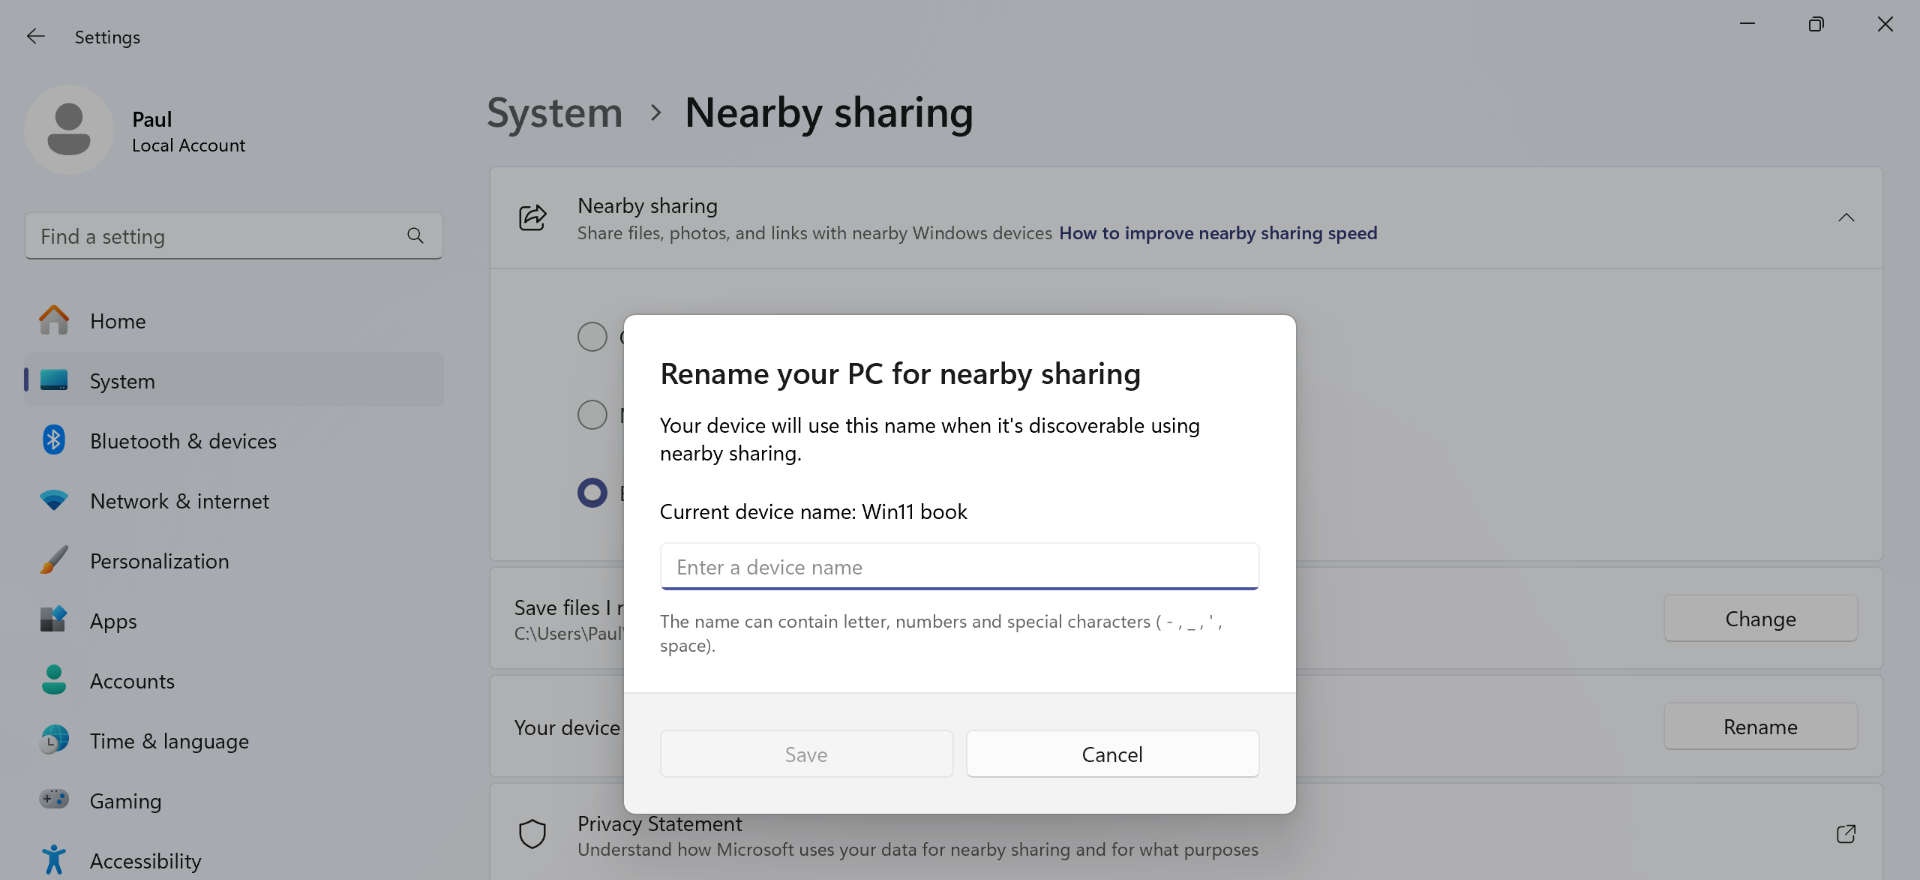
Unlike with the PC rename feature in Settings, this name can use spaces, too. How sophisticated.

Gain unlimited access to Premium articles.
With technology shaping our everyday lives, how could we not dig deeper?
Thurrott Premium delivers an honest and thorough perspective about the technologies we use and rely on everyday. Discover deeper content as a Premium member.