Microsoft Store (24H2)
- Paul Thurrott
- Jul 30, 2024
-
0
Microsoft Store
Get to know the Microsoft Store
The Microsoft Store–which is often simply referred to as the Store or the Store app–has been significantly updated with a refreshed user experience for Windows 11. A navigation bar on the left provides top-level access to various content types and your personal library of previously downloaded and purchased content.

Understand the top-level views
Most of the items in the navigation bar navigate you to a top-level view when selected. And while most of them seem obvious, a few require a brief explanation.
They are:
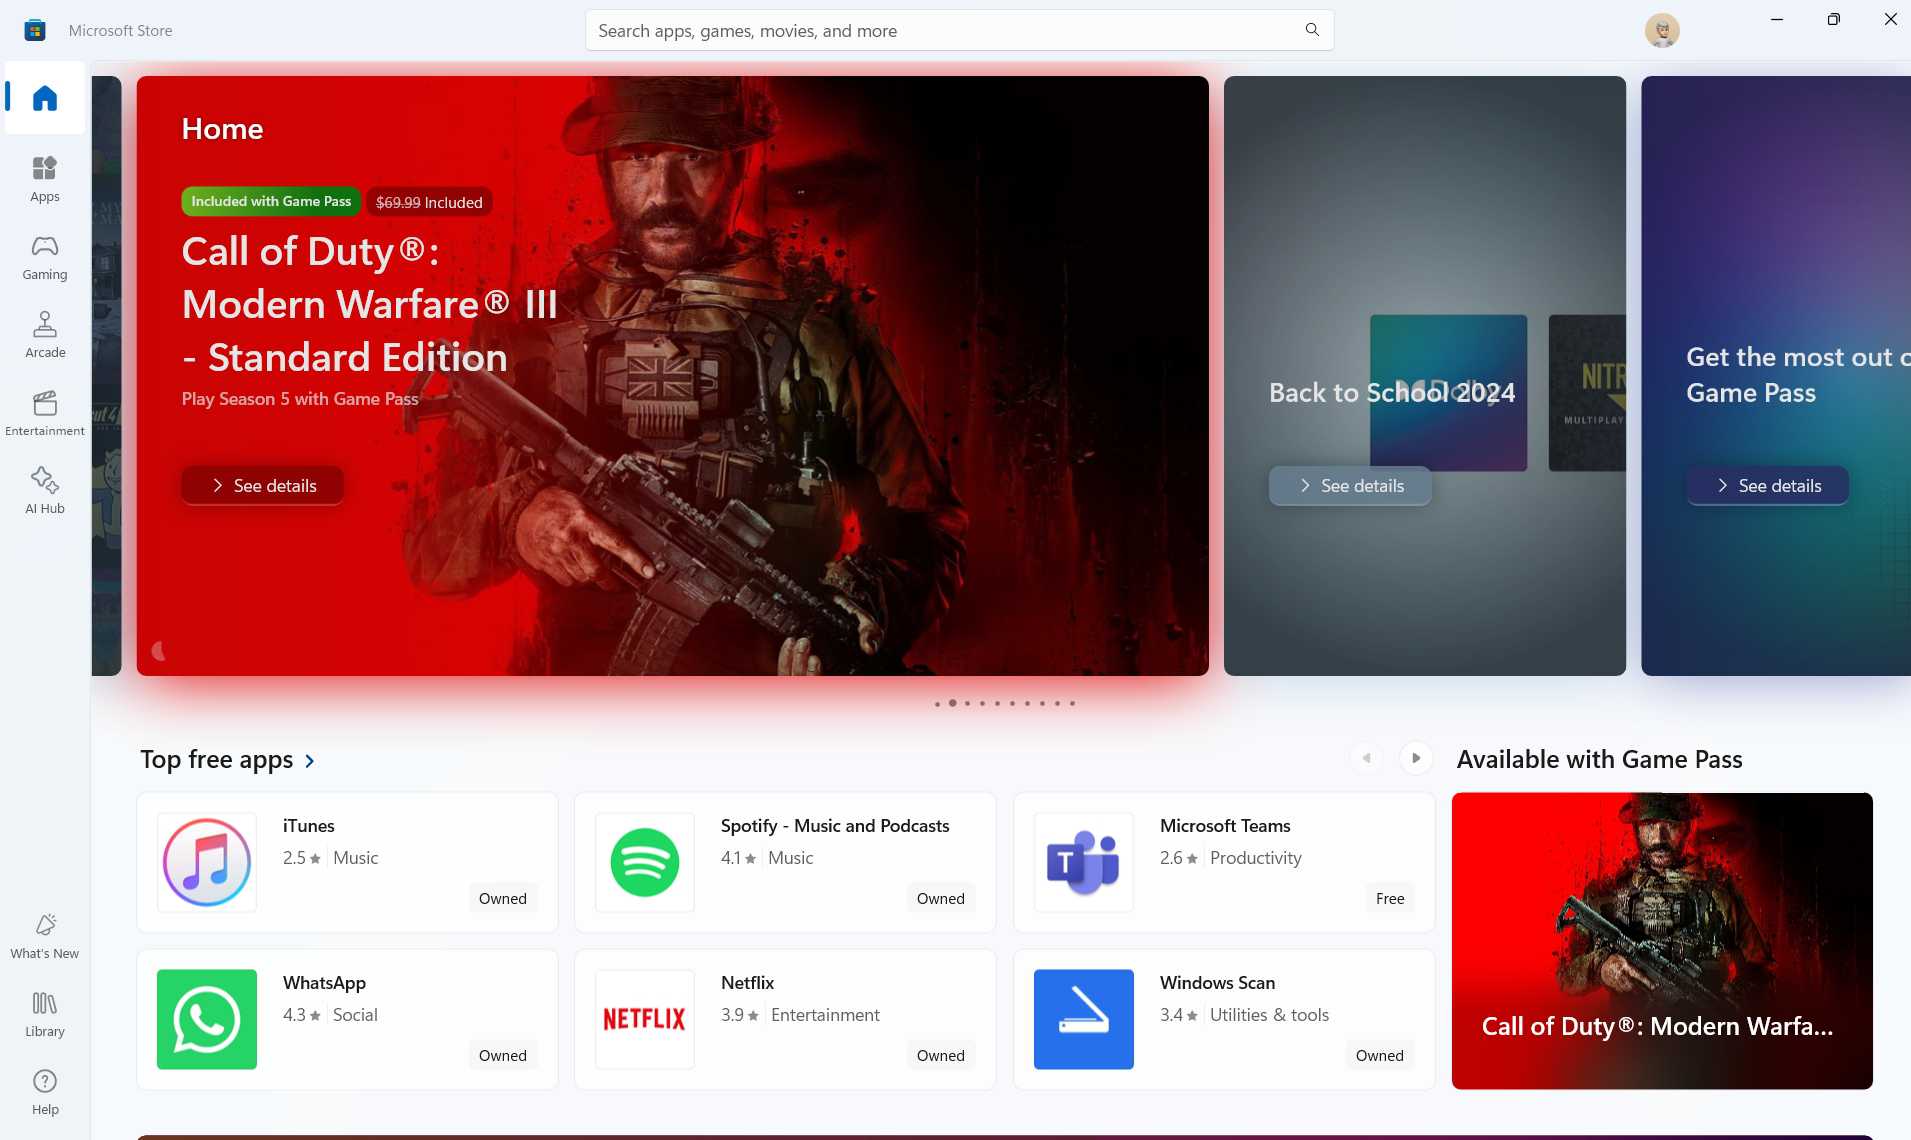
Home. This item displays the Microsoft Store home page, which is the default view when you first run the app. There are no surprises here: This view promotes content in the Store dynamically, so the presentation and content selections you see will change from time-to-time. Generally speaking, you can expect an animated carousel of promotions at the top and then various sections below promoting apps, games, movies, and other content.
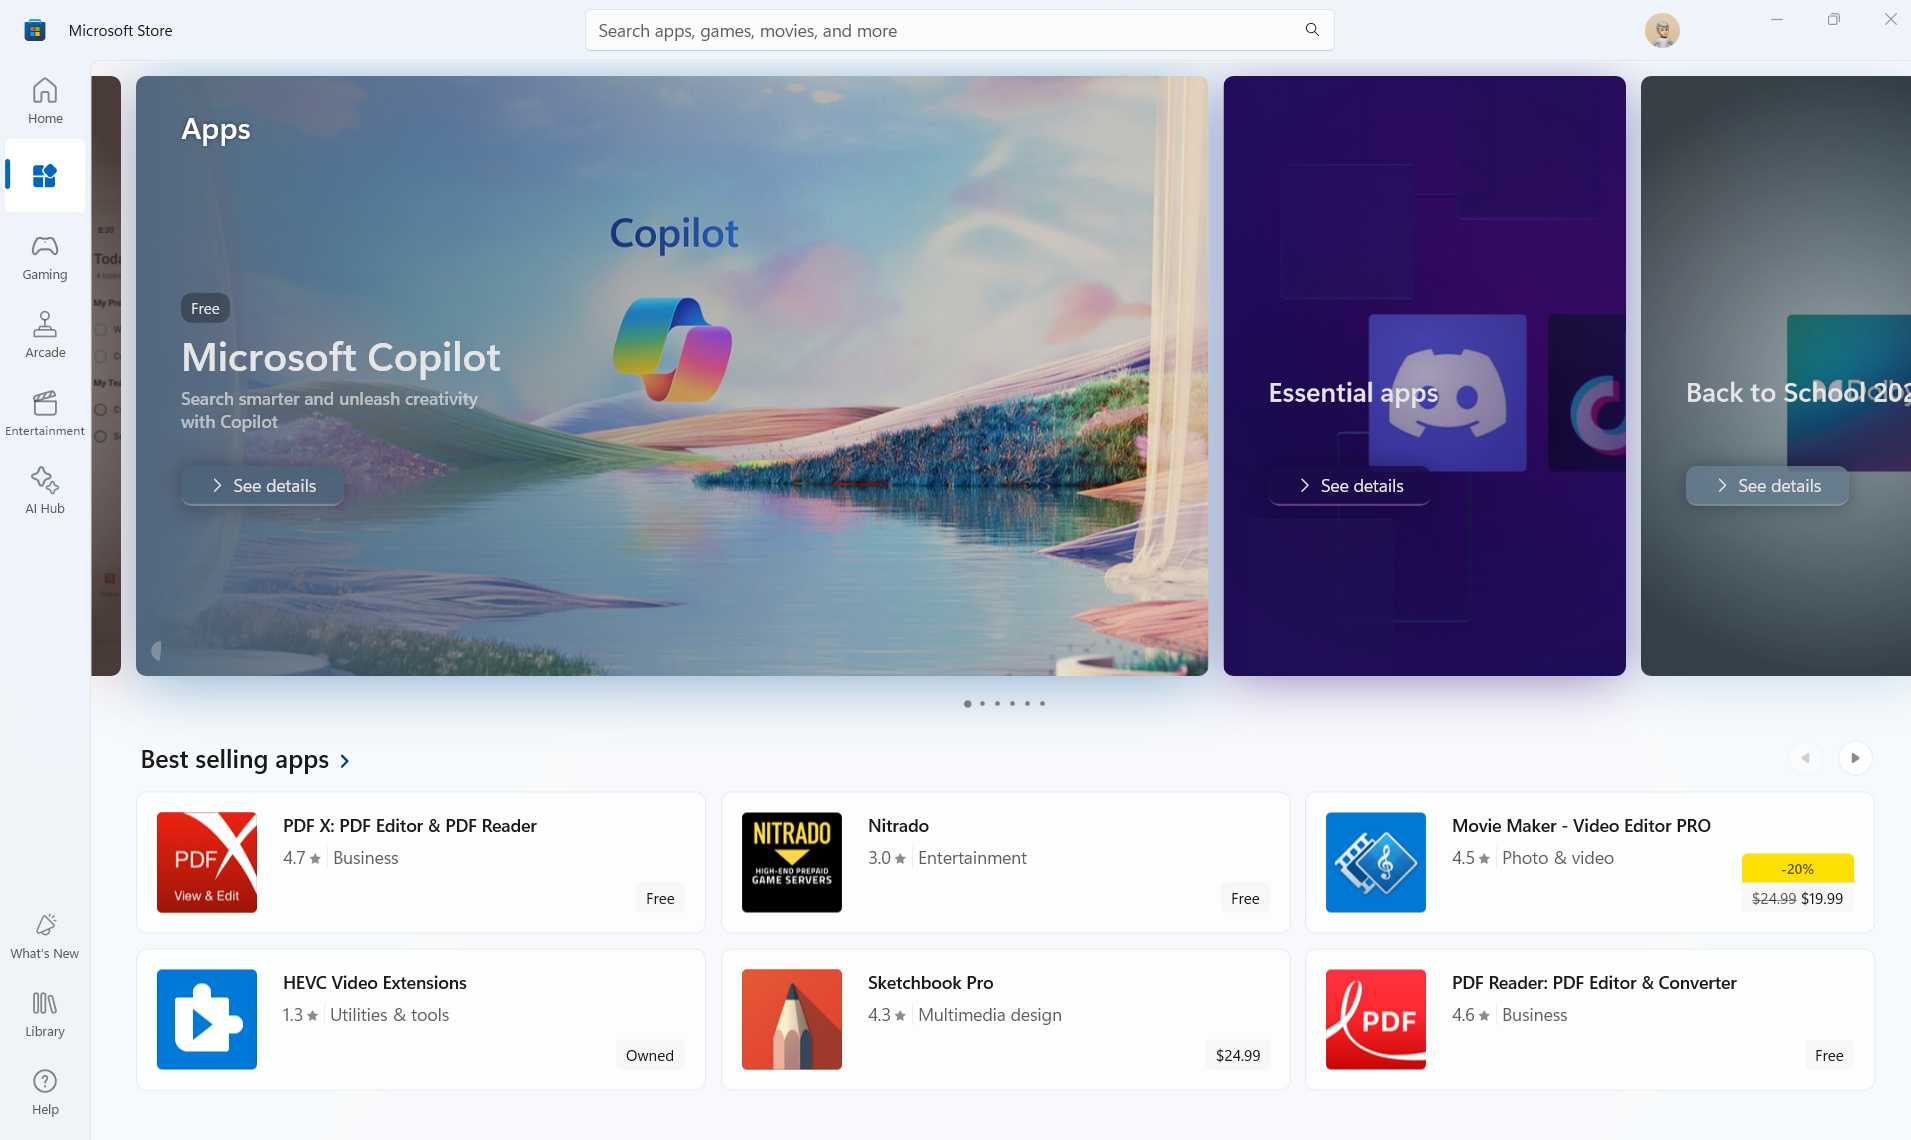
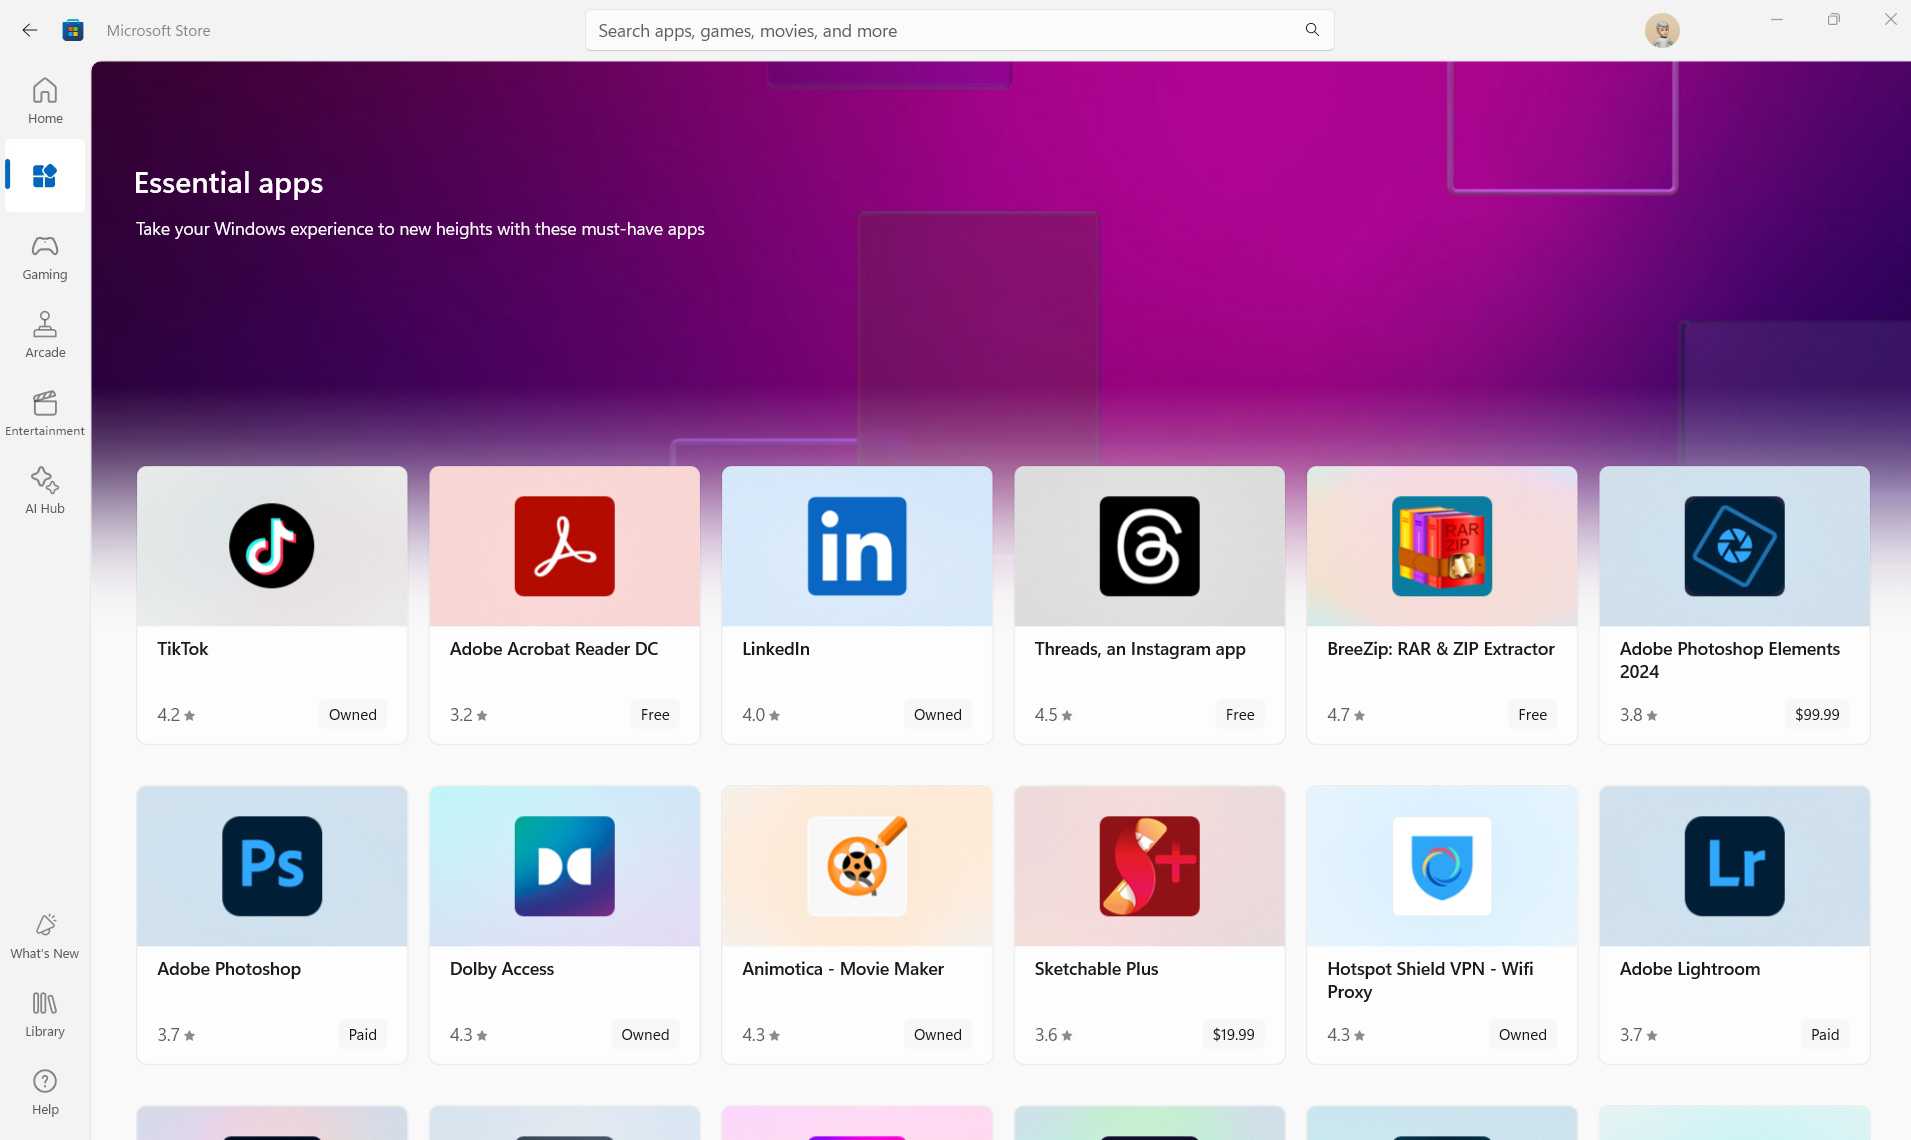
Apps. This, too, will be immediately familiar and obvious. As with the Home view, the Apps view presentation and content selections change dynamically, and you will often find content blocks advertising apps that are currently on sale.
Gaming. The Microsoft Store lets you browse three game libraries, and two of them are available in the Gaming view: Standalone games–some paid, some free, and some free with in-app purchases–and Game Pass titles that are available for those with PC Game Pass or Xbox Game Pass Ultimate subscriptions.
You can learn more about PC Game Pass and Xbox Game Pass Ultimate in the Xbox App chapter.
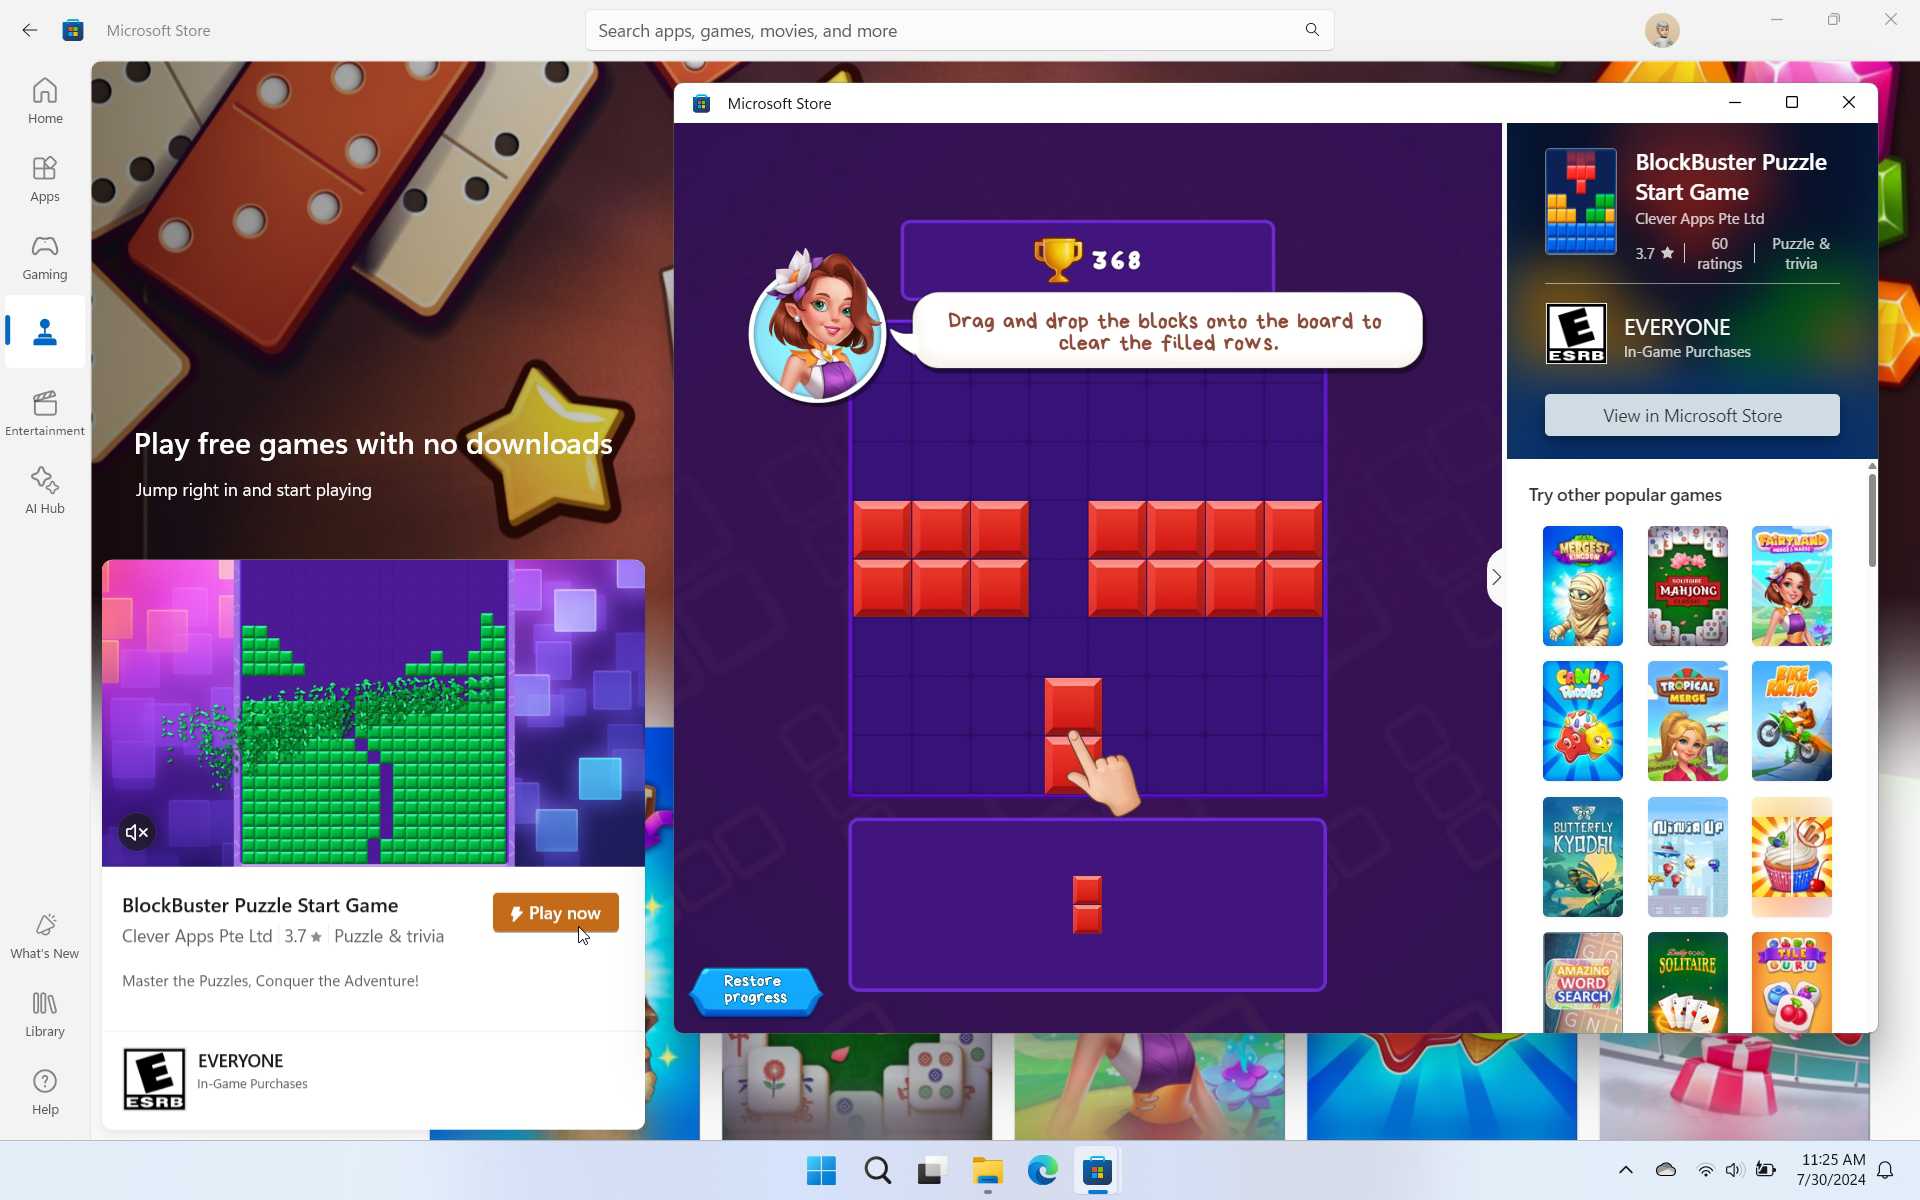
Arcade. This view lets you browse game titles in a third game library, a selection of free games that don’t need to be downloaded or installed. To play one of these games, mouse-over it in the Arcade view and then click “Play now” in the expanded view that appears. (You can also click this item and then choose “Play now in the landing page that appears when you do so.) Microsoft Store opens a new resizable window with the game, ready to go.
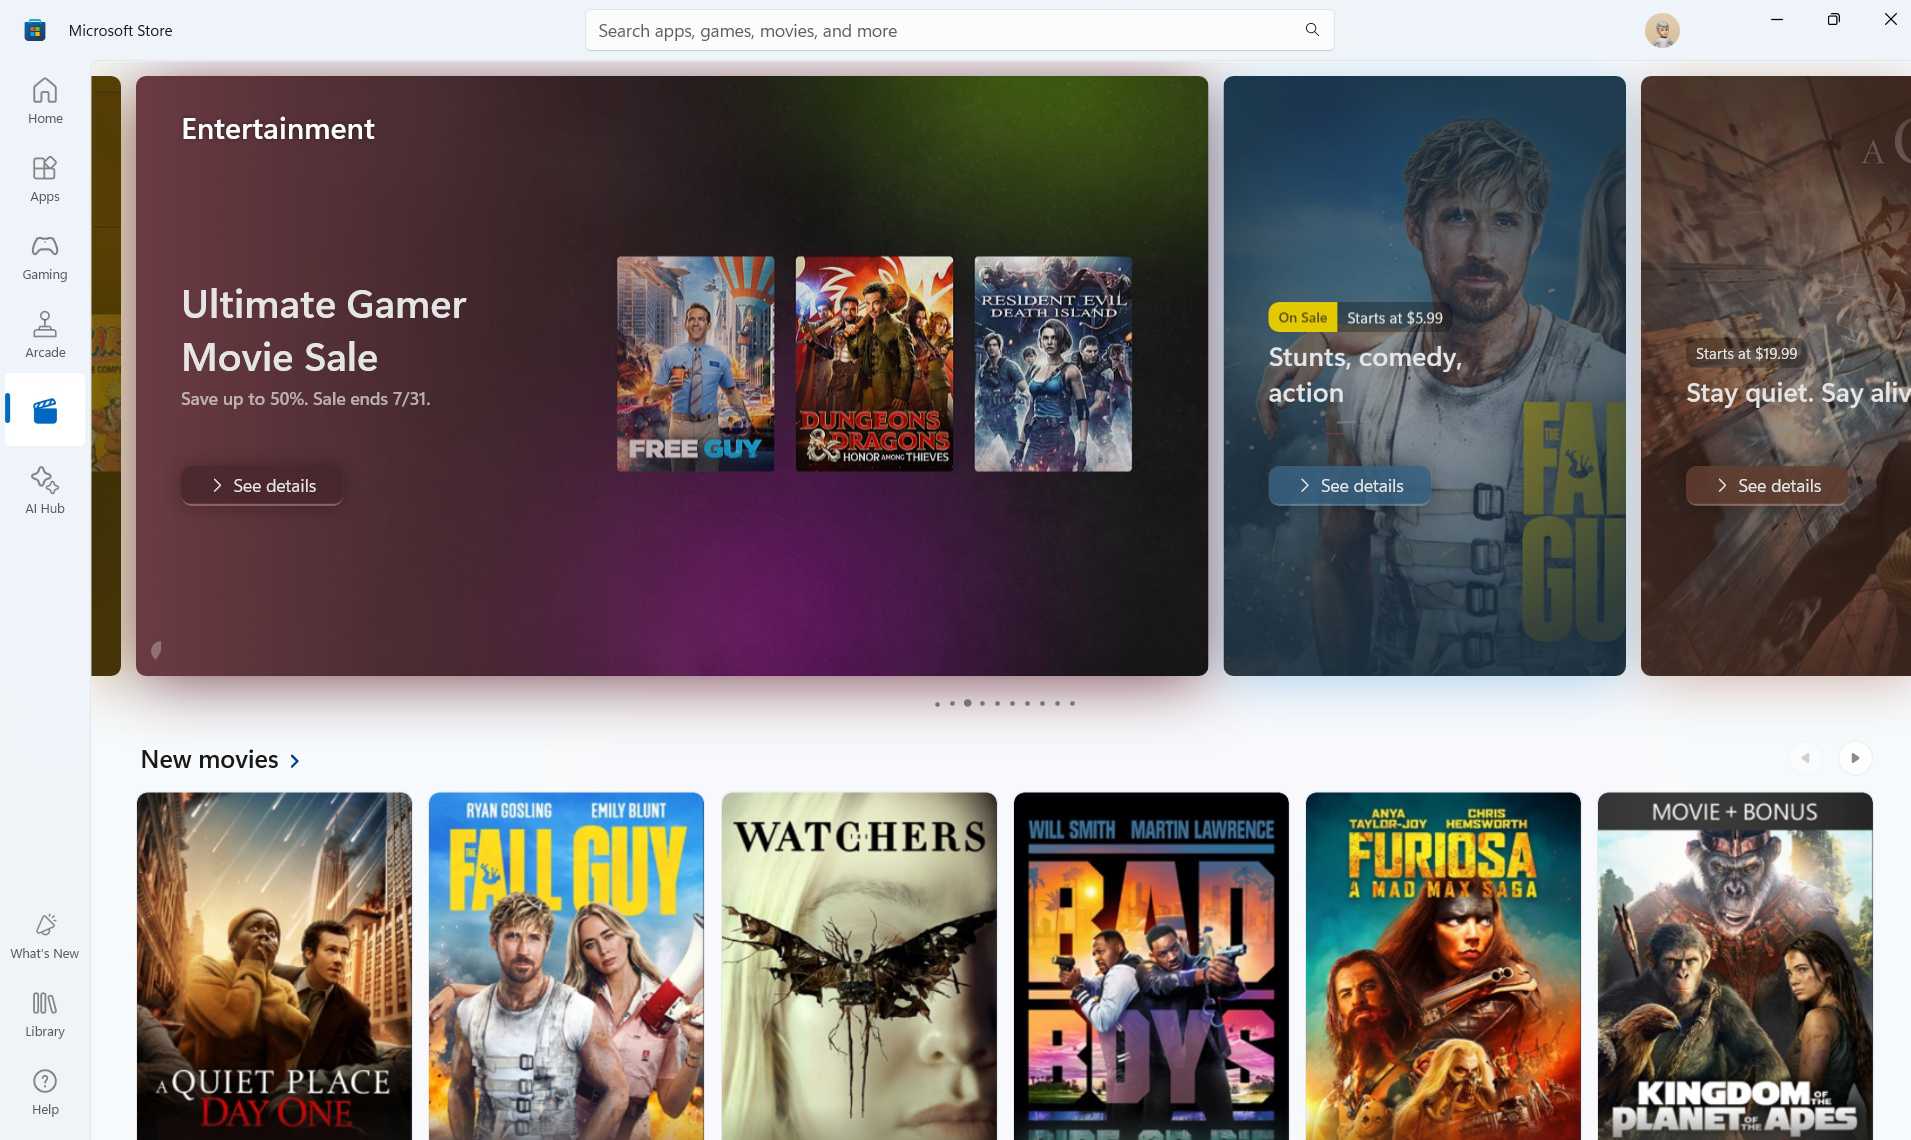
Entertainment. Microsoft sells and rents movies, and sells TV show seasons and standalone episodes, via the Store, and you can find this content in the Entertainment view. As with the other top-level views, this is dynamic and there are often sales to peruse.
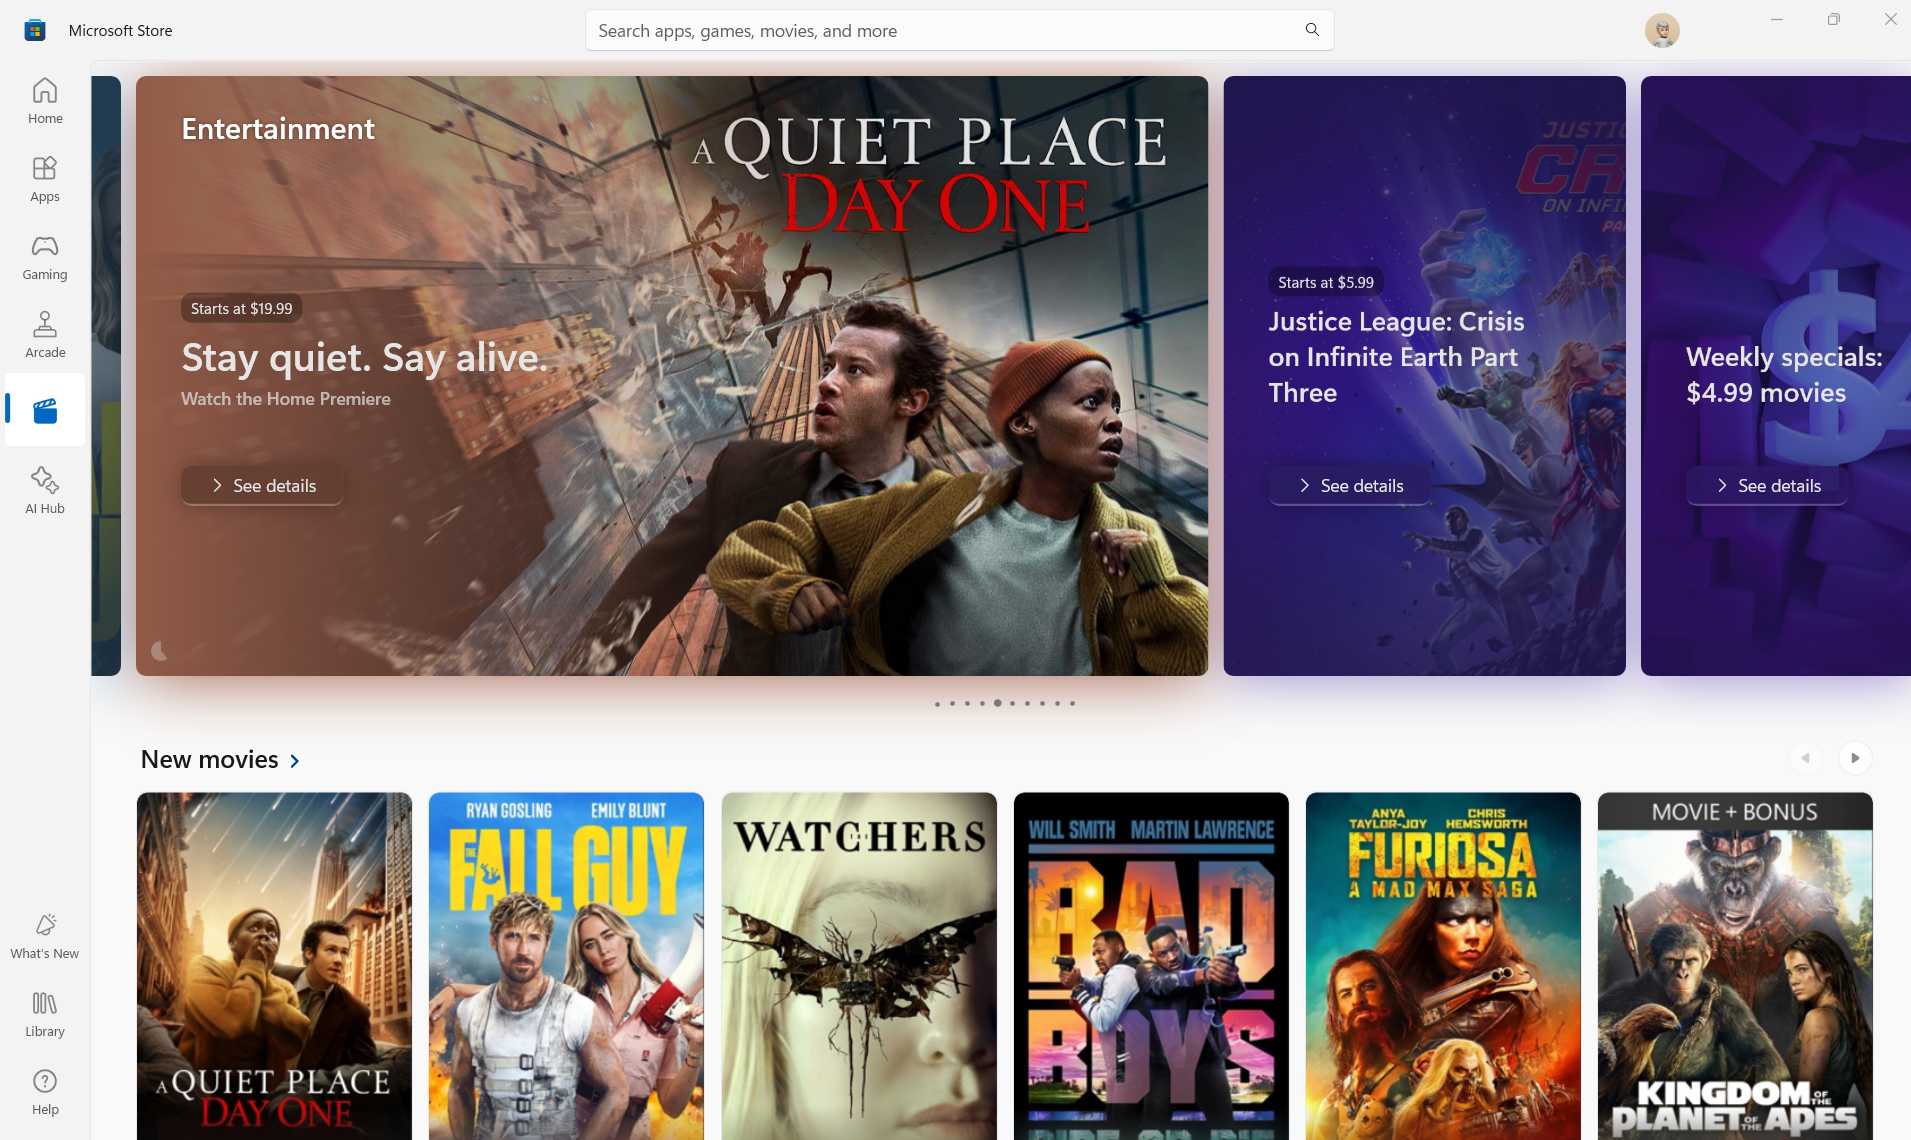
Whether you should buy video content from Microsoft is a matter worth debating, given the company’s erratic and unreliable history with entertainment content. But renting is certainly safe enough, as these transactions are for a one-time viewing only.
This chapter focuses solely on apps and games, but Microsoft also provides a Movies & TV app so you can view video (“Entertainment”) content that you downloaded or purchased from the Microsoft Store. This app is included with Windows 11 through version 23H2. If it’s not installed on your PC, you can download Movies & TV from–wait for it–the Microsoft Store.
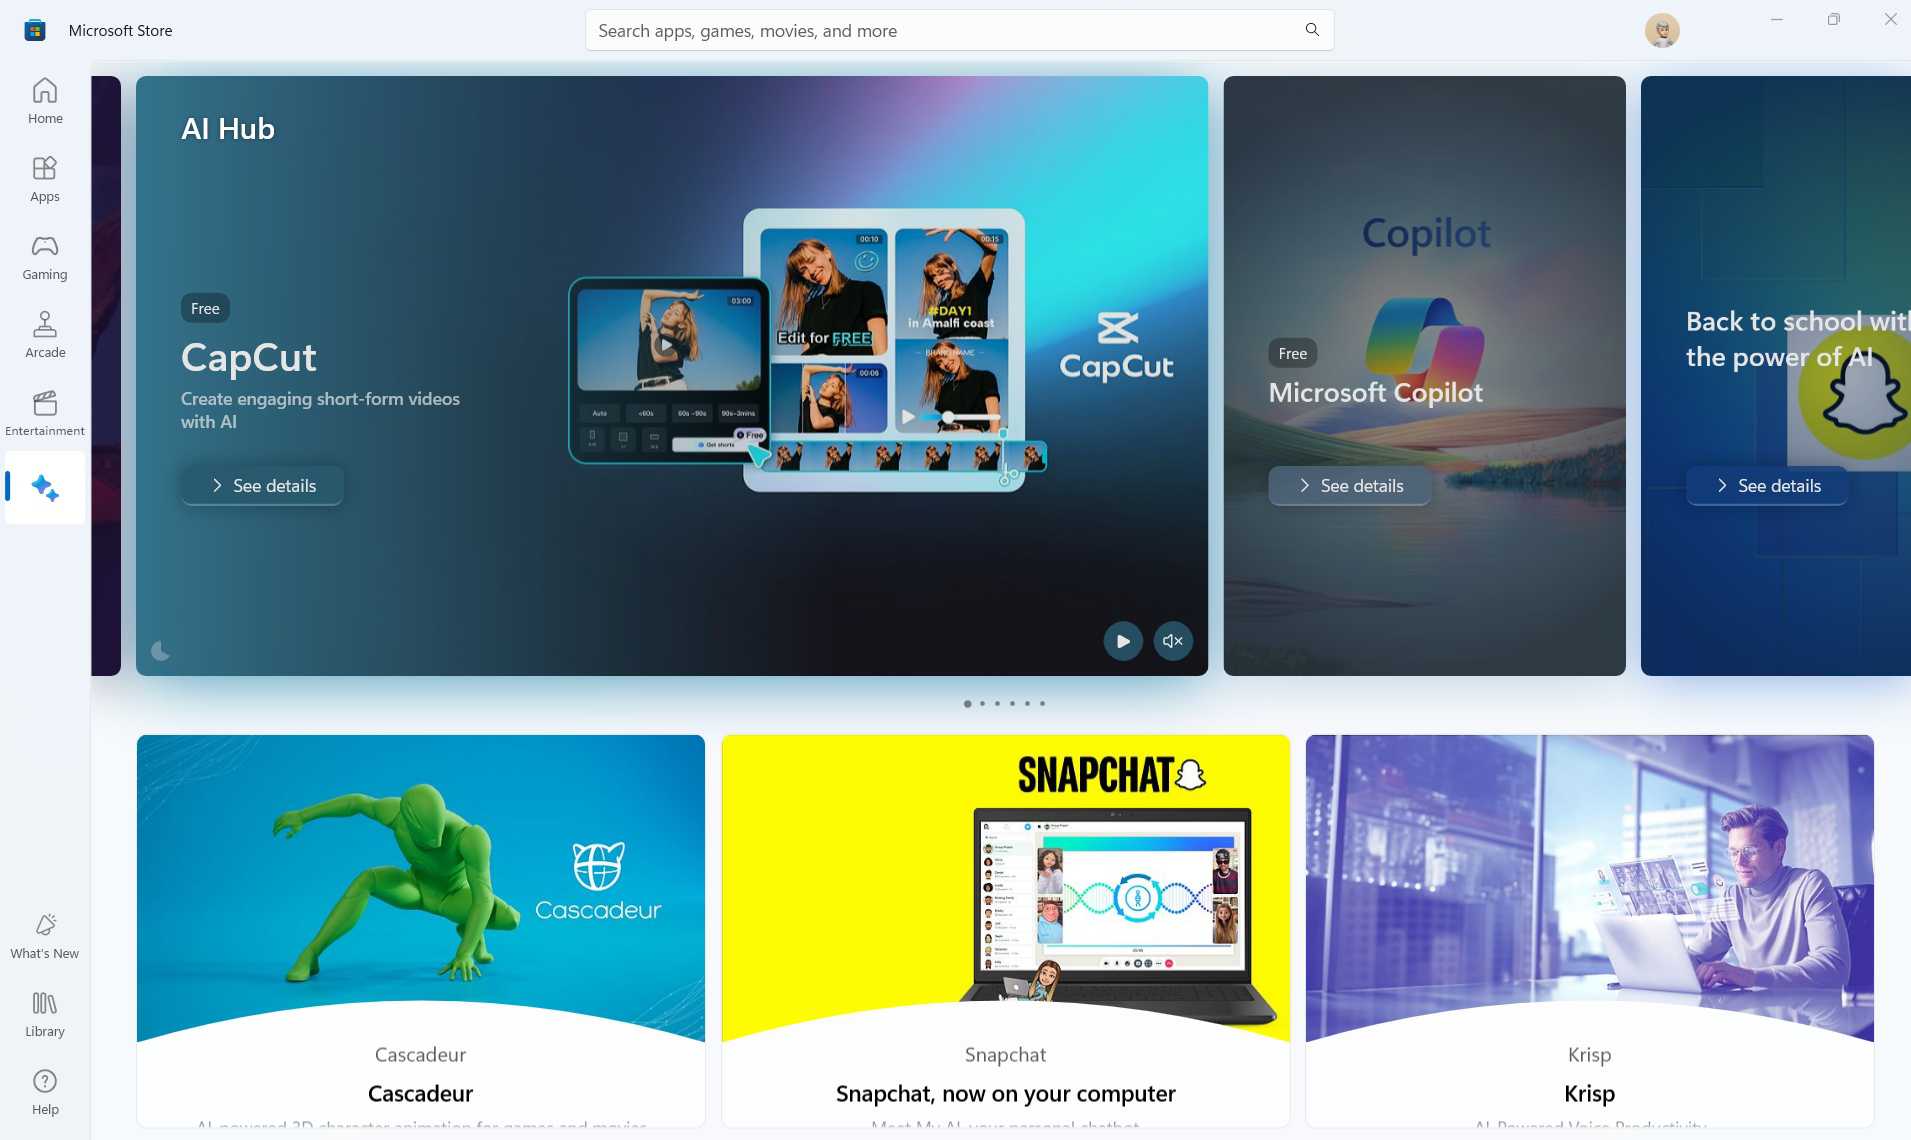
AI Hub. This recent addition to the Microsoft Store highlights a growing library of AI-powered apps, many of which are photo editors, video editors, or other creative apps. Like the other top-level Store views, AI hub is dynamic and changes regularly as new content is added or promoted.
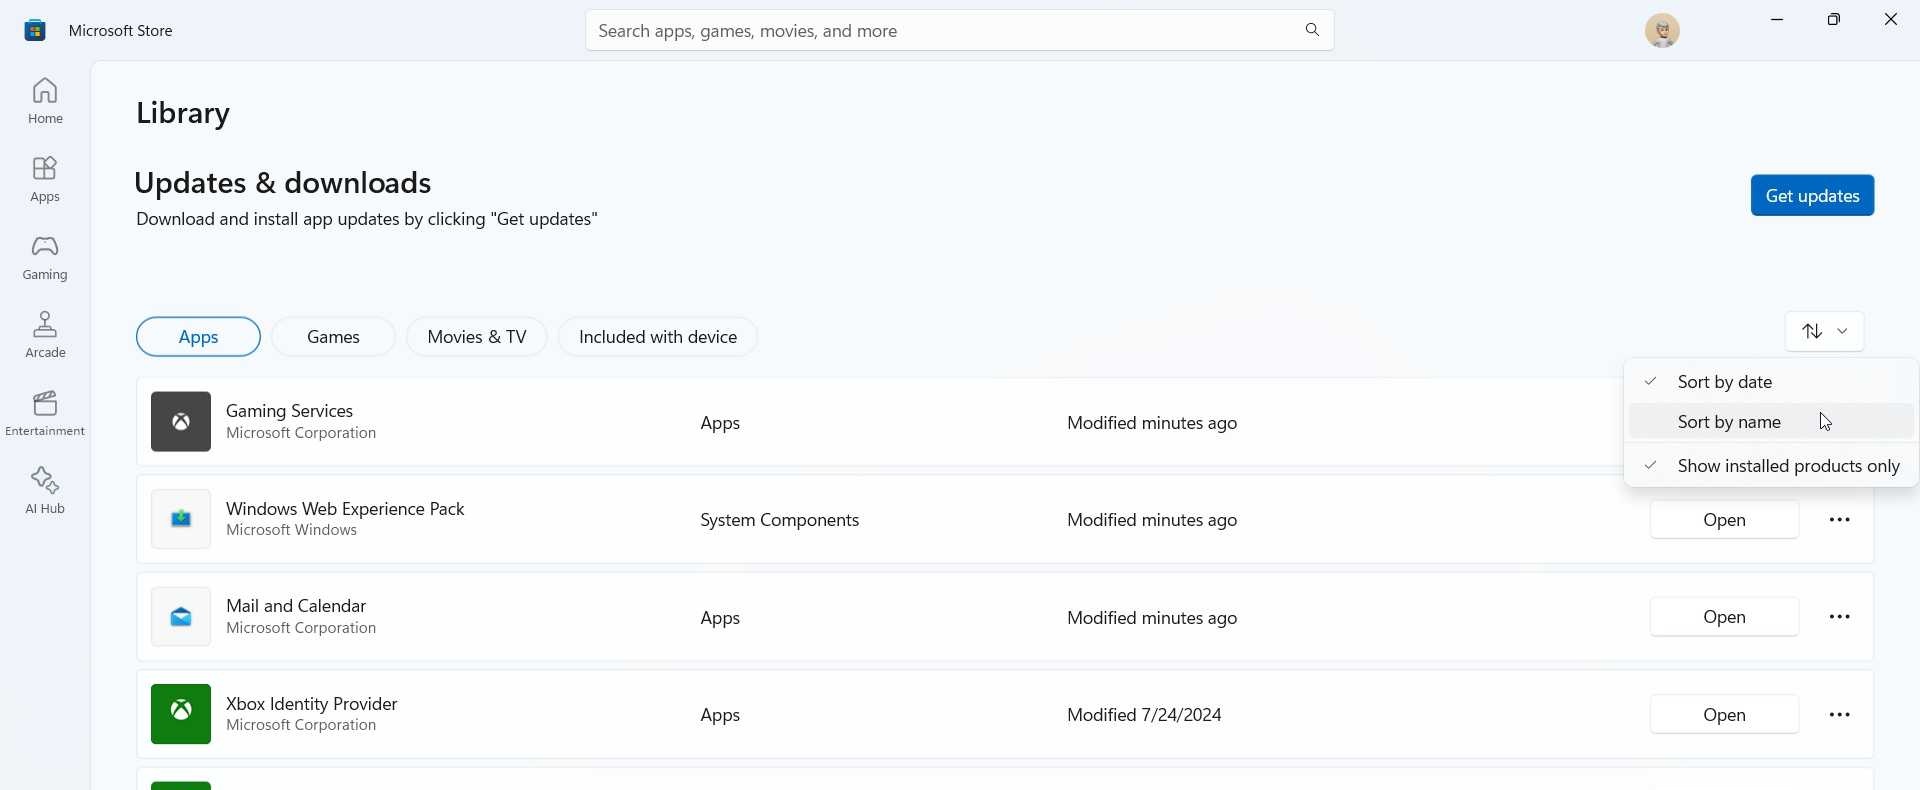
Library. The Library view looks simple enough, but there’s a lot going on here. It lists the apps, games, entertainment content that is installed or available on the current PC. You can sort the content views by date or name, and though the default view is “Show installed products only,” you can toggle that off to find the apps, games, and other content you’ve already purchased or downloaded so you can find that again easily. This view also lets you check for app and game updates and then install them if available.
We discuss how you can find the apps and games you’ve already purchased or downloaded and update installed apps and games later in this chapter.
In addition to these top-level views, the Microsoft Store navigation bar also provides “What’s new” and “Help” items that don’t navigate into standalone app views. There’s nothing surprising or notable with each. “What’s new” displays a pop-up window that describes new features and changes that were recently made to the Store. And “Help” displays a small pop-up menu with help- and feedback-related options.
Finally, it’s worth pointing out the “Profile” button found to the right of the search box at the top of the Store app window. This will display your profile picture when you’re signed in with your Microsoft account, and you can click this button to display a small menu of choices.

Available choices include:
Sign out. Click to sign out of your Microsoft account and, optionally, sign-in using a different account.
Manage account and devices. Click this item to open the Microsoft account website in your default web browser.
We discuss managing the PCs (what Microsoft calls devices) linked to Microsoft Store later in this chapter.
Payment methods. Click this item to open the Manage your payments page on the Microsoft Store website in your default web browser.
We discuss managing the payment options associated with your Microsoft account later in this chapter.
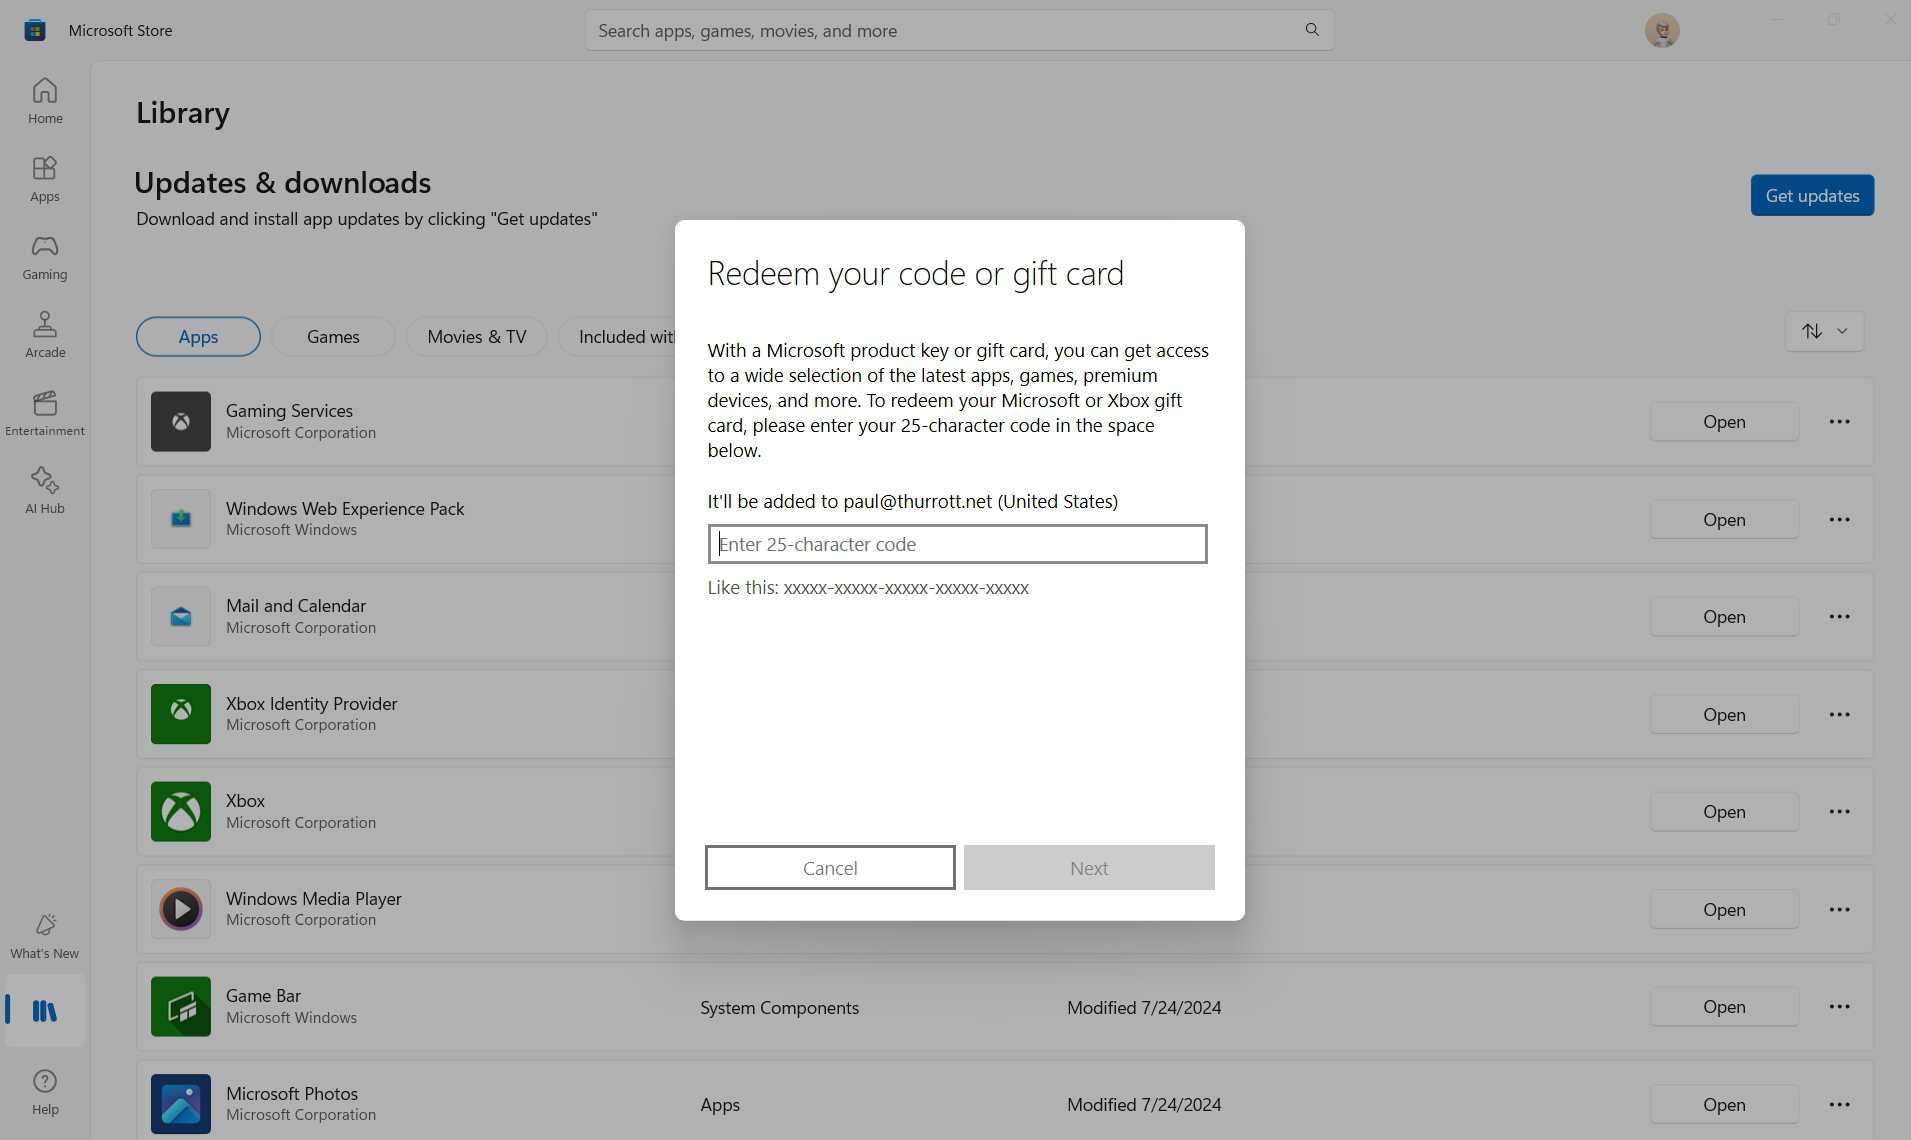
Redeem code or gift cards. This handy link lets you redeem a physical or electronic Microsoft Store gift card directly in the app.
Settings. Click this link to access the Microsoft Store app settings interface. For the most part, these options are obvious and most will want to leave each configured as-is. But one of the items, “Offline permissions,” is notable: If you enable this option–it’s disabled by default–you can designate this PC as being the one (and only) PC linked to the Microsoft Store–and to your Microsoft account/Xbox account–that’s allowed to play purchased games while the PC is offline.
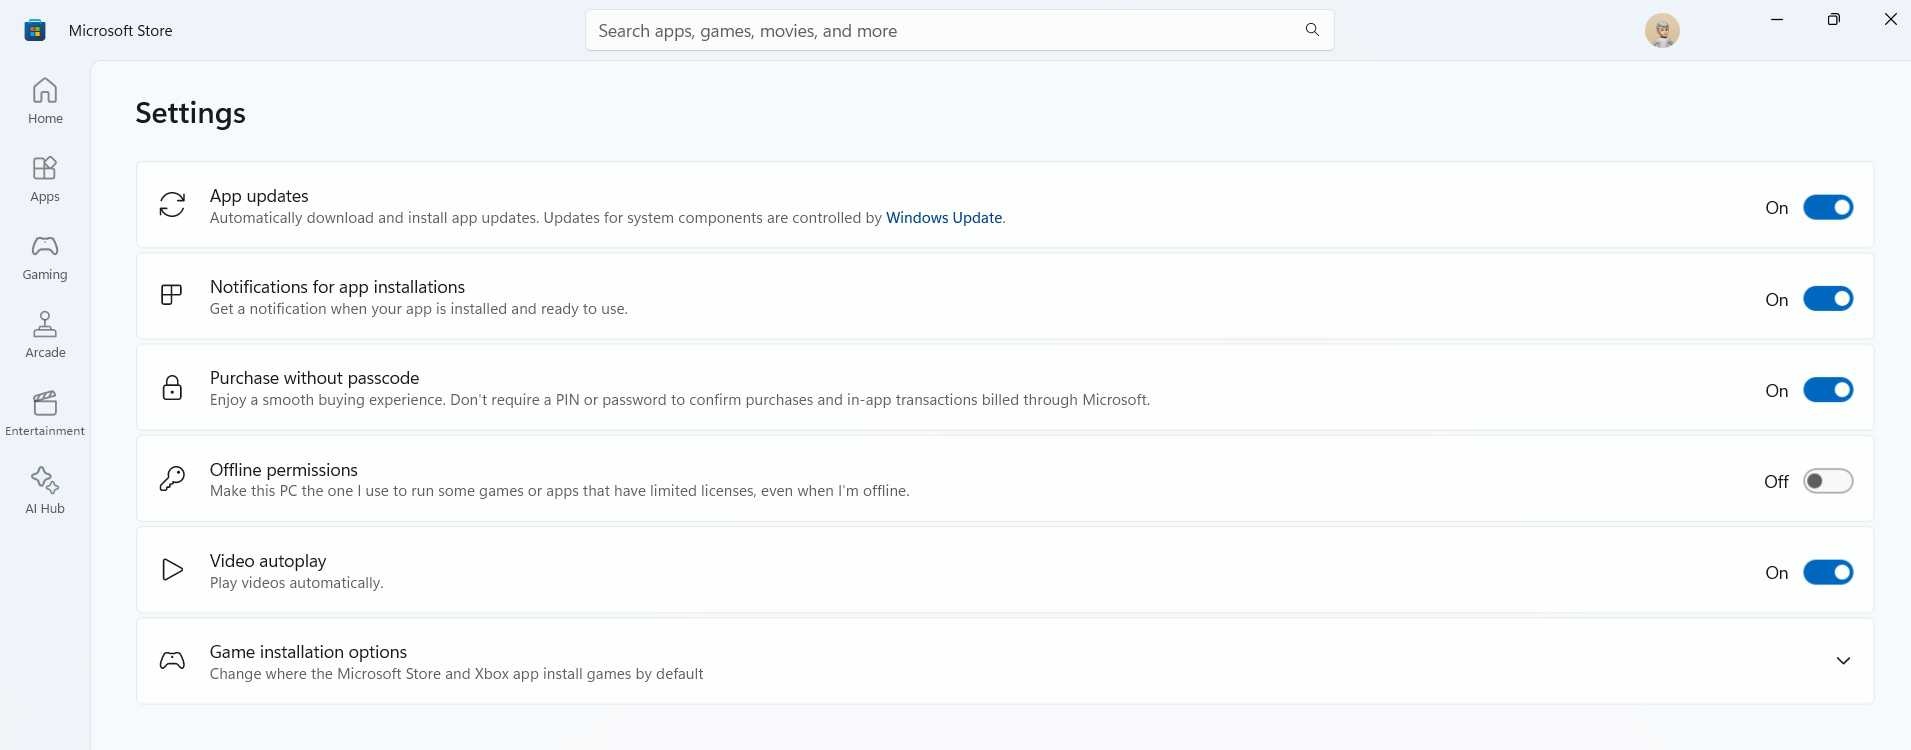
Warning: You can only change the PC associated with offline permissions three times each year. So be sure you want to do this before enabling the option.
If you are not signed in, the “Profile” button displays a default image and contains just two menu items, “Sign in” and “Settings.”
Store navigation
Microsoft Store is a simple app with a simple, hierarchical navigation model that works much like a website. The Home view sits at the top of this hierarchy, and the other top-level views–Apps, Gaming, Arcade, Entertainment, AI Hub, and Library–logically below Home.
Each top-level view displays content blocks called collections and individual content items that are arranged in groups. When you select a collection, Store navigates into the collection, which displays individual content items in a grid.
When you select a content item from any view, Store navigates to that item’s landing page.
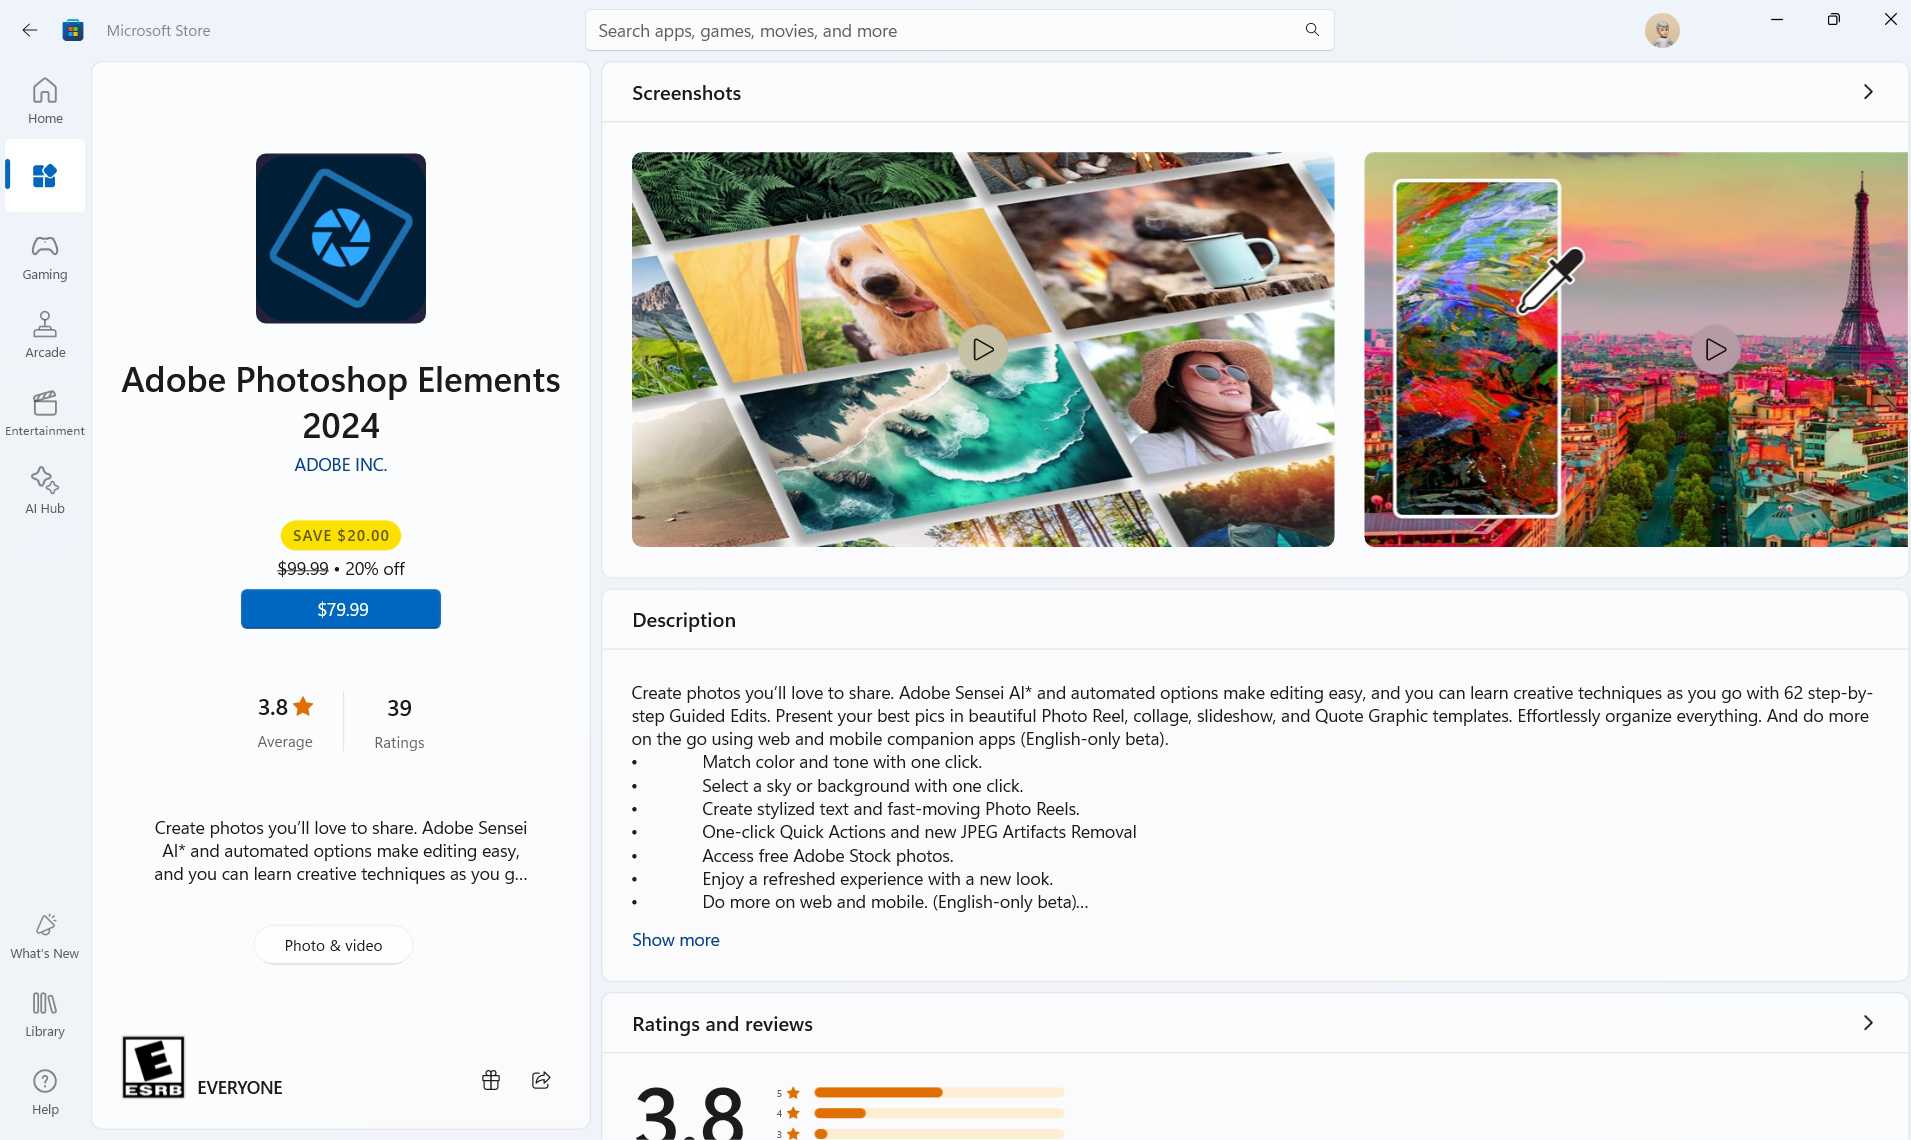
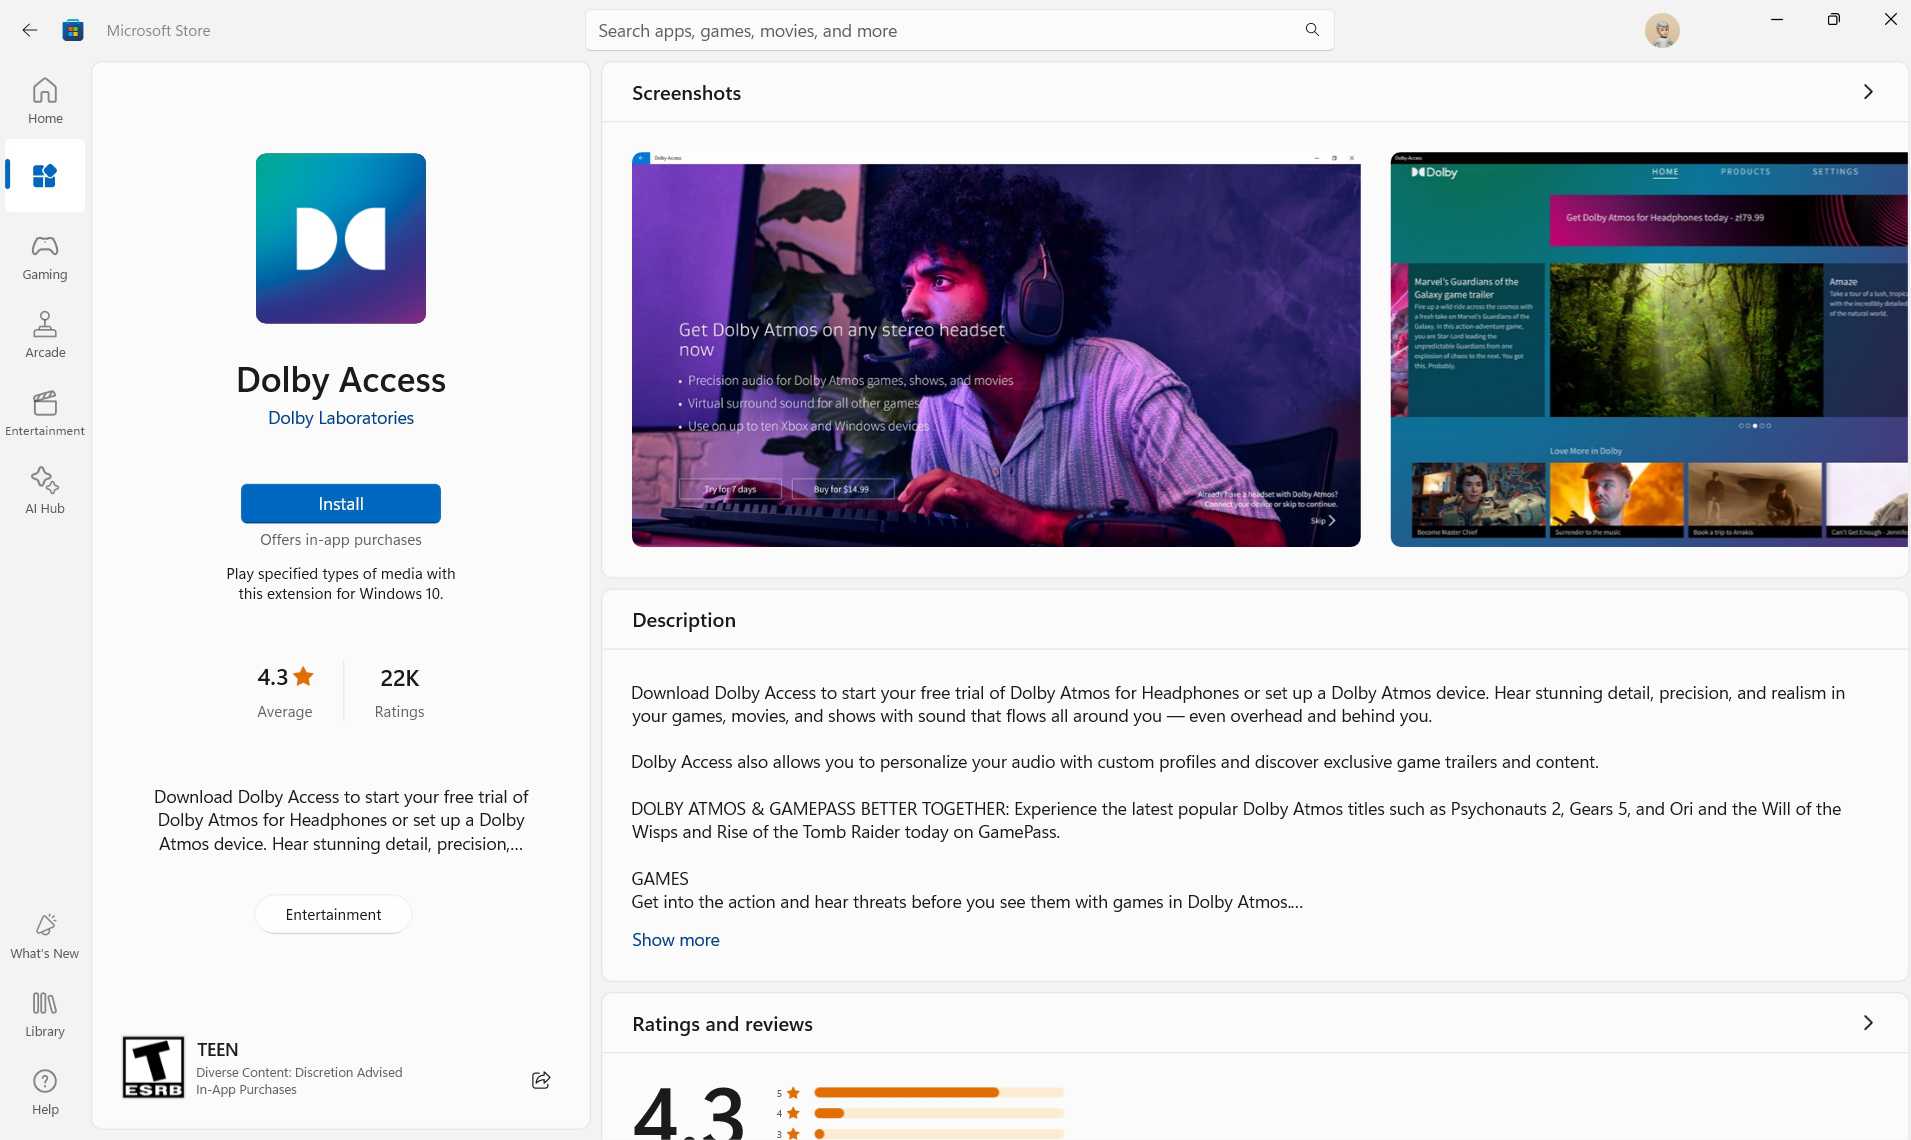
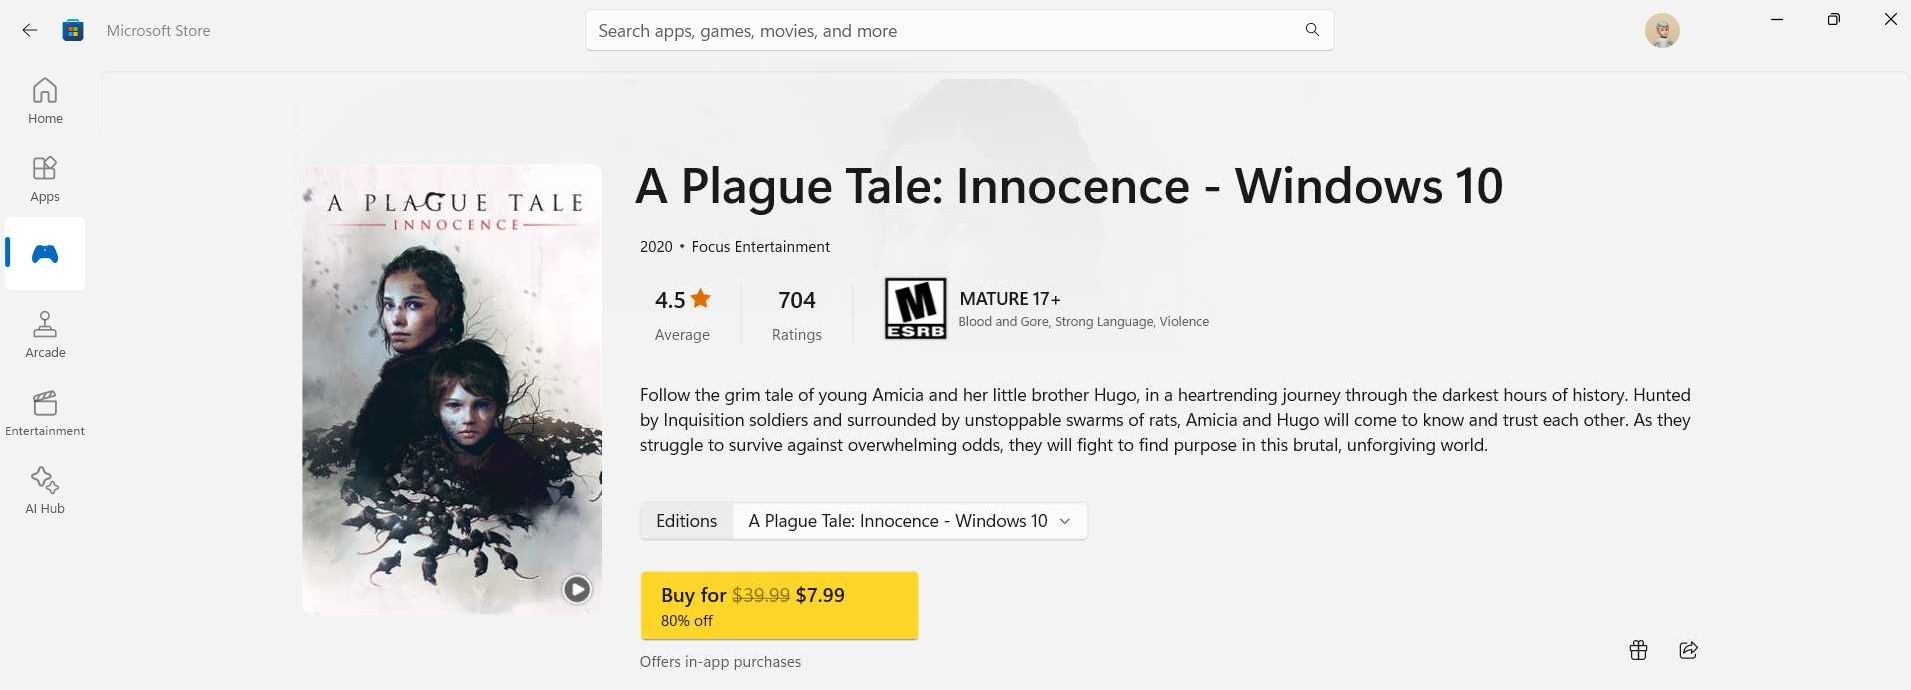
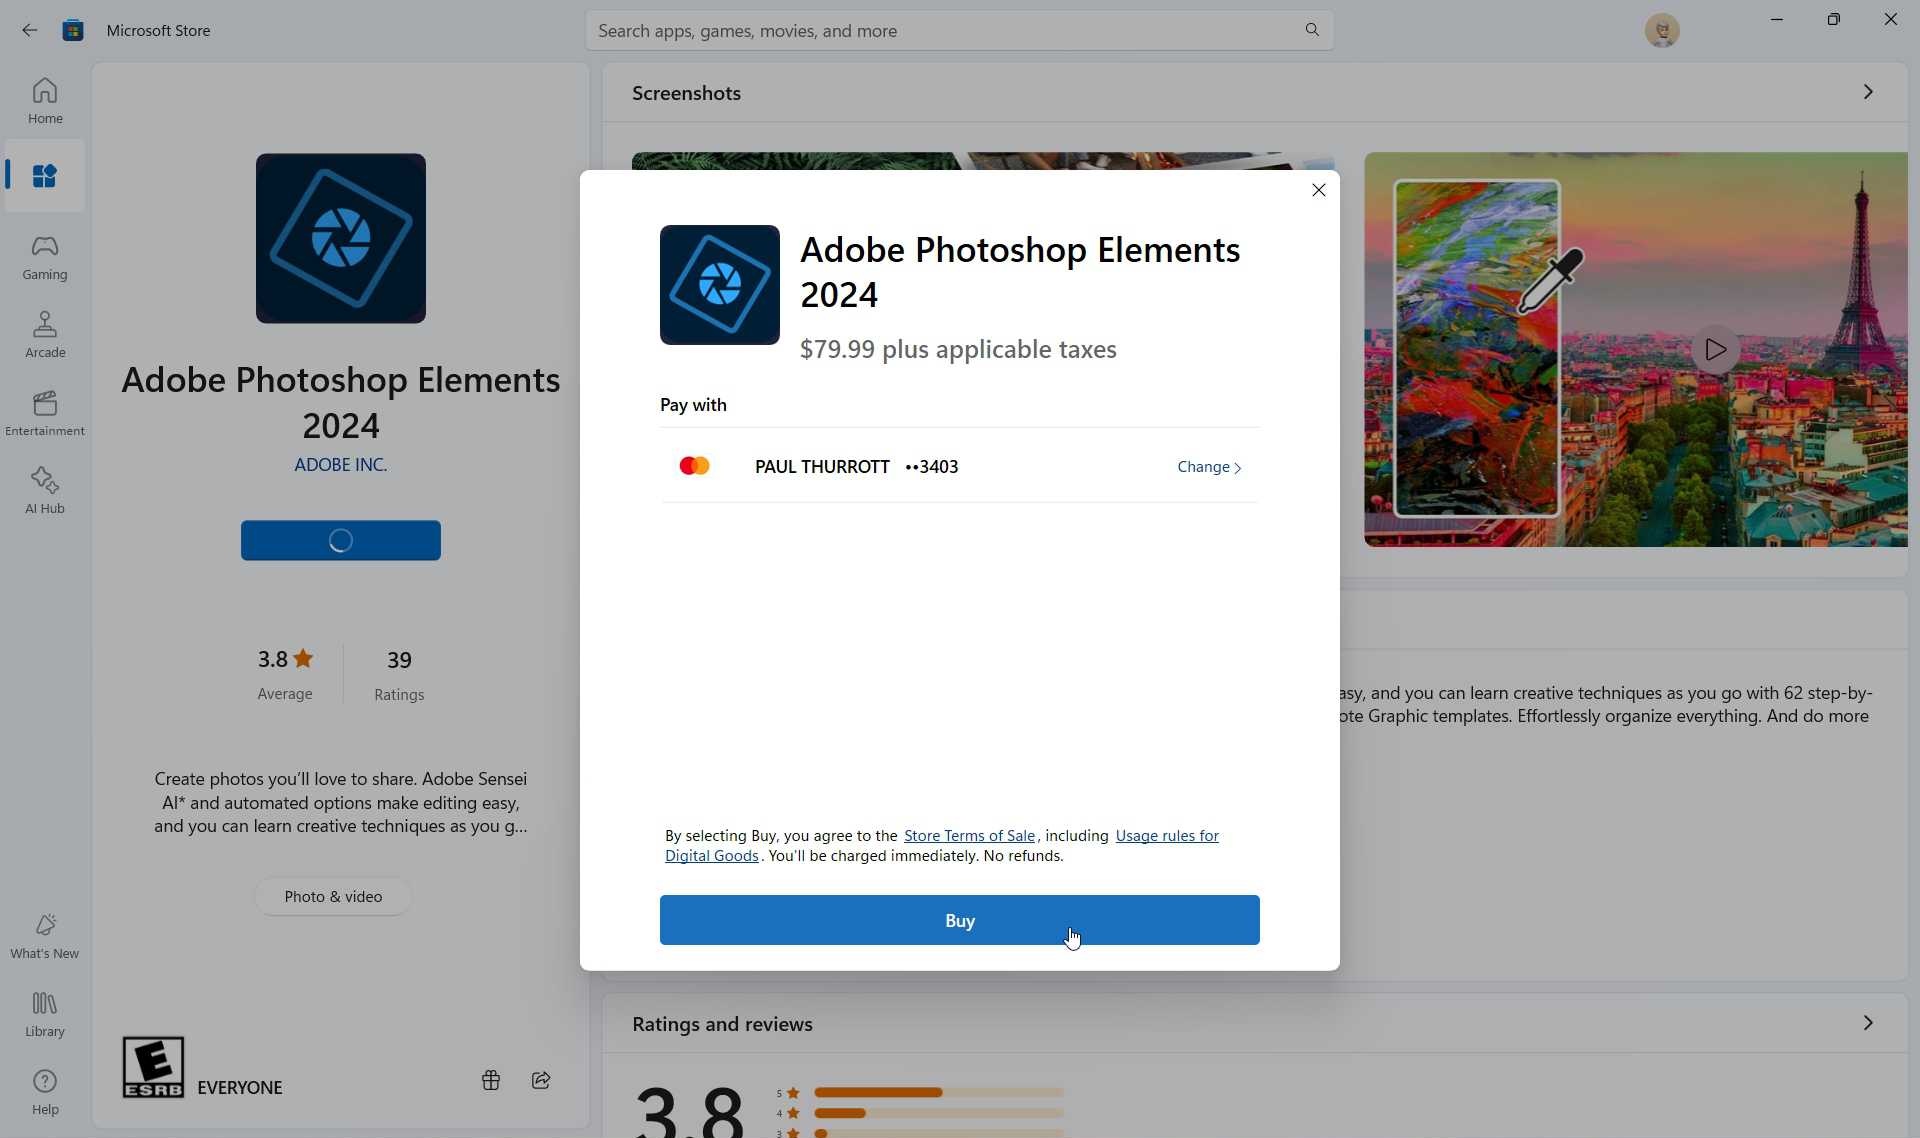
What you see on a content item landing page varies. Apps and games will typically display an “Install” or “Get” button, screenshots, a description, ratings and reviews, what’s new, system requirements, and other information.
If the app or game can be purchased, you will see a “Buy” button.
Like a web browser, you can back out of the current view at any time by pressing a “Back” button. It’s a bit subtle in the Store app, as is the case with many modern Microsoft apps, but you can find the “Back” button in the upper-left corner of the app window.
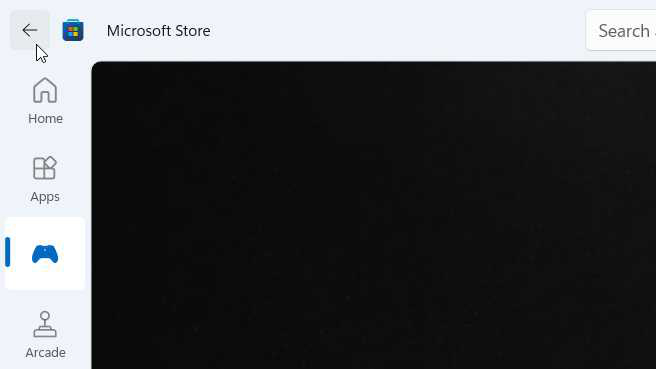
And don’t forget about the top-level items in the navigation bar: You can click those at any time to navigate all the way back to any of the topmost Store app views.
Finally, the Microsoft Store also offers integrated search functionality that is accessible in the top center of the app window from any view.

Before you start
Before you download any apps or games, there are a few things you should configure and consider.
Manage your account and payment options
First, spend a few moments to ensure that the Store is set up correctly for your account and whatever payment method(s) you prefer to use for paid apps and other content. That way, you won’t need to hunt around for credit card or other payment information the first (or next) time you want to buy something.
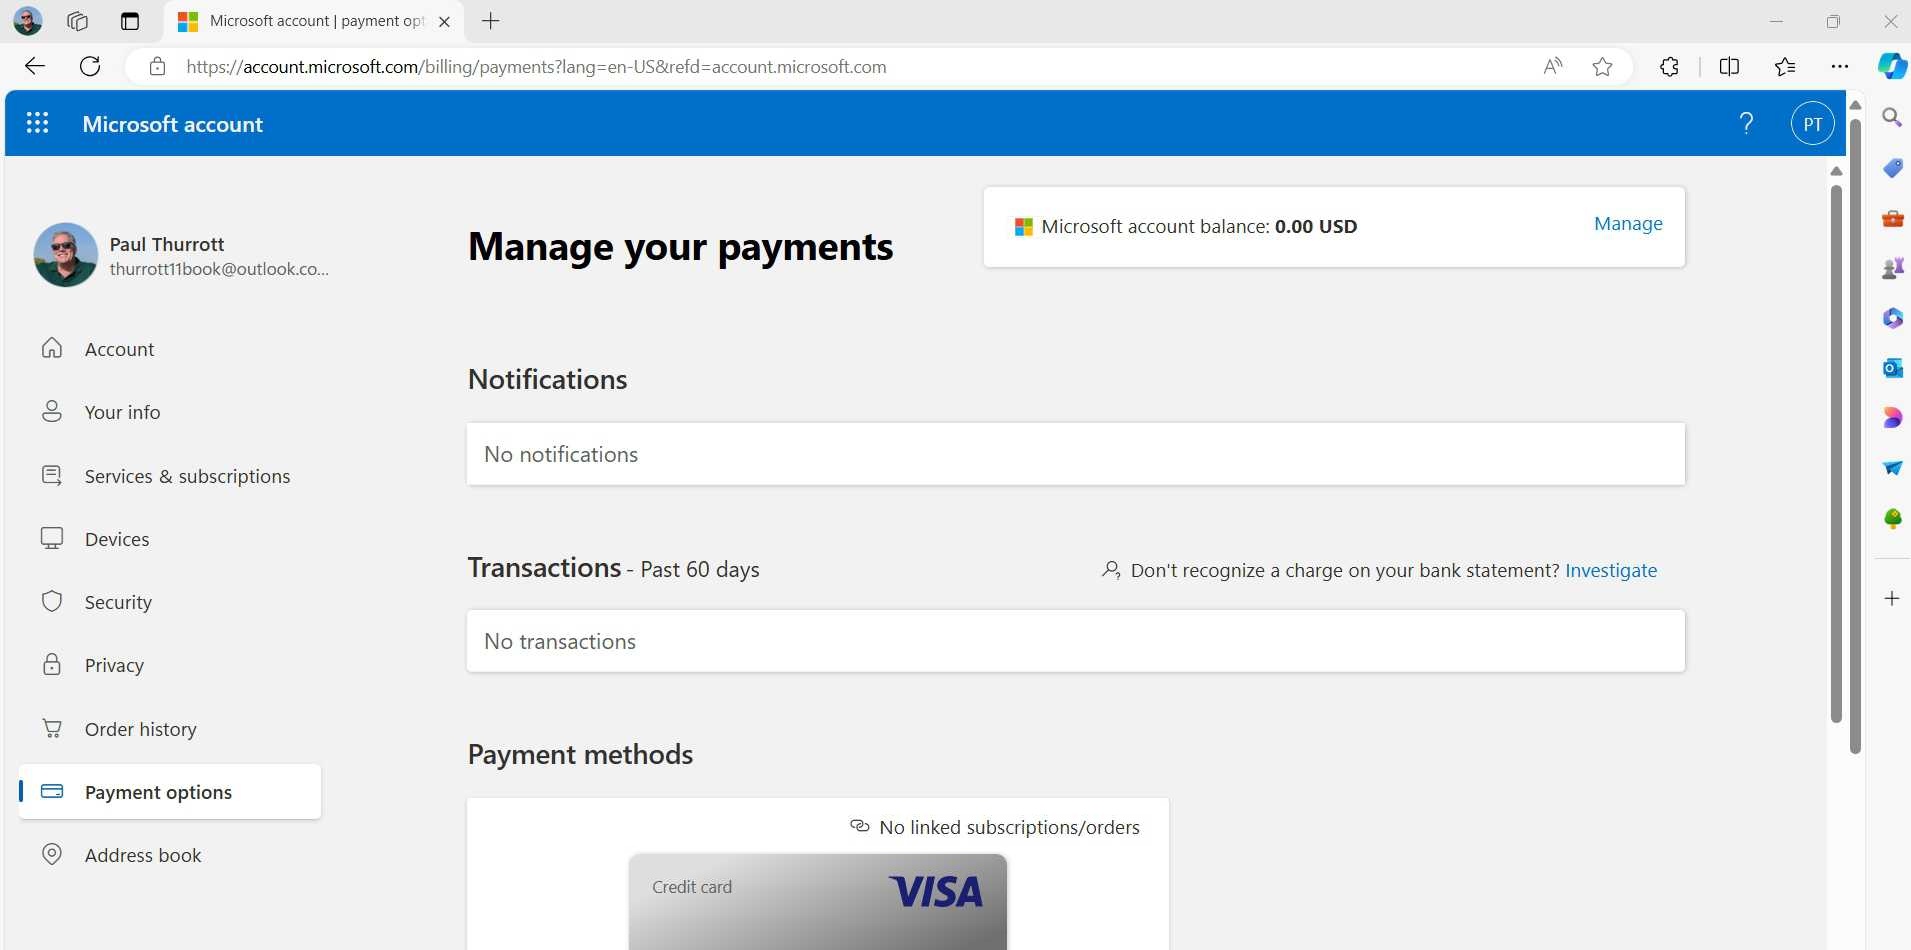
You configure this information with the Microsoft account website at account.microsoft.com. Once signed in, navigate to Payments options.
As noted above, you can also find a link to this part of the site from within the Store app: Select Profile (your account picture) and then choose “Payment methods” from the drop-down menu that appears.
From that web page, you can create, delete, and manage payment options tied to your Microsoft account. These include credit and debit cards, a Microsoft gift card account balance, mobile billing through your wireless carrier, and PayPal.
If you do get a Microsoft gift card, you can redeem the code from the Profile menu in the Store app as noted previously. Or, you can do so from the Redeem your code or gift card page on the Microsoft account website.
Manage which PCs are linked to Microsoft Store purchases
Microsoft lets you download Store apps and games to up to 10 Windows PCs at once. You can manage the list of those PCs from the Microsoft account website as well: Just navigate to Devices > Microsoft Store device management.
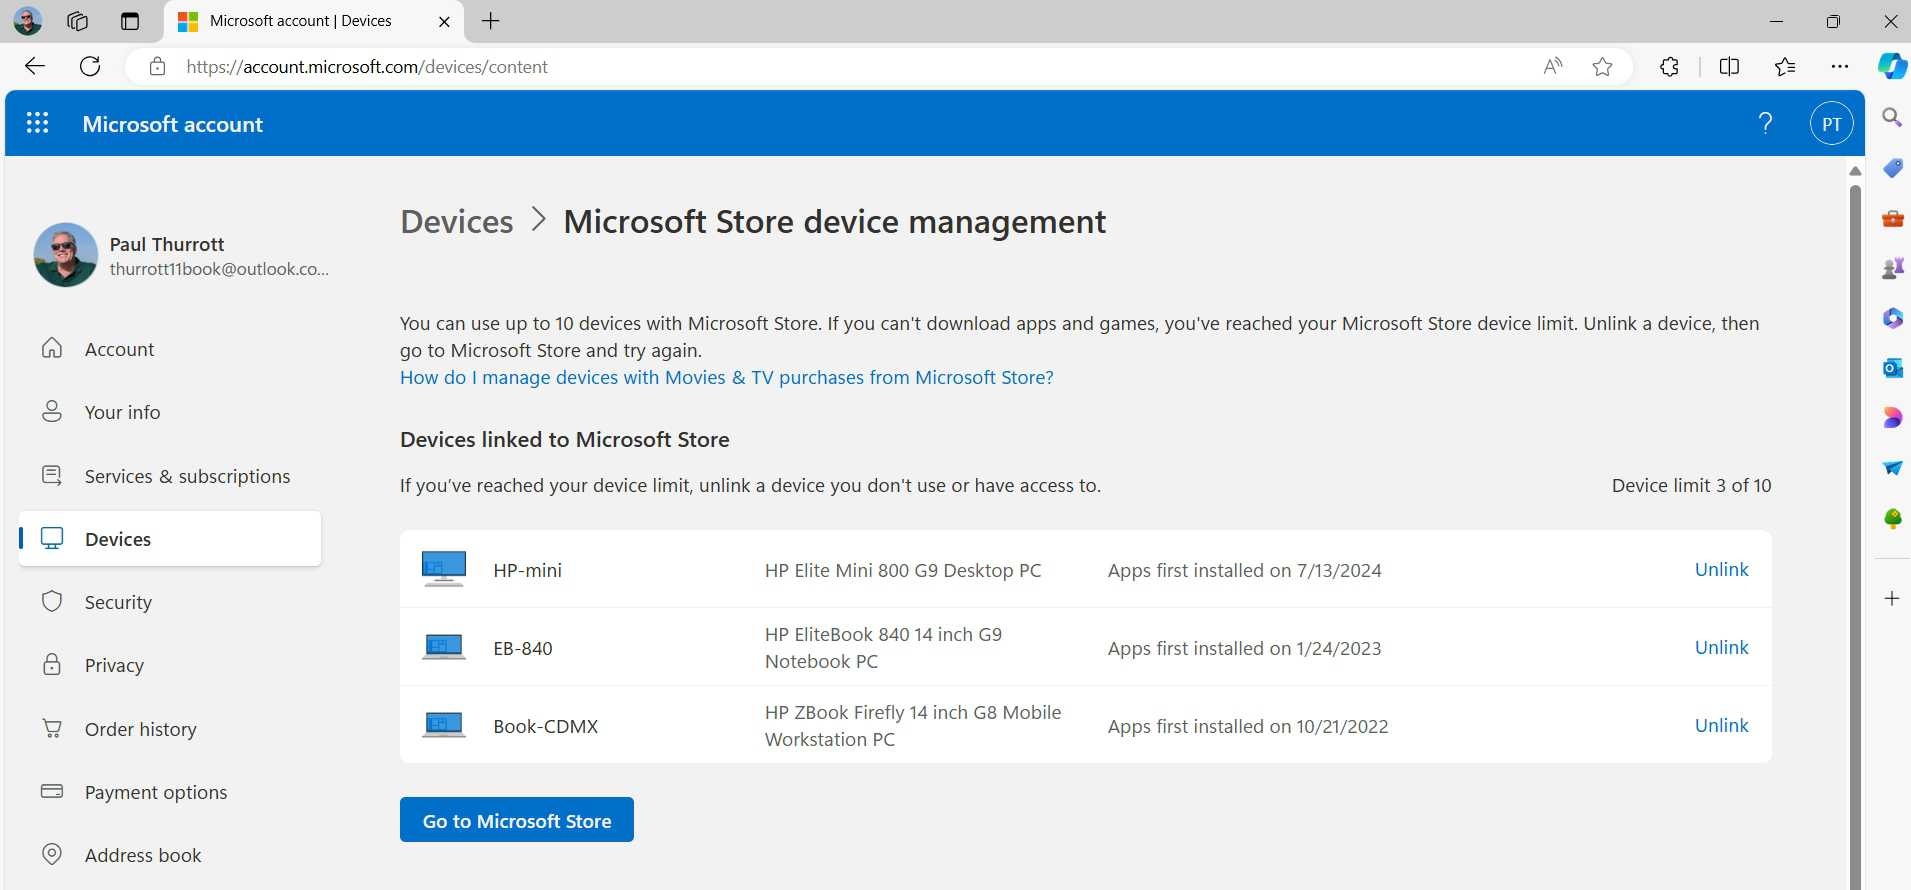
If you see any out-of-date PCs in this list, you can remove them by clicking the appropriate “Unlink” link.
Consider how you will use the Microsoft Store
As discussed in App Basics, Windows 11 is configured to let users install apps from anywhere by default: the web, the Microsoft Store, or even an optical disc. You can optionally configure the system to behave differently, by recommending Store apps or warning you when you try to download apps from outside the Store.
This may seem controlling on Microsoft’s part, but there are advantages to using Store apps when possible, even when the same apps might be available from elsewhere as well. For example, Microsoft Store apps provide consistent and simple install experiences and are automatically kept up-to-date by the Store. And many Microsoft Store apps are more secure, more reliable, and less likely to cause performance issues than non-Store apps.
There are also some important advantages for paid apps: Because of Microsoft’s liberal licensing policies, all Store apps can be used on 10 different PCs at the same time, and you never need to worry about authorizing and deauthorizing PCs as you sometimes do with web-acquired software. For example, if you purchase Photoshop Elements directly from Adobe, you can only install it on two PCs at once, and you have to remember to manually deauthorize PCs when you want to move the license to a new PC. If you forget, you’ll find yourself in a customer service chat online or on the phone.
We understand that many technical readers are dismissive of the Microsoft Store and might continue installing apps from the web as they have for years. But we recommend adopting a strategy in which you download all the apps you can from the Store and only turn to the web when an app isn’t available there. This is much more realistic today than when the Store debuted as the Windows Store in Windows 8 back in 2012: What was once a wasteland is now a reliable source of high-quality apps and games.
Find and install apps and games
The Microsoft Store offers a variety of ways to find and install apps and games. This process will be obvious to anyone who has used a mobile app store in the past decade. But in addition to the basic navigation and search capabilities described above, there are a few unique items of interest related to acquiring apps and games from the Microsoft Store.
Install an app or game from a pop-up
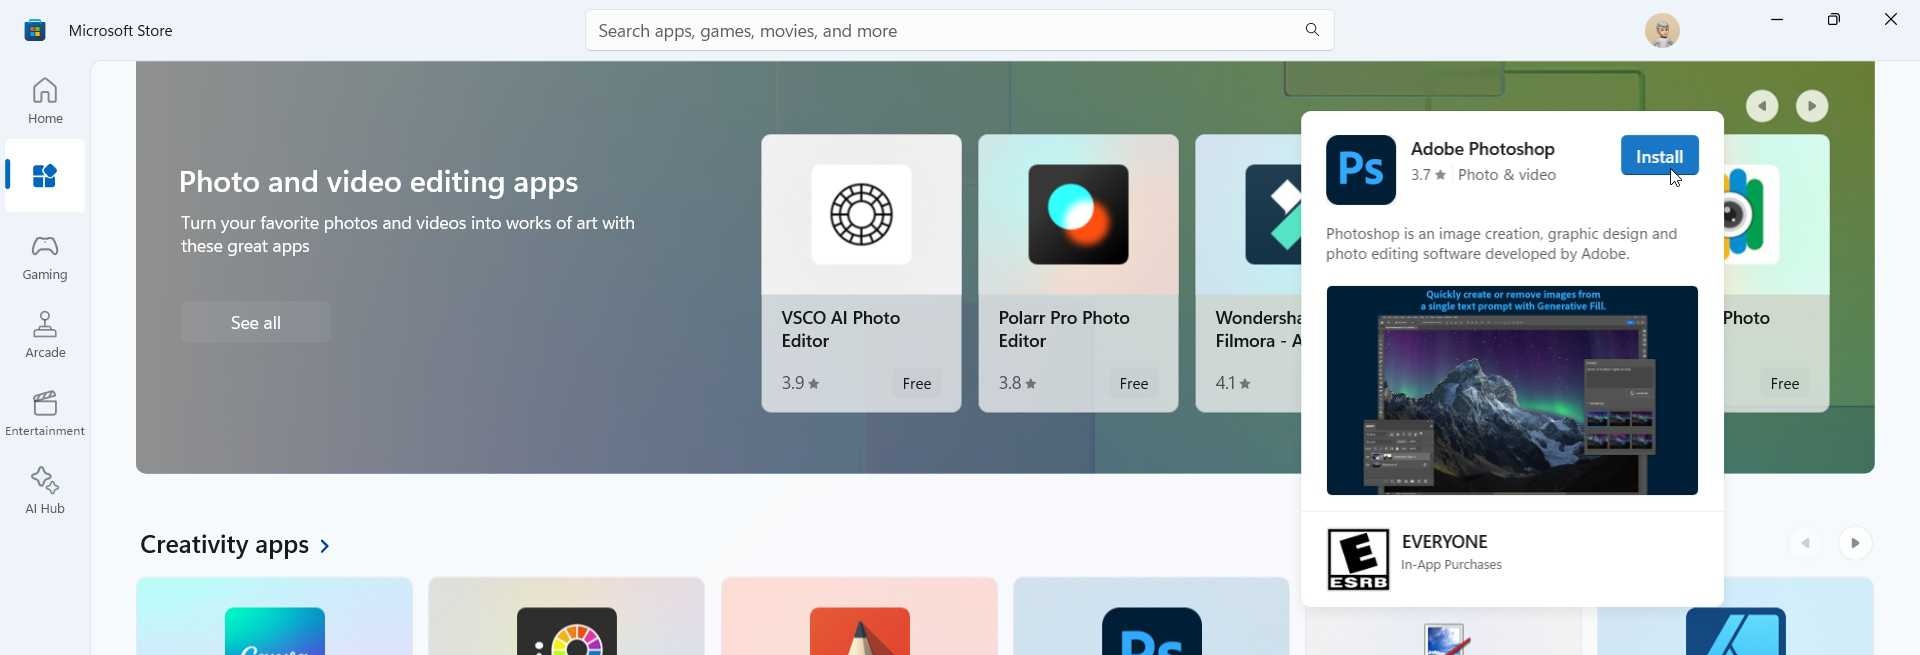
While you can navigate in and out of app and game landing pages and click the “Install,” “Get,” or “Purchase” button you find there to download that content, the Microsoft Store lets you save a step. Instead of clicking on a content item to display the landing page, simply mouse-over it instead: Microsoft Store will display a pop-up pane with an “Install” or “Get” button so you can get started right away. (If you see a “More info” button, you’ll need to navigate into the landing page instead.)
Find an app or game after you’ve downloaded it
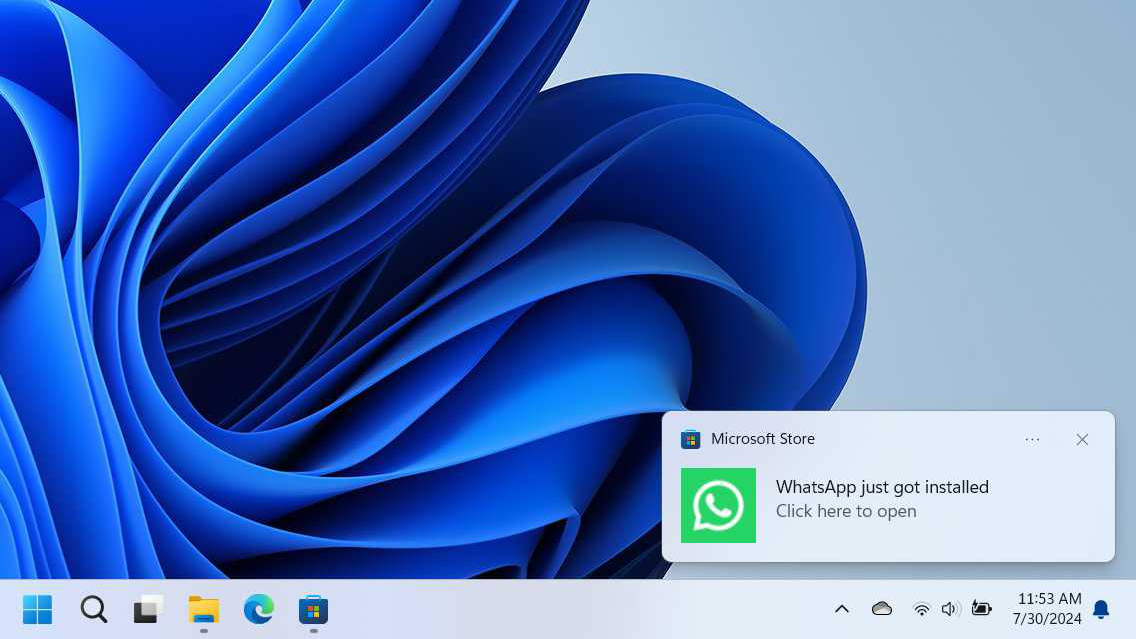
Windows 11 displays a notification banner when you install an app or game from the Microsoft Store. If you’re quick, you can click this notification to run it immediately. Otherwise, you will find the notification later in the Notifications pane.
Windows 11 also places recently installed apps and games at the top of the Recommended section in the Start menu by default.
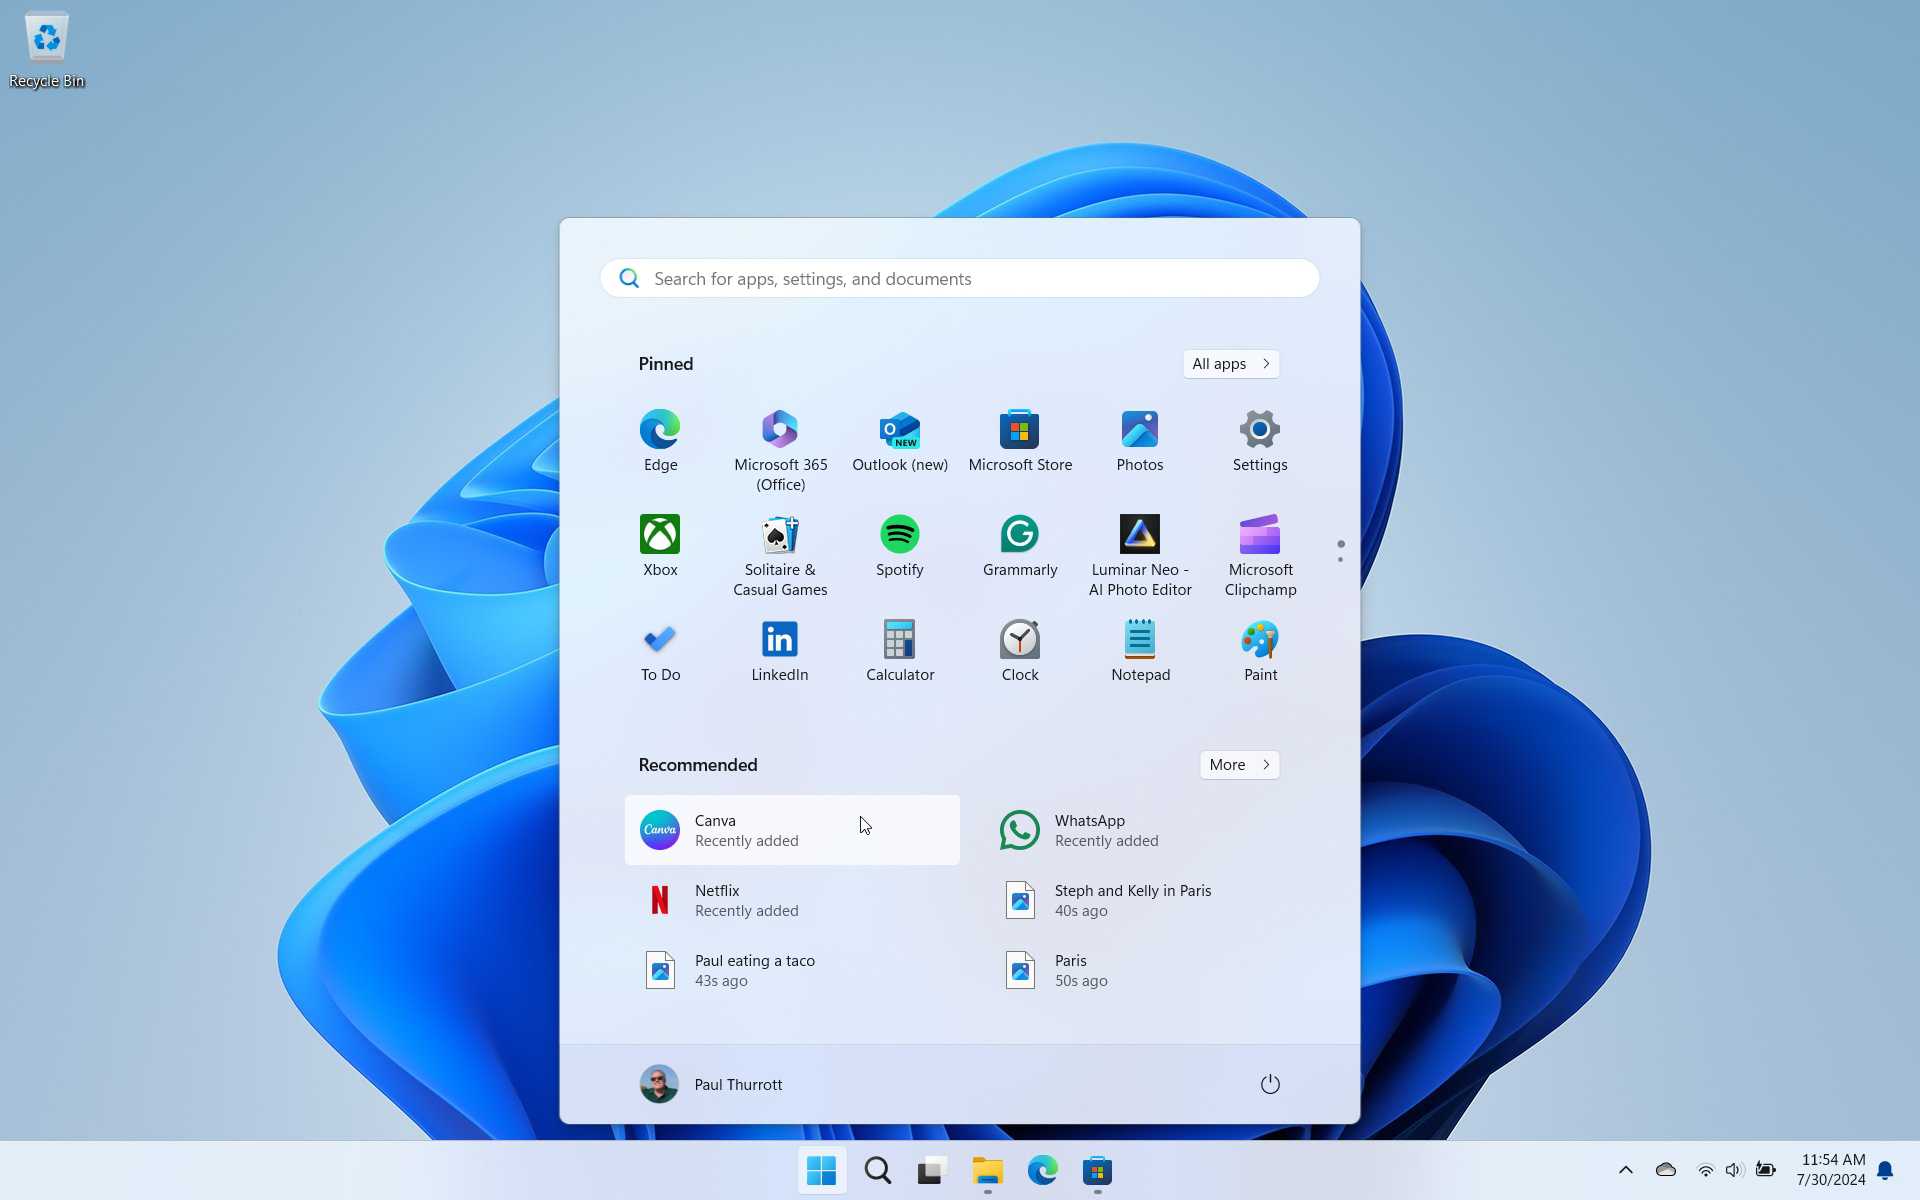
And any app or game you’ve installed from the Microsoft Store will appear in the Start menu’s All apps list too.
Find apps and games you’ve already purchased or downloaded
The Store app helps you find the apps, games, and other content you’ve already purchased. This makes it relatively easy to find, download, and install them again. This can be useful if you’ve received a new PC or have uninstalled an app and now wish to get it back.
To see this list, open the Store app and select Library in the navigation pane. The default view is filtered to display only those apps and games that are installed on this PC. To see your entire library, select “Sort and filter” and deselect “Show installed products only.” Optionally, you may also want to use the “Sort and filter” button to change the sorting to be alphabetical (“Sort by name”).
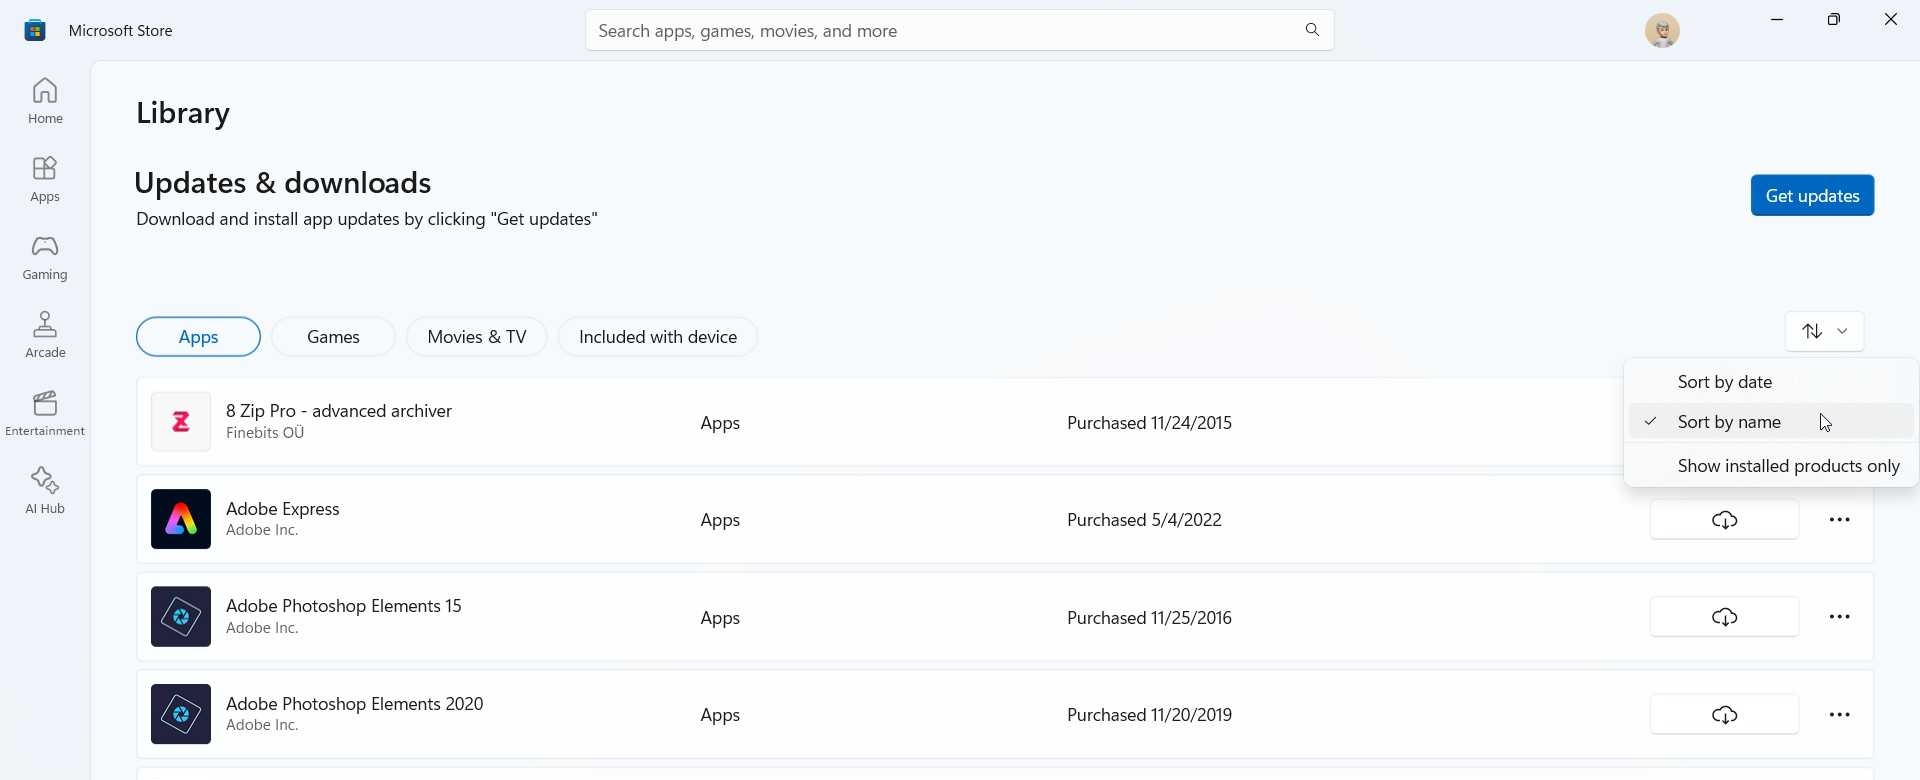
To download and install a previous purchase or download, select the “Download” button next to that item. It resembles a cloud with a down arrow.
Purchase an app or game
Downloading and installing a free app or game is simple enough. But purchasing a paid app or game requires a few more steps. The Store will prompt you to sign in–using Windows Hello-based authentication if you set up your PC correctly–and then ask you to confirm which payment method you prefer to use.
From there, the download process proceeds normally.
If you want to streamline the app purchase process by removing the authentication requirement, you can do so in Store settings, which is accessed by selecting Profile > “Settings” > “Purchase without passcode.” We don’t recommend making this change: It’s always a good idea to carefully consider any purchase, and this authentication prompt will provide the necessary pause.
Make an in-app purchase
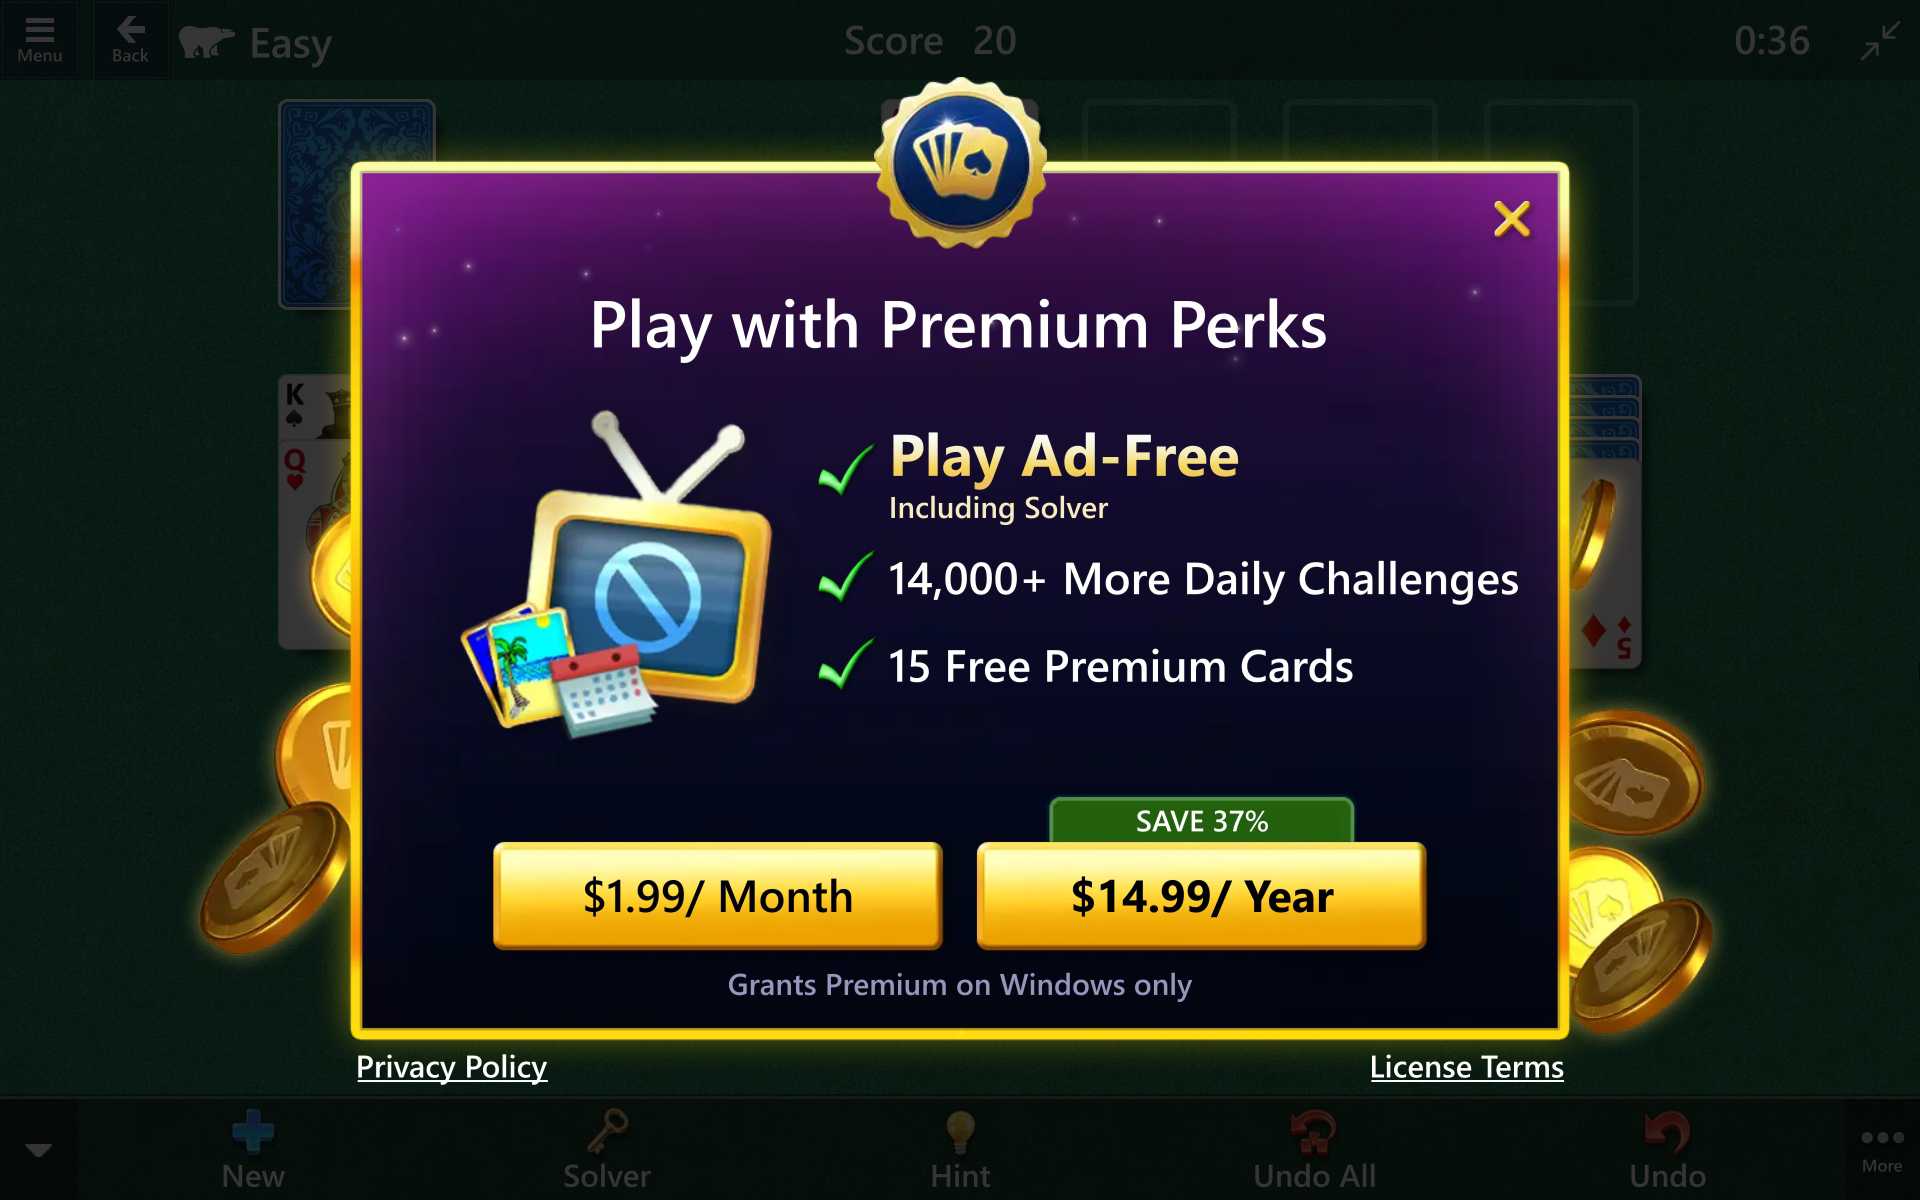
Some free apps–especially games–offer in-app purchases, which is a way for developers can monetize their work without requiring an upfront, one-time payment. (Another approach is to provide in-app advertising.) The types of in-app purchases you’ll see will vary from app to app, but the purchase process is the same. Like any Store purchase, you will need to authenticate and choose a payment method.
Update apps
By default, the Microsoft Store will automatically keep every Store app on your PC up to date, downloading and installing updates in the background as they appear. We think this behavior is desirable and beneficial for most users, and we don’t recommend changing it.
However, some may wish to monitor app updates and manually install these updates when they become available. To do so, open Store settings (Profile > Settings). At the top of this page, you will see an option, “App updates.” If you wish to disable automatic app updates for some reason, change this to Off.
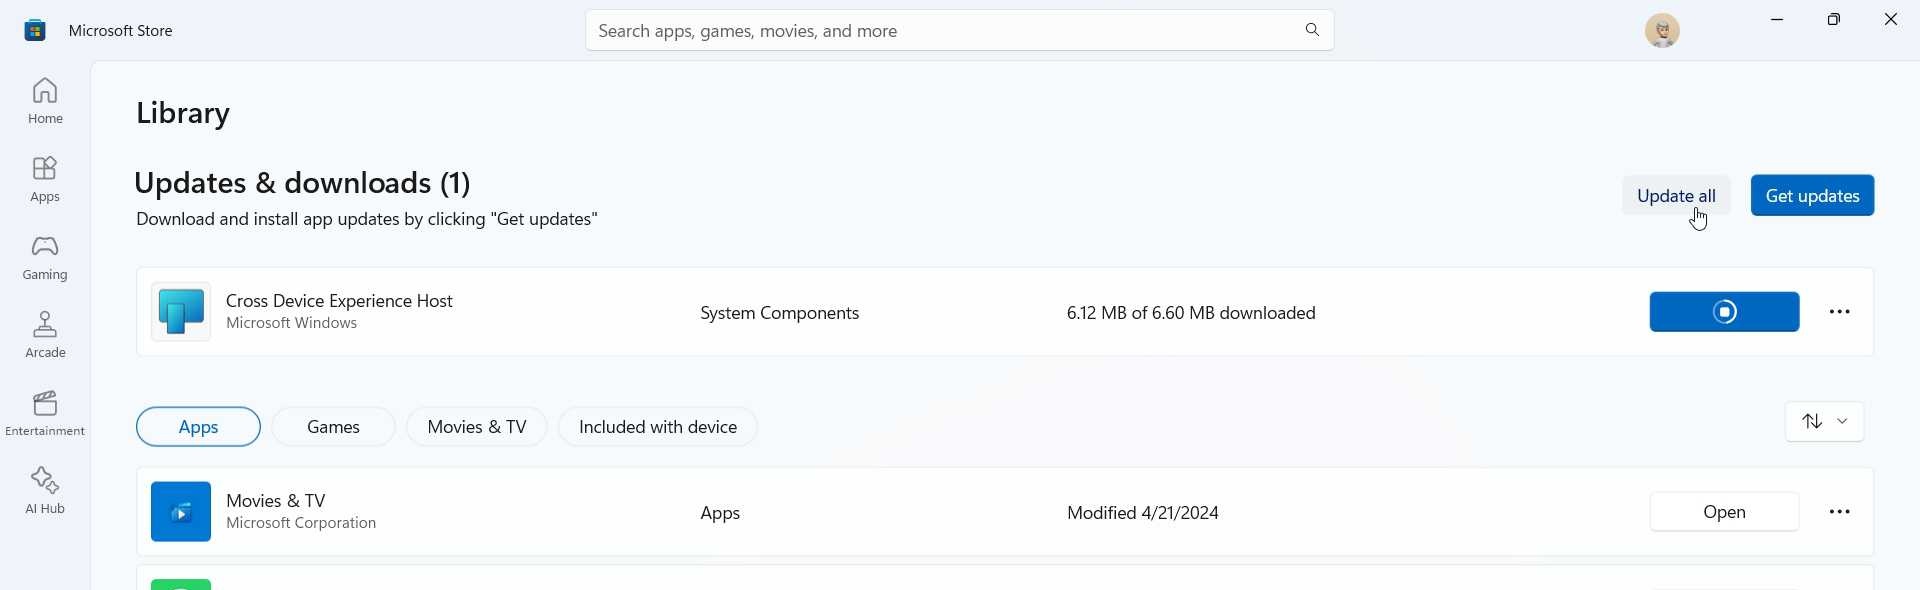
You can also manually check for app updates: Open Library and then select the “Get updates” button. If there are updates waiting to be installed, the “Library” item in the Store’s navigation bar will display a notification overlay: You can use the “Update all” link to install all pending app updates, or click the “Update” button next to any app in the list below to install just that update.


Gain unlimited access to Premium articles.
With technology shaping our everyday lives, how could we not dig deeper?
Thurrott Premium delivers an honest and thorough perspective about the technologies we use and rely on everyday. Discover deeper content as a Premium member.