Upgrade
- Paul Thurrott
- Oct 05, 2025
-
0

You can upgrade a PC running Windows 10 or an earlier version of Windows 11 to Windows 11 version 25H2. If this PC is supported, meaning that it meets the Windows 11 hardware requirements and isn’t connected to any incompatible peripherals, the upgrade process is seamless and can even be quick. But you can manually update any Windows 10 or 11 PC to Windows 11 version 25H2 if you don’t receive it automatically through Windows Update.
?️ Understand the Windows 11 minimum hardware requirements
When Windows 11 debuted in 2021, some of its minimum hardware requirements were seen as arbitrary, but few were particularly onerous. Today, these requirements are even less problematic, but my recommendations for the minimum processor, RAM, and storage are much higher and more realistic than what Microsoft requires.
Microsoft requires that a PC include the following hardware components before it you can install or upgrade it to Windows 11.
Microprocessor. A reasonably modern 64-bit microprocessor or system on a chip (SoC) with a clock speed of 1 GHz. ? The specific processors vary by silicon manufacturer, but generally speaking, processors released in late 2017 or more recently are compatible.
✅ Tip: I recommend the newest microprocessor you can afford. Unless you’re a gamer, Qualcomm Snapdragon X-series Arm processors are the best choice. But if you have to use a traditional x86-style PC for compatibility reasons, modern AMD chips are more reliable than those made by Intel.
RAM. 4 GB or more.
✅ Tip: 16 GB is the bare minimum for a good experience with Windows 11. If you can afford it, 32 GB is even better.
Storage. 64 GB of hard disk (HDD), eMMC, or SSD storage.
✅ Tip: 512 GB of SSD storage is a more realistic minimum. 1 TB or more is even better.
Firmware. Unified Extensible Firmware Interface (UEFI) with Secure Boot enabled.
Security platform. Trusted Platform Module (TPM) version 2.0.
✅ Tip: TPM 2.0 debuted in 2014, and all modern PCs include this security chipset or a superset like Microsoft Pluton.
Display. A 9-inch display or bigger with a high-definition (HD, 720p) or higher resolution with 8-bits of color or more (256 colors).
✅ Tip: A display with a Full HD (1920 x 1080, 1080p) or Full HD+ (1920 x 1200) is a more realistic minimum, depending on the size of the screen.
?️ Find out if your PC meets the minimum requirements
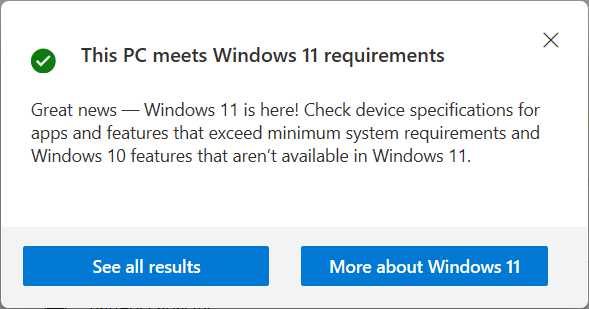
If you’re not sure whether your current PC meets the Windows 11 minimum hardware requirements, you can download and run ? Microsoft’s PC Health Check app to find out. If you’re using a reasonably modern PC, you should discover that it meets the minimum requirements. If it does, you can move ahead with the upgrade.
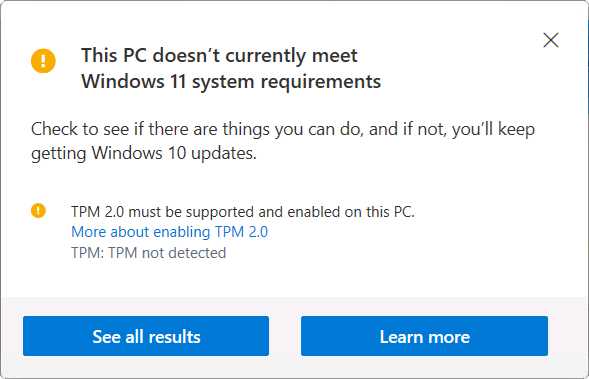
?️ What to do if your PC doesn’t meet the minimum requirements
If your PC doesn’t meet the minimum hardware requirements, Microsoft will block the upgrade. So you have a decision to make based on the reason it failed. In some cases, like Secure Boot and TPM 2.0, it may be a simple matter of enabling a feature that’s not currently enabled.
✅ Tip: You enable Secure Boot and TPM 2.0 in your PC’s firmware. Instructions for accessing this interface vary by PC, so check with your PC’s or motherboard’s user guide for details.
I don’t recommend upgrading a PC to Windows 11 if it doesn’t meet the minimum hardware requirements. They are minimums, after all, and if your PC doesn’t meet them, the experience won’t be good. Worse, Microsoft threatens users with the following if they bypass its block and upgrade anyway:
- The PC will be unsupported.
- Microsoft might stop delivering security updates. Note that it’s never done this, and I can’t imagine it ever would.
- The PC might be less secure. If you decline to enable Secure Boot or TPM 2.0 on your PC, it will be less secure.
- Microsoft might display an annoying watermark on the Desktop. Note that it has never done this to customers using a current, non-preview version of Windows 11.
If you still want to upgrade to Windows 11 and understand the downsides to doing so, you can. This is described in the next section.
? Upgrade to Windows 11 version 25H2
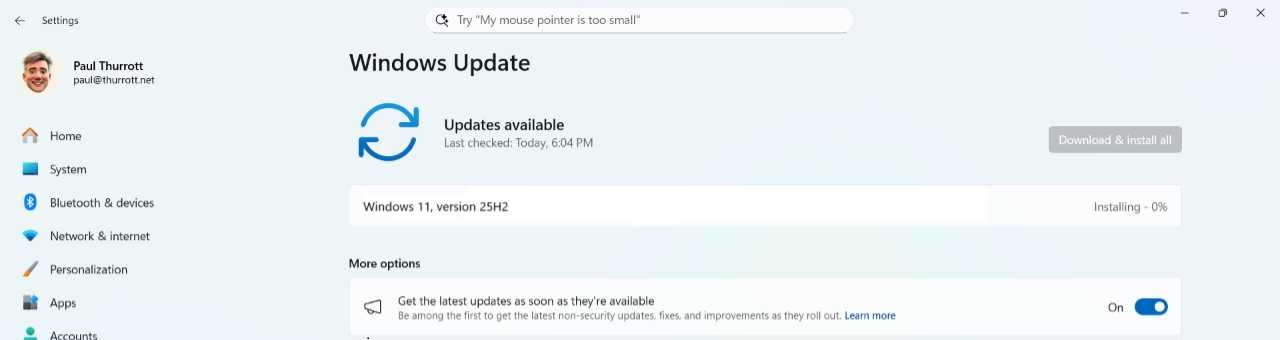
If your PC is running a supported version of Windows 10 or 11 and there are no upgrade blockers in place for your PC configuration, you will be offered the Windows 11 version 25H2 upgrade in Windows Update. This is the simplest and best way to upgrade. The PC will need to reboot and it could take up to 20 minutes to complete the offline upgrade process.
✅ Tip: If you are currently using Windows 11 version 24H2, the upgrade is delivered as an ? enablement package (eKB) because the two versions share the same code base. This upgrade still requires a reboot, but it happens much more quickly.
If you’re not offered the upgrade to Windows 11 version 25H2 in Windows Update, you will need to upgrade manually. To get started, ? download the Windows 11 installation disc image (ISO) file from Microsoft. Then, mount the ISO as a virtual disk in your PC’s file system by double-clicking it after it fully downloads. In the File Explorer window that opens, run Setup.exe to start Windows Setup.
If you see a dialog like the following, you will have to follow the steps in the next section.

Otherwise, you can jump ahead to the section Complete Windows Setup.
⛔ Bypass an upgrade blocker
To work around a compatibility blocker that prevents the upgrade, close Windows Setup by clicking the “Cancel” button. Then, open a Terminal window and then type the following command, replacing the D:, if necessary, with the correct drive letter for the virtual installation disk:
D:\setup.exe /product server
After tapping Enter, click “Yes” in the User Account Control (UAC) dialog that appears. Windows Setup will run normally, though it will say you’re installing Windows Server, not Windows 11. Don’t worry, you’re just upgrading to Windows 11.

Now, you can continue normally as described below.
✔️ Complete Windows Setup
Windows Setup guides you through several straightforward screens. It will check for updates (though you can optionally disable that by clicking the “Change how Setup downloads updates” link in the first step) and make sure your PC meets the Windows 11 minimum hardware requirements before finally landing on the “Ready to install” stage. This one requires some thought.
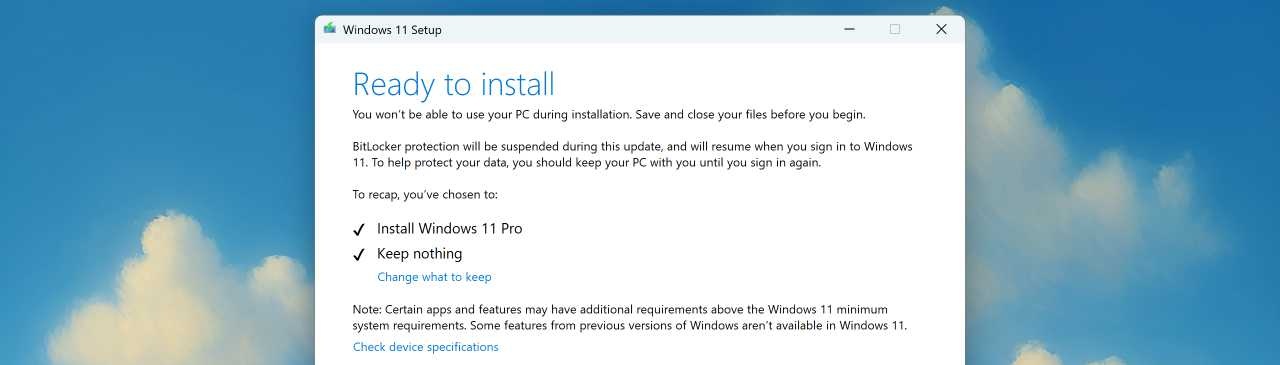
Unless you choose otherwise, Windows Setup will perform a traditional, non-destructive in-place upgrade in which Windows 11 is updated to version 25H2, but everything else on the PC—including your user accounts, documents and other files, any customizations you’ve made, and installed apps—is retained. That may be what you want, but you can click “Change what to keep” to see other options.

These options are:
- Keep personal files and apps. This is the default option, a traditional, non-destructive in-place upgrade.
- Keep personal files only. This is a non-traditional and partially destructive upgrade in which your user accounts and their associated documents and other files are retained but customizations and installed app are not.
- Nothing. This most destructive of options is a clean install in which Windows is updated to version 25H2 but your user accounts, documents and other files, customizations, and installed apps are all removed.
➡️ Learn more: Here, I assume you are choosing one of the first two options, though the process you experience is the same until Windows Setup is complete. You can learn about performing a clean install of Windows 11 in the Install chapter.
After choosing what to keep, Windows Setup will continue without requiring any intervention. Though it switches to a blue full-screen experience, you can still do other work on the PC, at least until it reboots.

Eventually, Setup will reboot the PC and enter an offline phase in which it completes the upgrade. This process can take up to 30 minutes to complete, depending on your PC.

When Setup completes, the PC reboots again and you can sign-in normally when the Lock screen appears.
➡️ Learn more: If you chose “Nothing” as the upgrade type, you will instead experience the Out of Box Experience (OOBE) next, as described in the Install chapter.