Step-by-Step: Windows 11 Setup First-Boot Experience (24H2)
- Paul Thurrott
- Oct 09, 2024
-
1
You use a wizard-based application called Windows 11 Setup to install and configure Windows 11. This process involves two phases, the first-boot experience, which is only used when you perform a so-called clean install of Windows 11, and the Out-of-Box Experience (OOBE), which is friendlier and more graphical and helps you configure the system for your needs.
If you are installing Windows 11 on a new PC–perhaps one you’ve built or purchased–or would like to repave an existing PC, you are performing a clean install and will boot the PC from USB installation media as described in Create Windows 11 Version 23H2 Install Media and will encounter both Setup phases.
However, if you are configuring Windows 11 for the first time on a new PC, you can skip directly to Step-By-Step: The Out-of-Box Experience (OOBE). The steps described here are only for those performing a clean install.
This chapter covers the first phase of Windows 11 Setup, the first-boot experience. While it works nearly identically to the first-boot experience in previous Windows 11 and other versions, Microsoft has updated the look and feel a bit.
To get started, boot your PC with your Windows 11 installation media. The instructions for doing so vary by PC, so please check with your PC maker or the firmware vendor for your PC. When you do so, the Windows 11 Setup first-boot experience appears.
It will walk you through the following steps:
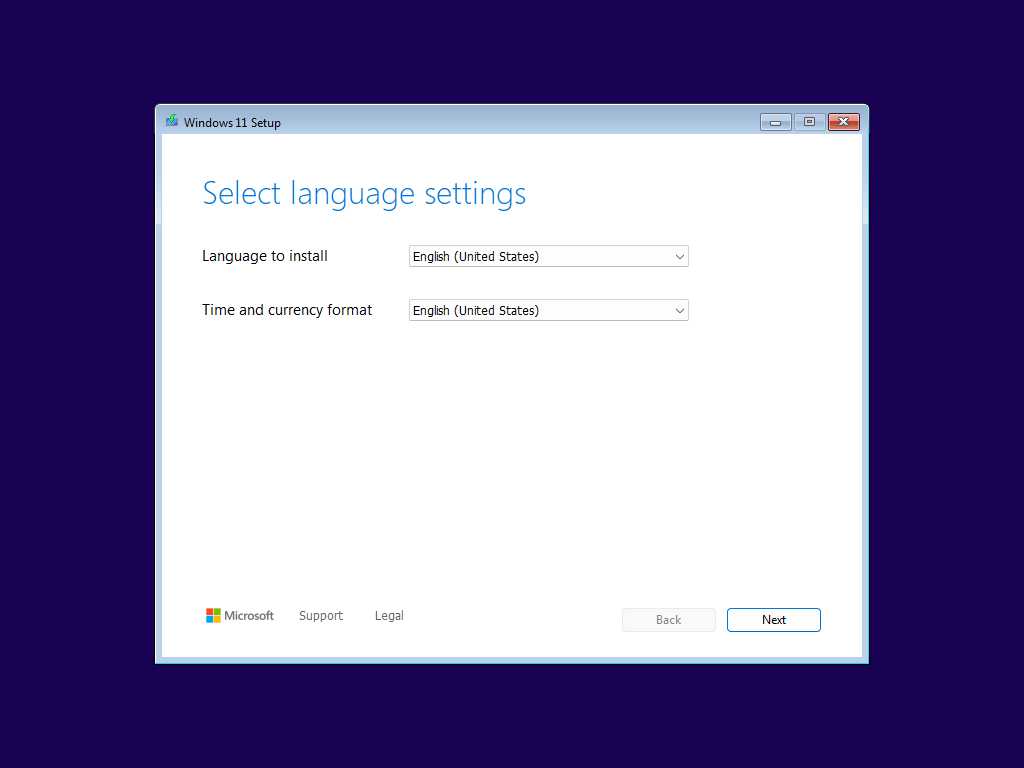
Select language settings. The initial screen provides options to customize the language to install and Time and currency format. They should be set to the correct choices already, but it’s always a good idea to scan them before proceeding.
Select keyboard settings. Here, you can customize the Keyboard or input method. As above, this is likely set to the correct choice.
Select setup option. Here, you can choose to “Install Windows 11” or “Repair my PC.” Select the “I agree everything will be deleted including my files, apps, and settings” checkbox and then click “Next” to continue.

The “Repair my PC” choice boots your PC into the Windows Recovery Environment, which is used to perform offline maintenance or recover Windows. And the “Previous Version of Setup” link can be used to revert to the previous Windows 11 Setup first-boot experience, which looks a bit different but offers the same capabilities.
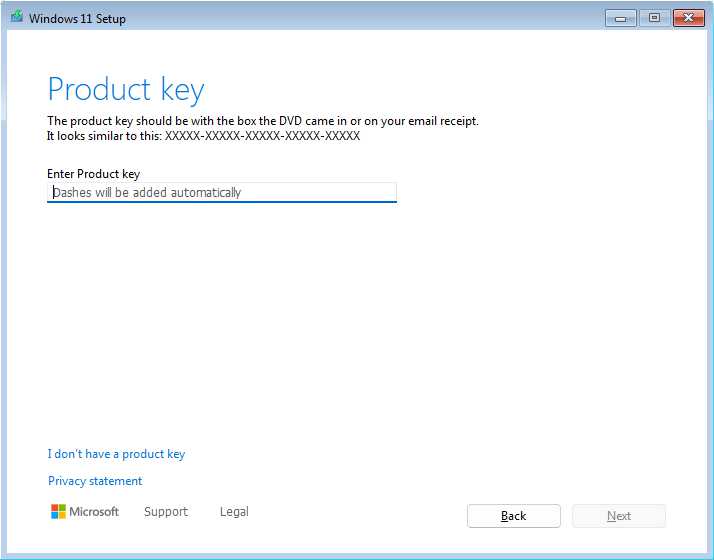
Product key. If you purchased Windows 11 from Microsoft or another retailer, you received a 25-character product key that can be used to activate the OS, tying the product key to this PC. You can enter that now if you like, but there’s no need to do so. Just click the “I don’t have a product key” link instead. You can always enter the product key later if required.

Select Image. If you didn’t enter your product key, ,and you created Setup media with the Media Creation tool, you will be prompted to choose between the available Windows 11 product editions. Despite the long list of choices here, you will choose between just two, Windows 11 Home or Windows 11 Pro, and then click “Next.”
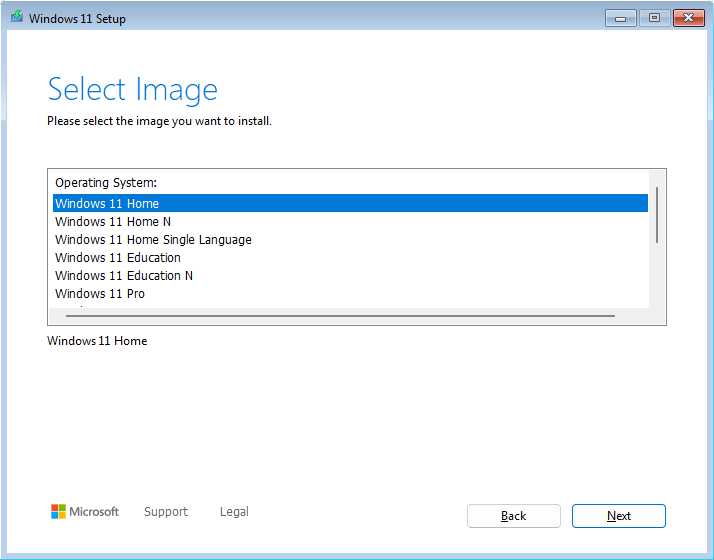
Be sure to choose the product edition that matches your product key or you won’t be able to activate it later. If you are clean installing Windows 11 on a PC that previously ran Windows 10, you must choose the same product edition. If you don’t, Windows 11 won’t activate.
Applicable notices and license terms. You must agree to the Microsoft software license terms before you can proceed. Click “Accept” after you’ve read the entire thing twice and taken notes.
Select location to install Windows 11. Here, you choose the drive or disk partition on which you will install Windows 11. If your PC has a single drive, and it’s never been used, you should see only one drive (really, partition) listed. Otherwise, you can use the tools available here–Delete Partition, Format Partition, Create Partition, and so on–to configure the partitions as necessary. When you’re done, select the partition where you will install Windows and then click “Next.”
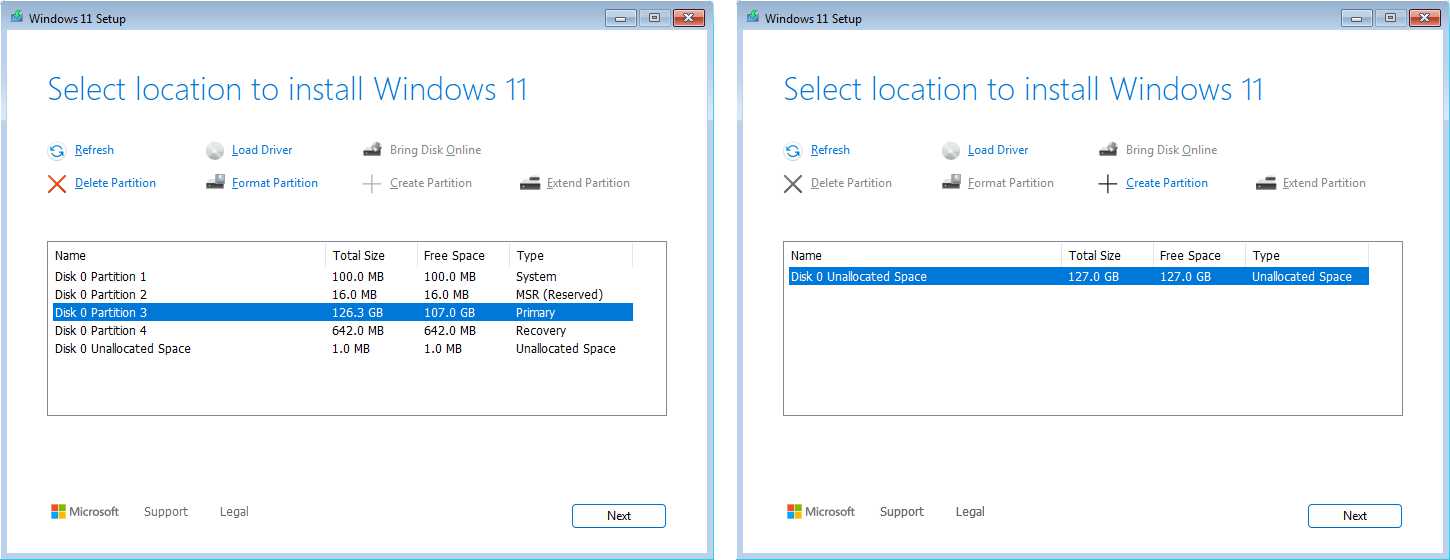
If this PC has multiple drives (indicated by names like Disk 0, Disk 1, and so on), be careful about installing Windows 11 in the correct location, especially if one of the drives contains your data from a previous install. You did back up, right?
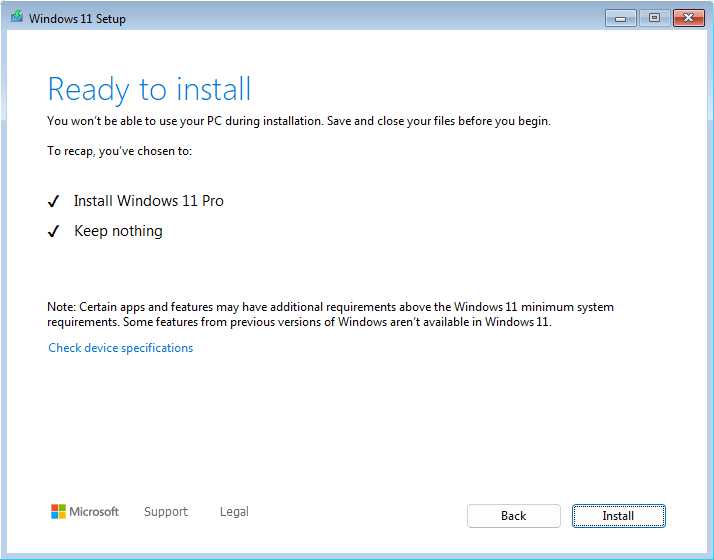
Ready to install. This summary screen explains what’s about to happen: You are installing Windows 11 (Home or Pro) and you are “Keeping nothing.” In other words, you are performing a clean install. So click “Install.” to continue.
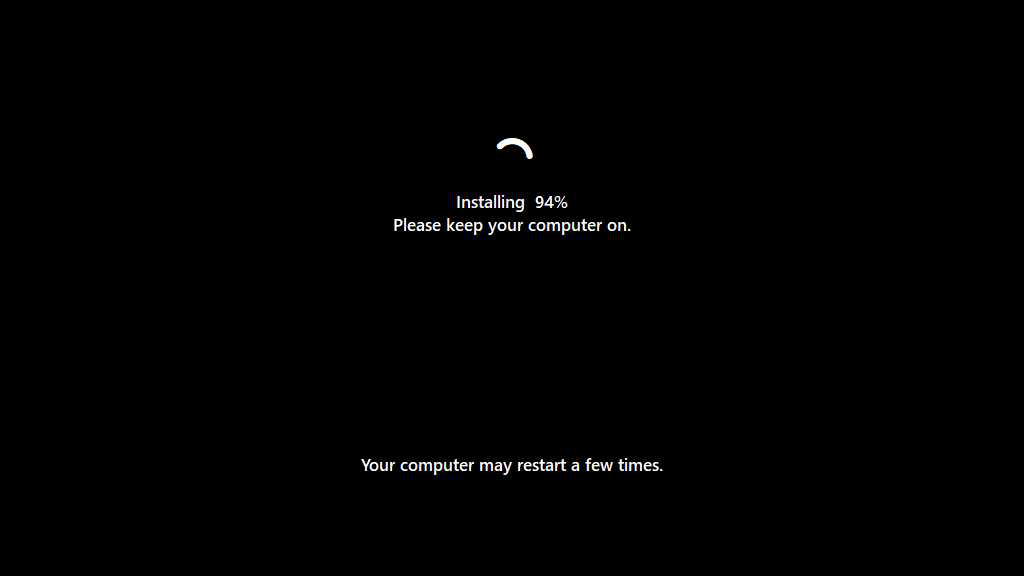
The first-book experience will then display a blue “Installing Windows 11” screen that correctly notes that the PC may reboot several times.

It will reboot at least twice. Between reboots, the Windows 11 Setup offline installer will display its progress.

When this completes, you will encounter the second phase of Windows 11 Setup, called the Out-of-Box Experience. This is described in the next chapter, Step-By-Step: Windows 11 Setup Out-of-Box Experience (OOBE).


Gain unlimited access to Premium articles.
With technology shaping our everyday lives, how could we not dig deeper?
Thurrott Premium delivers an honest and thorough perspective about the technologies we use and rely on everyday. Discover deeper content as a Premium member.